Announcement

Collapse
No announcement yet.

1984 Katana 7/11

Collapse
X
 
  • Filter
  • Time
  • Show
Clear All
new posts

  • Fjbj40
    replied
    Base dries pretty fast Pete. Personally I avoid dry coats, I prefer at least a medium coat, let flash then a wet coat, in a perpendicular pattern to the last when it comes to metallics.


    Wait and see what Larry has to offer first though!

    Dont Rush now!

    Leave a comment:


  • dorkburger
    replied
    persistence paying off. I'm looking forward to seeing it come together. I can only imagine how much you are.
    Leave a comment:


  • pete
    replied
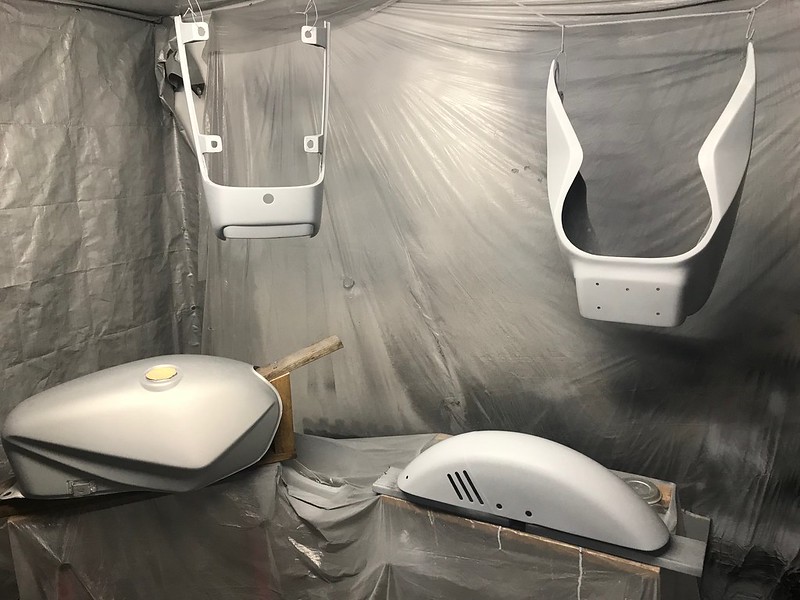
    Finally! That last effort worked a charm and the cowl came up nice after a rub back with the 600 grit this morning, all ready for colour.

    Untitled by starpoint73, on Flickr

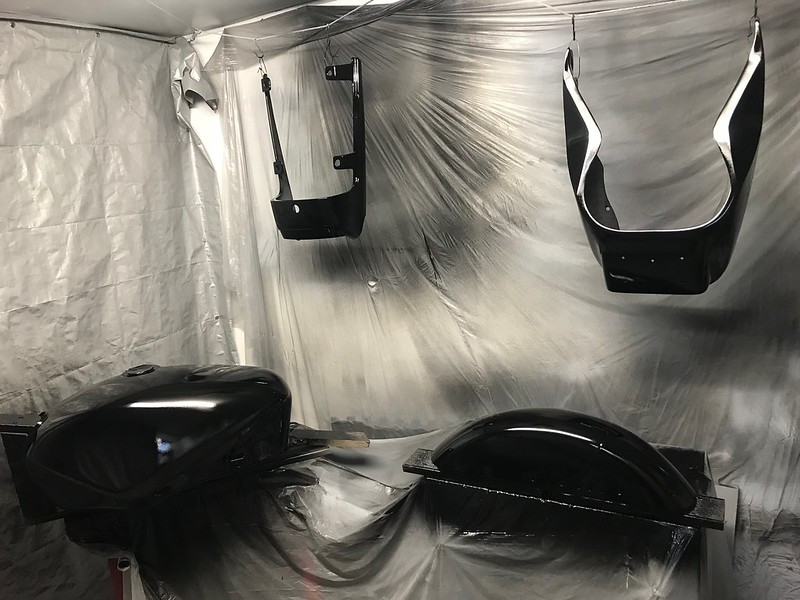
    And despite the weather's best efforts to stymie me again (heavy shower just as I was about to mix the black), I finally managed to get the black done. I really wanted to get it out into the sun but there were too many clouds about threatening more showers and I just wasn't game.

    Anyway, reasonably happy with the result although I did manage to get a little run on one side of the tank, so I'll very gently rub that back in the morning. That spot is getting covered with silver so no need to worry about re-coating.

    Untitled by starpoint73, on Flickr

    So in the morning it's take care of that run, scuff it all up with the grey scotchbrite pad, mask the bits up, then silver time.

    I'll let them sit for an hour or so before taking the masking off and doing the clear.

    Any tips on spraying the metallic silver aside from just using a steady hand and keeping an even distance from the parts? I'll try to wind the fluid back a bit for a slightly drier coat too.

    Leave a comment:


  • pete
    replied
    No pic's tonight, seems a little pointless when all I'd be showing is the front cowl in primer and guide coat again.

    I rubbed it back this morning and while the runs didn't cause me any grief there were still a few little pin pricks that showed their ugly little selves again. Nowhere near as bad at least so between the putty and sticking my fingers in it there's been a definite improvement.

    I took a different tact today by mixing up some primer without thinner and used a very small brush to dab it right into those areas with the pin pricks and the few places I broke back through the primer again.

    Rubbed that back with 400 grit and it's now had three more coats of primer and a guide coat.

    I looked real close before the guide coat and the only things I can see is a couple of high spots from the brush work today that I didn't quite get levelled out, no pin pricks or other issues I could see.

    On the upside, if I didn't have to do that today I wouldn't have been able to paint anyway as it was raining on and off the vast majority of the day. I just managed to get the primer done late this afternoon after it had finally cleared.

    Fingers crossed it rubs back nicely with the 600 grit in the morning and I can get the black done.

    Leave a comment:


  • pete
    replied
    I got what I hope is the final round of primer done today, although it may work out that I've caused myself a fair bit more work..

    I laid down four pretty thick coats in the hopes of filling any of those little pin pricks that the putty may not have taken care of. I even took Larry's tip and stuck my fingers in those areas... whether that was a good idea or not at this stage is a different story of course. And yep, was wearing gloves so no finger grease

    The down side is I managed to get some nice runs happening but at this stage I'd rather have a bit extra to rub back than be breaking through to the fibreglass again. See what happens when I sand in the morning.

    Fingers crossed it's good to go and the weather cooperates so I can get the black done.

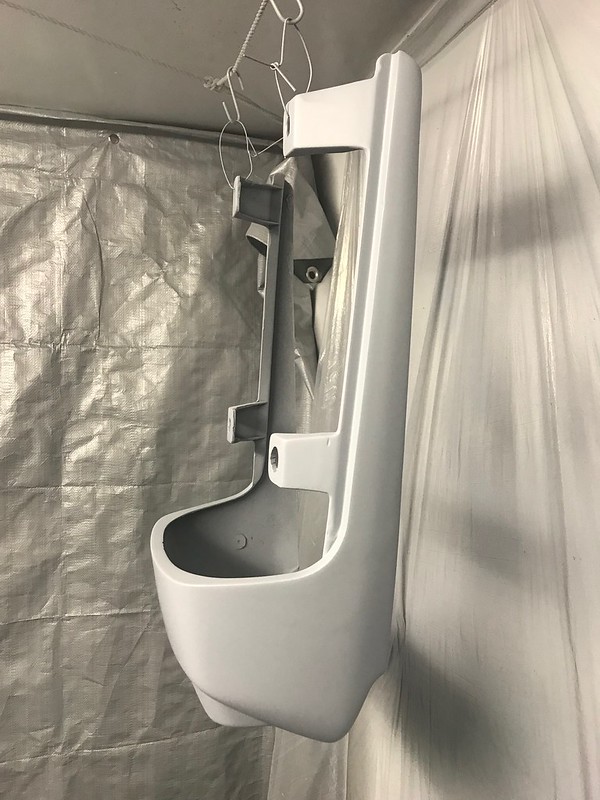
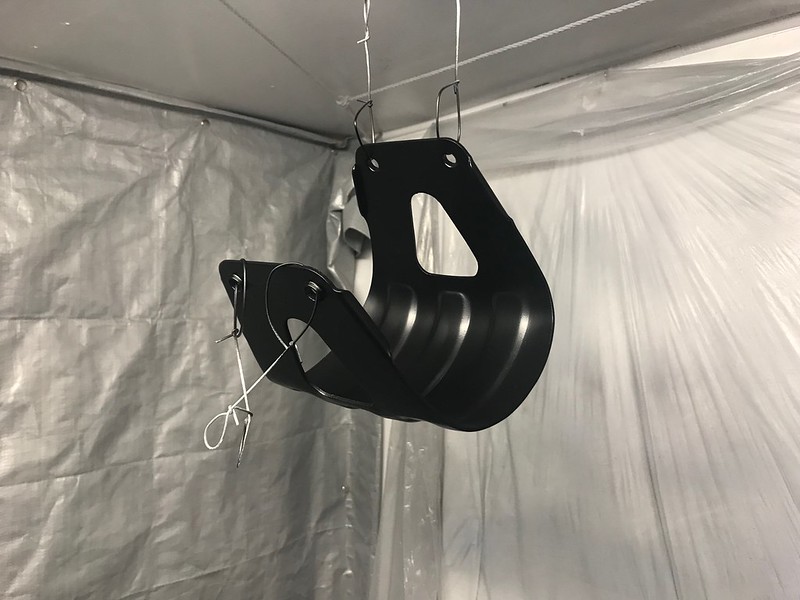
    Given I had to mix up more primer than I needed, I figured I'd give the front fork brace a go as I'd just degreased it the other day and it needed some paint. It got primed then three coats of aersol satin black acrylic. It's not seen but I want it neat and protected from rusting.

    Untitled by starpoint73, on Flickr

    Untitled by starpoint73, on Flickr
    Leave a comment:


  • pete
    replied
    Cheers Larry, yeah some of these parts had a hard life, but that front cowl sure took a beating! I knew I could fix it, just didn't realise quite what was involved until I jumped in. Like you say, it's all a learning curve!

    I remember you saying rubbing it in with your fingers, yeah that does seem weird but I can now see why you got and passed on that advice, that's a great idea! Especially if it saves encountering these pinholes later on. Hopefully I got them all sufficiently covered with the putty.

    I'll rub it back this morning and keep an eye out for anything else I find, then aim for another round of primer as early as possible this morning so I can rub that back this afternoon. Hopefully the weather stays as predicted and i can hang it out in some sun for a bit as well.

    As I won't get the black done today, I'll have to give the other bits a quick rub over with a grey scotchbrite pad prior to the colour as they'll have been sitting for more than 24 hours by then.

    I had a good Google around at the 84/85 Kat colour schemes last night and I'm now pretty comfortable how I need to mask the tank and cowl off to get the silver and black in the right combination too.

    As tedious as this priming/sanding has been, I'm getting excited!

    Leave a comment:


  • nvr2old
    replied
    You're doing exactly what you need to be doing. Taking care of stuff that would ruin the final paint. Fiberglass is such a finicky medium. It can be really easy to work compared to steel, and then such a pain when it comes to pinholes and other irregularities. In an earlier post I mentioned spraying the first round of primer really thick and literally rubbing it into the pinholes with your fingers. That's what I learned from a very experienced painter years ago to combat the very problem you're facing. I thought he was crazy, until I tired it. Unfortunately I didn't mention it to you until you had already sprayed your first round. It's all a learning curve, and you've really come a long way with this bike, Pete. The blade putty should take care of it. I wouldn't even be afraid to use 180 on those spots so you can cut it quickly and cleanly followed by another 3-4 coats of primer sanded back with 400 then a final scuffing of 600. You also did the right thing with the tank. It's strange to sand back perfect paint, but it's absolutely what's needed. You'll be blown away at how nice the new base coats sits down on that finish. The other parts are right where they need to be and look real nice. Think back on all the work you've done to get that front cowl even to this stage. It was UGLY for a long time, and you've brought it back, man.

    Leave a comment:


  • pete
    replied
    Anyone sick of seeing bodywork in primer? I know I am

    I was hoping to get the black done tomorrow but not gonna happen, definitely need more primer on the front cowl.

    Basically everywhere I've broken through to bare fibreglass at some point has developed pin pricks, which I can only assume are little air pockets in the fibreglass due to me not sealing it after repairing it and sanding the original gelcoat back. I'm thinking they're too deep for the high build primer to fill but too fine for the body filler to get into properly. Lesson learnt for next time I guess.

    Anyway, I sanded it back with 400 grit today and broke out the blade putty to try to seal all those air pockets up. I did my best to force it into all the little holes so fingers crossed one more go with primer will be enough to sort it out.

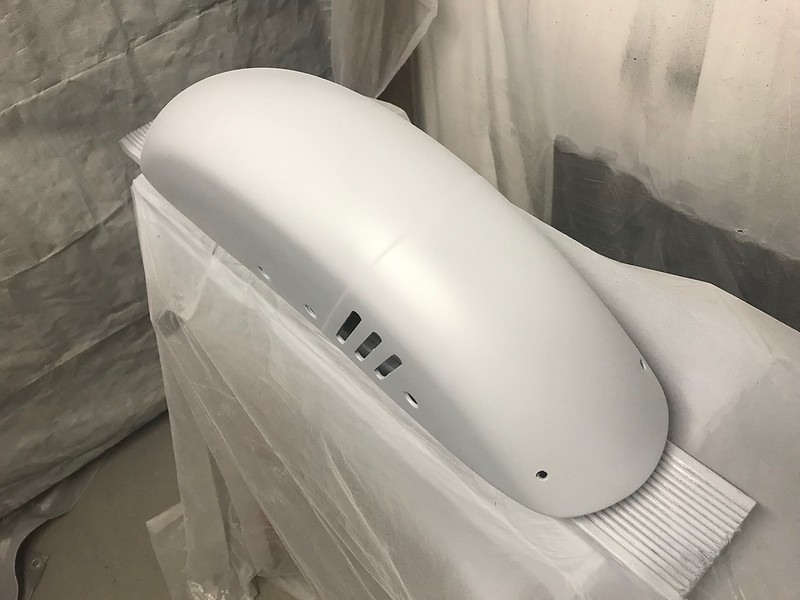
    The good news is the tail piece, front mudguard, and the one side cover I did with 600 grit are all ready for colour. The other side covers and choke lever will get sanded tomorrow, but no reason to think they will need more primer.

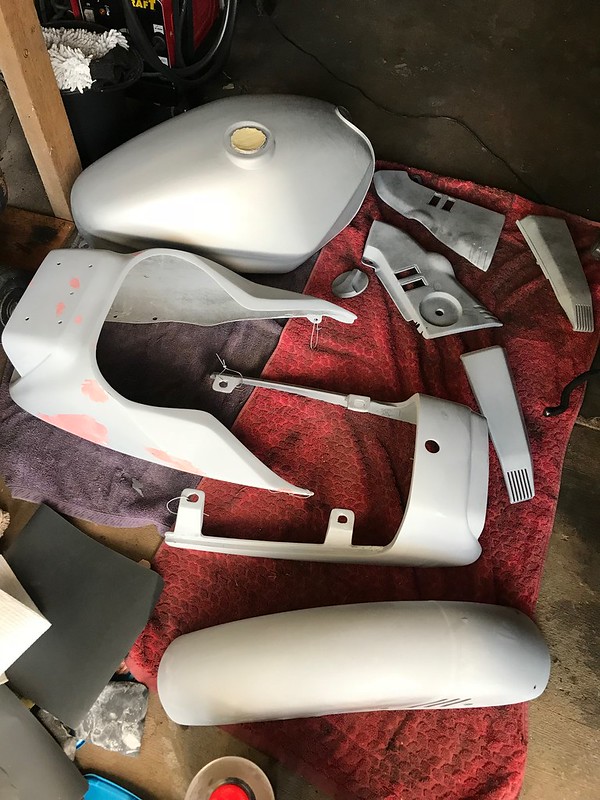
    I also did what felt like committing sacrilege and sanded back that shiny new tank and its perfect paint.

    Untitled by starpoint73, on Flickr

    Leave a comment:


  • pete
    replied
    Cheers Larry, it looks like it should be strong enough with the fibreglass reinforcing underneath.

    You're right, I'm sick of sanding But I don't want to take shortcuts on this so I really should've done the guide coat. I'll aim to get that done before I duck out to the gym this morning so it's ready to sand later today if I get some time.

    I'm hopeful I can get the black done tomorrow pending the results of this round of sanding.

    Leave a comment:


  • nvr2old
    replied
    That's funny to find out, Pete. I was thinking.."that crack is so perfectly round it almost looks like there might be a washer in there..but surely.." Nice job on the repair. Everything looks real good. I know you're probably sick of sanding by this time (who wouldn't be) but just spritz it with guide coat, though. You'll be surprised how much it reveals even at this stage especially the fairing. I've worked with guys that would use guide coat on the final clear coat and saw the results speaking for themselves. Give yerself a mighty pat on the back, Pete, it's gonna look nice.

    Leave a comment:


  • pete
    replied
    I quite surprised myself by getting up nice and early this morning. Early enough to not only finish sanding the front cowl and repair the cracked mounting hole, but also to get the next lot of primer done. I was even more surprised the weather was decent enough to paint!

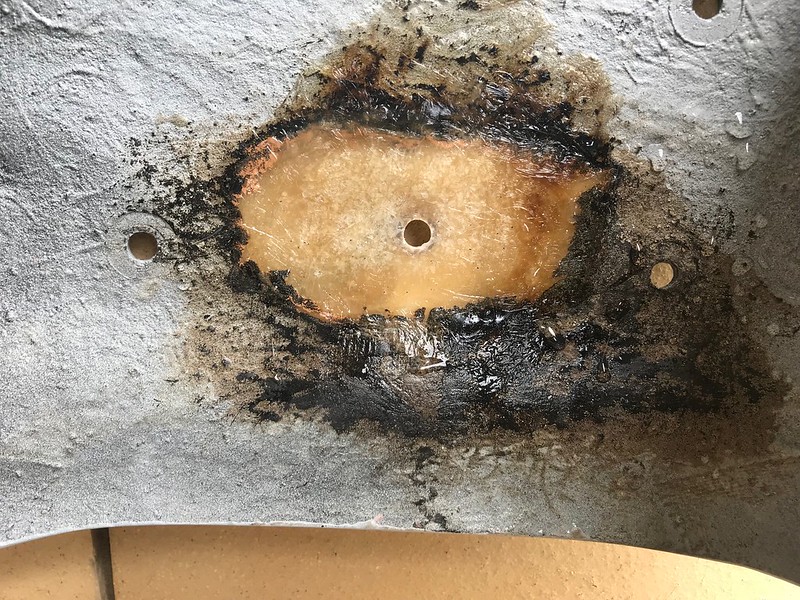
    I broke out the 80 grit wet and dry and took as much material from underneath the cracked area as I could to make sure the repair didn't lift the cowl up.

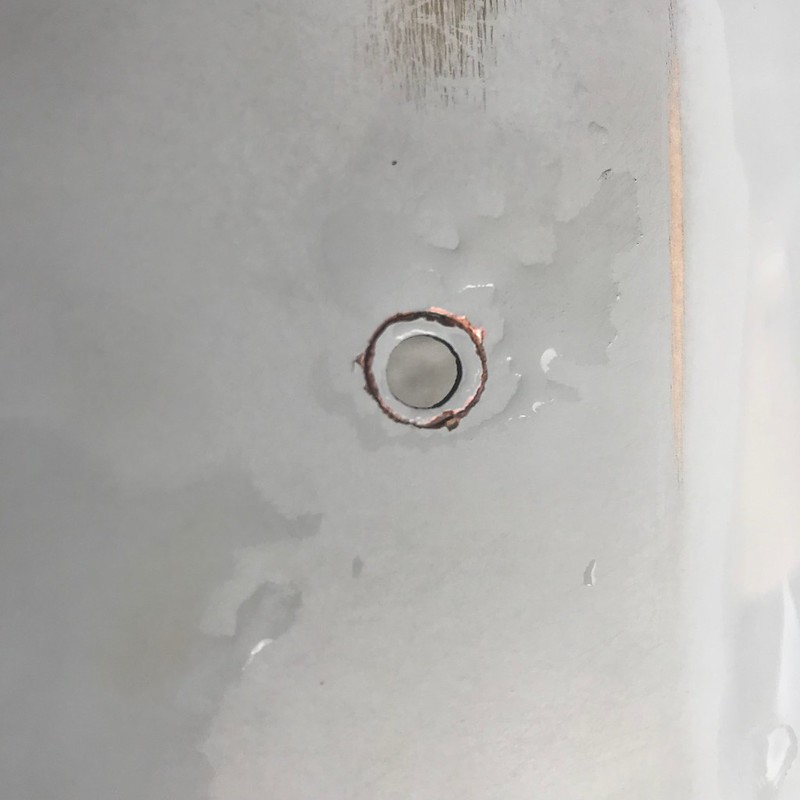
    Looks like I simply found someone else's dodgy repair. I think that area had been damaged previously as what was revealed appears to be a circular piece of body filler that was painted over with no reinforcing.

    It could actually be removed from the hole...

    Untitled by starpoint73, on Flickr

    Untitled by starpoint73, on Flickr

    Anyway, best I could think of was to put two layers of fibreglass underneath for a proper repair but keep that bit of body filler so I didn't lose the hole location.

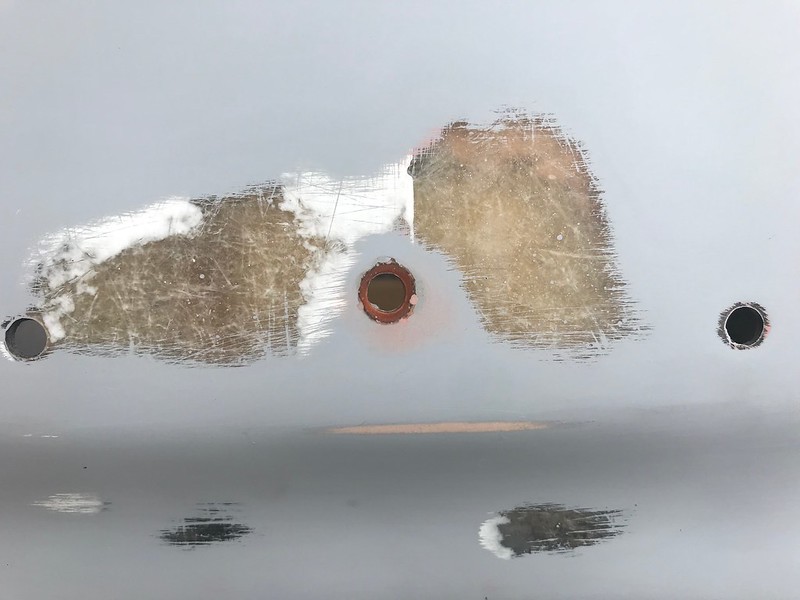
    I managed to get enough sun on it and went a bit heavy on the MEKP so the resin cured nice and quick so I was able to get the top sanded back nicely with a touch up of filler around the cracked area.

    Untitled by starpoint73, on Flickr

    Untitled by starpoint73, on Flickr

    While I didn't test mount it again I did put a fair amount of pressure from underneath and all that happened was the top flexed, which is what I was hoping for.

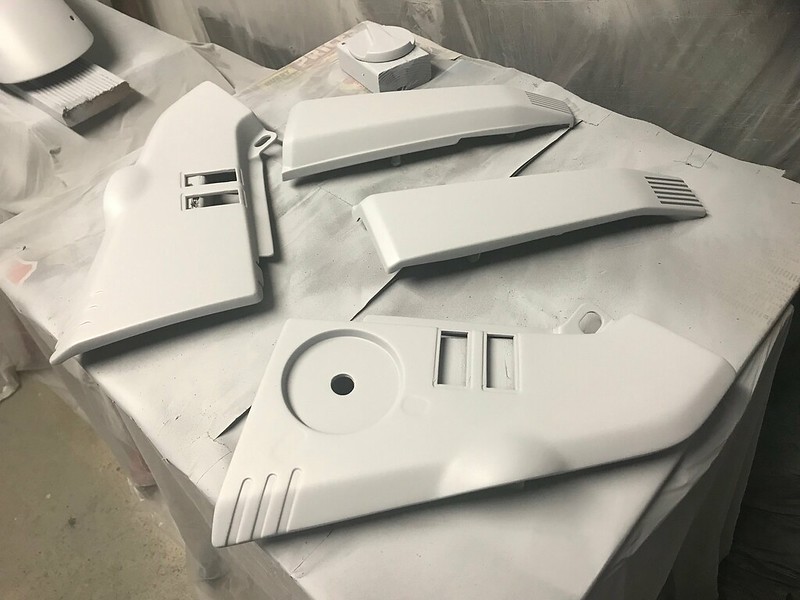
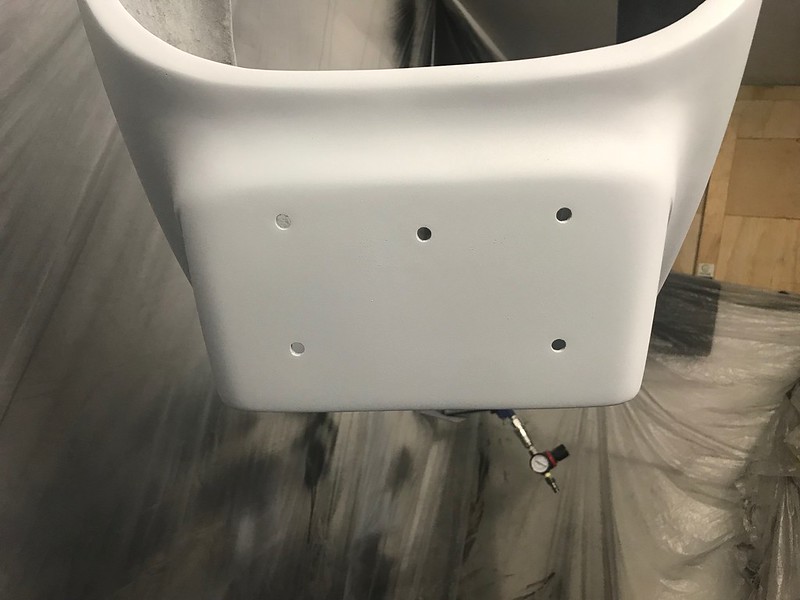
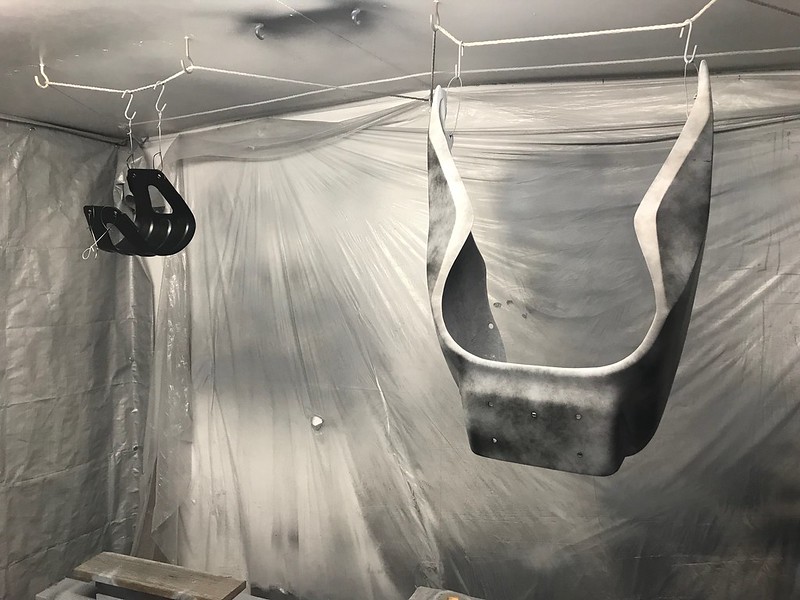
    Then I got done with hopefully the last round of primer, although the front cowl of course is the big question mark. Everything got three coats but I had enough to give the cowl a fourth which I hope helps.

    I decided to be brave/stupid/optimistic (take your pick) and not do a guide coat this time around. I'm pretty confident the front guard, tail piece, and side covers are good with just a rub back with 600, but the front cowl still seems to have a few pin pricks on the left side, just have to see how deep they are with the 400 first before deciding if it will need a final go with primer or not.

    Untitled by starpoint73, on Flickr

    Untitled by starpoint73, on Flickr

    Untitled by starpoint73, on Flickr
    Untitled by starpoint73, on Flickr
    Untitled by starpoint73, on Flickr

    Leave a comment:


  • pete
    replied
    Haha cheers Steve it sure does! Well, the garage is a lot tidier than it was that's for sure... it's getting easier to sort now I have a lot more room with one less car in there!

    And cheers Larry, I was hoping not to touch the top surface if I can avoid it but I'll see how it goes after I sand back underneath to the source of the troubles.

    As it is now the cowl actually does seem to sit a little high as there's more of a gap at the top of the headlight than the bottom, but after looking at as many Kats as possible it seems probably 50% of cowls aren't even around the headlight, so I didn't think it was an issue. That's the other bright side with this crack I guess... it's an opportunity to make it sit a little more level.

    After looking at what I had to do to the cowl to try to get those low spots gone yesterday, I wouldn't be surprised in the slightest if it does indeed need another round of primer, see how it goes. If I get cracking early enough this morning I still may get the next lot of primer done today, the weather is not what they were predicting (again).

    Leave a comment:


  • nvr2old
    replied
    Always a pain to have to go backwards, for sure. Better now then later, though as you mentioned. I think you have the right idea about the crack, Pete. Build it up a bit underneath to strengthen that area. If you have a Dremel tool, maybe just surgically V out the upper crack, chop up some fiberglass mat into a fine little pile in a mixing cup, add the catalyst/hardener directly to it, stir it together and force as little as necessary into the groove to fill it up. Sand, a bit of plastic filler if needed and re-prime. From the looks of the fairing it's gonna need another round, too..so no biggee, sometimes that's just the way it goes. Just keep telling yourself how nice the final results from all your work will be.

    Leave a comment:


  • steve murdoch
    replied
    A mock-up always lifts the spirits.
    btw, your garage isn't even close to being messy. haha.

    Leave a comment:


  • pete
    replied
    Man I'm so over sanding... found lots more pinpricks and low spots again today and had to resort to body filler in places as I was going through the primer again.

    I've still got a few areas on the front cowl to finish sanding in the morning but fingers crossed the next lot of primer will end up all set for the colour coats.

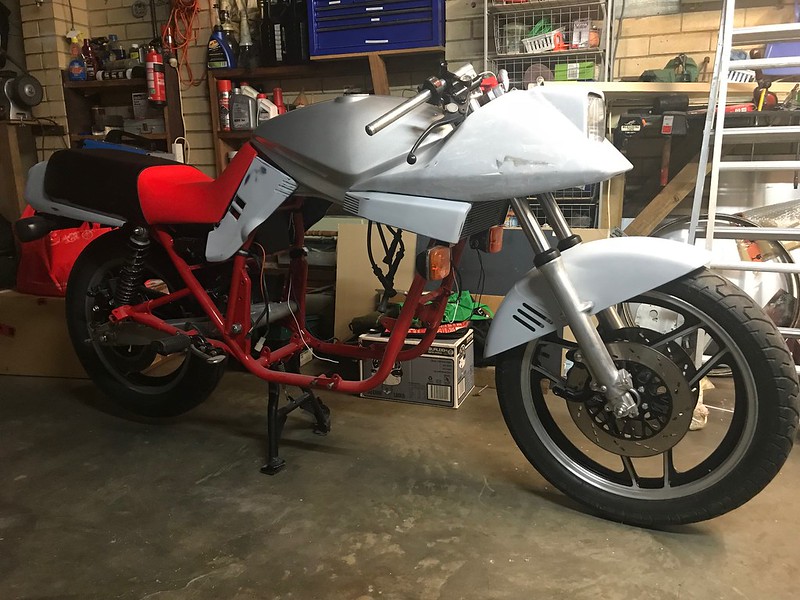
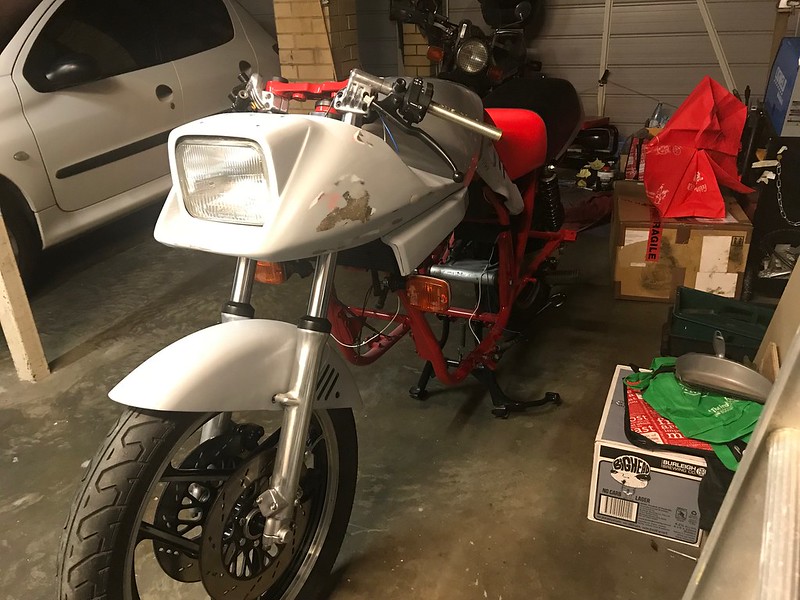
    I decided to give myself a little distraction tonight and throw all the bodywork on the Kat with the new tank and have a double check for fitment. Nothing bolted or screwed so they're not all sitting quite right but looks good to me. Excuse the mess, still a bit to sort out in the garage yet.

    Untitled by starpoint73, on Flickr

    Untitled by starpoint73, on Flickr
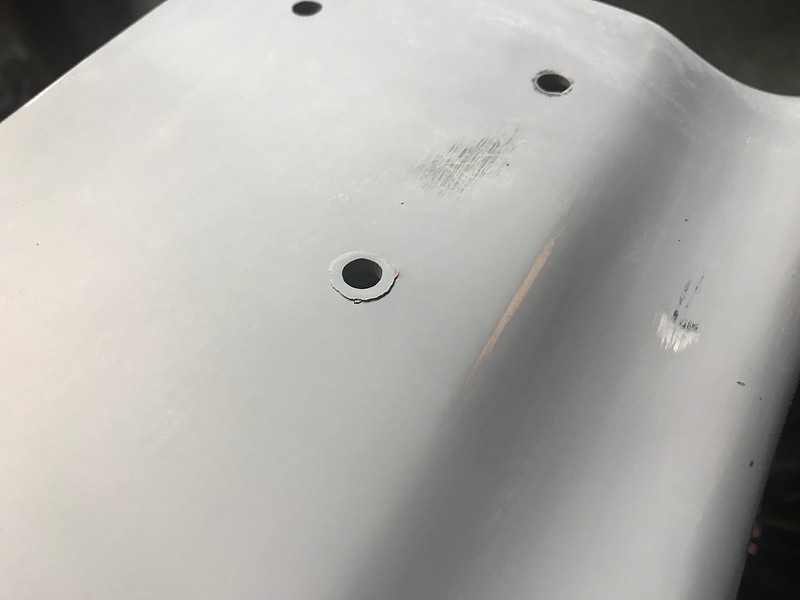
    On the downside, I did discover an issue where the fibreglass around the top mounting hole for the front cowl has cracked. Not sure how I didn't find this earlier, very frustrating!

    Untitled by starpoint73, on Flickr

    The only thing I can think of doing is sand it right back underneath to bare fiberglass so I can add a layer of matting to it. I can't build it up any higher as that will lift the front of the cowl up too much and interfere with the headlight.

    Of course that will put paid to any chance of getting the next round of primer on tomorrow, although the forecast isn't all that brilliant for painting anyway.

    However, I'd rather find that now so I can fix it before the colour goes on... I'd be a bit peeved if I saw that crack the gloss black and clear when I mounted it!

    Leave a comment:

Working...
X