Announcement
Collapse
No announcement yet.
1981 gs750 (gs750e) Retro Racer project
Collapse
X
-
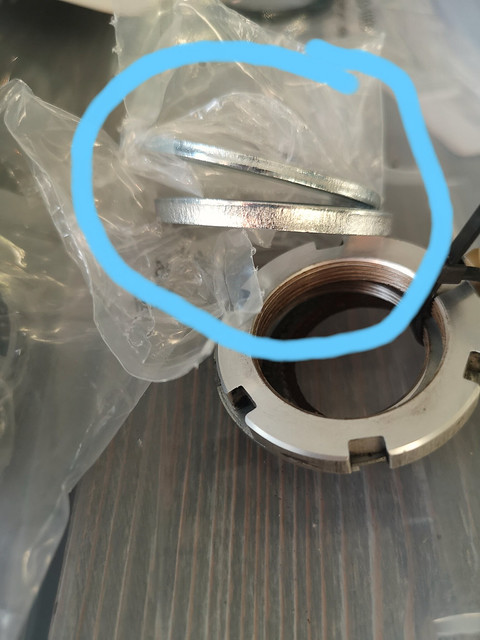
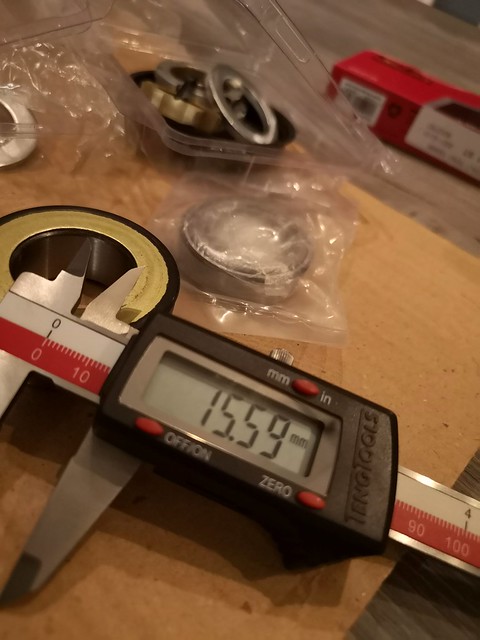
I removed the old bearings from the stem, and was about to press the new lower bearing on. The bearings are conversion bearings from All Balls. In the package was these two spacers. They are about the same with as the stem, and I'm not sure where they go.. Anyone who knows? There a two spacers in the pack with the lower bearing (tapered bearing) and two in the pack with the upper bearing.
The spacers look like this:
Comment
-
Well, I'replying to my own postOriginally posted by LarsKroghStea View PostI removed the old bearings from the stem, and was about to press the new lower bearing on. The bearings are conversion bearings from All Balls. In the package was these two spacers. They are about the same with as the stem, and I'm not sure where they go.. Anyone who knows? There a two spacers in the pack with the lower bearing (tapered bearing) and two in the pack with the upper bearing.
The spacers look like this:

 I found this in an old post from 2006, so it's strange that my kit didn't include instructions. Maybe they're online somewhere.
"This kit is supplied with (2) spacers that are used by various applications
to make up for thickness differences between the taper bearings and the ball
stacks.
We have put instructions for the use of these spacers in kits since last
year, but if you have an earlier kit there may not be any instructions.
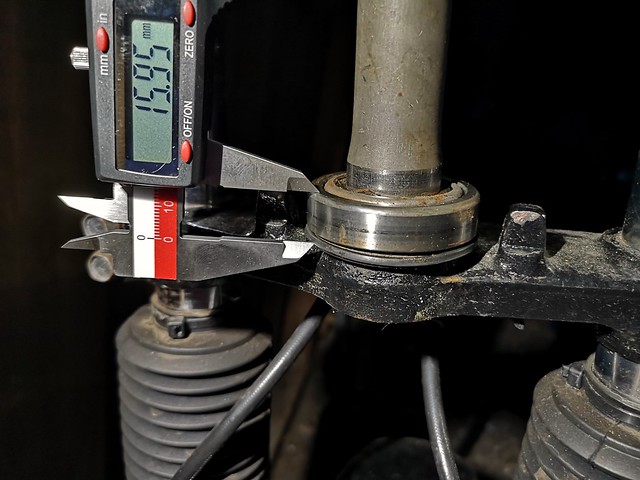
To determine which, if any washer is required measure the stack height of
the ball bearing assemblies (place a few ball between the races of both the
top and bottom bearing sets) and compare this measurement to the stack
height of both taper bearings. Select a washer to put the difference in
stack height to 1 mm. If the stack height is already within 1 mm then do
not use any washer.
The washer will be placed onto the stem first (before the seal and taper
bearing)
We do have some swing arm kits for street applications, but not a complete
line. If you can supply us with the dimension of the components we can
typically supply all or some of the parts.
Regards
Kevin"
I'll put the stem in the freezer until I get to measure the old bearings
Comment
-
Forum GuruPast Site Supporter
Super Site Supporter- Jun 2018
- 5637
- Mifflinburg, PA / Land of Tar & Chip
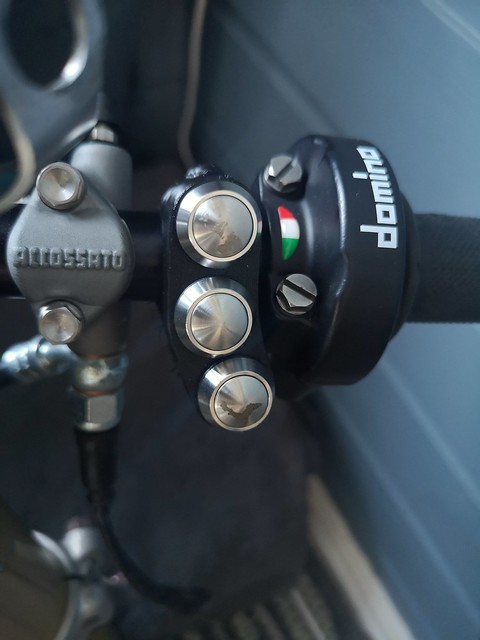
That is some slick fab work. Will there be labels? Or will you just have to remember what button does what on the left and right hand controls?Rich
1982 GS 750TZ
2015 Triumph Tiger 1200
BikeCliff's / Charging System Sorted / Posting Pics
Destroy-Rebuild 750T/ Destroy-Rebuild part deux
Comment
-
Nice work! Btw, where did you get your clutch lever/perch? I'm currently looking to replace the OEM ones on a few on a bikes, to get more adjustment range.#1: 1979 GS 550 EC "Red" – Very first Bike / Overhaul thread New here? ☛ Read the Top 10 Newbie mistakes thread
#2: 1978 GS 550 EC "Blue" – Can't make it a donor / "Rebuild" thread Manuals (and much more): See Cliff's homepage here
#3: 2014 Moto Guzzi V7 II Racer – One needs a runner while wrenching
#4: 1980 Moto Guzzi V65C – Something to chill
Comment
-
ThanksOriginally posted by Rich82GS750TZ View PostThat is some slick fab work. Will there be labels? Or will you just have to remember what button does what on the left and right hand controls? I'll use these printed controls for a couple of months, until the cnc-router is finished. I think that's a cost effective way to try it out, and make changes if someting doesn't work as intended. I have some aluminum pieces from an earlier project, and I'll mill aluminum versions to replace the plastic controls. I bought an anodizing kit some years ago that I haven't tested. I have a buddy with a laser engraver, and I want to try to engrave labels on the anodized aluminum with that. The engraved text turns white as the laser oxidizes the anodizing (or something like that..).
I'll embed a video you can see what I mean:
Knowing myself, this won't be happening soon, so I guess I'll borrow the wives labelmaker or something like that
Comment
-
Thanks! These are "Accossato Folding Clutch Lever Assembly Part Number : 1400N" bought from "Bikers Discount Store" in the UK. These are "Non-RST/NRST" witch mean they don't have the "lightening eyelet" - a hole near the hinge (the hinge keeps them from breaking if you scrape the bike) that makes it lighter. They are quite pricey but high quality. I don't think I would spend that much on a clutch lever if i didn't care about matching the looks of the brake lever.Originally posted by roeme View PostNice work! Btw, where did you get your clutch lever/perch? I'm currently looking to replace the OEM ones on a few on a bikes, to get more adjustment range.
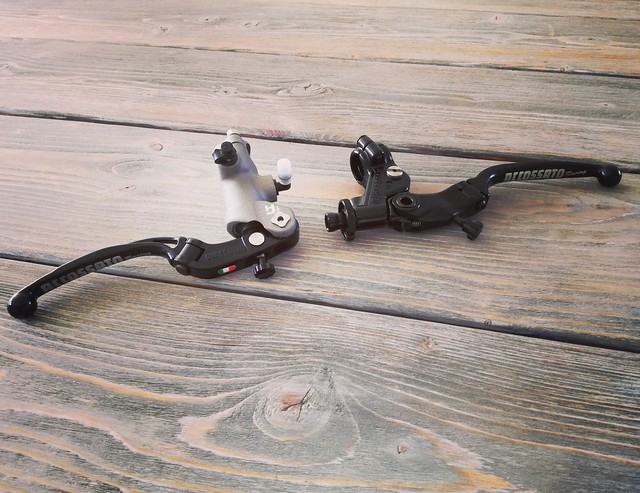
I paid 115£ for the clutch-perch/lever assembly. Accossato licence their brake masters from Brembo and are similar in quality to Brembos Racing Lineup (both suppliers have a cnc-version that the teams use and that version is stupidly expensive). The reason I didn't buy Brembo is that they only have hydraulic clutchlvers in their racing lineup.
Hope this was some useful info
Comment
-
Forum LongTimerGSResource Superstar
Past Site Supporter- Oct 2006
- 13999
- London, UK to Redondo Beach, California
Looking good! 1980 GS1000G - Sold
1978 GS1000E - Finished!
1980 GS550E - Fixed & given to a friend
1983 GS750ES Special - Sold
2009 KLR 650 - Sold - gone to TX!
1982 GS1100G - Rebuilt and finished. - Sold
2009 TE610 - Dual Sporting around dreaming of Dakar..... - FOR SALE!
www.parasiticsanalytics.com
TWINPOT BRAKE UPGRADE LINKY: http://www.thegsresources.com/_forum...e-on-78-Skunk/
Comment
-
Went on to remove the old fork and bearings today. PO had replaced the old bearings with tapered bearings and the lower bearing (the part that sits in the frame) was a real headscratcher.. the angle is such that a screwdriver will not catch the edge. I tried to make an ad-hoc tool:

Didn't work so well..:

Then I tried this:
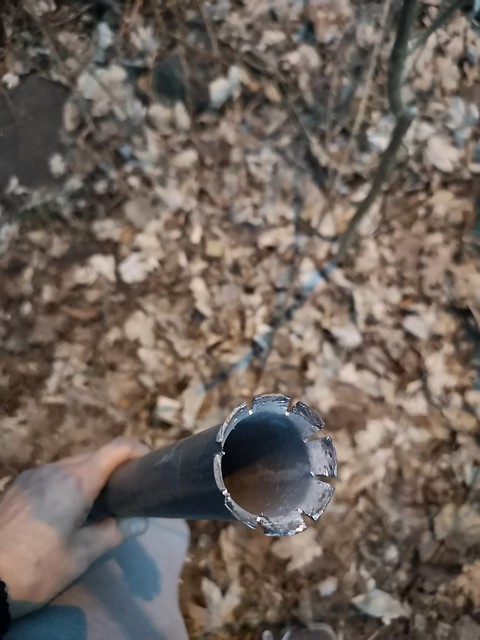
Small cut with a hacksaw.
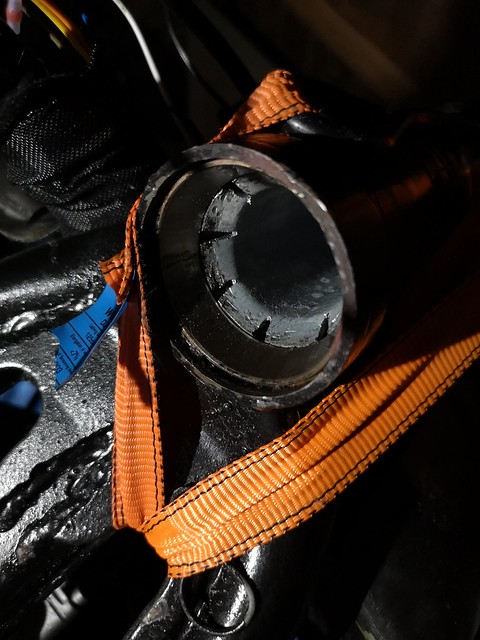
Pushed the tube up through the frame, took a punch and hammer, and bent all the tabs outwards. Went full sircle two/three times with light force. Gave the tube a few blows with a hammer and the bearing dropped to the floor. No scratches in the frame. Much easier I think than heating the frame with a torch (and burning the paint), welding the bearing (shrinking by heat), grinding it with a Dremel or other tips I found on the web.
Comment
-
I think those of you that have followed my build noticed early on that I didn't have much mechanical experience. It's mostly trial and error, and lots of research in advance. I keep at it because I really enjoy the process. I think I'm getting better at it and when enough time and effort is applied, nice things appear
Today I got a reminder that I'm still a newbie at many things. I read online that if you put the stem in the freezer, the bearing should "slide on without much effort". Can't say it did. I couldn't press it on by hand anyway. Adding to that, after a couple of minutes in room temperature frost appeared on the stem because of humid air. I don't want to trap all that moisture behind the bearing, so I'll wait for it to dry. Lesson learned.. Maybe this works for stem/bearing combos with less size difference. I have access to a press at my dads house, but it's an hour away. I want to see the fork on today, so I think I'll just use the old bearing and a tube and hammer it down. Here's picture of the frosted stem, straight from 20 celcius below zero (-4F)

Comment
-
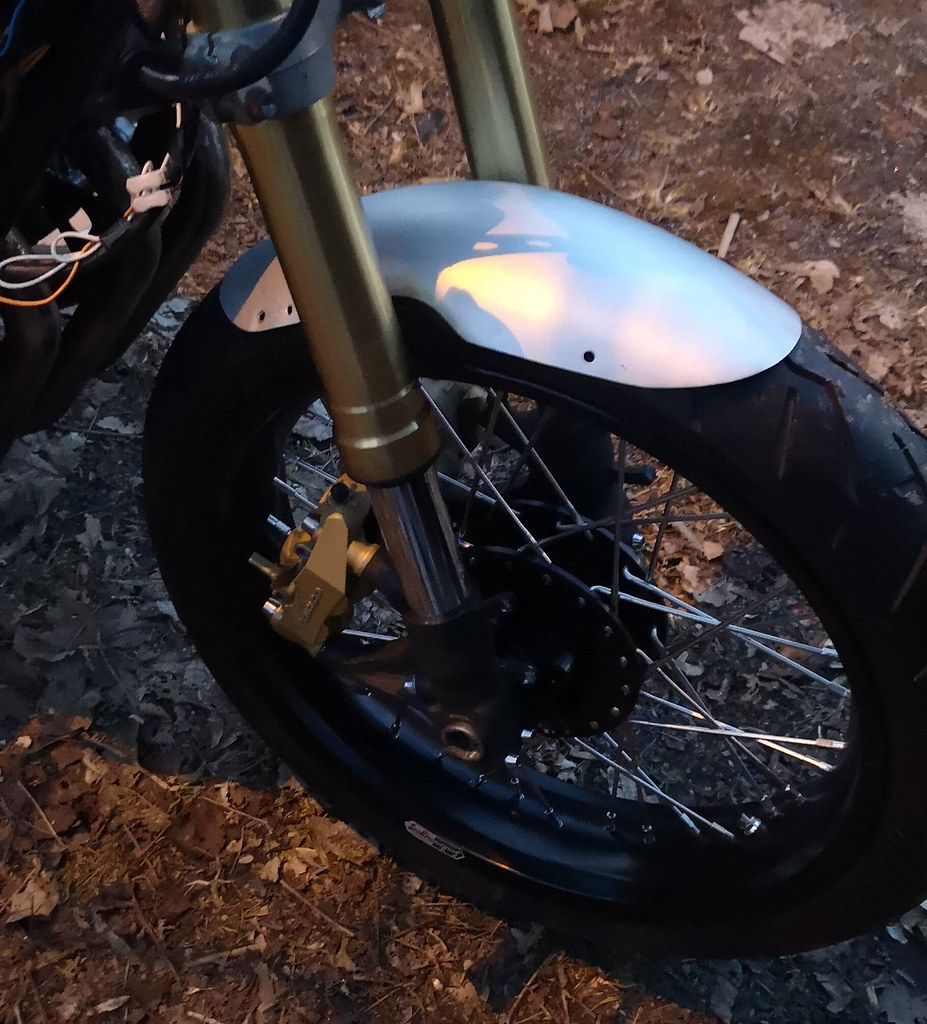
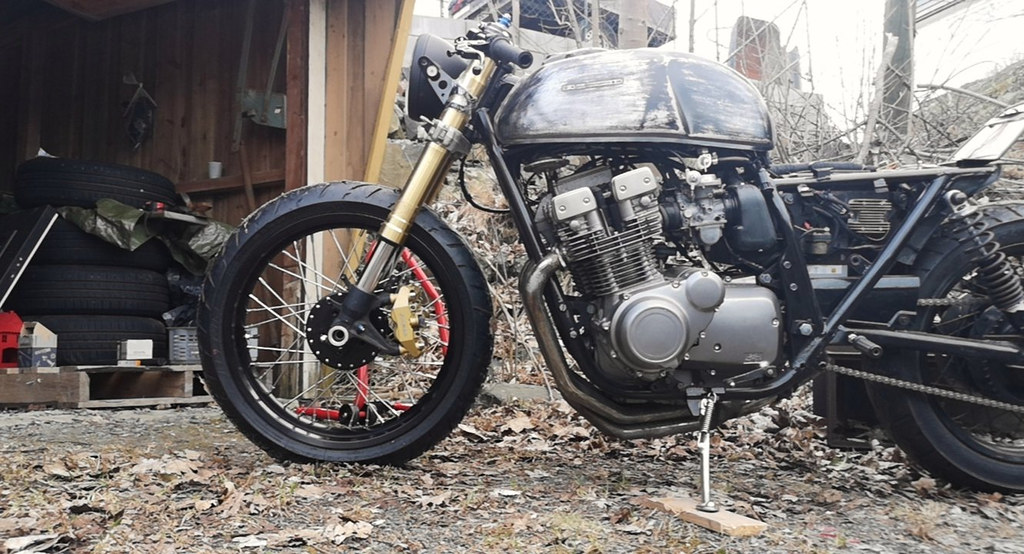
Finally!I think I'm happy with the looks. I've been so afraid that something would be wrong with the front setup I've chosen. Either that the wheel would be too big, there would be too little ground clearance or that the wheel would be too close to the exhaust. The front is still incomplete, as it's missing fender, the headlight sits about 6-7cm too high, the brake rotors and brake lines are not there and so on. But I think the geometry is fine
The gap between tire and exhaust is about 7cm. I think max travel for these forks are 12cm, but that's under really hard load. I'll drop the forks 12cm and measure the clearances.
Also, I always pictured the fork legs painted black, but now I think I might keep them anodized gold? What do you guys think?


I'll take some better pictures with the seat on soon
Comment
-
Moved the headlight lower and liked the look. Also did a quick photoshop of the fork when compressed (like the Photoshop pro I am.. ). It seems the fender will touch the lower clamp just before the tyre hits the exhaust. I need to set compression and preload so this doesn't happen, but I don't think it'll be a problem. I'll also hook up a GoPro for the first few rides to see how the fork behaves.

Comment
.png)



Comment