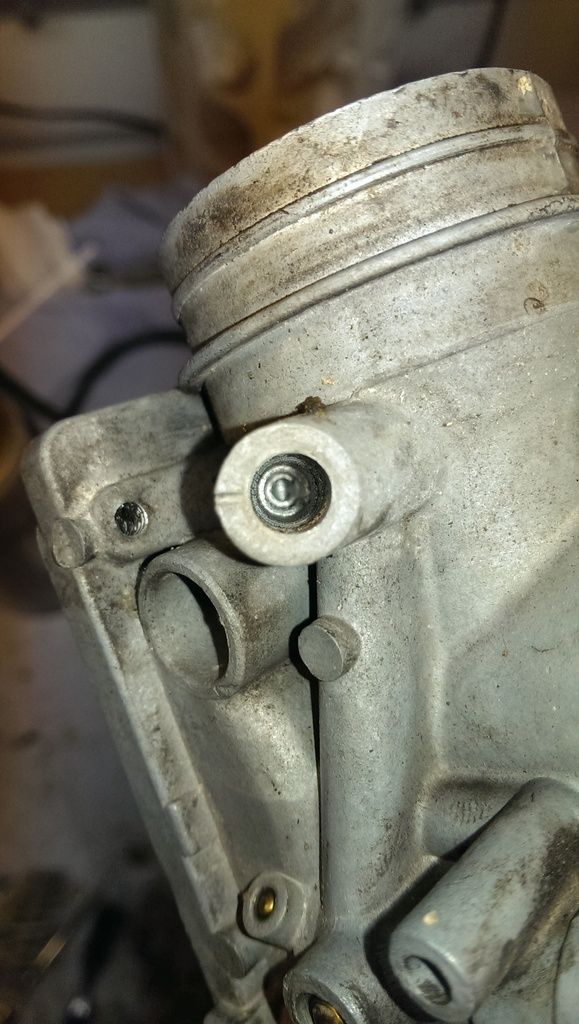
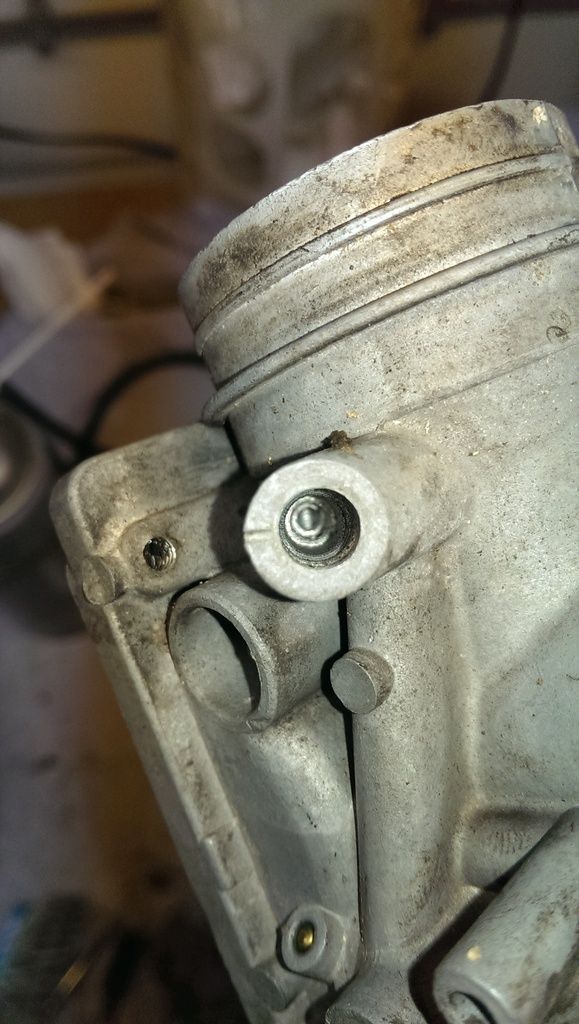
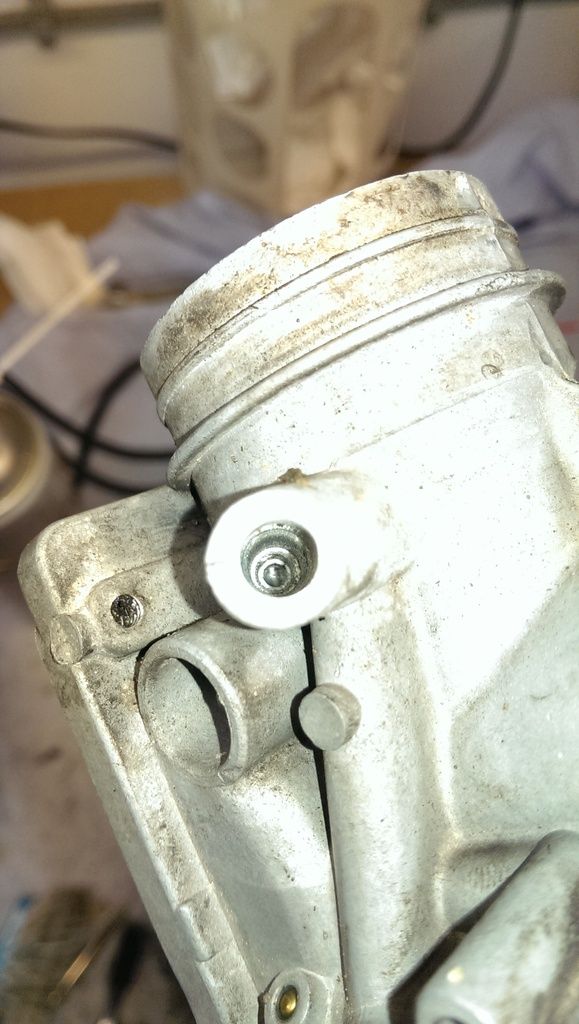
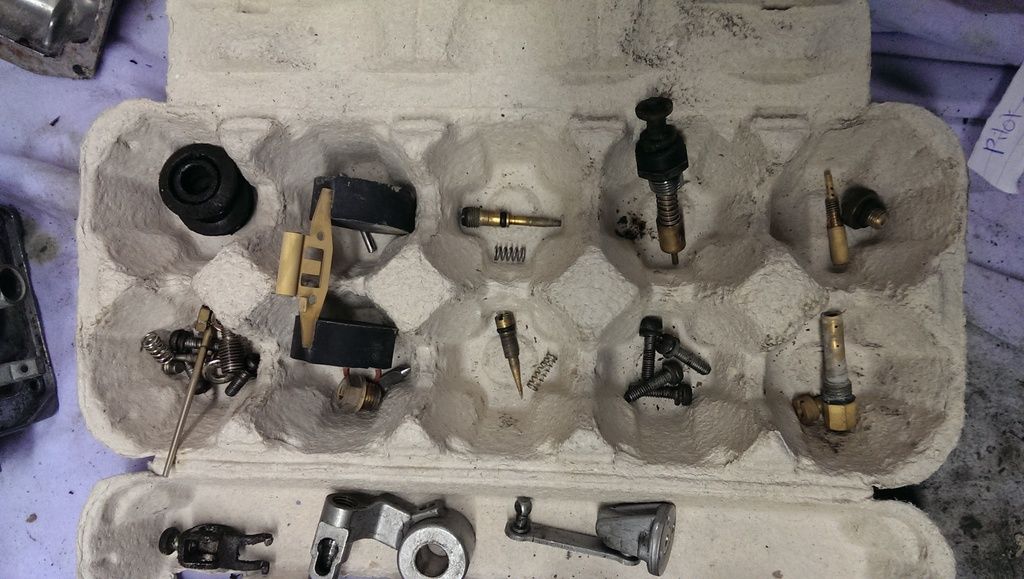
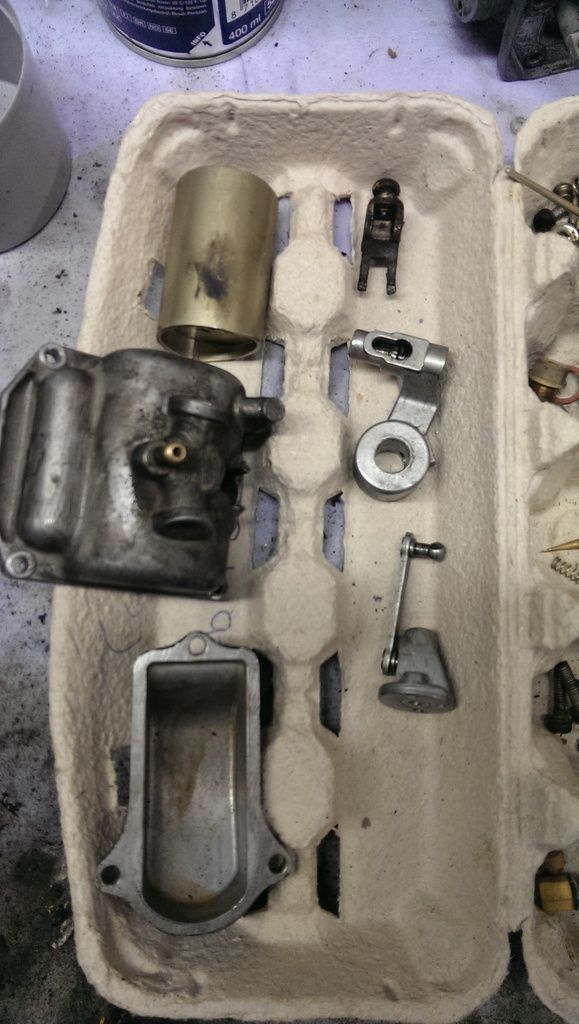
I also made a before-dip photo of the small parts. After photo will come. So first, before lipton ice ^^:
Announcement
Collapse
No announcement yet.
GS750 back to nice.
Collapse
X
-
Drummert
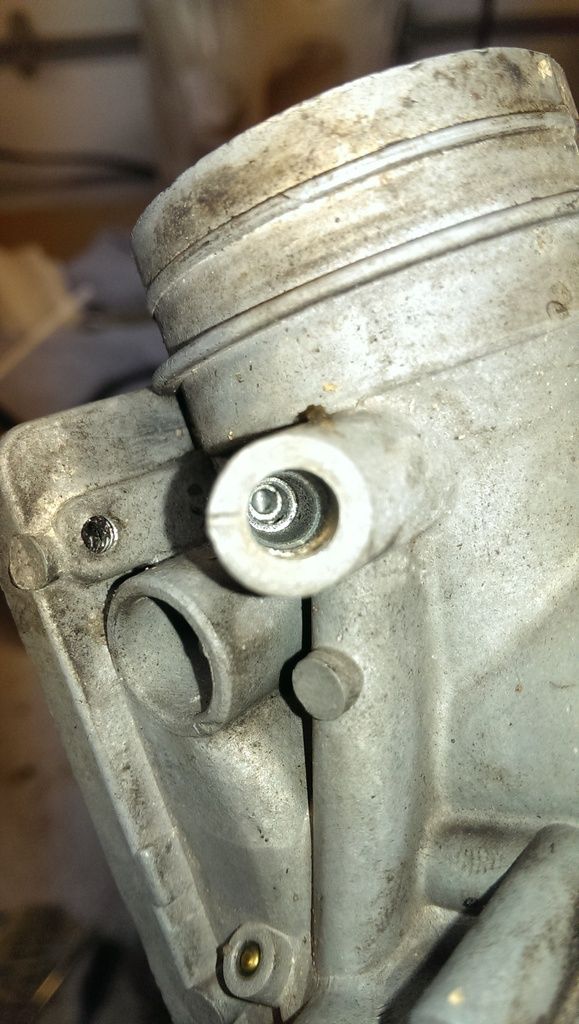
So, I took the last one apart today, and the spring under the pilot air screw didnt come out (or isn't there). I made these pictures, what do you guys think: spring still in there, but all the way in the back or no spring?
I also made a before-dip photo of the small parts. After photo will come. So first, before lipton ice ^^:
-
Drummert
Comment
-
Drummert
Ok. Time for a story now. I put the carbs back to the plate. Screwed them on there and used some locktite. Then I found out I forgot a part. Quite the important part as well: the part were the throttle cable attaches on to. And there was no possible way to squirm it past the carbs. So, I needed to unscrew the carbs again. Here I learned a valuable life lessson: Dont Underestimate The Power Of Locktite...
So the back of the bottle said it was supposed to dry in about 15 minutes. It actually did the job in about a minute and I had myself a problem. Some screws came out. One screw absolutely didn't on carb three (exactly the one I needed to remove to put the throttle attachment in there).
So, I tried heating it up a bit with a soldering iron. No go. Hairdryer? No go. Heat gun? No go. At this point, the philips head was gone and left a perfectly round hole on top. Lesson two learned: Buy an impact driver before you need an impact driver!
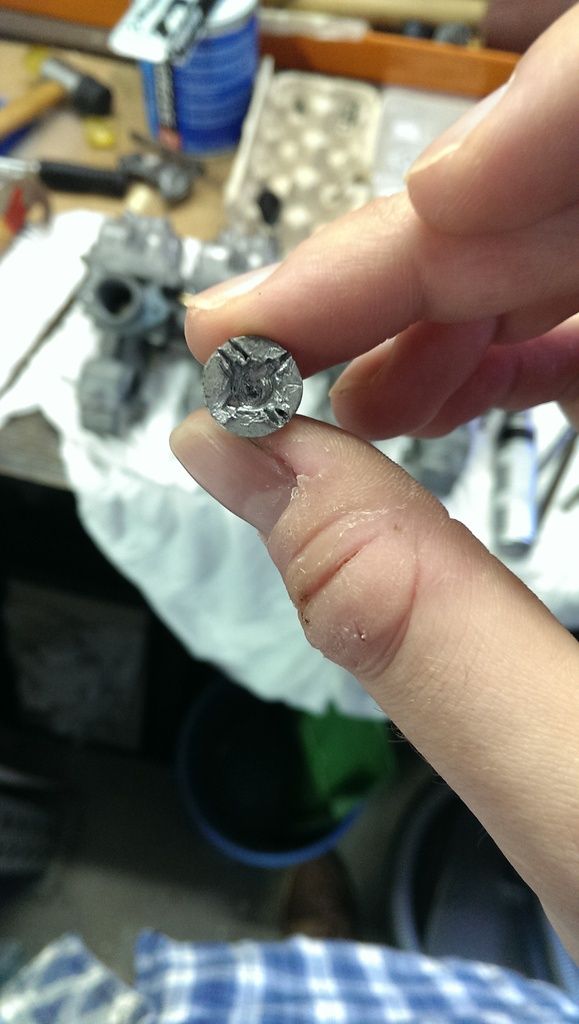
Next day I came back with the new impact driver and a dremel. I made a flat driver slot with the engraving tool, careful not to get any metal parts in the carb and got the impact driver in. Two hits was all it took:
Thats what I was left with.
I decided to buy 8 new screws like that and just keep the old one as spares.
After this, I put it back together the right way. Then, whilst tightening the bolt on carb one which attaches the throttle valve pivot to the throttle shaft, I found that bolt kept on turning. Apparently, my torque wrench didn't click and I broke of the bolt, leaving part of the bolt in the throttle shaft (ofcourse...).
Again, time for the dremel: I put the carbs in a position, so the metal filings wouldnt go into the carbs, got the engraving tool and carefully took of the top of the bolt still left in the shaft, without trying to damage the pivot or shaft ofcourse. About an hour later I finally got the shaft out of the carbs and was able to try and get the rest of the bolt out. I had to drill right through it and take it out afterwards with a lefthanded drill. After taking the bolt out, I saw that I (fortunately) didn't go through the side of the bolt and didn't damage the shaft. Lucky me.
So I changed my order for the other screws and put in an extra bolt.
After this, I checked the torque wrench, which apparently wasn't yet greased up enough for the mechanism to work. After this it worked as it's supposed to and the other bolts weren't a problem. Lesson three learned: check your tools.
I expect the last of the gaskets to arrive next week. The airbox is almost airtight again and the carbs only need a few screws to arrive. Hopefully the bike will be running again in two weeks.
Which would be a great thing. I just crashed my newer bike last Friday. Driver in front of me hit the brakes mid-turn on a crossing with no reason. Had to hit my brakes as well and tipped over. The driver in front of me just rode on. Hopefully the insurance company will cover the repair, but i'm afraid they won't in this case. The others at the crossing weren't able to see the license plate.Last edited by Guest; 02-21-2016, 09:25 AM.
Comment
-
Drummert
Quick question guys:
I took of the RH cover to clean the oil inspector and get a new gasket in there. The screws were a mess, so I replaced them with zinc plated steel allen heads. Some research on the interwebs told me to use zinc galvanised screws, but now I see most of the guys here are just using stainless steel, which, I would think, causes a reaction between the aluminum and the screw and would mean corrossion.
Whats best to use in your personal experiences?
Comment
-
gearhead13
I never had a problem with stainless allen heads on engine covers, you could use a bit of neverseize if you are worried. Stainless bolts for the header are more of an issue I ALWAYS use neverseize on those, stainless or not.
Comment
-
Drummert
Allright. Good thing: The bike is back together and running again. But:
Apparently there's something wrong with right exhaust. I started the bike and noticed there was now smoke coming from the 4th cylinder. I first thought it was a gasket not sealing well, but I saw the smoke coming from the exhaust clamp on the cylinder. So I hit the killswitch and started investigating: a quick, light pull on the exhaust showed me the exhaust can move away from the cylinder. I don't see it coming out of the clamp, but it moves. The other obviously don't.
I already read about the bolts becoming stuck over the years somewhere around here, so I decided to first take my chances with some evaporust. I just soaked some paper towels in it and put them on there, tied with some tie-wrap. I already know the bolts are very rusted, the wrench didn't catch on them.
By the way, I never saw I had this problem before I cleaned the carbs and airbox and put on new intake boots/airbox boots.
So, until I'm actually able to look at the connection myself, question: What might be my problem? Is it the gasket in there? Or might the exhaust have rusted away in there? Any thoughts on this?
Comment
-
I would start by replacing the exhaust gaskets inside the ports as well as the gaskets at the pipe joints;Cowboy Up or Quit. - Run Free Lou and Rest in Peace
1981 GS550T - My First
1981 GS550L - My Eldest Daughter's - Now Sold
2007 GSF1250SA Bandit - My touring bike
Sit tall in the saddle Hold your head up high
Keep your eyes fixed where the trail meets the sky and live like you ain't afraid to die
and don't be scared, just enjoy your ride - Chris Ledoux, "The Ride"
Comment
-
Drummert
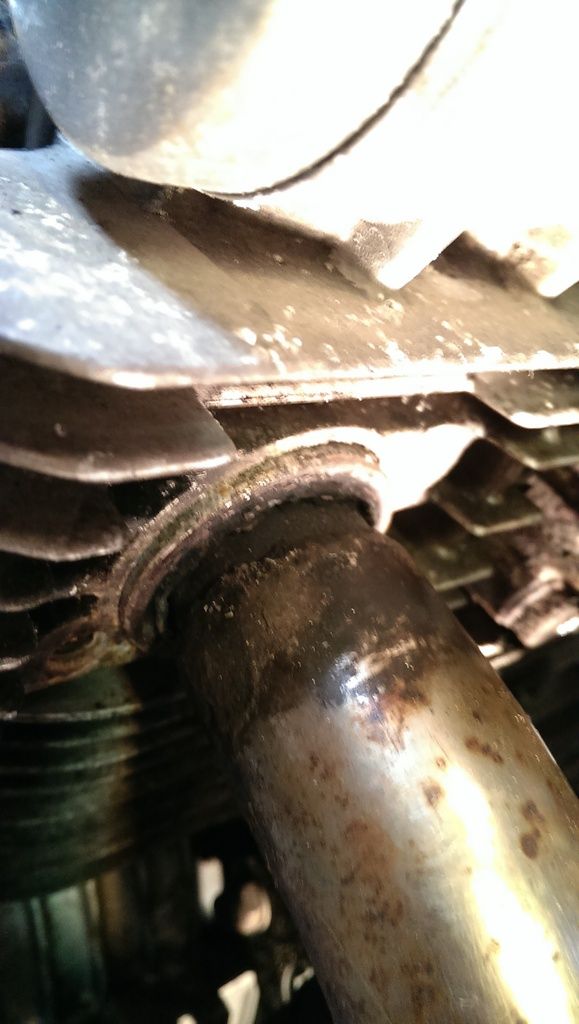
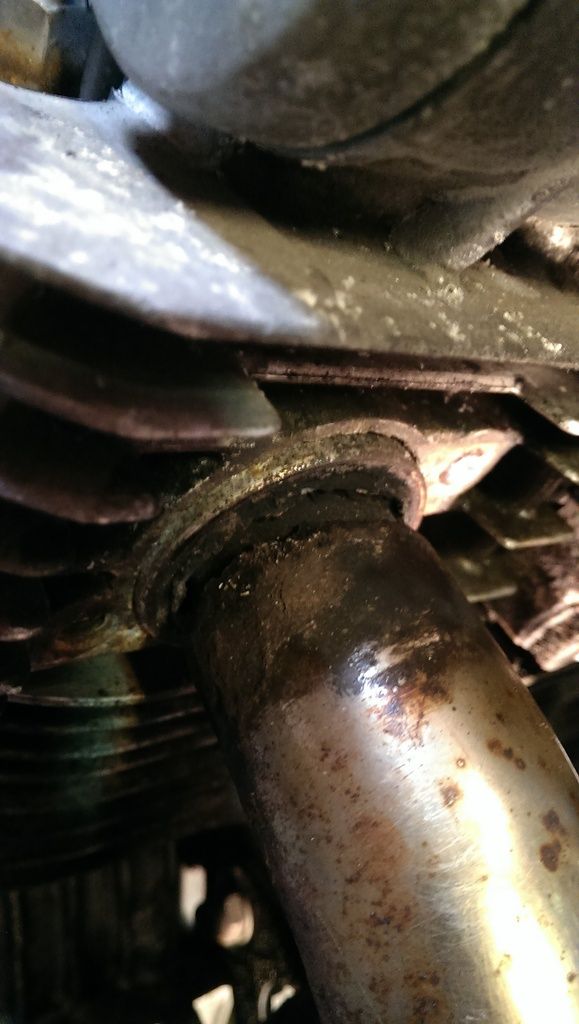
So I tried to remove the exhaust today. First bolt went out, unfortunately the other bolt didn't, so that one's still stuck in there. I was able to get the clamp out of the way though, so this is what I saw:
That looks very much like a exhaust which has rusted all the way through... Not what I was hoping for. So I started trying to get the exhaust of the bike, but I can't as of yet get it out of the pipe under the bike.
So, new list:
- Get the exhaust of
- Get the washer and last bit of pipe out of the cylinder
- Get the bolt out
Anything to look out for/be careful with? I already thought of carefully drilling the bolt with a small drill, then get a lefthanded drill in there so it will (hopefully) turn itself outward.
Apparently what they say is true: fix one thing, find something else to fix on the go...
Comment
-
Originally posted by Drummert View PostQuick question guys:
I took of the RH cover to clean the oil inspector and get a new gasket in there. The screws were a mess, so I replaced them with zinc plated steel allen heads. Some research on the interwebs told me to use zinc galvanised screws, but now I see most of the guys here are just using stainless steel, which, I would think, causes a reaction between the aluminum and the screw and would mean corrossion.
Whats best to use in your personal experiences?
About those discs between slide and throttle linkage...my carbs are "missing" them as well. I wonder if they were added in later years.Jordan
1977 Suzuki GS750 (My first bike)
2000 Kawasaki ZRX1100
1973 BMW R75/5
Comment
-
Drummert
Originally posted by hannibal View PostRookie question: what's behind that right cover? Would I need to drain the oil before removing the cover to clean the oil window? You mention a gasket which makes me think I would have to drain it. I have my stainless bolts ready to go.
About those discs between slide and throttle linkage...my carbs are "missing" them as well. I wonder if they were added in later years.
I don't know how most gaskets are when the cover comes off, but mine was completely gone. So I would suggest you get a new gasket as well. They aren't that expensive.
When cleaning the oil inspector, I used a small toothbrush and some soap. Let it dry reaaally well.
Comment
-
Drummert
And yeah, I think the plates in the linkages are a later addition. I found some schematics which did not show them either.
Comment
-
Drummert
Yeah, the spring was missing, so I put a replacement in.
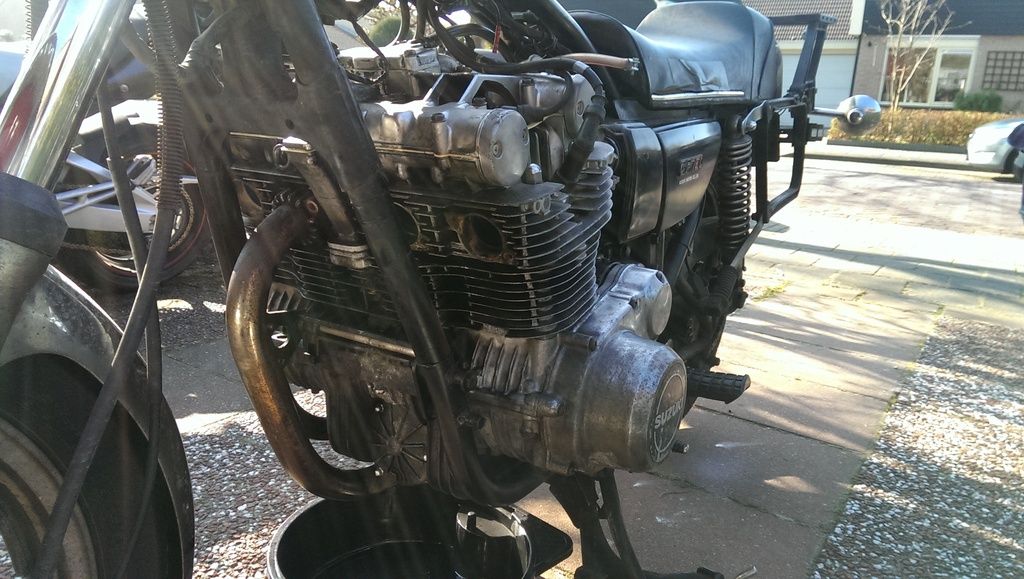
Did some work on the bike today. Was able to get the exhausts off with the handy use of a creme-brulee burner to heat up the bolts. None of the other bolts snapped, so I'll only have to deal with the one in the 4th cylinder head. Luckily a neighbour walked past today and told me he was able to weld a nut on it and get the bolt out in that way, so no drilling out. Phew.
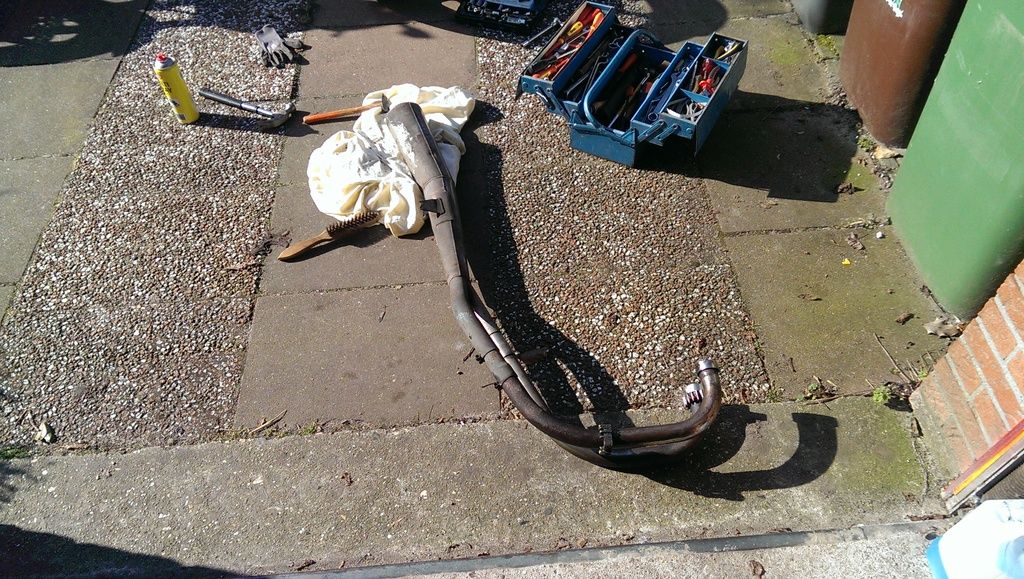
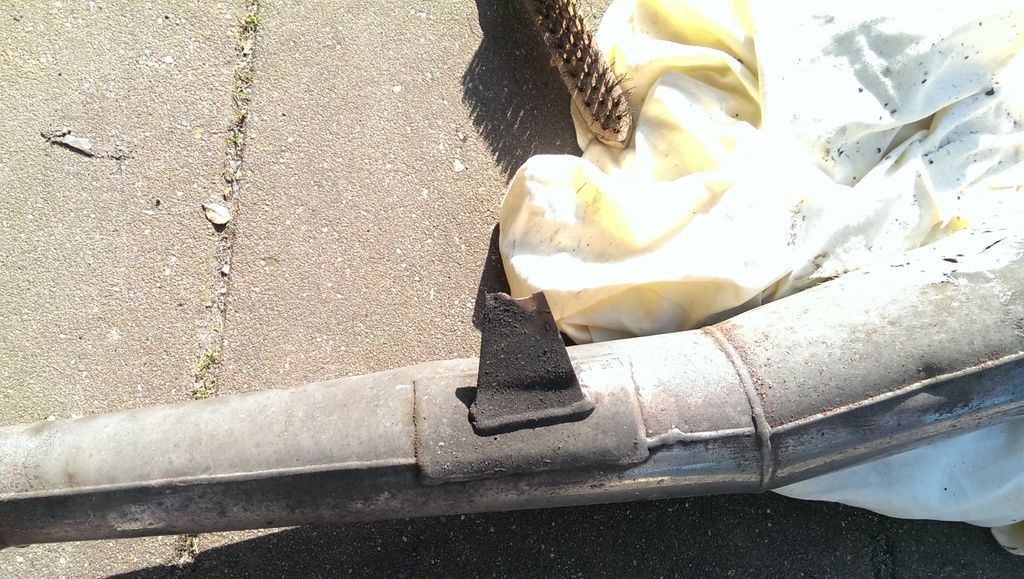
A funny thing happened: I removed the last bolt on the left exhaust downpipe and, as a joke, gave it a little tug in a way of saying: and now for the back end to come loose... the bike on the other hand was a step ahead of me and the complete left exhaust dropped to the floor. Apparently the bracket on the end of the exhaust had rusted through as well... And to think I drove around with that.
So I decided to scratch the idea of refurbishing my exhausts. It's gonna be a new system for me. The downpipes I have are in a miserable state and I expect them to rust through soon, the mufflers are dented and the left one is like a swiss cheese. I found a shop near where I live that specializes in making exhaust systems for vintage motorcycle restoration projects, so I sent them an email. We'll see what they have to offer.
I must say, up to this point this was the scariest thing to do on the bike. Especially when you start to turn the bolt around and have to put a little effort into it at first.
Anyway, here's some pictures:
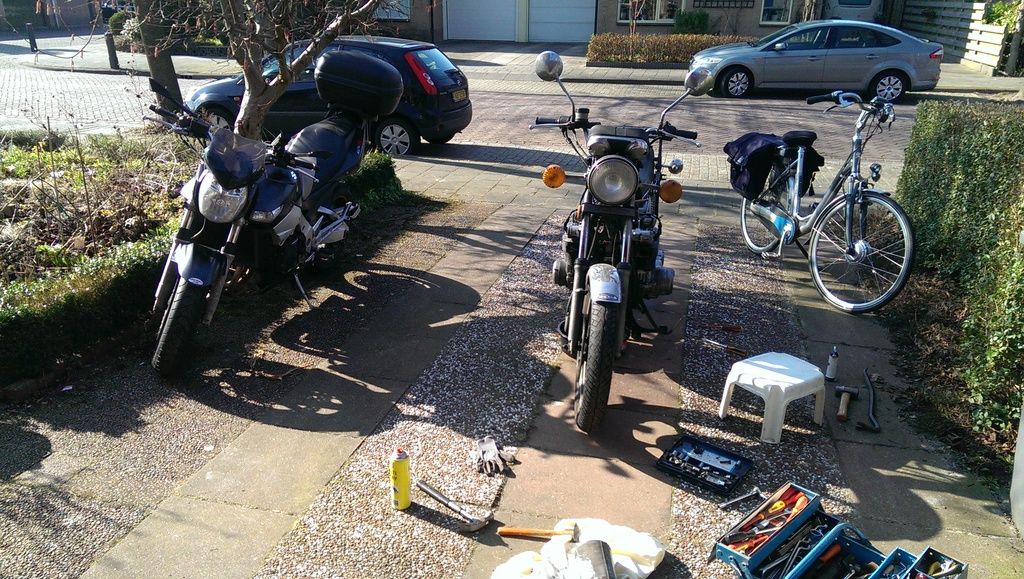
Grandad and grandson next to each other (notice the creme-brulee burner on the right. You can fit it right between the pipes. A lot easier than a large propane burner.)
Beaten up left exhaust
Lucky me for finding out about this one on the driveway and not on the road
I already removed the outer right downpipe before I decided to pull them all.
And now let's find some new pipes.
Comment
Comment