Looks like a possible sandblast and paint on mine unless you folks have a 2 into 1 system recommendation that would keep the center stand.
Announcement
Collapse
No announcement yet.
GSX400E Project Suzzie.
Collapse
X
-
 Runeight
Update: It appears the exhaust CMS has listed is not the same. The center stand stop is located on the right and it shows rear brackets attached to the mufflers.
Looks like a possible sandblast and paint on mine unless you folks have a 2 into 1 system recommendation that would keep the center stand.
-
 Runeight
Progress..
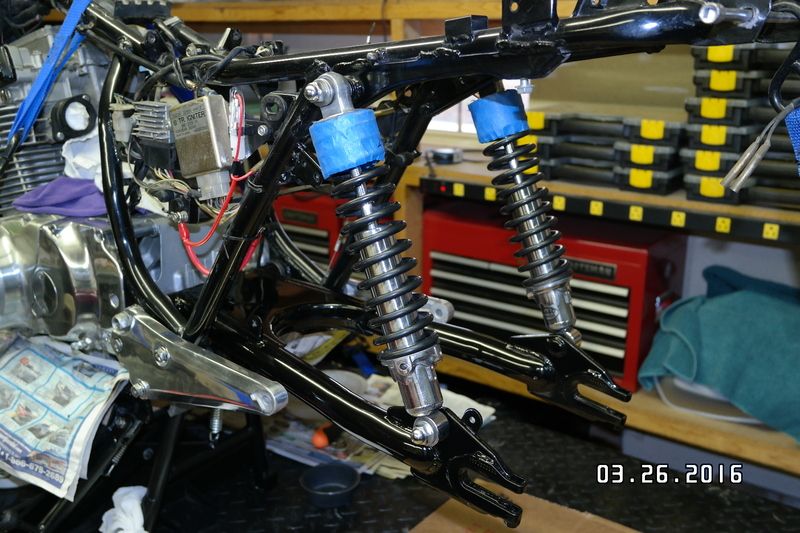
Haven't posted in a while but I'm at the stage of cleaning and bagging parts removed. Working on the back end moving forward. Waiting on parts and new bearings so I can get the swing arm and other parts in for powder coat.


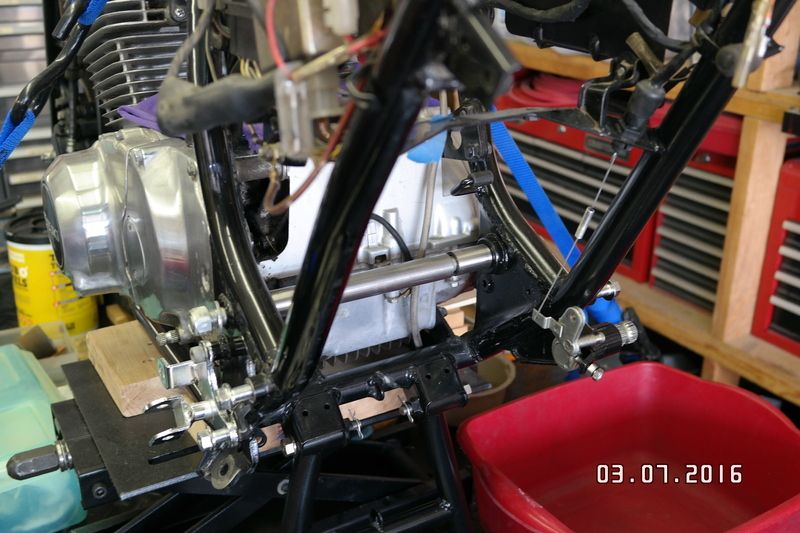
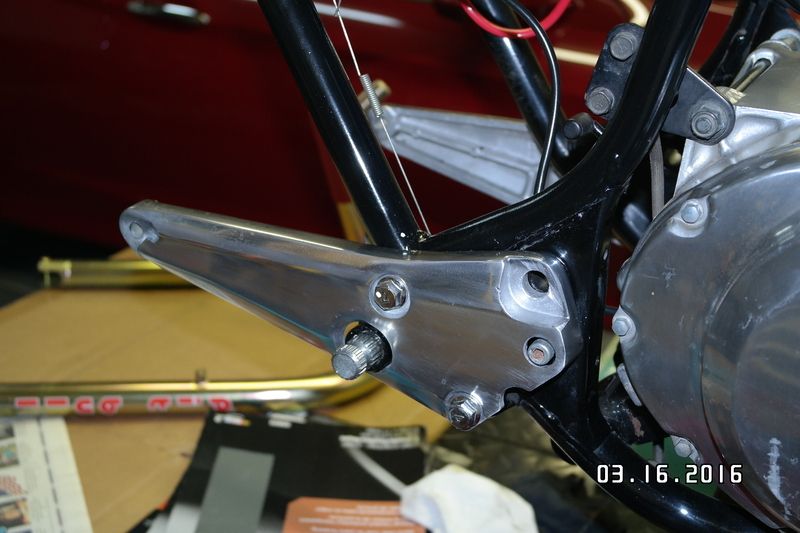
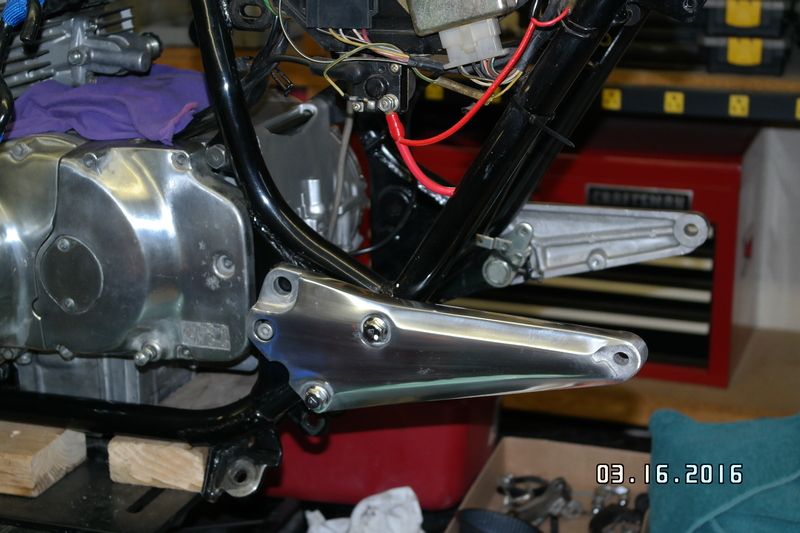
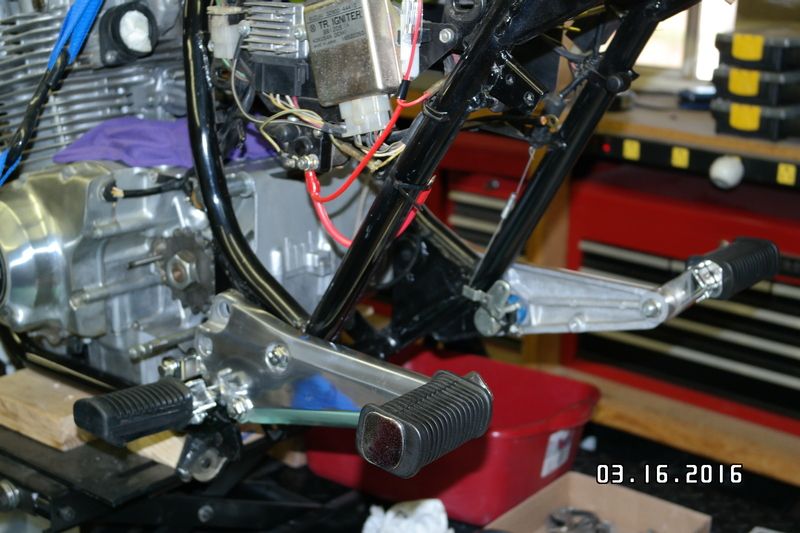
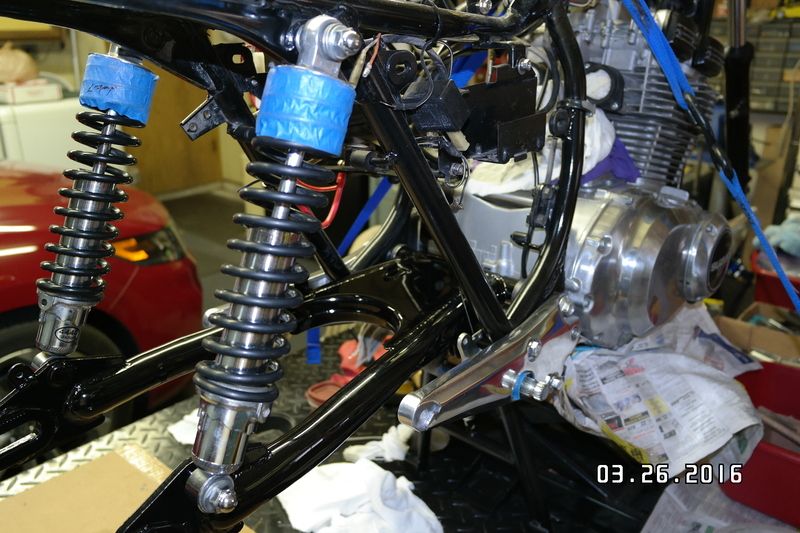
Picked up a new footrest bracket as the other had been re-welded crooked.
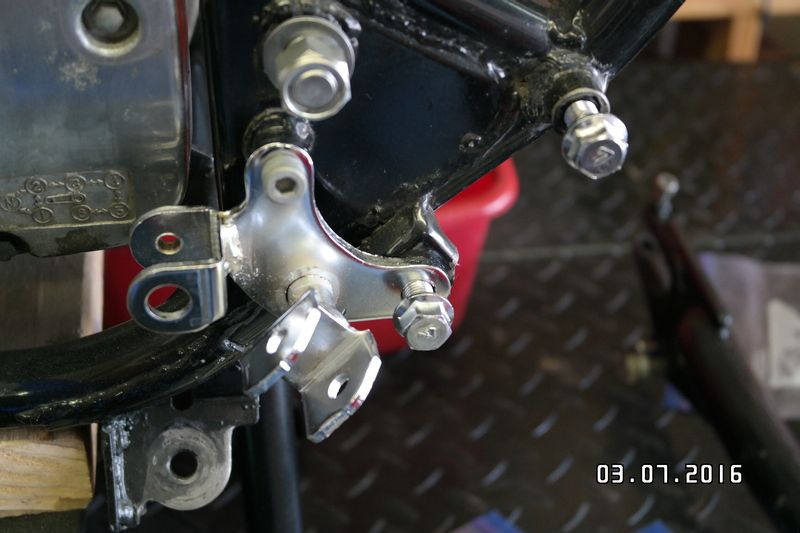
Ordered up several packages of sandpaper to polish up the aluminum. I have a buffer, wheels and compound so I figure why not give it a go. 400/500/600/800/1000/1500/2000 grit. Needed to stock up the Shop. I can't belive what a auto parts store gets for sandpaper. Really? Ordered from Amazon.
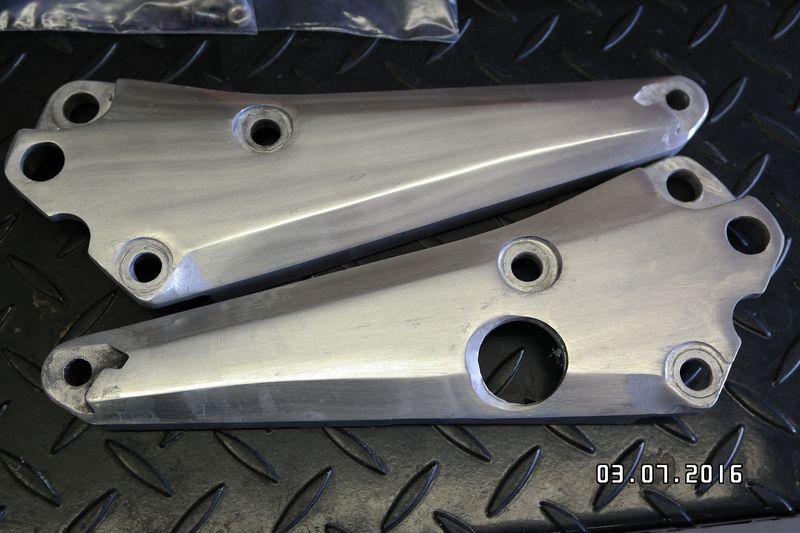
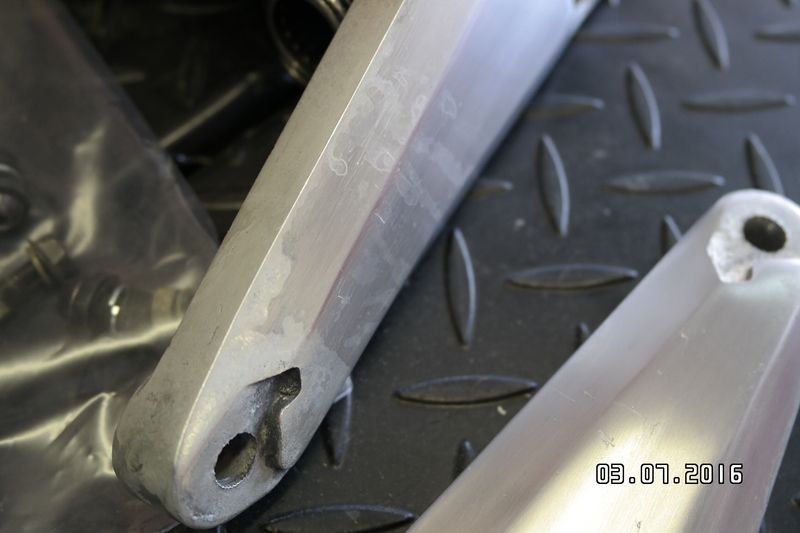
Already started on this piece with 220 grit. I'll post pics later.
Comment
-
 Runeight
Removed the fuel gauge unit. Very clean tank.
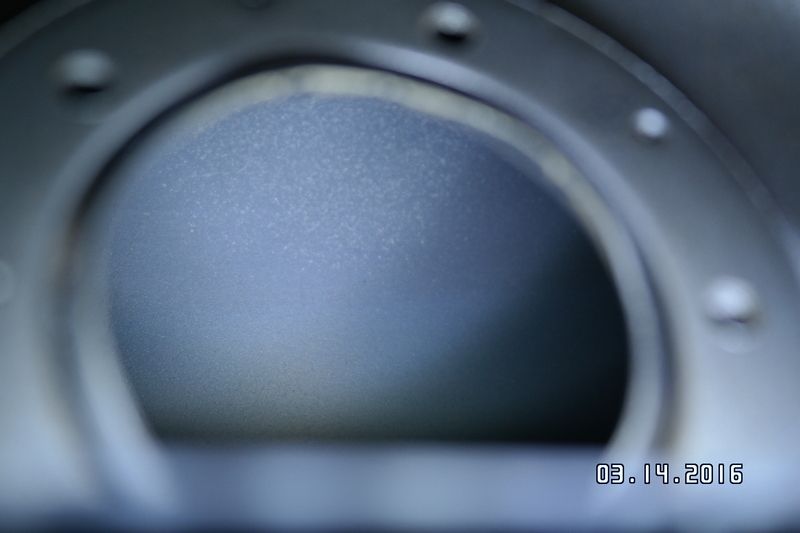
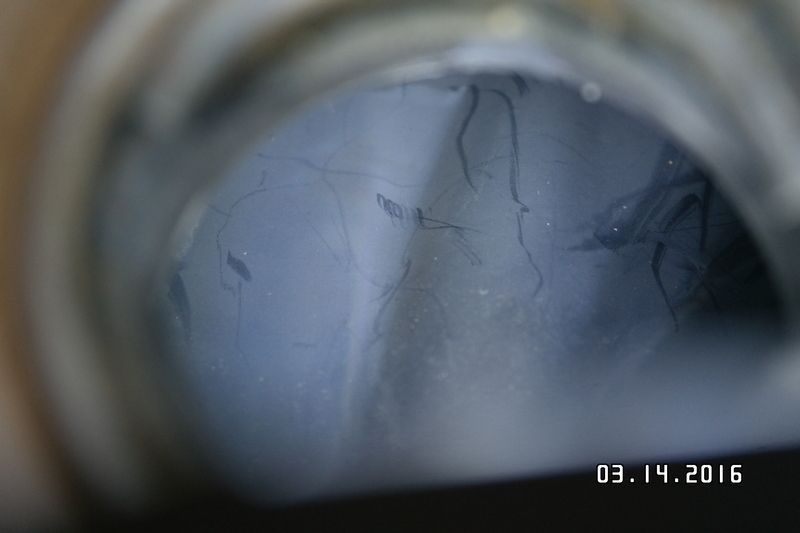
Getting feedback from a dent repair guy on Wendsday then go from there.
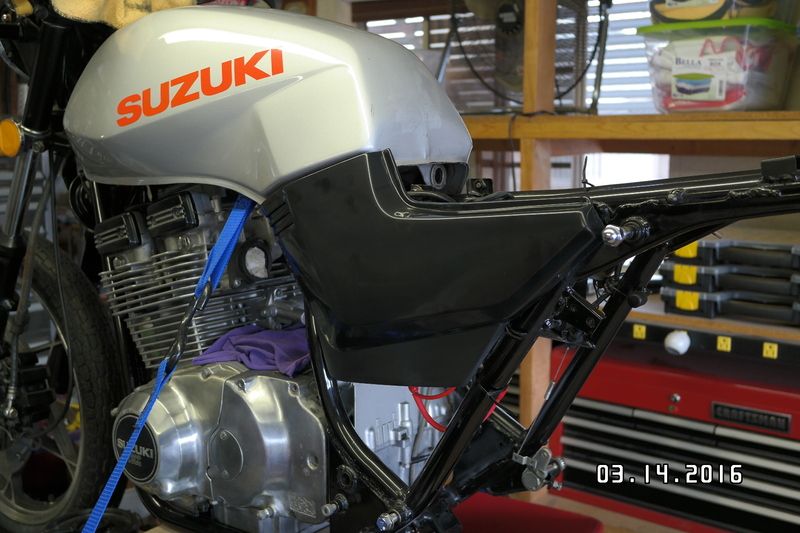
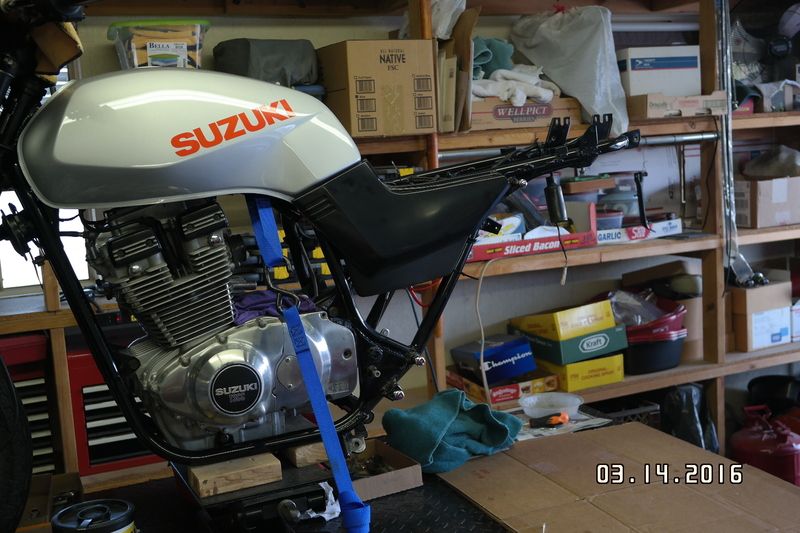
Test fitted the OEM frame covers off a 1983 GS450. Perfect.
Comment
-
Tank looks like it got the Kreem treatment.1978 Gs1085 compliments of Popy Yosh, Bandit 1200 wheels and front end, VM33 Smoothbores, Yosh exhaust, braced frame, ported polished head :cool:
1983 Gs1100ESD, rebuild finished! Body paintwork happening winter 2017:D
I would rather trust my bike to a technician that reads the service manual than some backyardigan that THINKS HE KNOWS how to fix things.
Comment
-
Nice bike.2010 Honda VFR1200F
1983 Suzuki GS750T (sold)
Being Revisited
1981 Honda CM400T
http://www.bikepics.com/members/cloudbreakmd/
Comment
-
Forum LongTimerGSResource Superstar
Past Site Supporter
Super Site Supporter- Mar 2006
- 35889
- Torrance, CA
Looks like you are doing a fine job. Keep going...Ed
To measure is to know.
Mikuni O-ring Kits For Sale...https://www.thegsresources.com/_foru...ts#post1703182
Top Newbie Mistakes thread...http://www.thegsresources.com/_forum...d.php?t=171846
Carb rebuild tutorial...https://gsarchive.bwringer.com/mtsac...d_Tutorial.pdf
KZ750E Rebuild Thread...http://www.thegsresources.com/_forum...0-Resurrection
Comment
-
 Runeight
A few parts go to powder coating tomorrow. Need to sand and polish some aluminum pieces and turn the corner on the rear half. Still need to order drive chain, new tires.
Taking my time with it. No hurry getting it on the road. I was going to take it down to the frame but decided against it.
Thanks guys.
Comment
-
 Runeight
Comment
-
 Runeight
Mounted the center and side stand as well as new battery cables.
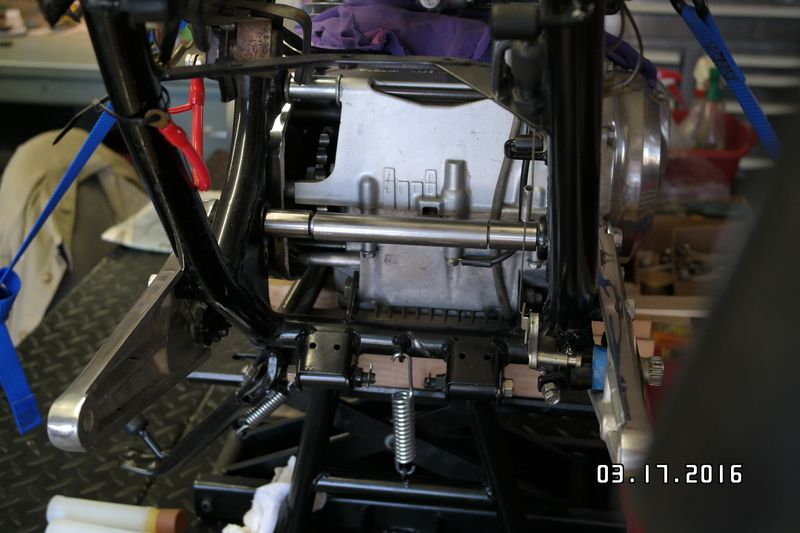
Started working on the sprocket cover and a little more on the mounts. Not custom by any means but looking pretty good for an amateur.
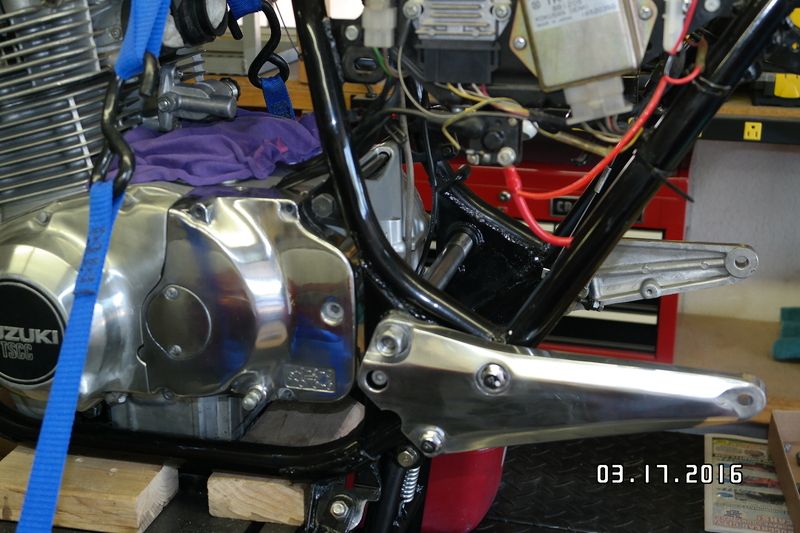
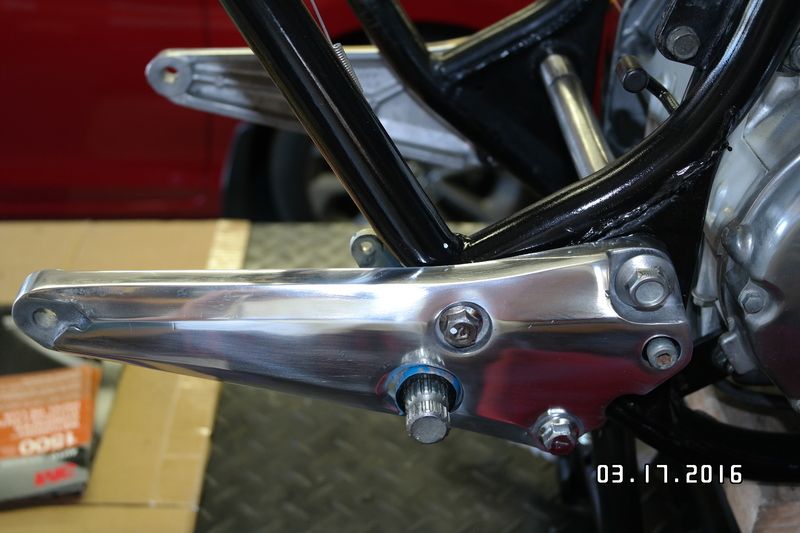
Comment
-
 Runeight
Whoops! Little off.
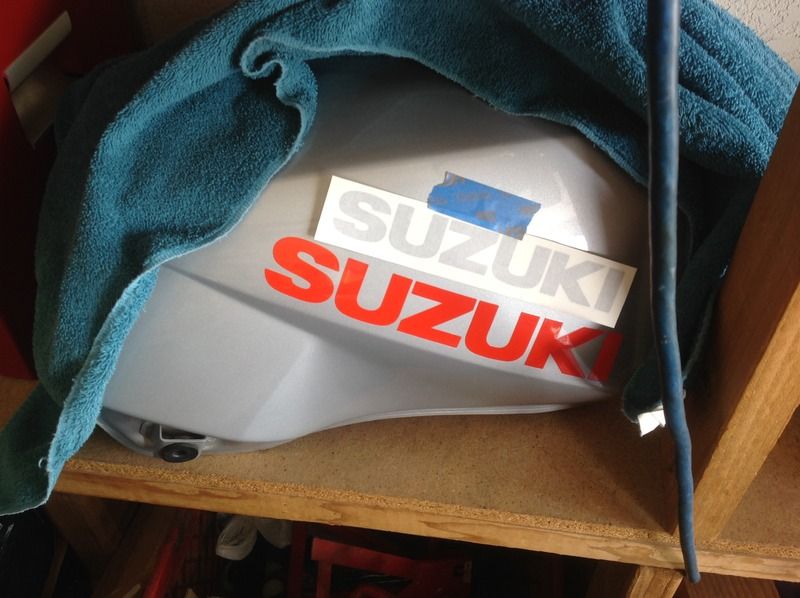
Cleaned the best I can.
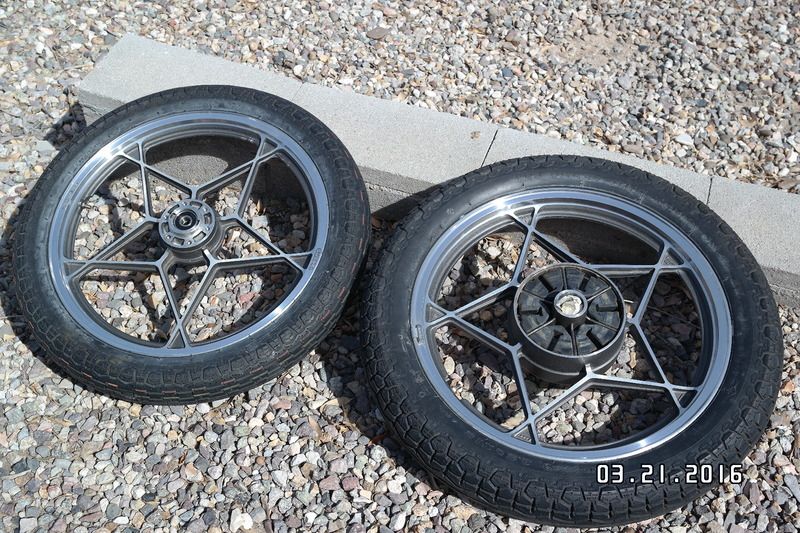
Worked on the front end, cleaned up the caliper, brake line and sent the rotor off to TrueDisk in Michigan.
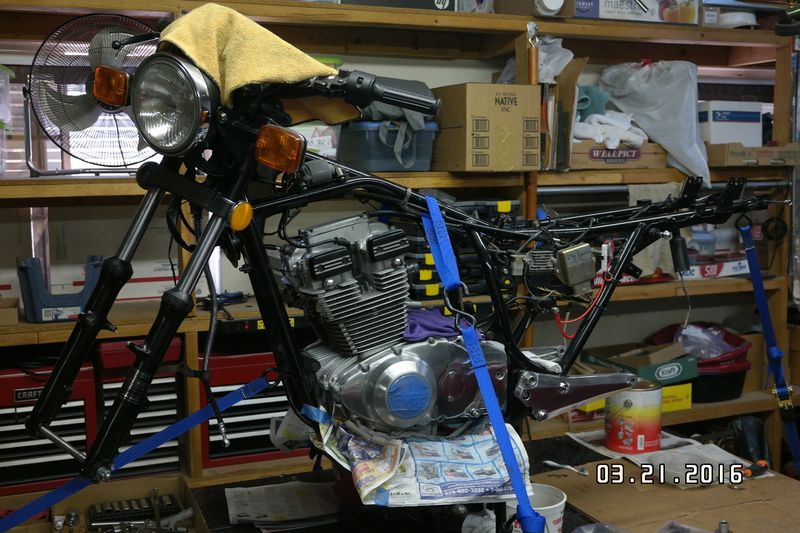
Onward...
Comment
-
 Runeight
Little further..
Parts back from powder, new bearings installed.
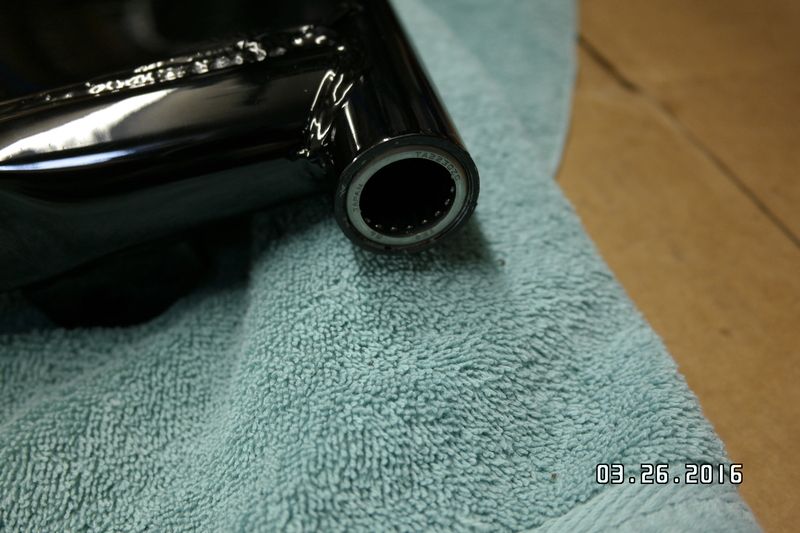
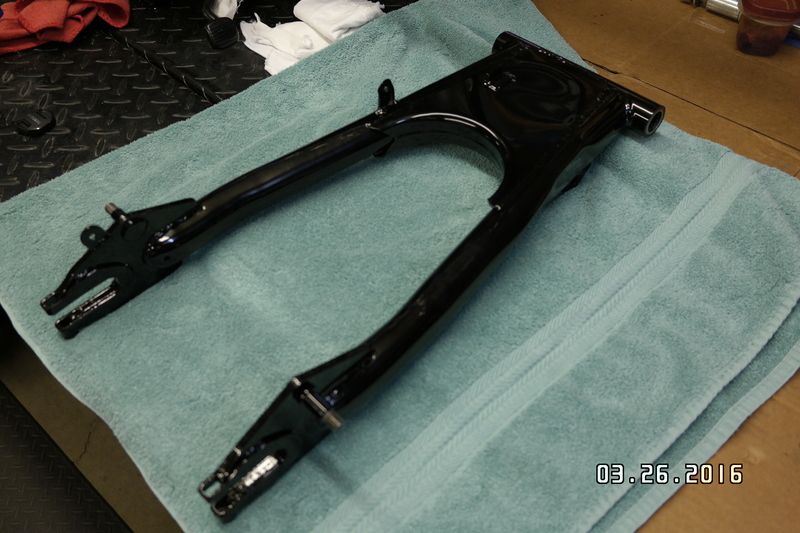
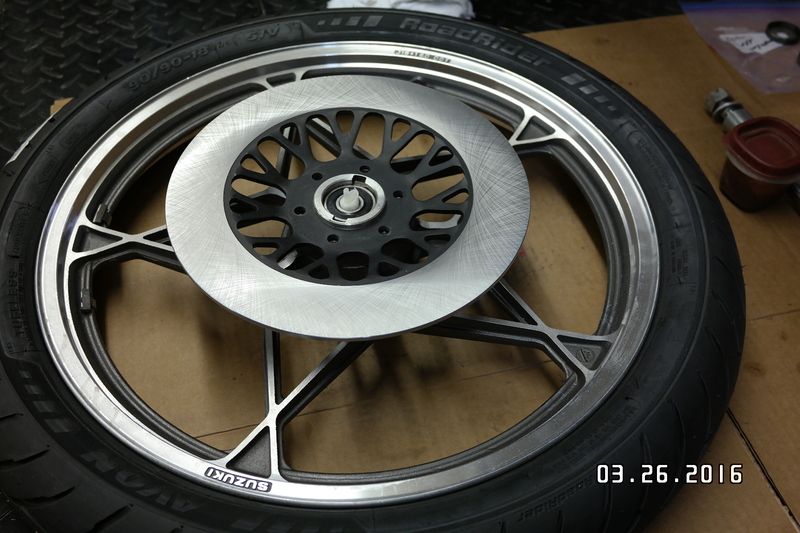
Front rotor back from TrueDisk in Michigan. Second time I have used them. Tom does excellent work.
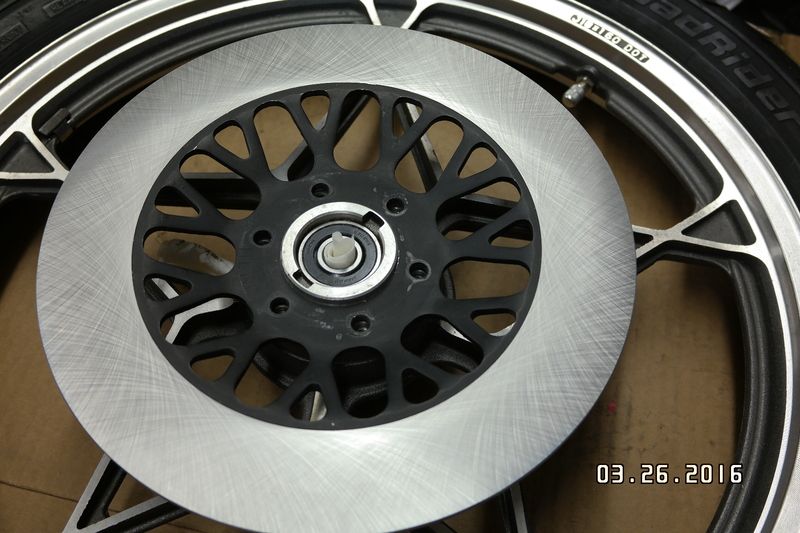
And with new Avon tire.
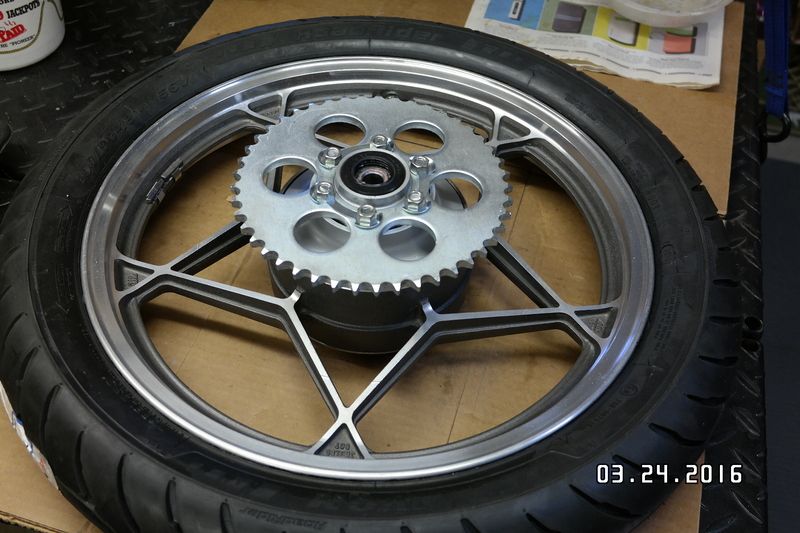
Rear tire mock up. Sprocket being returned due to fleabay seller.
Comment
-
 Runeight
 -
 Runeight
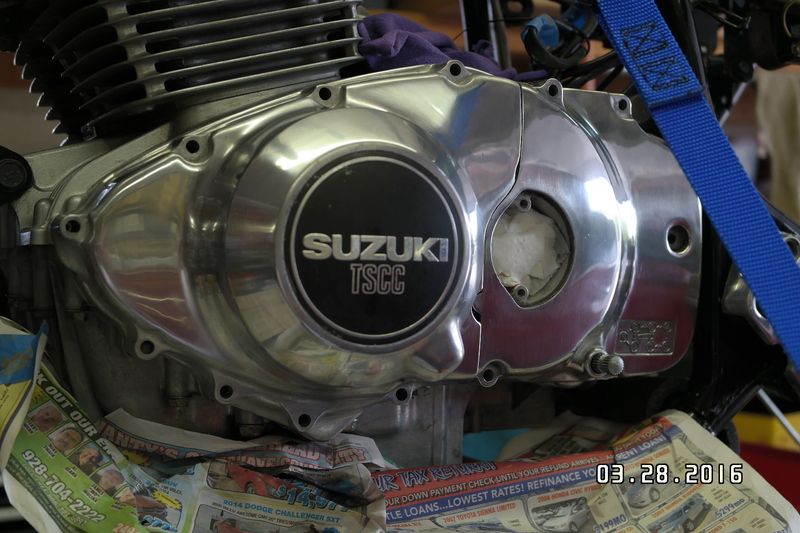
Left covers polished. Waiting on clutch cable then I can button this up. Need to remove the emblem. I'll try heat first.
Comment
.png)
Comment