Announcement
Collapse
No announcement yet.
81 GS750E Yard find going to need lots of TLC
Collapse
X
-
Forum LongTimerGSResource Superstar
Past Site Supporter
Super Site Supporter- Mar 2006
- 36204
- Torrance, CA
Ed
To measure is to know.
Mikuni O-ring Kits For Sale...https://www.thegsresources.com/_foru...ts#post1703182
Top Newbie Mistakes thread...http://www.thegsresources.com/_forum...d.php?t=171846
Carb rebuild tutorial...https://gsarchive.bwringer.com/mtsac...d_Tutorial.pdf
KZ750E Rebuild Thread...http://www.thegsresources.com/_forum...0-Resurrection
-
 jdvorchak
thanks but both of those urls have the pictures broken. But there was enough written info for me to figure it out. When I do it I'll post close up pics so maybe help the next guy.
Comment
-
The 1981 750E and 1100E are the baddest looking bikes Suzuki put out in the 80s, in my opinion. I'd love to find one for a song.https://farm5.staticflickr.com/4442/...678005be58.jpg
1982 GS1100 G converted by Motorcyclist magazine in 1986 to be a tribute to the Wes Cooley replica. 1982 Honda 900F. 1997 Yamaha VMax.
Also owned: 1973 Kawasaki Z1 900, 1972 Honda 750 K, 1976 Yamaha XS 650, 1980 Kawasaki KZ 1000 MKII, 1978 Kawasaki SR 650. Current cage is a 2001 Mustang Bullitt in Dark Highland Green. Bought new in Sept. 2001.
Comment
-
 jdvorchak
When I was looking for a project it was between this bike, a KZ550 and a 650 Nighthawk. I picked the Suzuki because I liked the looks of it better. It's just a nice looking bike.Originally posted by Deuce View PostThe 1981 750E and 1100E are the baddest looking bikes Suzuki put out in the 80s, in my opinion. I'd love to find one for a song.
Comment
-
Forum LongTimerGSResource Superstar
Past Site Supporter
Super Site Supporter- Mar 2006
- 36204
- Torrance, CA
You should be able to get the jist of the mod from those threads; take apart the valve and find some washers to shim the spring. I'm just not sure how thick the washers should be since I haven't studied the matter.Originally posted by jdvorchak View Postthanks but both of those urls have the pictures broken. But there was enough written info for me to figure it out. When I do it I'll post close up pics so maybe help the next guy.Ed
To measure is to know.
Mikuni O-ring Kits For Sale...https://www.thegsresources.com/_foru...ts#post1703182
Top Newbie Mistakes thread...http://www.thegsresources.com/_forum...d.php?t=171846
Carb rebuild tutorial...https://gsarchive.bwringer.com/mtsac...d_Tutorial.pdf
KZ750E Rebuild Thread...http://www.thegsresources.com/_forum...0-Resurrection
Comment
-
You never know; you might have gotten away with it... http://www.theflyingbanana.com/gs1000s3.htmOriginally posted by jdvorchak View PostJust bought this bike tuesday for next to nothing. So far it needs love from front to back and everything in between. I've done plenty of old UJM revives but this one is going to be a challenge. Looking forward to it! So far I've found that the starter solenoid (relay) is inop. The crank case had about 2 gallons of water.Dave
'79 GS850GN '80 GS850GT
Only a dog knows why a motorcyclist sticks his head out of a car window
Comment
-
 jdvorchak
A little update. I cleaned and replaced O-rings in the carbs. I got an air box from eBay and installed the rack onto the bike. Not as easy as the GS850 I'll tell you, but not bad at all. Pulled the choke and she fired up after about 3 or 4 spins of the engine. Idled about 2k and as it warmed up I pushed the choke all the way in. Idles smooth at about 1k but I didn't mess with it after that. Tried starting it a couple of times later in the day to show friends and family how it sounds. The mufflers and exhaust sound stock and a nice quiet tone. Started instantly every time I tried it. Engine runs smooth as silk and takes the throttle well. I'll have to test ride to see if really has no hesitation but I'm not even close to running it around the block. I'm in no hurry. I have 3 other bikes to ride in the mean time.
So far this bike has been surprising me. For as bad as it looked and knowing it sat outside for years, most of the electrics worked. I had to replace the starter relay (solenoid) and one missing turn signal light bulb and so far that's it. All lights work and even the horn, as pitiful as it sounds, it does make a labored attempt at beeping. I'm sure cleaning connectors will restore it but that would be last on my agenda. I may have to do a relay mod to the horn. We'll see. I just hope my good luck holds. Even the chain and sprocket look good. Used but plenty of life left. Petcock cleaned and new O-ring and it bench tests good. Fuel level sending unit seems to have resistance checks real close to FSM and I already confirmed the fuel gauge works with a shorting wire. I have the head light bucket off and have been cleaning all of the connections I found under there. The PO had plugged the right side turn signal into the wrong connector so when I plugged it into a good 4 way ground the light flashed as normal. One thing that bothers me is I have about .5 volt drop through the ignition switch. Not sure if they are serviceable but if typical motorcycle ignition switch I should be able to remove the key lock/switch and get it apart far enough to clean the contacts. I confirmed it was the switch and not the wiring harness with my voltmeter at the switch contacts.
Anyway the fun continues! This is the part of a revive that I really enjoy. Still thinking of a paint scheme. Originally the tank was black but I already have a black KZ1100.
Comment
-
Most horns have a contact breaker adjustment screw which you can tweak to adjust the horn volume....

Also check the contacts in the horn button on the LHS handlebar switch for corrosion.Current:
Z1300A5 Locomotive (swapped my Intruder for it), GS450 Cafe Project (might never finish it....), XT500 Commuter (I know - it's a Yamaha :eek:)
Past:
VL1500 Intruder (swapped for Z1300), ZX9R Streetfighter (lets face it - too fast....), 1984 GSX750EF, 1984 GSX1100EF (AKA GS1150)
And a bunch of other crap Yamahas....
Comment
-
 jdvorchak
Thanks hillsy... I'll check those but like I said that's pretty far down on my list of things to do. Realistically if I wanted to hurry I could probably road test it this weekend but I know the front brakes are almost not functioning and need completely torn down and repaired. Fluid looks like coffee and lever is real spongy feeling. I also want to pull the engine case covers and oil pan. I want to see how it looks inside the engine and also want to polish the covers. They are scratch free so should polish up nicely.
Comment
-
 jdvorchak
I DO NOT ADVISE ANYONE DO THIS. IF YOU DO DON'T COMPLAIN TO ME...
I drained the oil and boiled the water out. I've done this before on other bikes. For those who don't know yes you can boil water out of oil if the oil is new and no reason to throw it away. This oil had 5 minutes run at most. No miles.
Drained oil into an old pot. Here is what it looked like when I started to heat it on my hot plate:
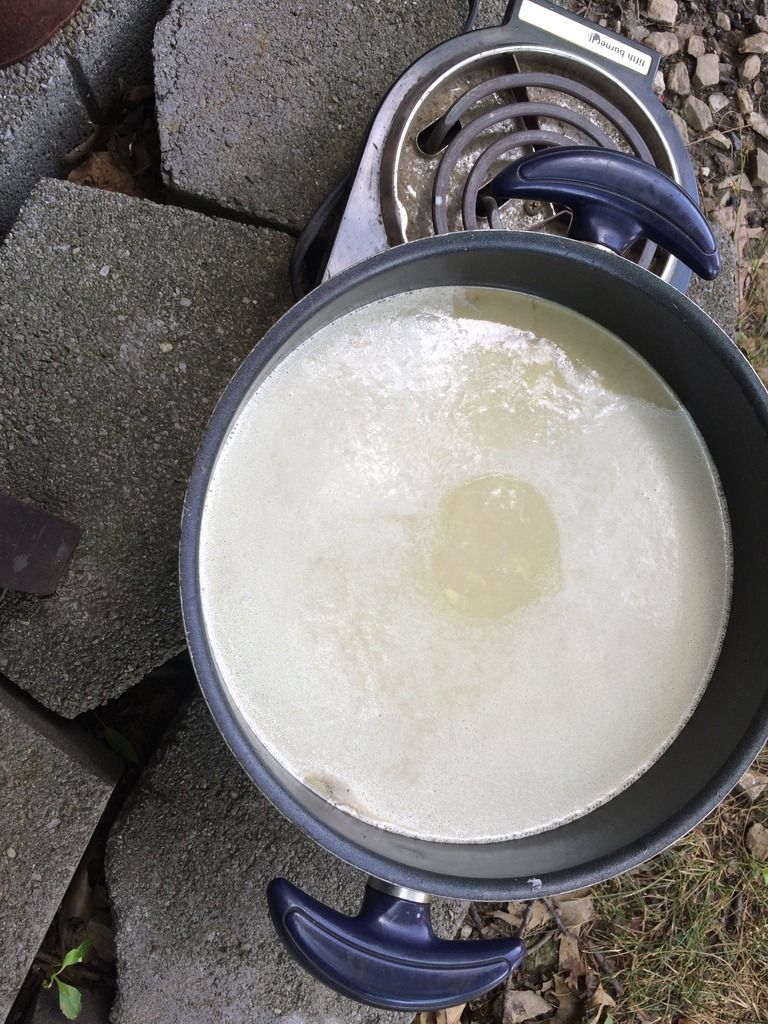
Getting close to boiling
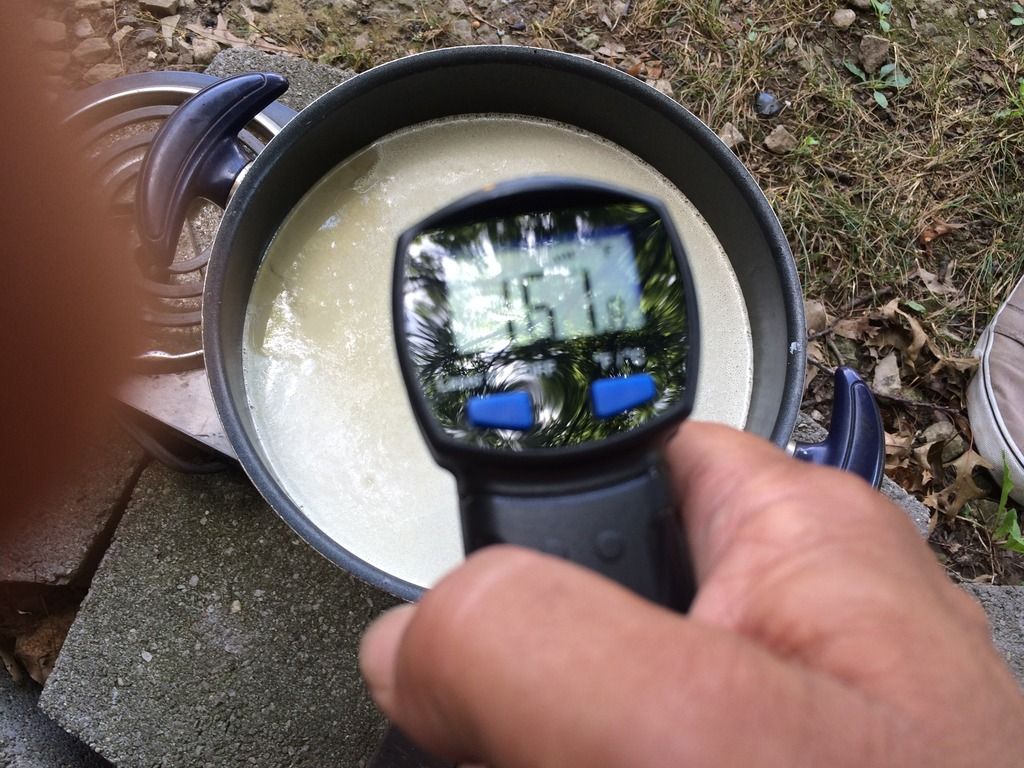
You know the water is almost gone when the temp goes above 212 F. The temp stayed at 212 for about 10 to 15 minutes then started to rise pretty quickly:
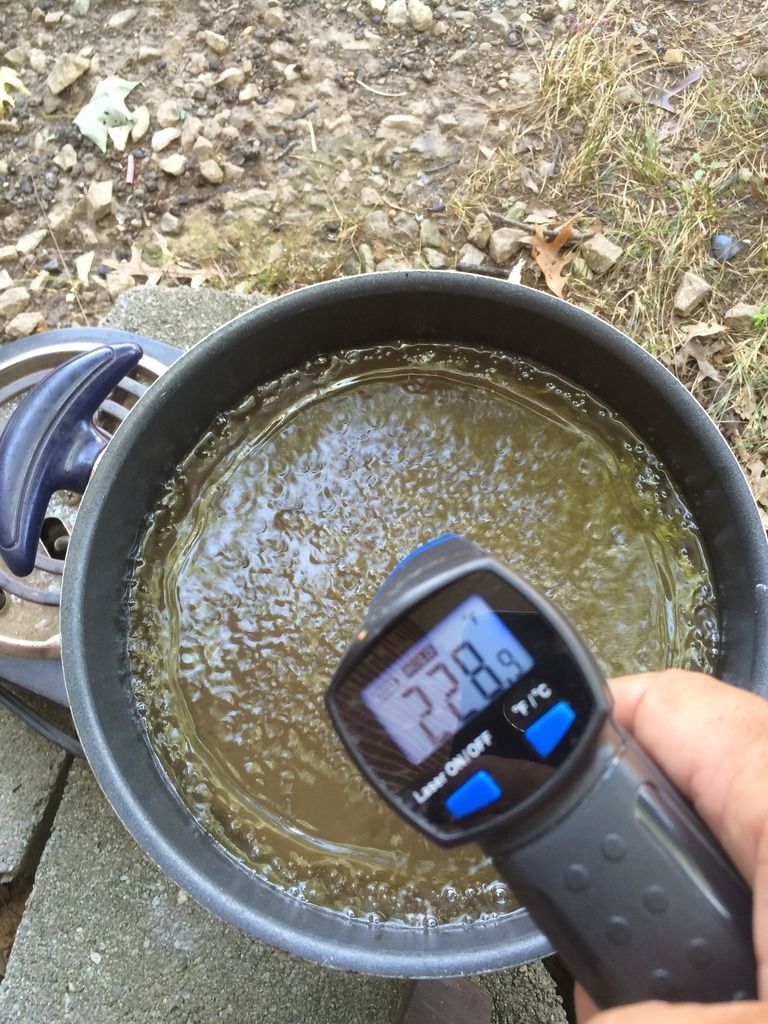

Looks like motor oil now:
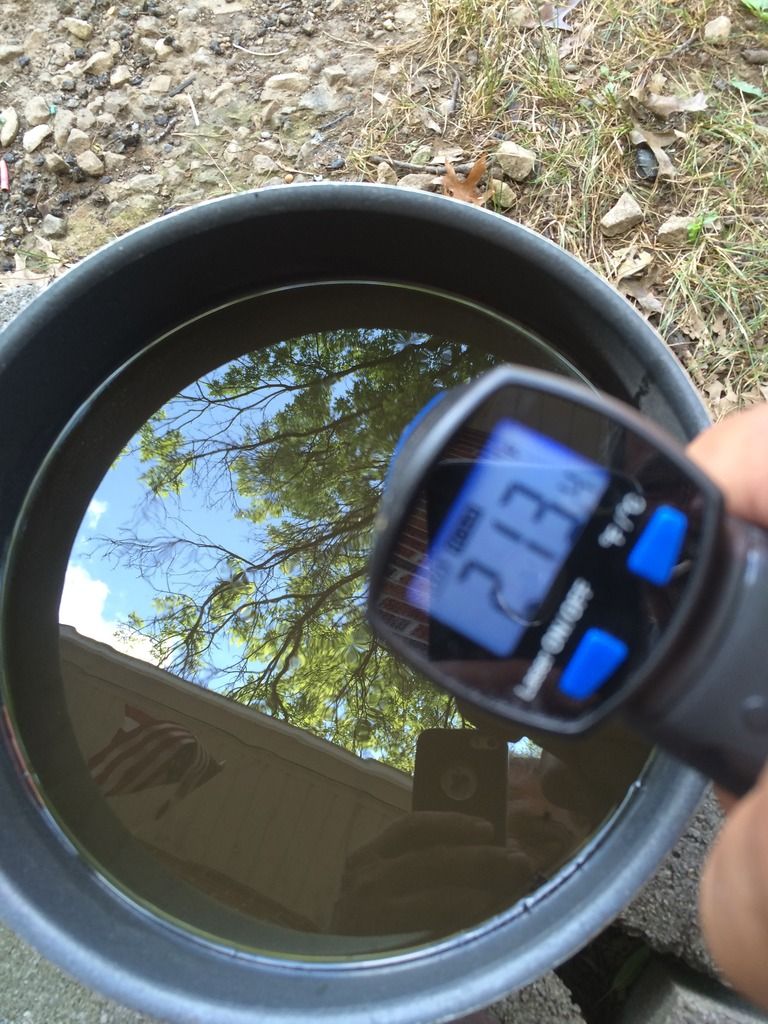
Total time was right at 30 minutes from when I put the oil on the hot plate until I turned off the heat.
They sure look bad before they start looking good again....
Comment
-
Forum LongTimerGSResource Superstar
Past Site Supporter
Super Site Supporter- Mar 2006
- 36204
- Torrance, CA
Bike is looking pretty good to me.
You seem to be pretty knowledgeable about wrenching but one caution about the exhaust header bolts. Those dang things love to seize in the head and many many people bust them off when they go to remove the exhaust. You need to use extreme caution when trying to remove these pesky screws. Hit them with PB Blaster or similar and use a propane torch to heat the screws if they don't turn out easily with a small 1/4" short handle ratchet.Ed
To measure is to know.
Mikuni O-ring Kits For Sale...https://www.thegsresources.com/_foru...ts#post1703182
Top Newbie Mistakes thread...http://www.thegsresources.com/_forum...d.php?t=171846
Carb rebuild tutorial...https://gsarchive.bwringer.com/mtsac...d_Tutorial.pdf
KZ750E Rebuild Thread...http://www.thegsresources.com/_forum...0-Resurrection
Comment
-
 jdvorchak
Thanks Ed for the compliment. My hobby is to buy barn finds and make them safe and reliable again. As near as I can remember this is about the 22nd or 23rd bike I've revived. Mostly UJM but have done 3 Goldwings and a Harley.
Yes I am aware of the perils of exhaust studs and this one has bolts which makes it even worse. PB is your friend and even then there is no guarantee. I avoid pulling exhaust headers like the plague. On this bike there is no reason to pull them. The exhaust is in very good shape. No real dents or holes and sounds like a new bike when running. Middle two headers are a little rusty and dull but I can live with that. I'm not going for a restore here. I'll clean every inch of the bike and put new paint on it. I usually don't paint my revives but this one has very good sheet metal but paint is chipping off. Besides I really don't like the color.
Comment
-
Recommended. The weeny little rebondeur ancienne in the horn button gives up the ghost when more than a goose's belch is summoned for more than a second.Originally posted by jdvorchak View PostI may have to do a relay mod to the horn.
A relay avoids that.Dave
'79 GS850GN '80 GS850GT
Only a dog knows why a motorcyclist sticks his head out of a car window
Comment
-
 jdvorchak
I'm waiting on some side cover and pan gaskets so I'm pretty much done with mechanical stuff for now. I finally broke down and bought a cloth buffing pad and some aluminum compound for my 6" bench grinder. I had the ignition cover off to clean the gasket surfaces and decided to try to clean it up a little. I first cleaned it with crumpled aluminum foil dipped in plain white vinegar. Didn't really scrub that hard. Only on the places that still had clear coat but it came right off. Then I put a little bit of the aluminum buffing compound on the spinning pad. I have to caution you. If you do this be sure and wear something you don't like or mind getting real dirty. SAFETY GOGGLES are a must! Wear rubber gloves or other clean gloves. I buy the 9 mil black rubber gloves from Harbor Freight. They are thick and durable like you won't believe. Started to buff the cover and in only like 2 minutes this is what I ended up with:
[URL=http://s1379.photobucket.com/user/jdvorchak/media/81%20GS750E/06156AA2-AA51-441C-B5D3-809ADEB9860D_zpsnvqsvnsr.jpg.html]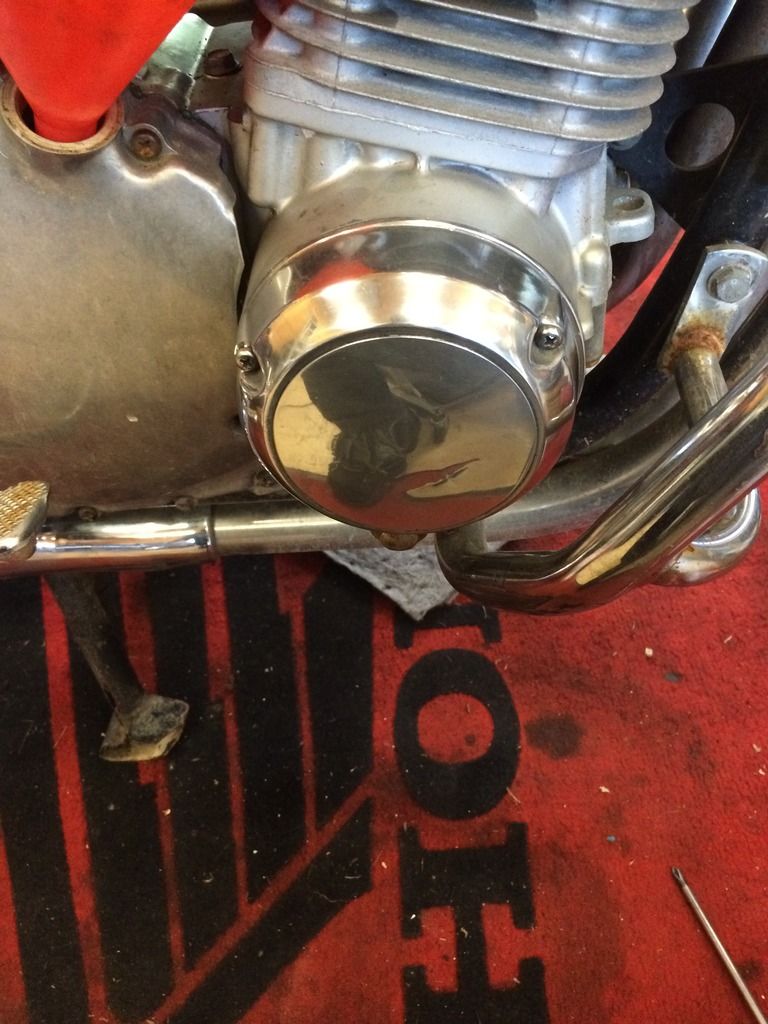 [/URL
[/URL
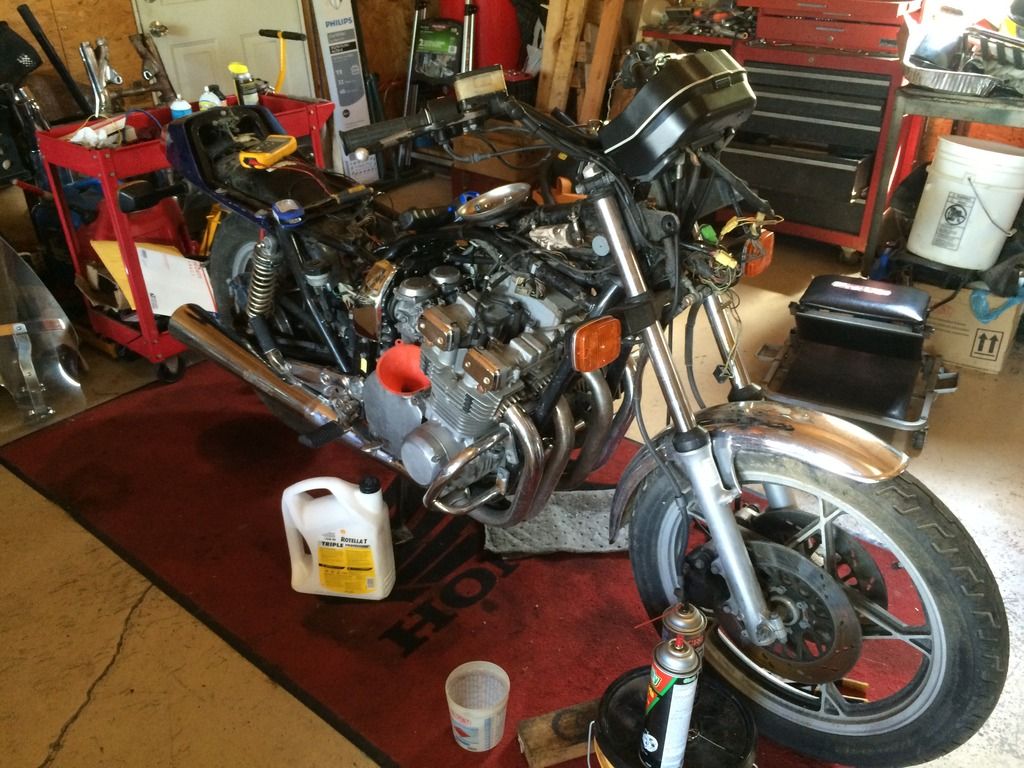
Note in the pic of the bike above the ignition cover before.
Comment
-
 jdvorchak
With the temps and humidity I'm only able to work on it a few hours a day. I did get all of the gaskets in so I finished up the left side with new gaskets and some more polishing.
chain cover left side before:

Left side with polished alternator/starter cover and chain cover in place:
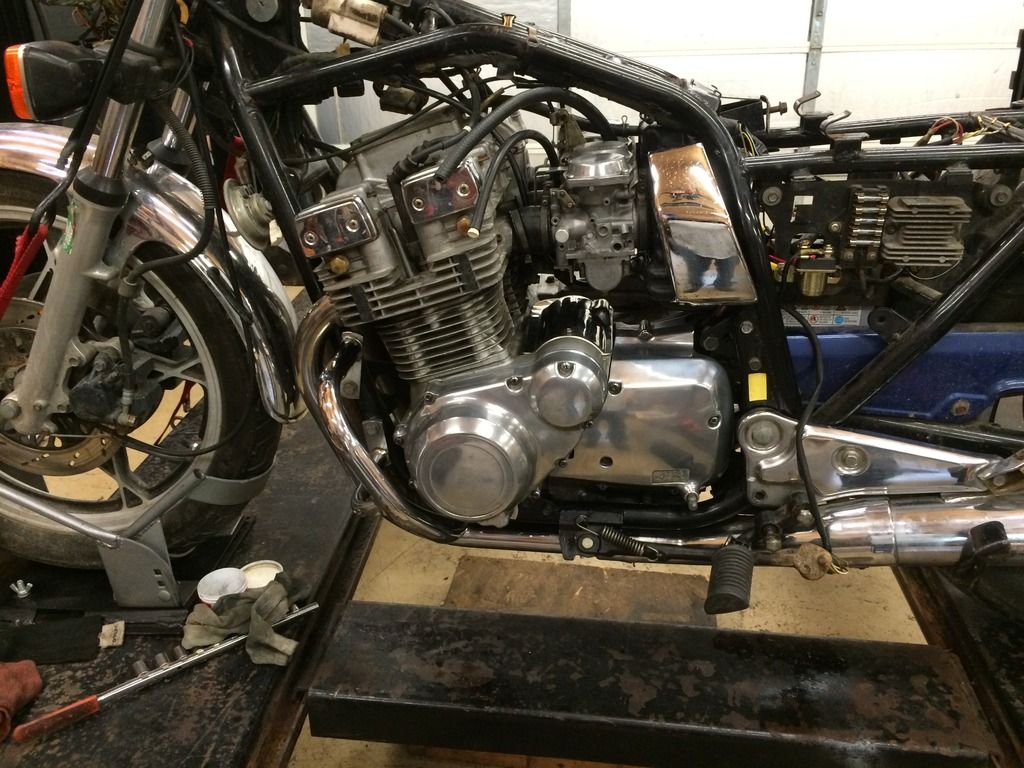
Tomorrow I'll get started on the right side clutch cover. Igniter cover was the first I did.
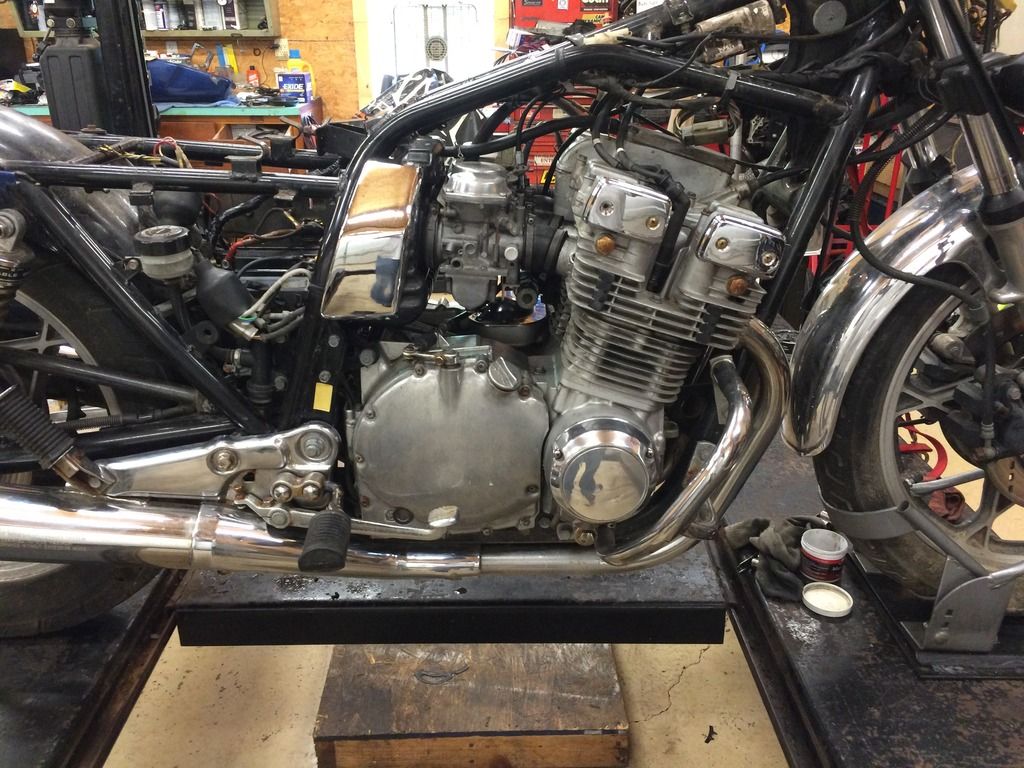
I probably would not have taken the time to remove the covers and polish them but all of the crank case covers had evidence of having been removed and someone used RTV to seal them back up. Sorry that is just not me. So for about $20 or $30 I got new gaskets, including new clutch cable and oil pan gasket, I decided to try to polish the covers. I've never done that before but with the bench grinder it was easier than I thought. Not perfect but I think it looks a lot better now.
Comment
.png)
.png)
Comment