.png "Powered by vBulletin")
Wow!
Thanks for sharing.
Ed
-
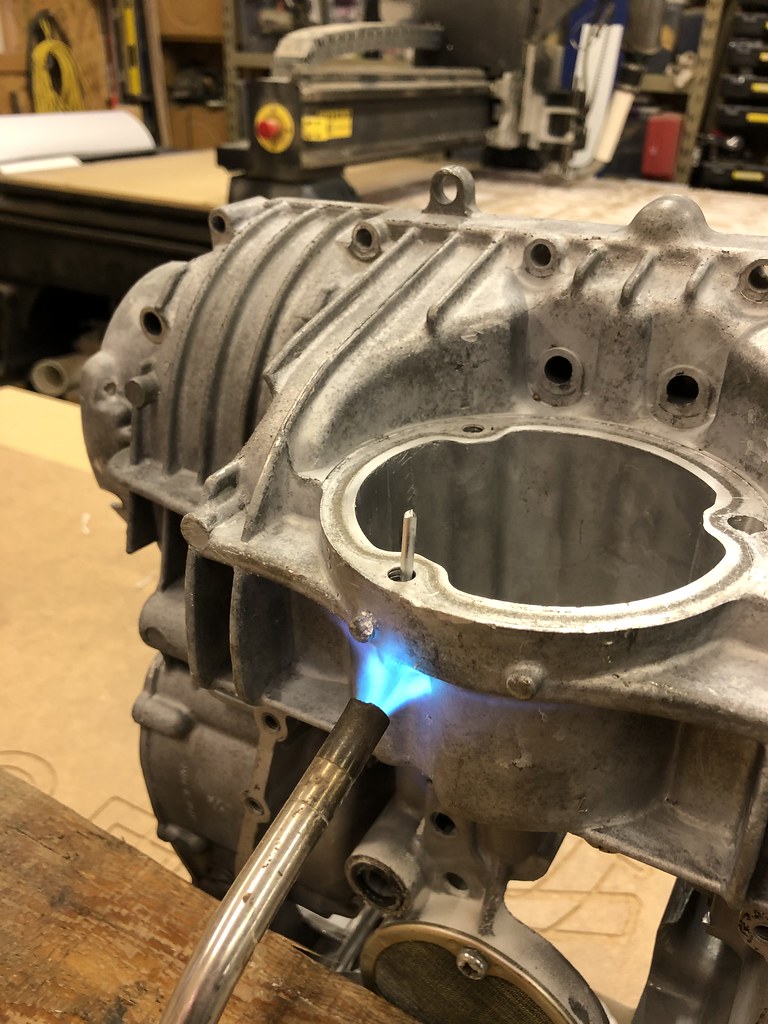
The aluminum brazing rods worked.
I put a map gas torch on the case in the are that needed to be repaired. I let it sit there for about 30 minutes. It wasn't getting hot enough to melt the brazing rods so I broke out the acetylene torch and heated it up even more. I never did get the brazing rod to just melt without putting it under the torch and puddling it in the hole. I was skeptic that this would work and actually bond to the case. However, I proceeded to drill out the holes and re-tap them to a 6mmx1.00 thread. The aluminum brazing held!
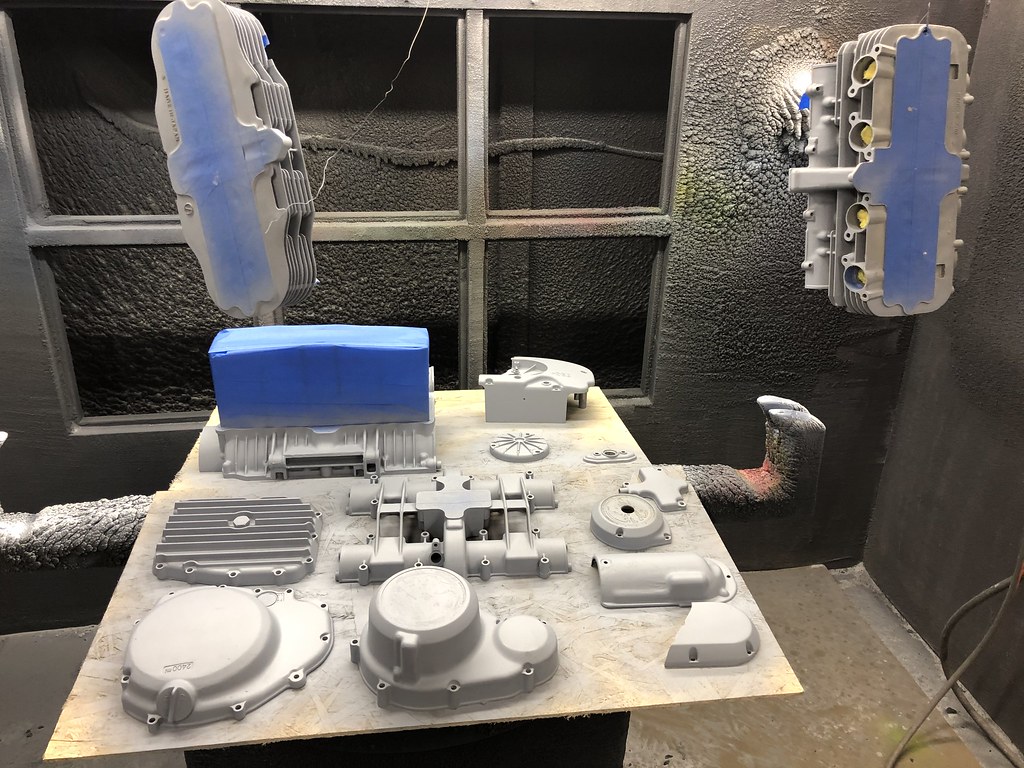
I believe I'm good to go now. On to spraying VHT primer on the engine and wait for my Harley Davidson texture black paint to come in.

Leave a comment:
-
I will definitely check all the other shims. I did have to order a new tappet because the lip was damaged and wallered out.Originally posted by bwringer View Post
I’m really hoping the brazing rods work because after further review, the po had drilled out the other two oil filter cap holes also. Two had 1/4-20 bolts in them and the one that broke through the case was a 5/16-20. I will be filling these and putting the proper metric studs in them.
I received my new/used cams today from eBay. They look pretty damn good for $40. I'll need to put some calipers on them to make sure they're within spec.

 Last edited by JohnnyL; 11-20-2019, 06:22 PM.
Leave a comment:
-
Also, I would not be shocked if that shim is a Kawasaki shim that's 29.0mm in diameter instead of Suzuki's 29.5. See how well the chunks seem to fit in a Suzuki bucket.
These sorts of mixups are not uncommon; I've found Kawasaki shims in Suzukis a few times. If this is what happened on your bike, check the rest -- you might have more sloppy Kaw shims lurking in there.Leave a comment:
-
Cool!
The GSR Hive Mind eagerly awaits your report.
This seemed interesting from the Alumiweld page:
Since that hole in your bike is open at the bottom, it's doubtful that dunking a stud or bolt in like the guy in the video will be possible.Stripped Threads
Drill old threads out oversized so when filled with AlumiWeld all drilling and tapping will be done in AlumiWeld this will make it easier to work with. After drilling, heat base metal from bottom of the hole up.Tin the wall of the hole beginning at the bottom and working your way up. Fill the hole, let cool, drill and tap as needed.
Let us know how it goes!Leave a comment:
-
I purchased some Blue Demon BDTP-125-01T Triple Play Low Temp Aluminum-Zinc Brazing Rods from Amazon. That was a mouthful. They'll be here tomorrow.
This guy sure made it look easy to use:
Leave a comment:
-
I'm thinking Brian's solution is the best way. I am personally going to try to remember those even exist. I can't count how many jambs those could have pulled me out of. Not to mention, My GS, both engines, have a couple stripped holes. Anyway, I also want to mention, that it would be an interesting experiment to try a few different brazing / soldering techniques on an engine case.


Leave a comment:
-
I'd need to do some eyeballin' and measuratin', but...
From what I understand, brazing (or using those magic aluminum soldering/brazing rods) on engine cases is really difficult; it's very difficult to get enough heat into the metal without melting a spot. That said, I haven't done it nor have I seen it done, so I dunno.
I've got some scrap KLR650 cases if you want to fire up Youtube and practice...
One possible fix without melting stuff could be to install an M8/M6 "step stud". This is a stud with an 8mm thread on one end and 6mm (like the original oil filter cover studs) on the other. Drill and tap for 8mm, smear the big end of the new stud with JB Weld, then install. Should end up oil tight and pretty much permanent. There's very little stress on this stud, and plenty of aluminum "meat" there for a larger hole.
Not sure this one's long enough, but this is the idea:


Or maybe:

A solid thread insert is another option, but keeping it from leaking could be a concern. Not sure there are any with solid bottoms.Leave a comment:
-
I can't answer that but I'm sure someone will be along to give you the necessary information.Leave a comment:
-
Do you think aluminum brazing rod would work to fill that hole and then re-drill for the proper size bolt?Leave a comment:
-
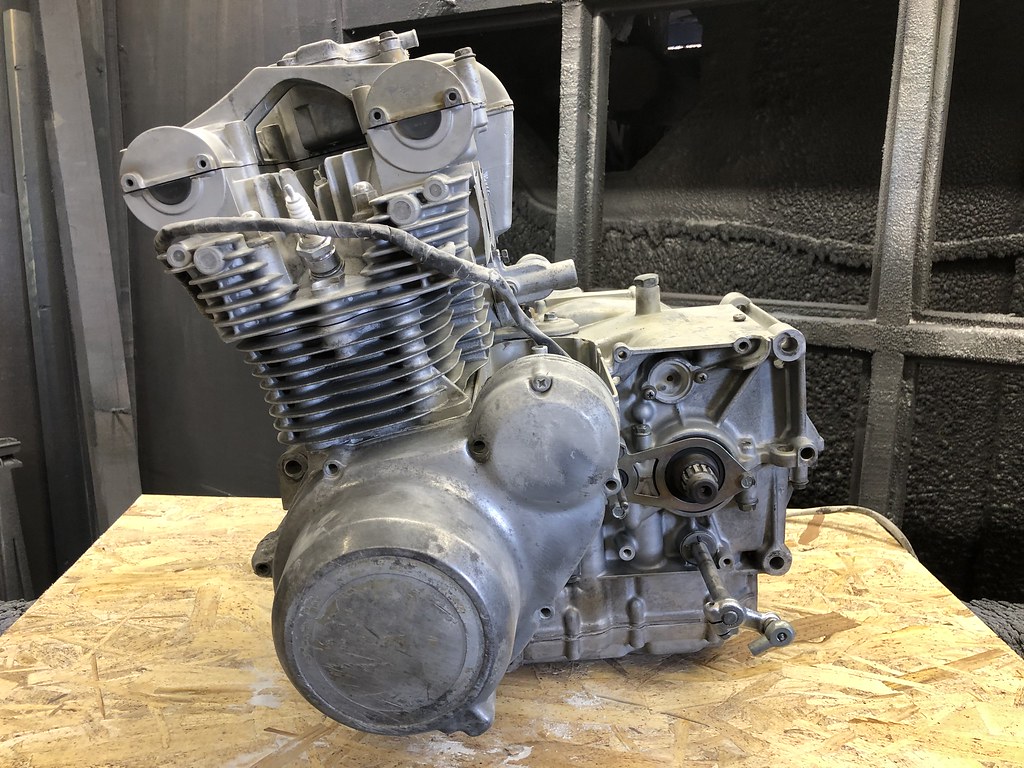
Yeah, you are doing the right thing by opening the cases. Now you will know for sure what you have after you're done.
Don't know about the hole in the case but maybe it can be filled with something then re-drilled to the proper size.Leave a comment:
-
Well I wasn't going to split the cases but finding the rest of that valve shim was keeping me up at night. Now that I have split the cases, I'm really glad I decided to do so. See pics below for the issues.
The rest of the missing shim


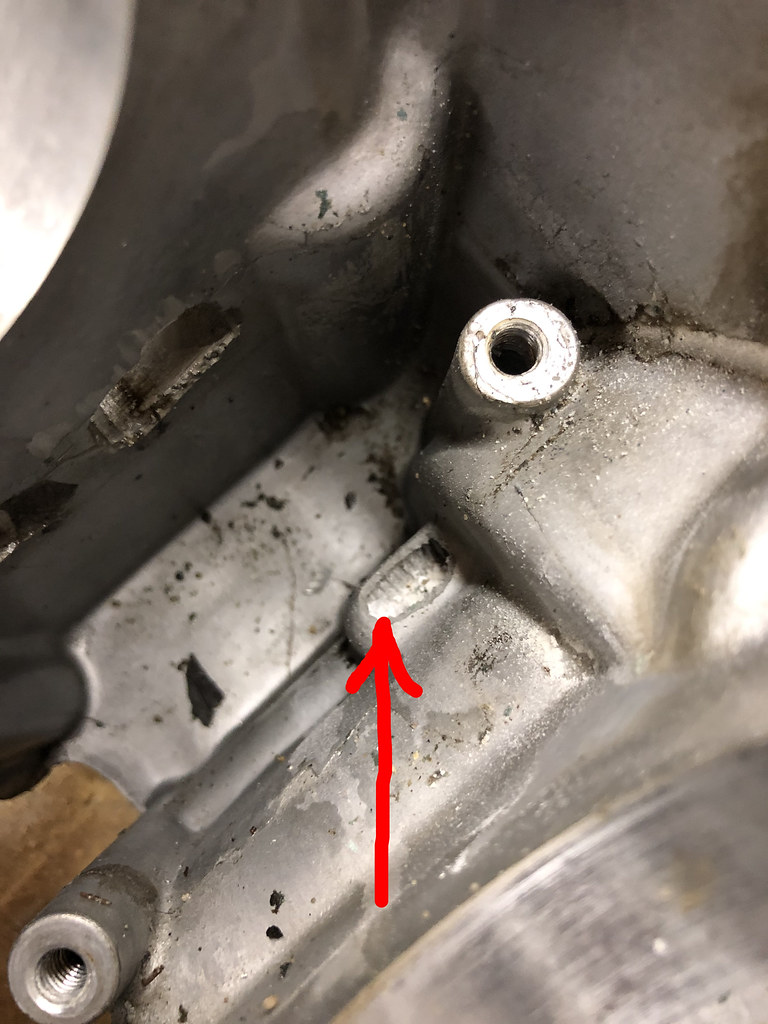
Also found another issue. The po had drilled out one of the bolts holding the oil filter cover on to a larger size bolt. When he did this, he drilled through the damn case. See the photo below. Now what? This explains the oil pouring from the oil filter cover. Any suggestions on what to do here? I really wish people that don't know what they're doing wouldn't touch their bike.
Drilled out hole

Hole in case
Leave a comment:
-
Well... Now we know why you got it for $100... You are on an awesome roll with it, and seem to have the right drive, and knowhow to get it done just how you want it. Will be looking forward to seeing it live at a Brown County Rally. Keep up the good work.Leave a comment:
-
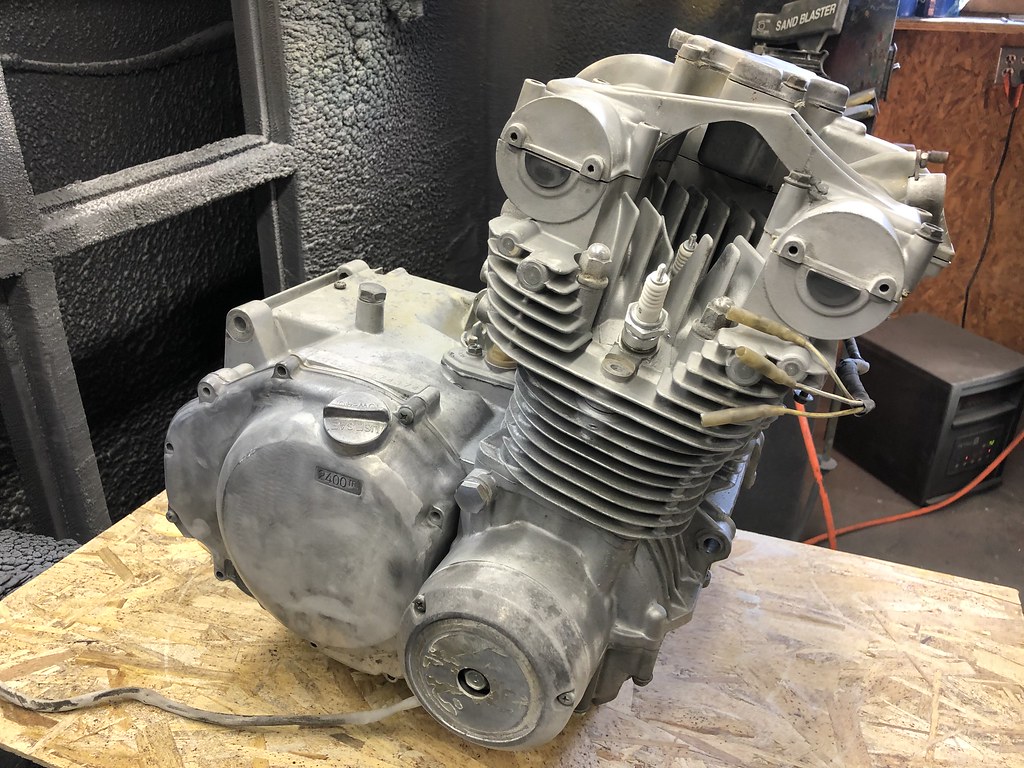
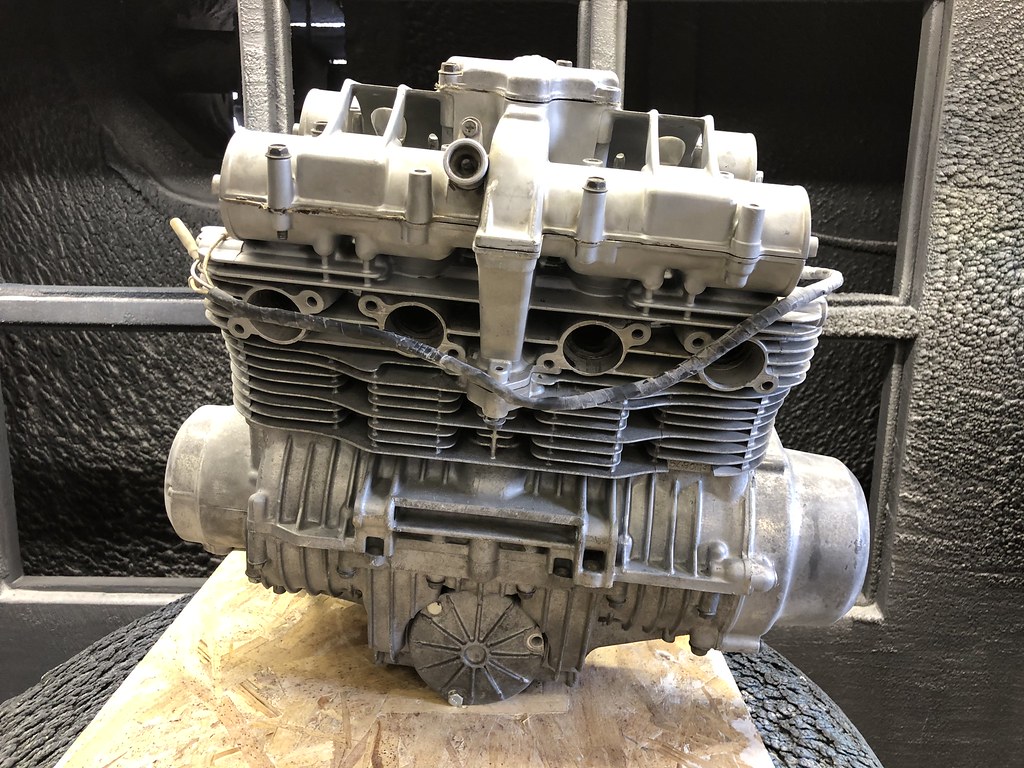
After soda blasting.
Pistons before soda blast

Pistons after soda blast

Leave a comment:


Leave a comment: