Announcement

Collapse
No announcement yet.

VG's Picture-Heavy 1982 GS450TXZ Journal

Collapse
X
 
  • Filter
  • Time
  • Show
Clear All
new posts

    VG's Picture-Heavy 1982 GS450TXZ Journal

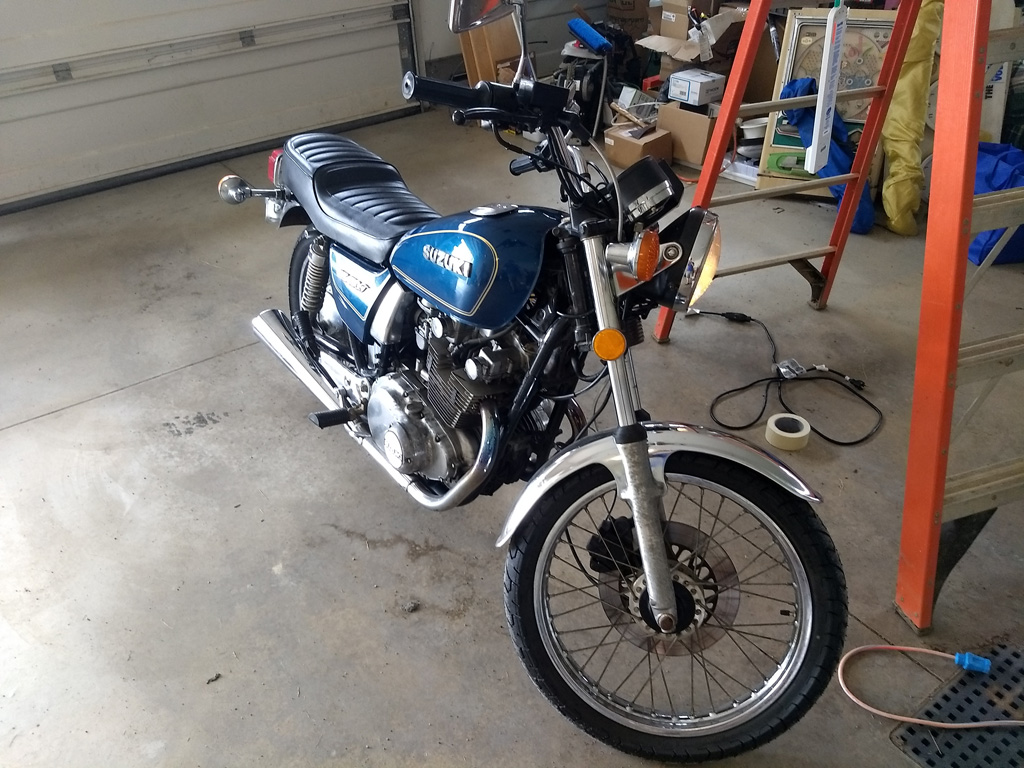
    I've had my 1982 GS450TXZ for about a year now. It is my first motorcycle and this thread will be a sort of pictorial journal of the work I've done. While it had clearly been taken care of, the more I worked on it the more I realized that it didn't get all of the maintenance it should have over the years. What I've done with the bike is less restoring or modding and more just learning my way while catching it up on 10+ years of deferred maintenance. Truth be told everything it took to get on the road probably could've been done over a couple weeks. I bought the bike in May 2019 and it wasn't on the road much last year before I stopped working at the end of September. But between keeping the bike at my parents' (my dad has a lift), waiting for ordered parts then needing to order something more, and then me just being slow as I learn, it simply took much longer than it would with more planning and experience. But that's part of why you learn, right?


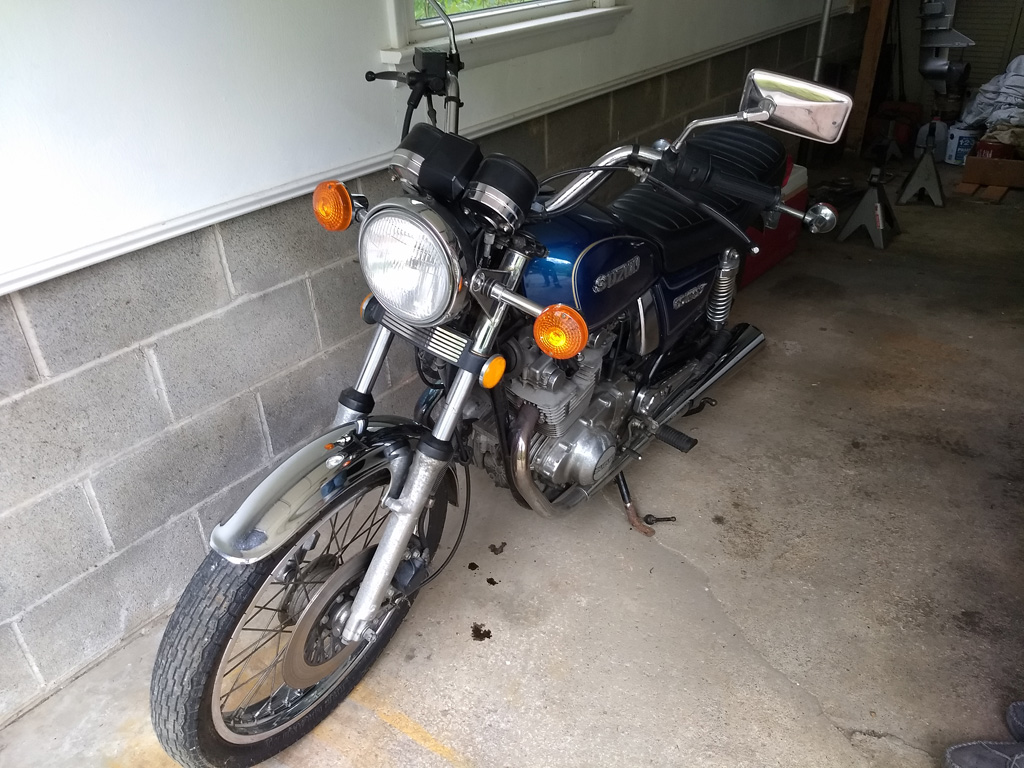
    I bought the motorcycle from an older gentleman who said he first got the bike to ride with his son who bought one of his own. They must not have rode much because based off the title he only put 1,000 miles on it in 10 years. Despite that he kept it in the garage and said it was maintained in place, which I believe because the battery held a charge, the gas tank was clean, and the oil decently fresh. It is in that perfect balance for me where it is nice enough to want to take care of it but not perfect enough to feel bad about actually riding it. It looks like the bike has been dropped on the left at some point. You can see the scuff on the headlight, the headlight mounts are also bent, and there are marks on the turn signal and clutch handle. Yes that is a drop of oil from the tach cable, but tightening the connection stopped further seeping. Though a replacement of the oil seal there is probably worth doing. It started up without a fuss and seemingly was close to getting on the road. In my introduction thread I hoped for no big surprises, there was really only one which is covered below.

    It is amazing how much you can learn. Thinking about my meeting with the man and my first look at the bike, I now realize how little I knew what I was looking at. At the time I was just watching Craigslist for classic UJMs in decent shape. Now I have a better idea of what to watch for, not that I have any significant knowledge compared to most of you guys. I'm very glad I lucked into what has turned out to be a solid motorcycle with such a great community and decent parts availability.
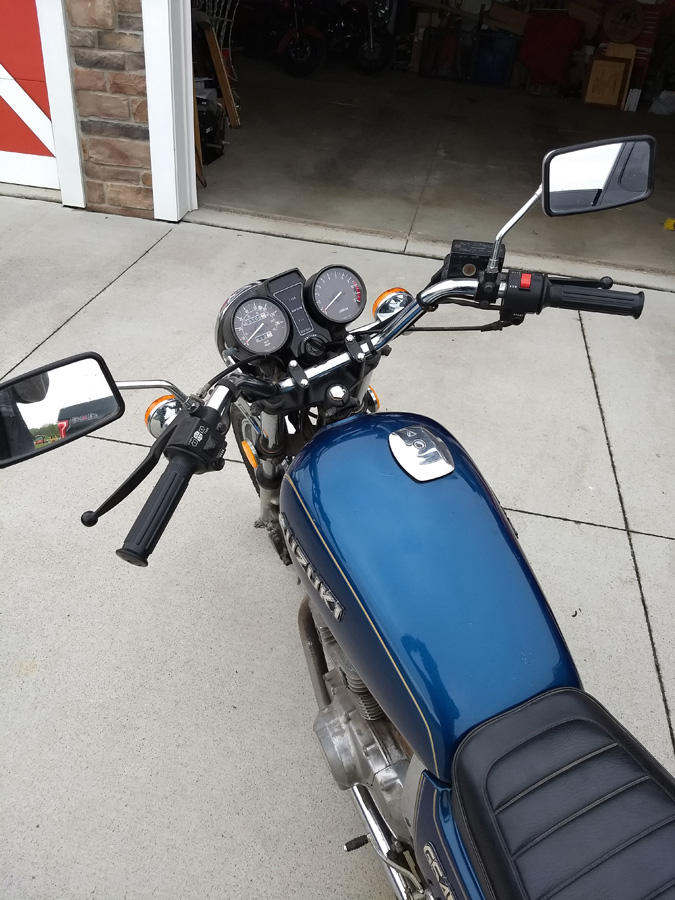


    The gauges, switches, and seat are in really nice condition. After riding, however, the speedometer is wildly off in the wrong direction. It reads 10-15mph slower than you are going. A digital speedometer to supplement may be in order.
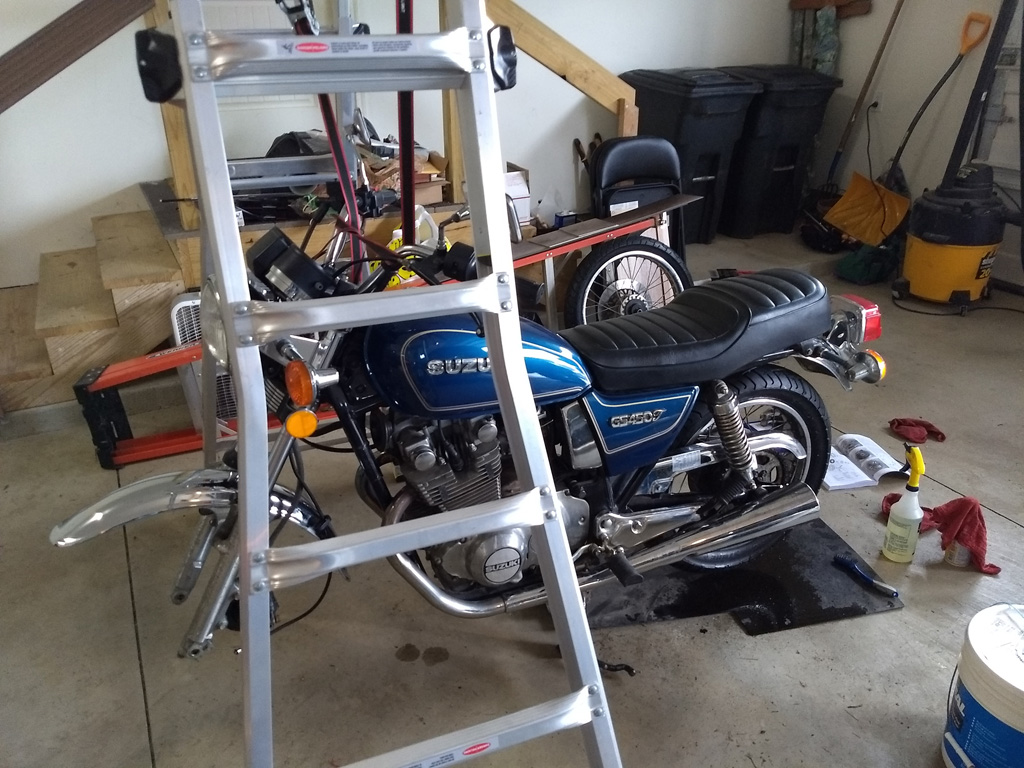


    The first thing to do was to replace those tires. The date codes were 1983 so if they weren't original they were pretty close to it! The stock sizes are slightly odd so I ended up keeping the front stock and going slightly larger on the rear. While the wheels were off the bike got new brake pads and shoes, kudos to LAB3 here who pointed out the bike might be a TXZ model. It is, so the rear shoes are a different size than if you just search for "GS450 drum shoes". The chain and sprocket are in good shape and got a cleaning and lube.
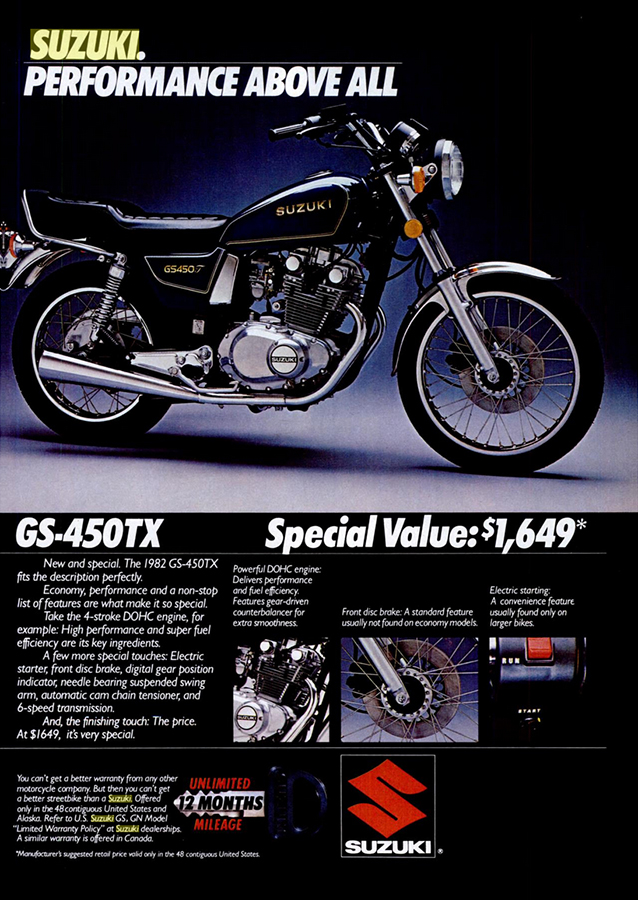


    An interesting aside is that the GS450TXZ was Suzuki's entry-level 450. Not only are the rear shoes a different size, but it has spoke wheels and it also lacks the air adjustment on the forks. Other than those it has the same features as any other GS450. They apparently had high hopes for its sales and the model first retailed for $1,649. Not sure that it hit their goals, the price was dropped a couple hundred within a year and the more traditionally styled T model was dropped completely after 1983.

    This is where I learned my first lesson. I've done the brakes on my car since I've been driving. Tightening the caliper bolts to snug then giving it a little more has been enough. Did that on my bike and took it around the block (country block that is, my parents have a farm). Came up on a stop going 55 and pulled my brake, nothing. I will give myself credit that I did not panic, I downshifted and used the rear brake to roll to a stop. My caliper bolts backed out and my front brake was hanging by the brake line. Those torque numbers in the manual are there for a reason, good to know.
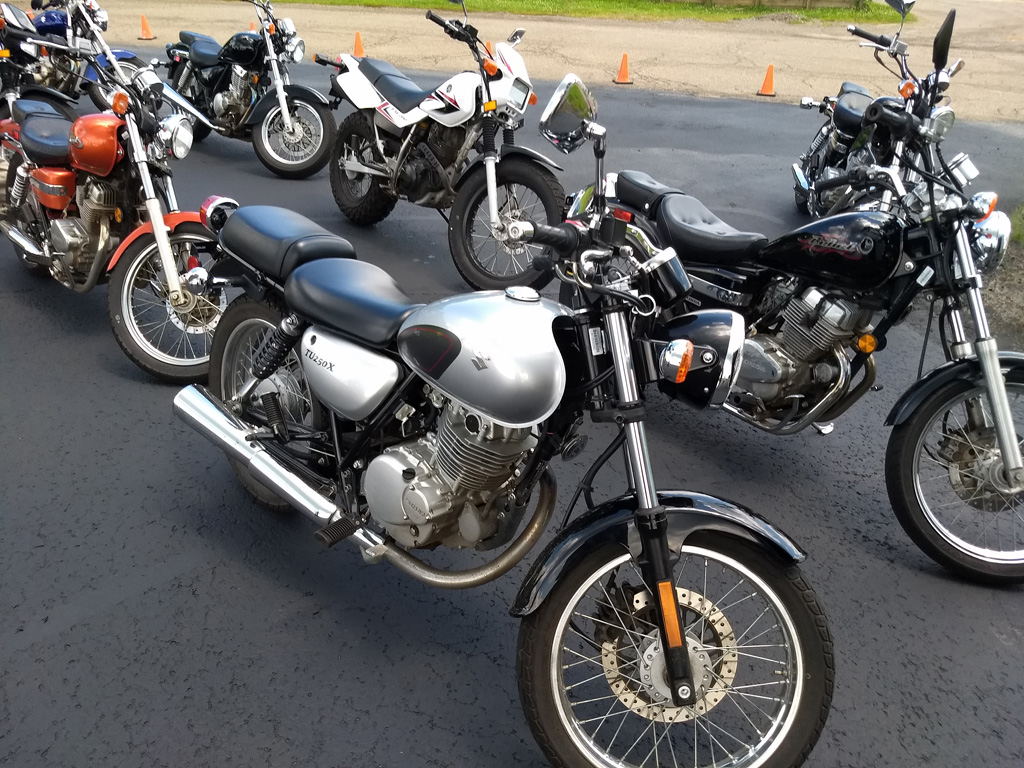


    While all this was going on I passed Ohio's version of the MSF course, which gives you a full endorsement. I had some good instructors and the class was a good base to start from, I'm definitely glad it was my first extended time on a motorcycle. However it is odd to me that riding around a parking lot for two days is enough to ride any bike you want without restrictions.
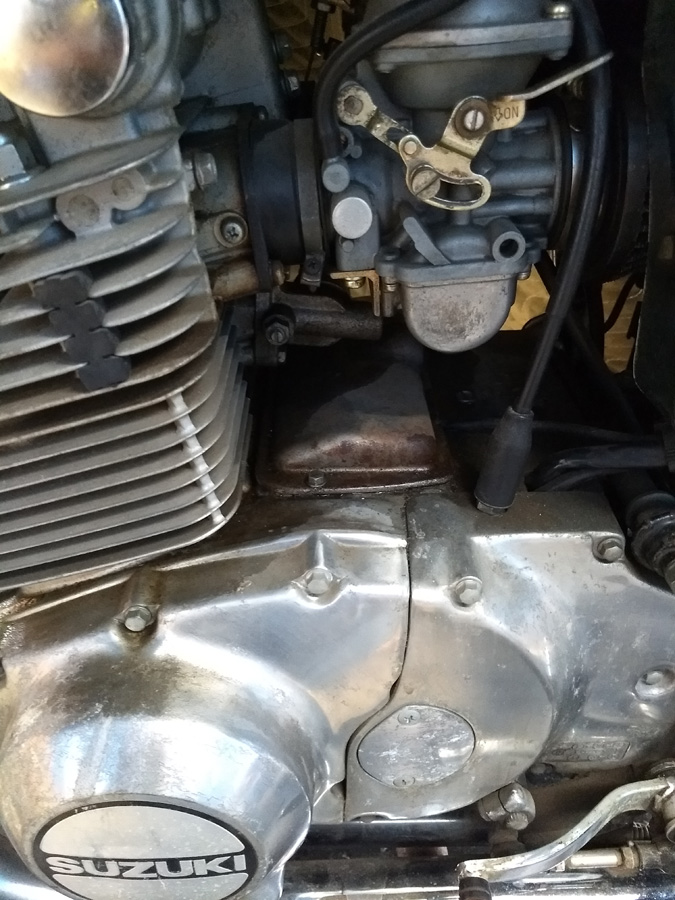


    Luckily there are endless low-traffic country roads around my parents' house, perfect for practicing. My bike still had a bit of a to-do list, but I wanted to ingrain some of what I learned in the course so I took some short rides. But then an oil leak sprouted, it was coming out pretty good! It was the cam chain tensioner. Thanks to bwringer's excellent guide it was a painless repair that fixed the leak.
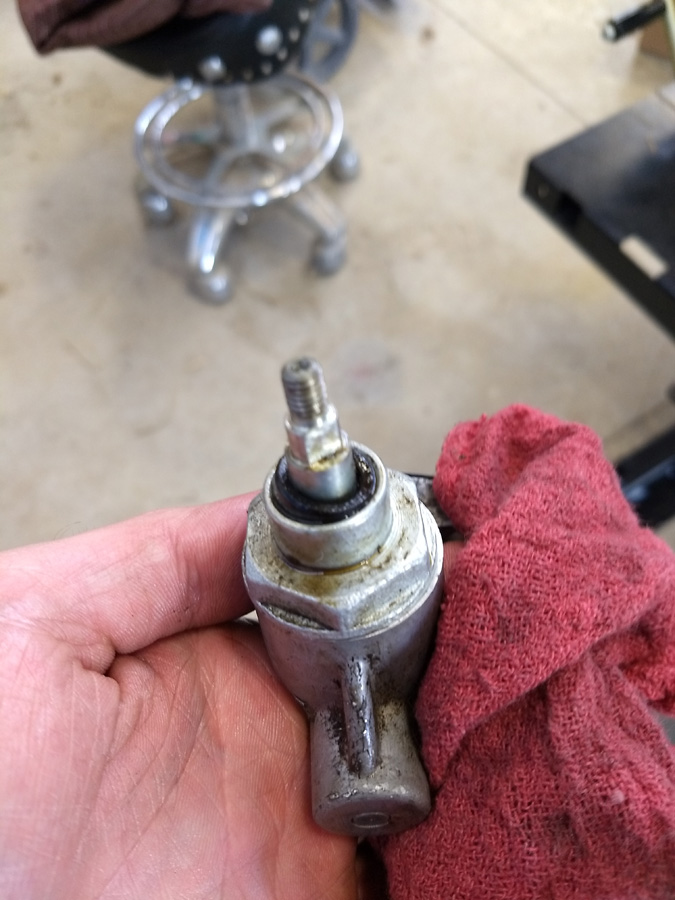


    That would be the cause of the leak!
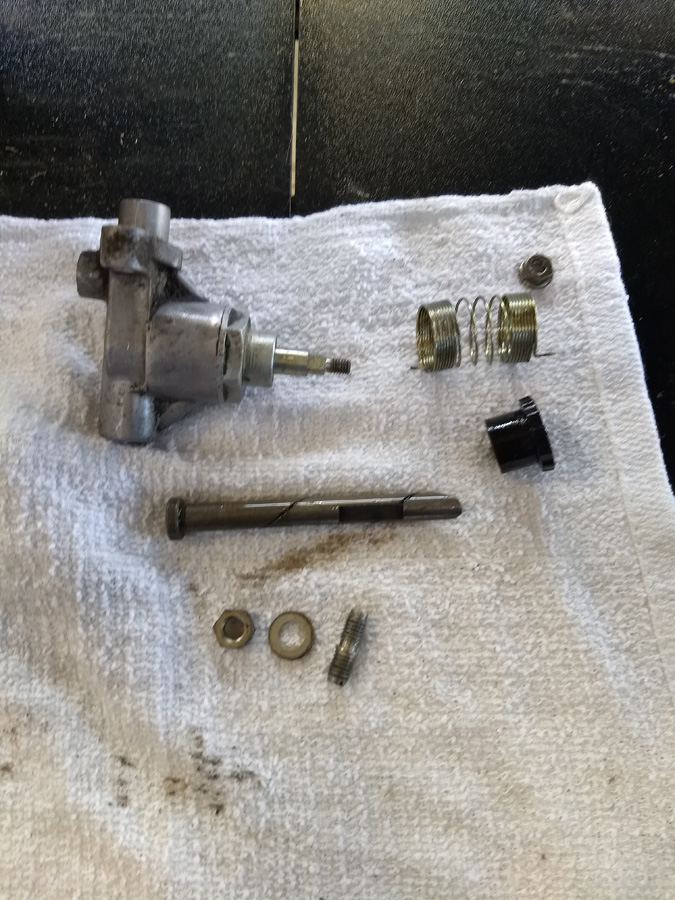


    Disassembled and cleaned.
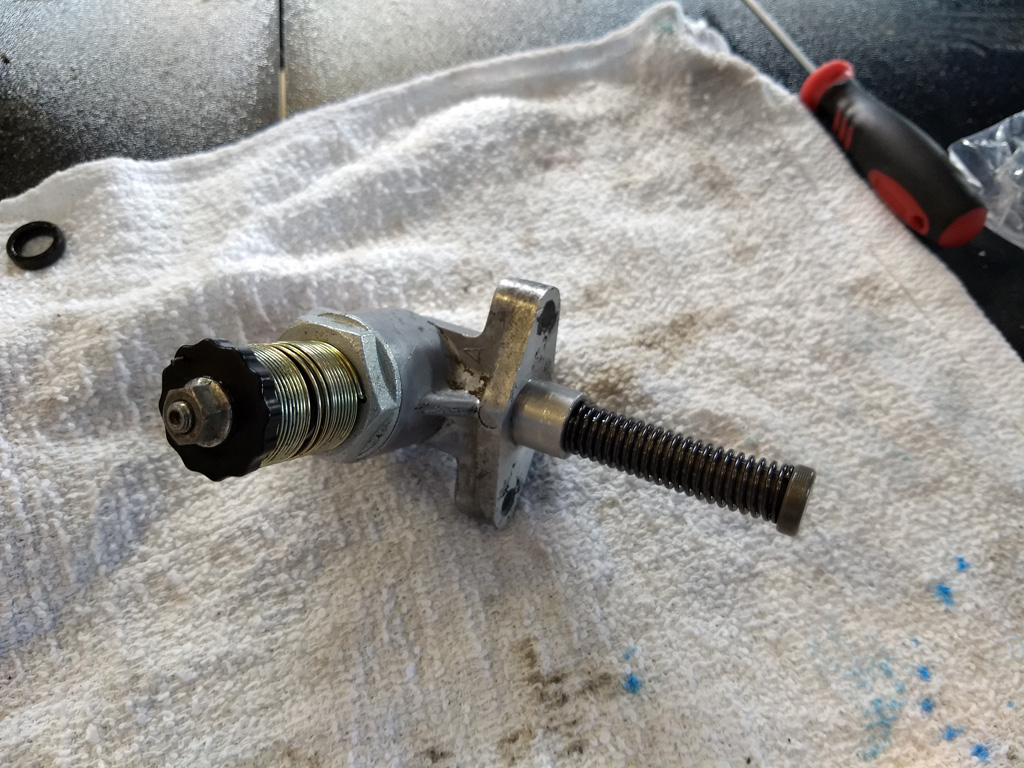


    All complete and ready for install. Playing with the mechanism, it is pretty clever!


    Continued Below
    1982 Suzuki GS450TXZ
    1985 Honda CB700SC Nighthawk S
    2015 Suzuki V-Strom DL650

    #2


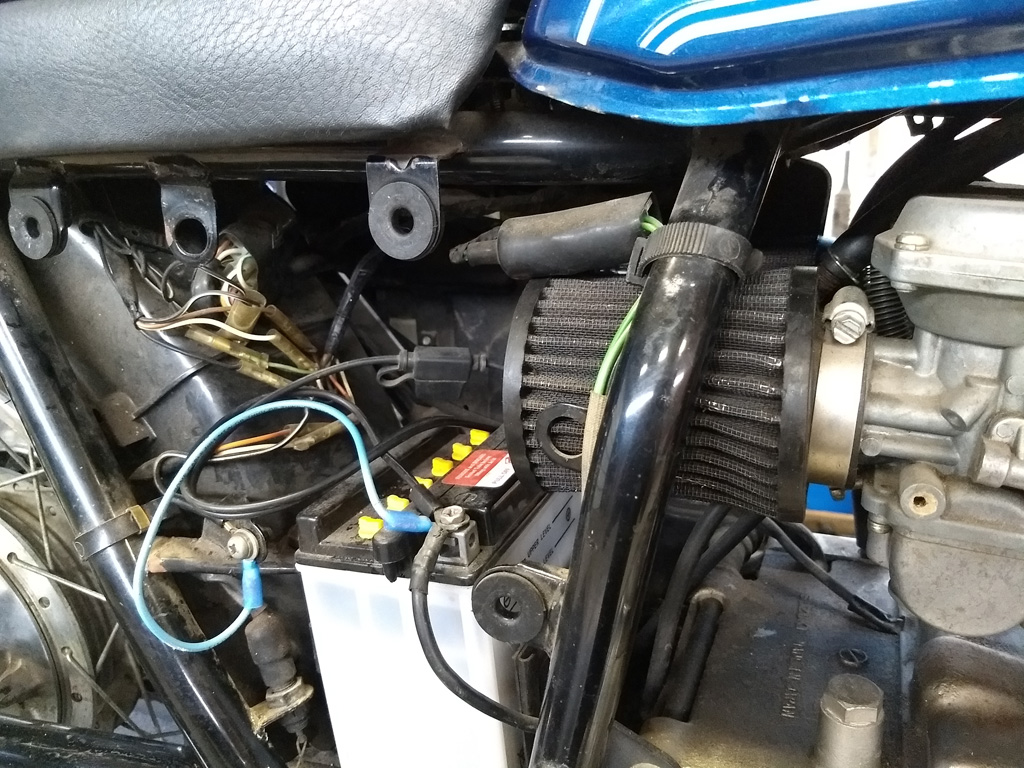
    This was the big surprise. When first looking at my bike I didn't think much of the air intake. But by now I realized these K&N pods were not original. I somehow doubt the man I bought it from put these on so they're over 10 years old. The bike ran ok so there was an attempt to rejet. These will come into play later. Also of note in this picture is the lack-of breather hose on the battery. This will create another lesson to learn over the winter.


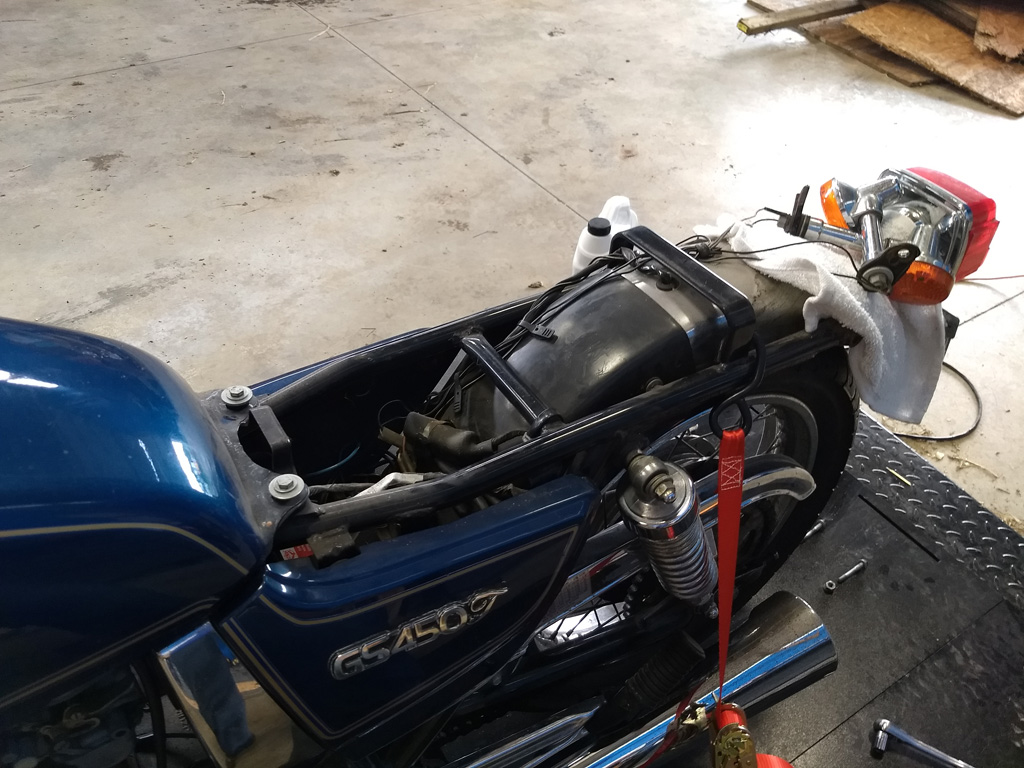
    Finally learned how to remove the seat. Took me way longer to figure out than I care to admit. (The service manual and Clymer manual just say "Remove the seat" with nothing further. On the TXZ the rear turn signals need removed, I'm guessing the original Owners Manual had instructions.)


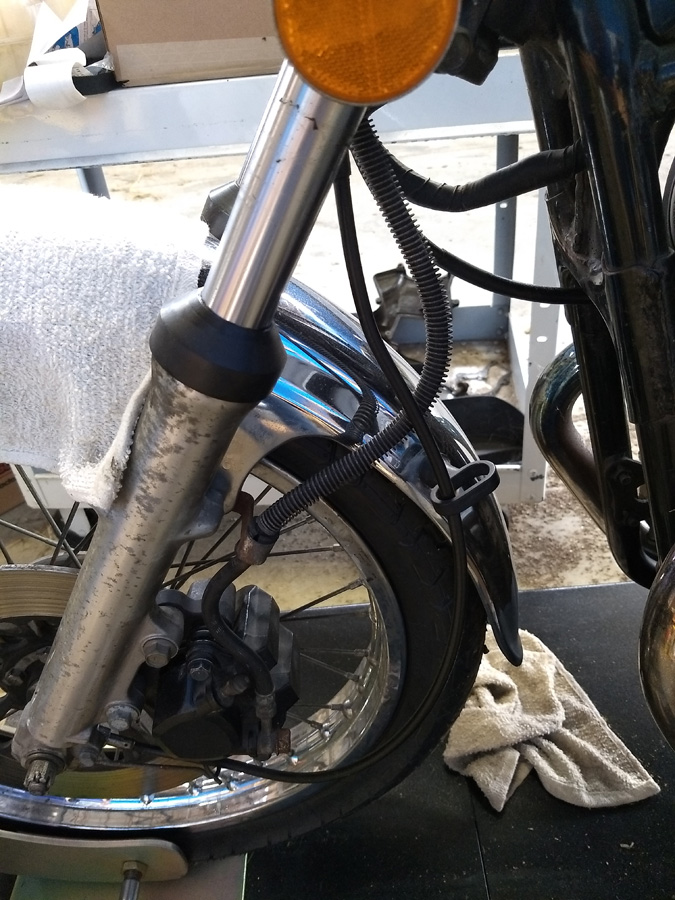
    The brake lines were original. Even the first owner failed to replace them even once.


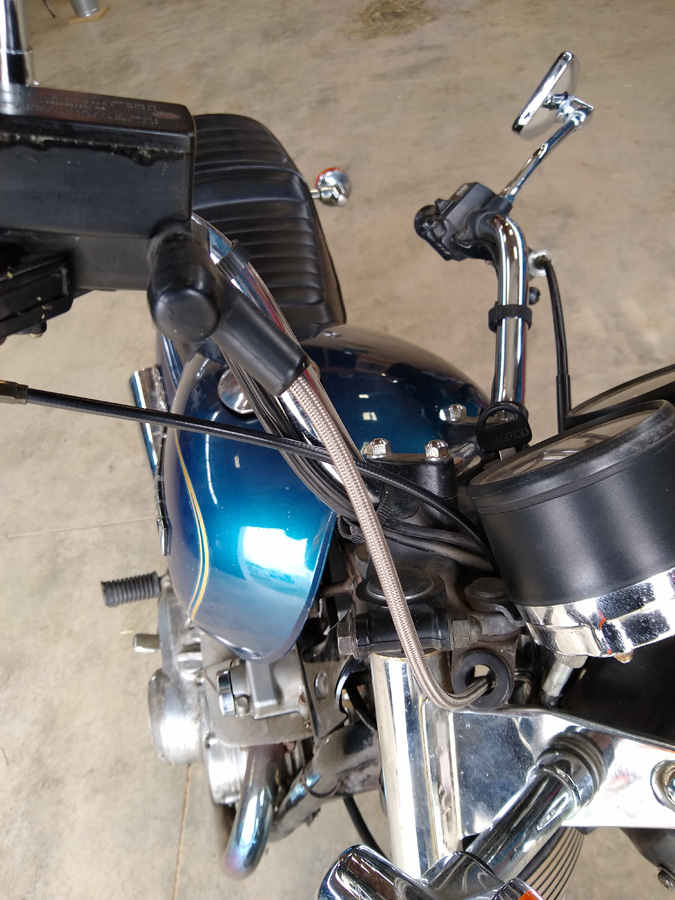
    Built a new Earl's line. Emptying then bleeding the fluid by hand was not very fun. But the end result is a very firm and grippy front brake. So firm, however, that the rear brake light wouldn't light unless I was really jamming on the handle, which is not ideal. Then I randomly stumbled upon in the Clymer manual that the cover on the handle switch has some play in it to adjust when the light connects. I'm at the very limit of adjustment but it works fine now!


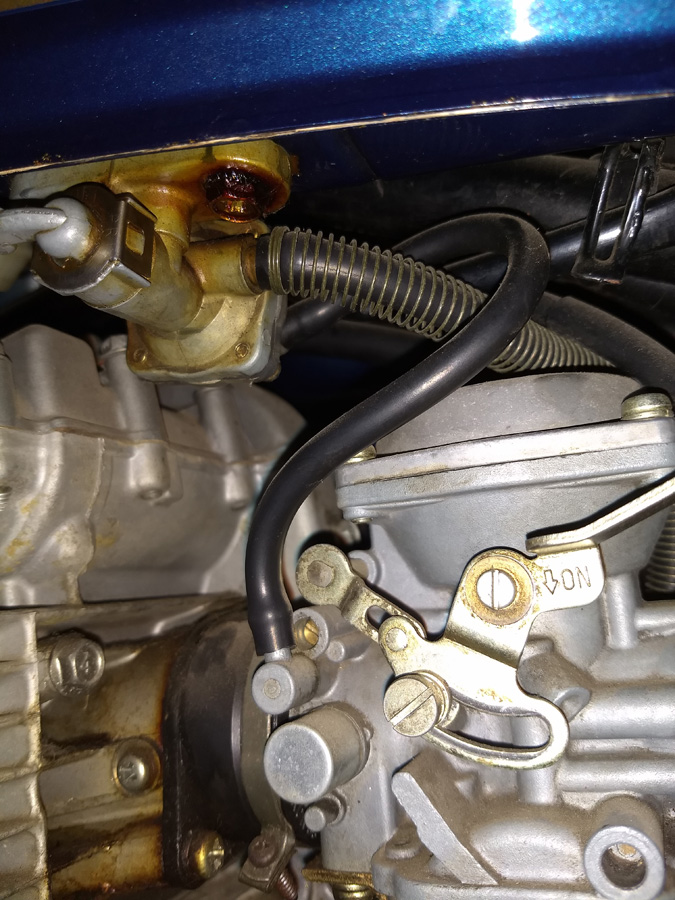
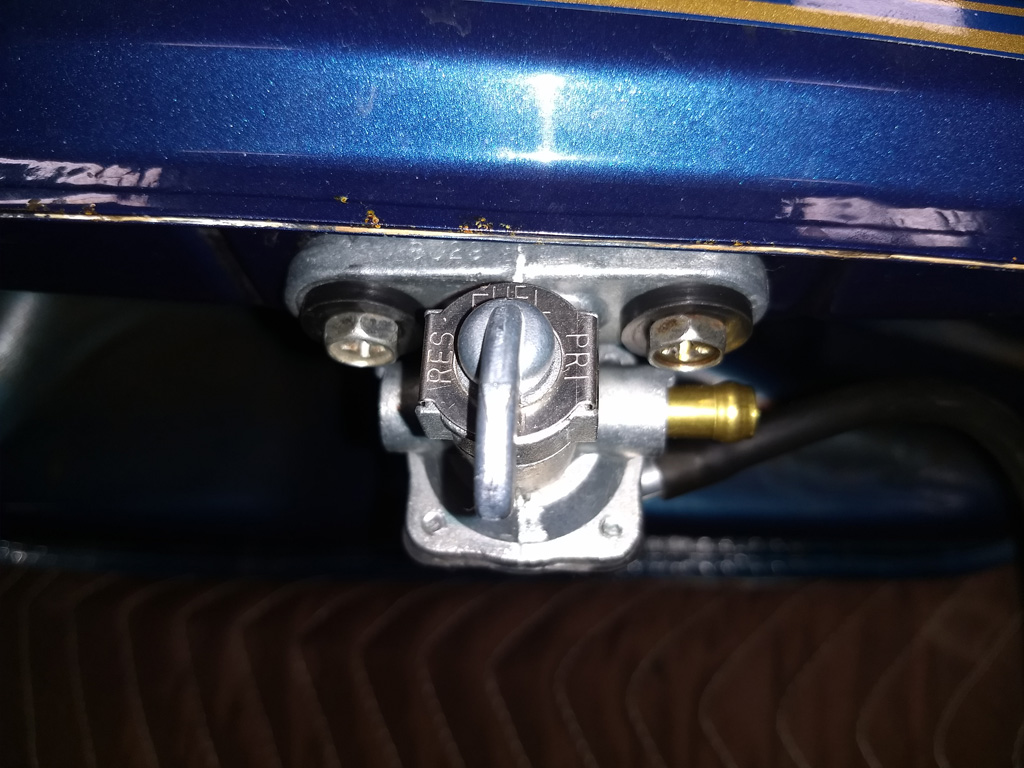
    From the beginning the petcock was stuck in the "Res" position. That didn't stop me from short rides but it needed dealt with. It was really grody from seeping.


    The replacement is the common K&L aftermarket recreation. The original washers were clearly shot, so I had to fit it with rubber washers from the hardware store. It doesn't leak so they do the job.


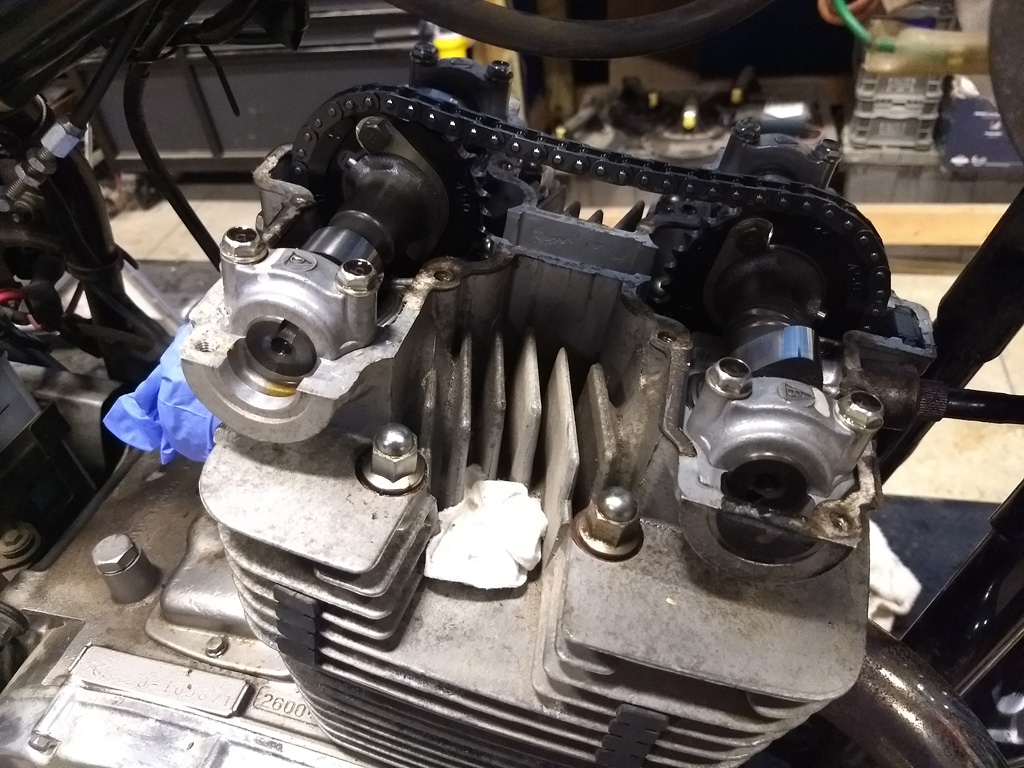
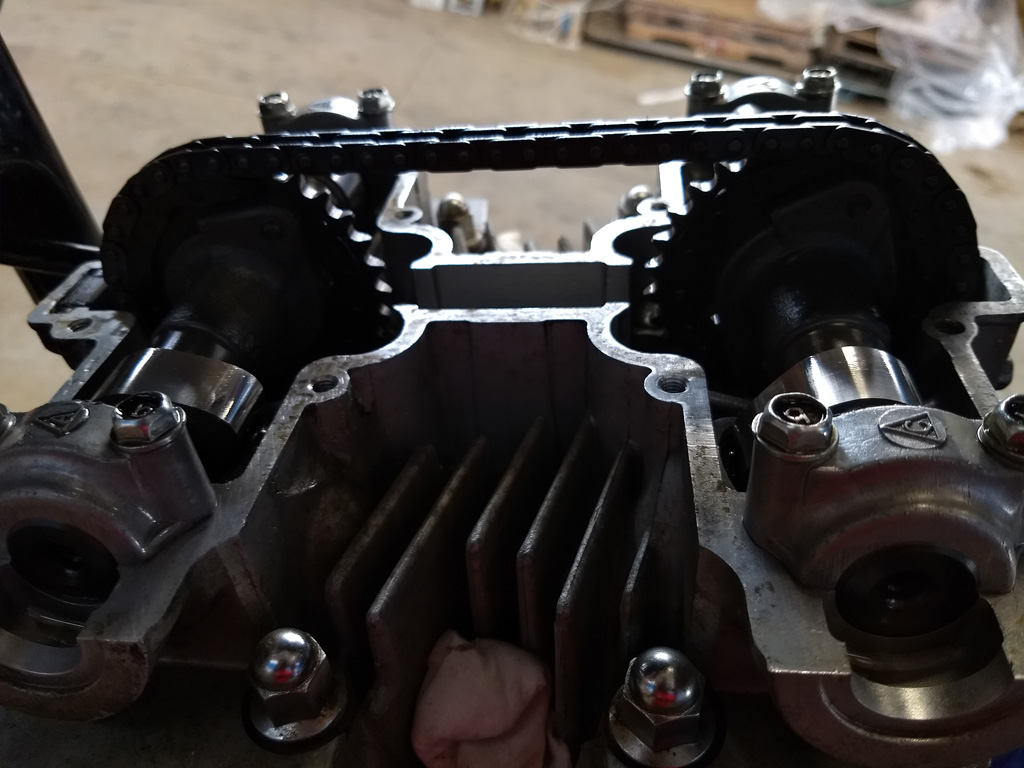
    The time came to tackle my valve clearances. While I was doing this I sent my carbs to Bill here on the forums for a rebuild and cleaning.


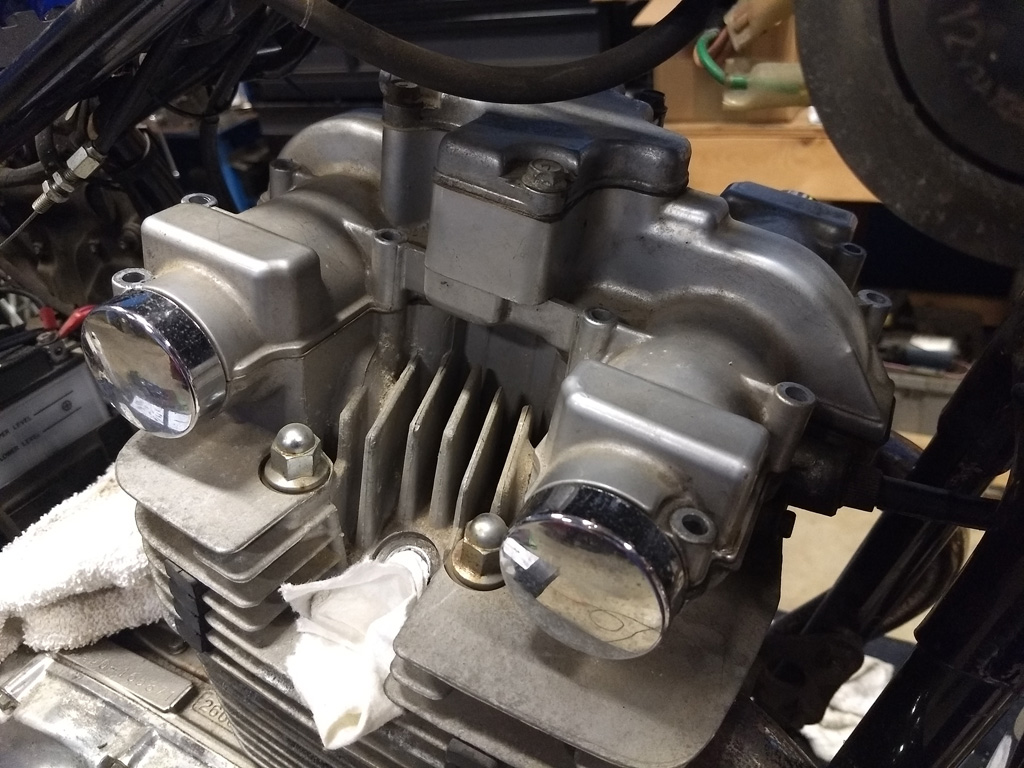
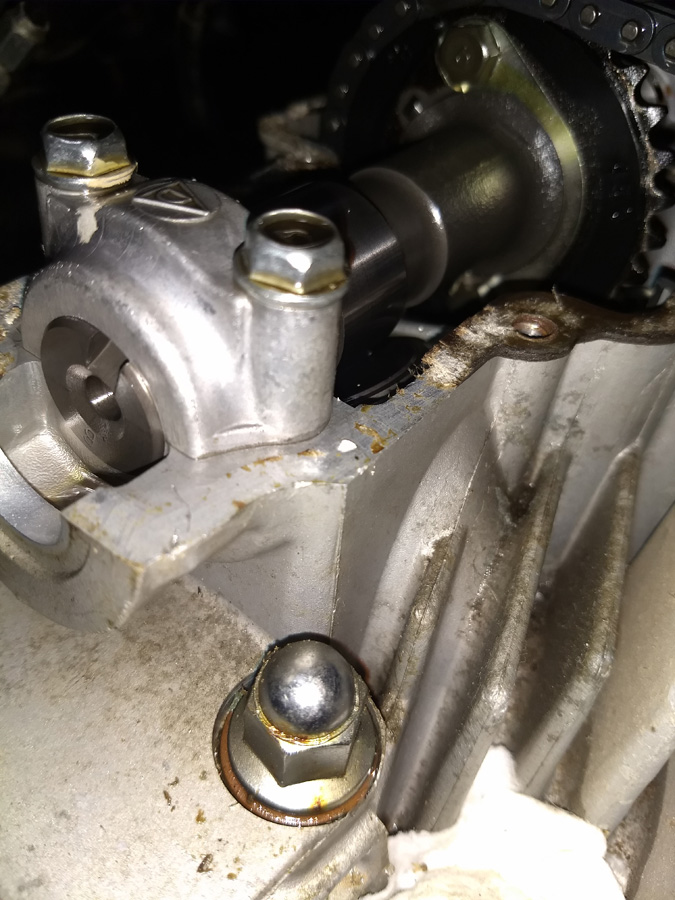
    First step was the toughest. The valve cover was stuck! Asked here for advice and a combination of wetting it with WD40, chiseling an edge in the gasget to grip from, then using different thickness putty knives on that edge got it off. Took a couple evenings!


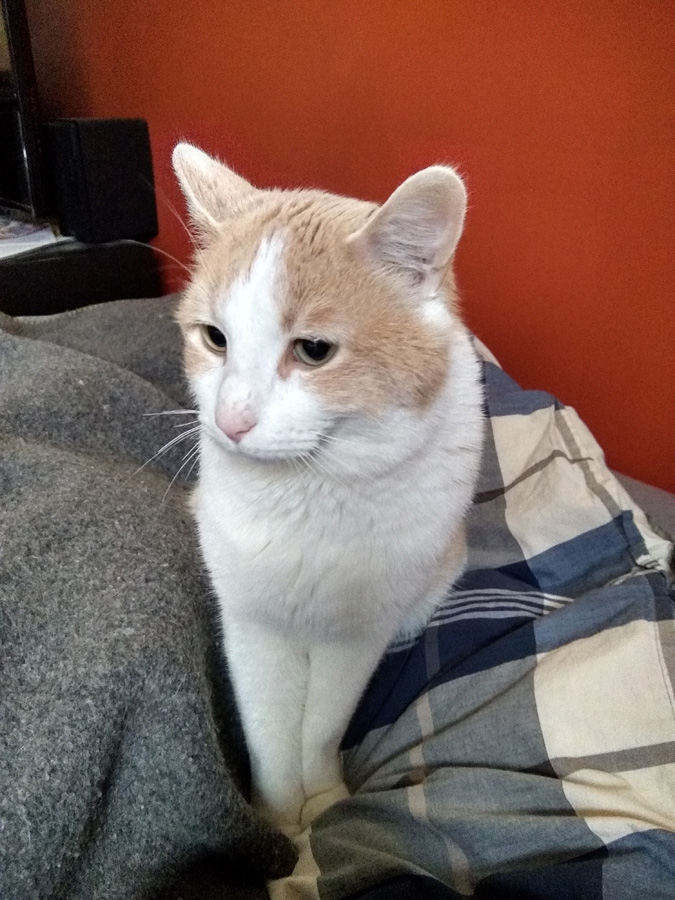
    While working this friendly guy strolled into the barn. I asked my mom when she got a new cat. She didn't. He then never left and lived at the barn for a few weeks. No microchip, not fixed, either a dump or a stray.


    Meet Baker! He now lives with me.

    Continued Below
    1982 Suzuki GS450TXZ
    1985 Honda CB700SC Nighthawk S
    2015 Suzuki V-Strom DL650

    Comment


      #3


      Back to the bike. It was painstaking to remove the gasket without knocking material into the engine.


      But I did get it pretty clean


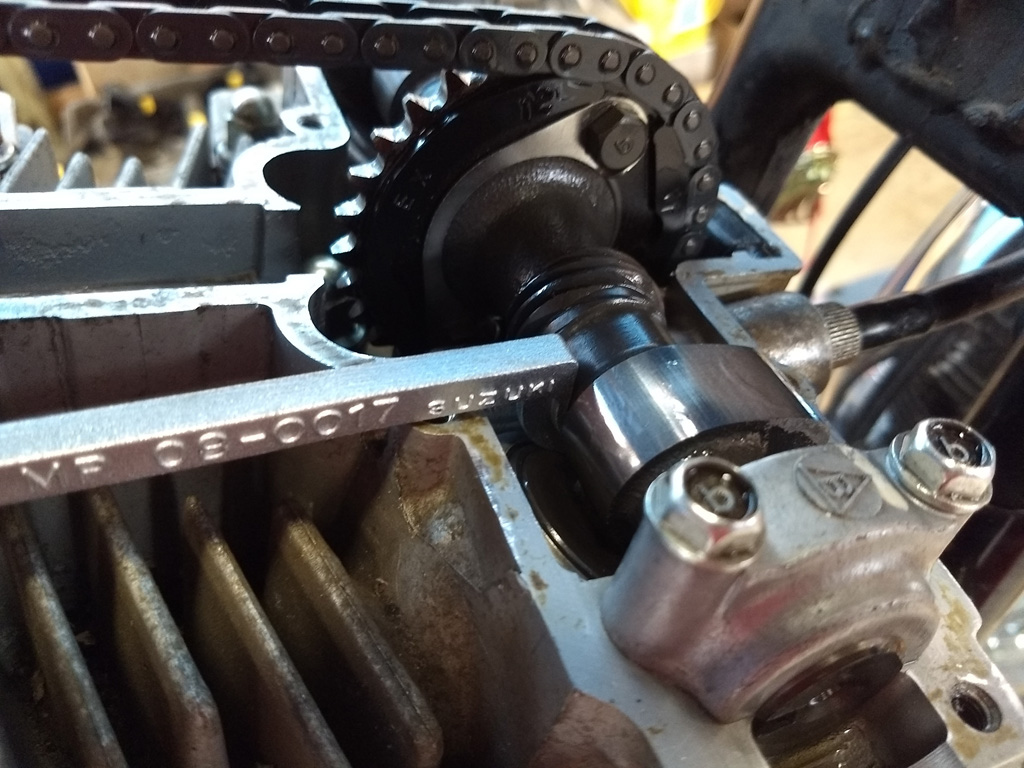
      I opted for the tappet tool instead of the zip tie method.


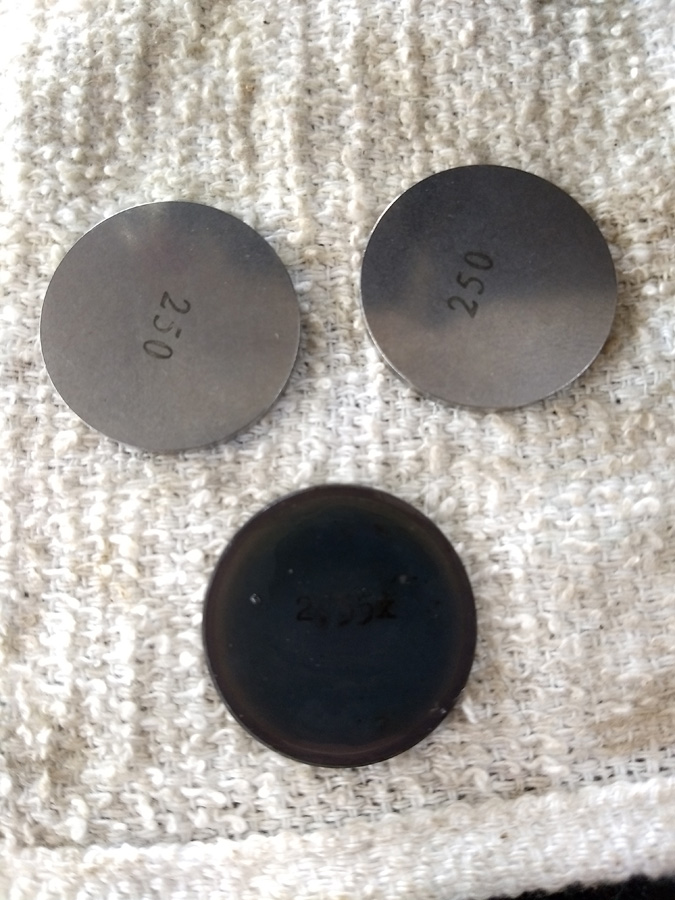
      My two exhaust valves were tight. So they got new 2.50mm shims from the original 2.55x size. They now are slightly loose but that is better than the alternative.


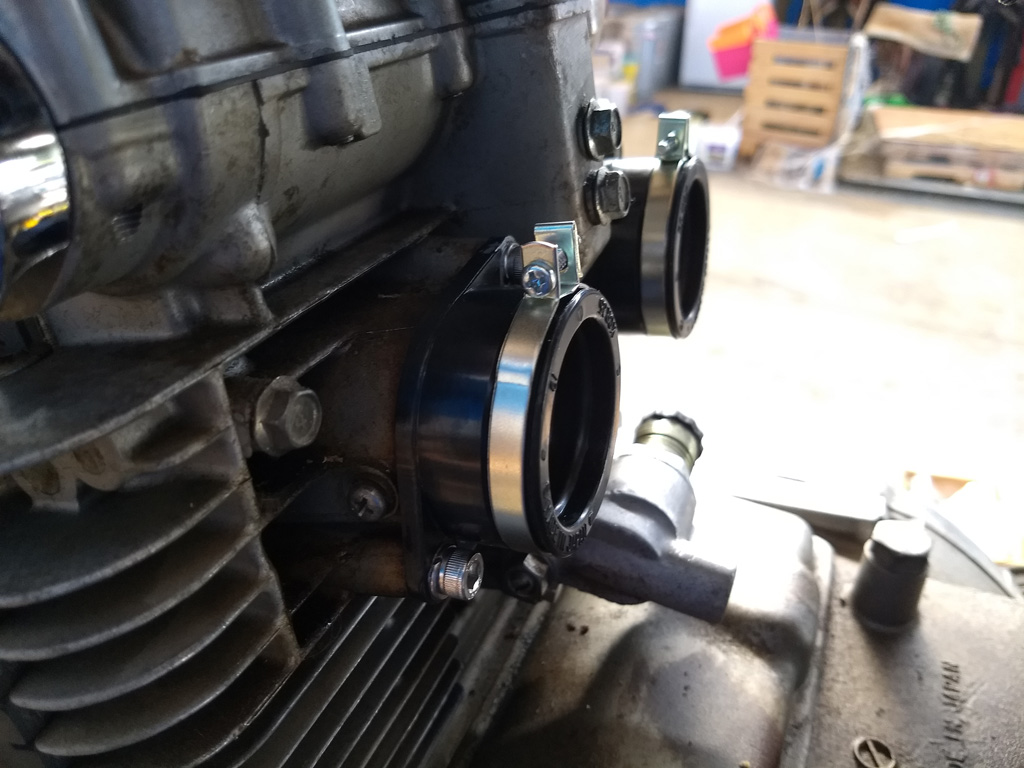
      New intake boots and o-rings. The old ones were still pliable but I'd rather have fresh ones that I know I put on.


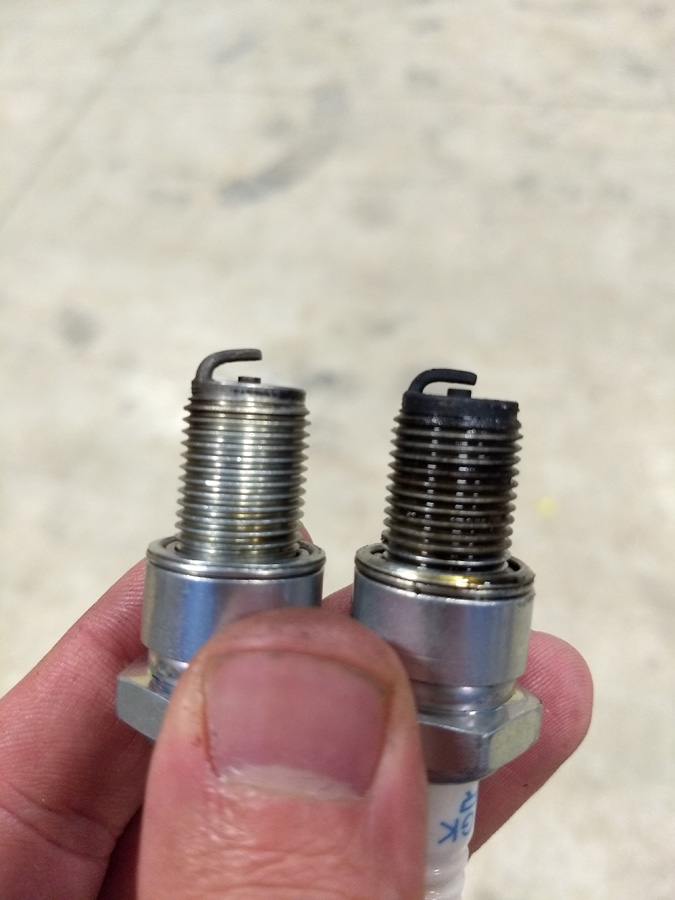
      Spark plugs were cleaned and gapped. That looks like oil in the cylinder, something to keep an eye on.


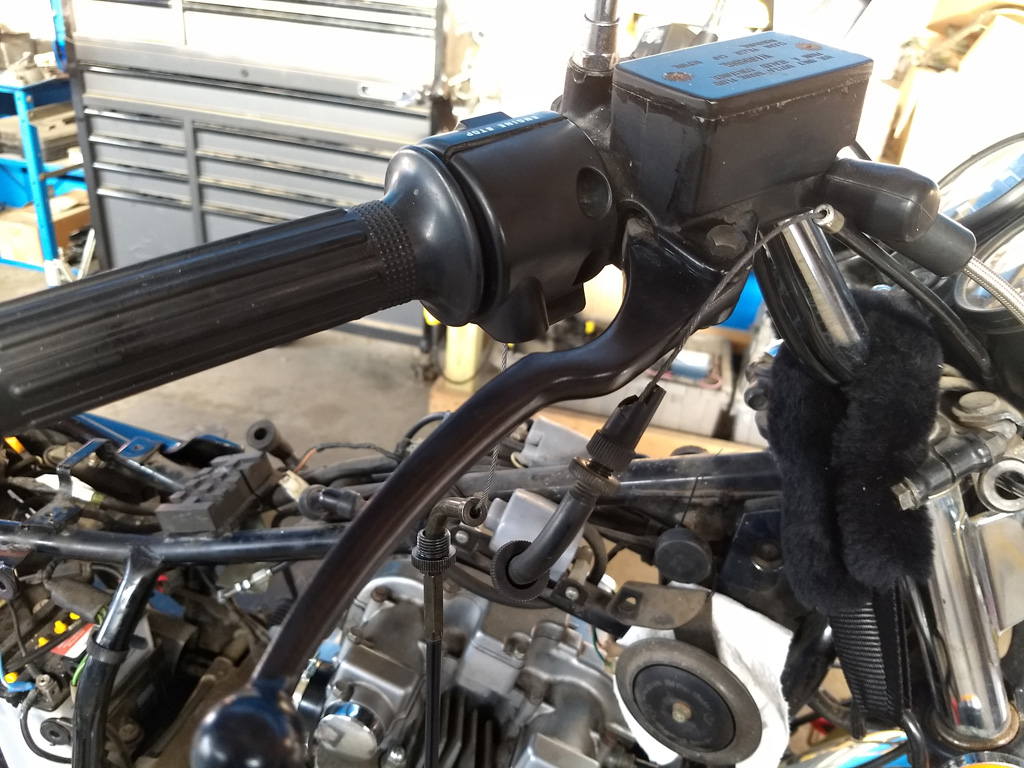
      The throttle cable worked but had some damage to the adjustment piece. I went ahead and replaced it.


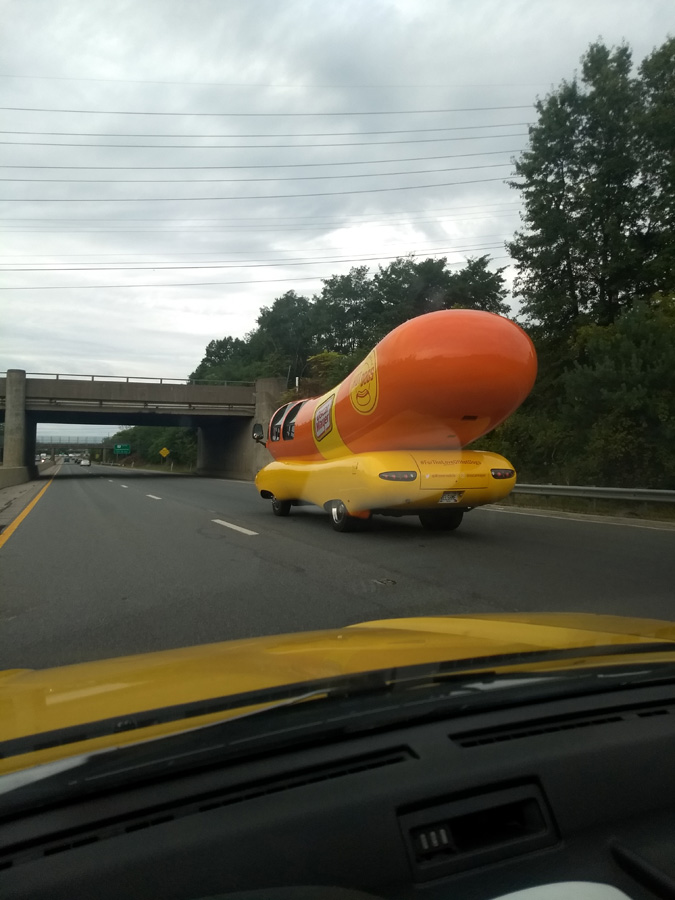
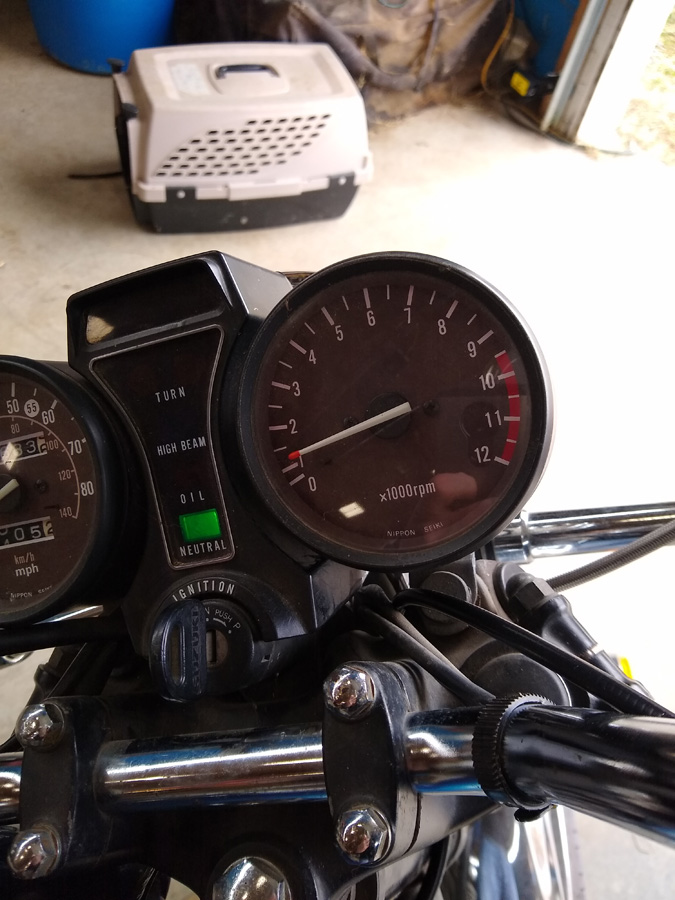
      I had by now received my carbs back from Bill. They were indeed rejetted in the past but the jet was too big. He warned me that I may need to add a washer if I saw a bog in the throttle. I immediately heard what the valves do, fired up it sounded very smooth compared to before! Though it was idling at 3000rpm. I needed a sync tool. There was a Motion Pro nearby on Craigslist so I bought it. On that trip I saw the Wiener Mobile on the highway. What are the chances?


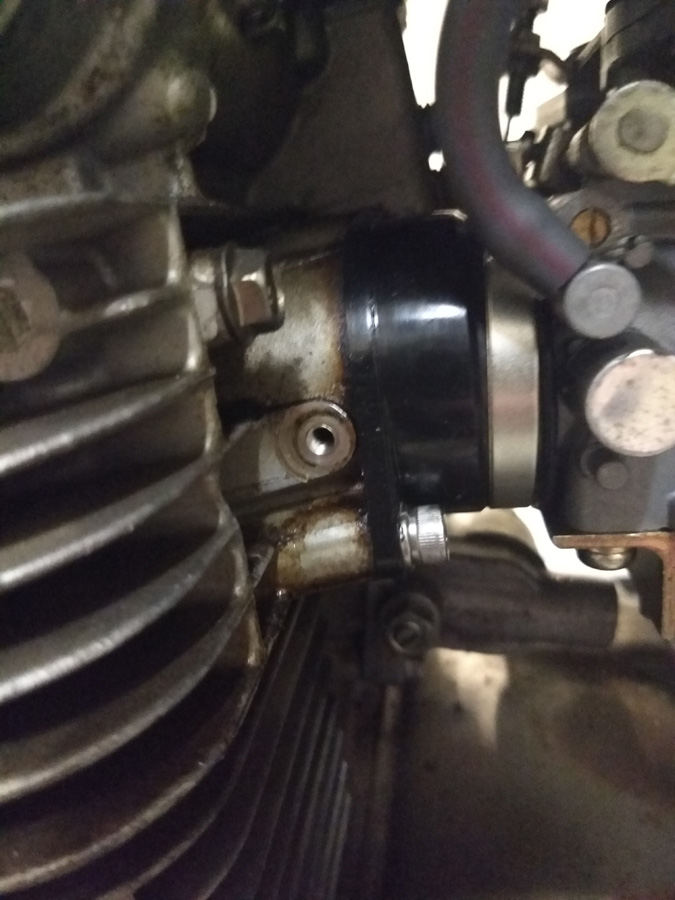
      This vacuum port screw was a pain. It was not only stuck but stripped. Jeez are Vise-Grips just junk anymore? The needle nose pair I bought to get the screw off with were so wobbly and loose compared to my dad's 30 year old ones. I ended up returning them and getting a Harbor Freight pair that are much nicer(!). The ports got new allen screws.


      This is where I made my big mistake. I did not discern the difference between the Idle Mix screws and the sync screw. I hear your laughing, but the Clymer manual talks more about the idle screw than the actual one for sync in the middle of the carbs. I now know that. After I continued playing around and wondered why I wasn't having much luck, the bike refused to start. I had a trip coming up and planned to resume when I got back. However due to a typhoon we got back a week later than planned and the second half of October was really crappy weather-wise. So I topped off the tank, added stabilizer, and stored the bike for the winter.

      Continued Below
      Last edited by VGplay; 04-21-2020, 01:18 PM.
      1982 Suzuki GS450TXZ
      1985 Honda CB700SC Nighthawk S
      2015 Suzuki V-Strom DL650

      Comment


        #4
        Cue March. Warmer weather is coming and I wanted to get things running. I decided that the best way to do that was to return the intake to the stock airbox instead of chasing carburation gremlins with the pods. I reached out to Bill about rejetting my carbs back to stock and he said send them over.


        With the carbs going back to stock, the next step was to find a stock airbox. This wasn't too difficult, there were a couple available on eBay. The most cost-effective way was getting this bare one with the cap and clips separate. By chance the included boots were still rubbery and pliable.

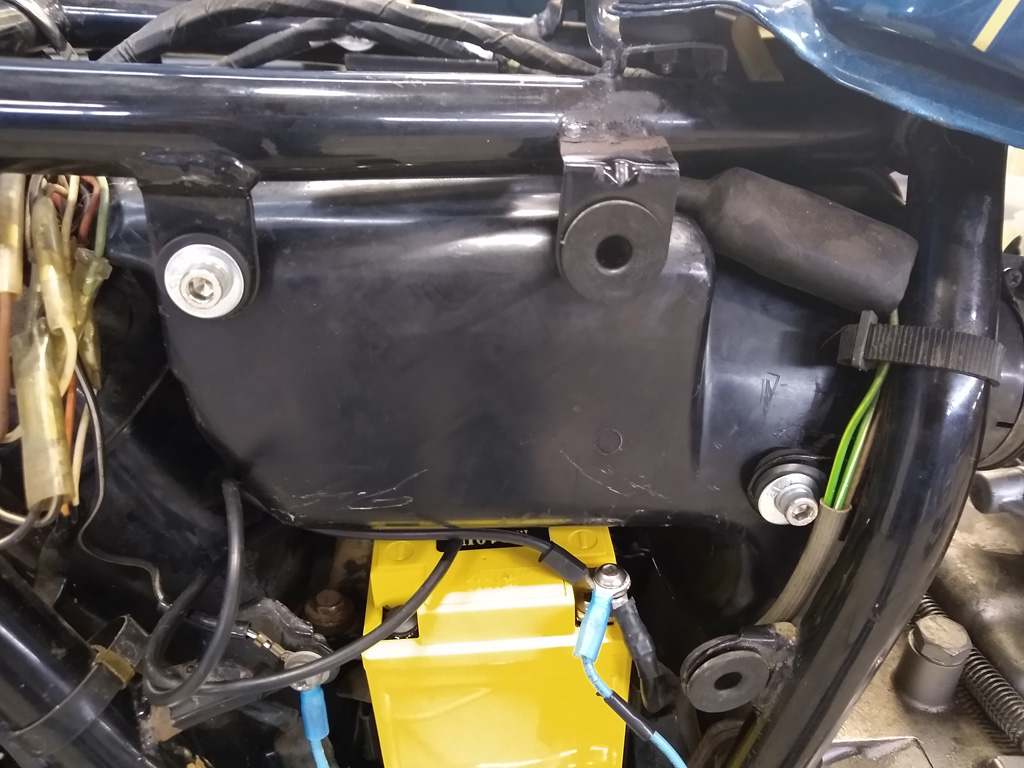
        Look at that rust on the frame around the battery area. My battery that didn't have a breather hose burped over the winter so the acid sprayed out. Blegh! I'll need to touch that up sooner rather than later.


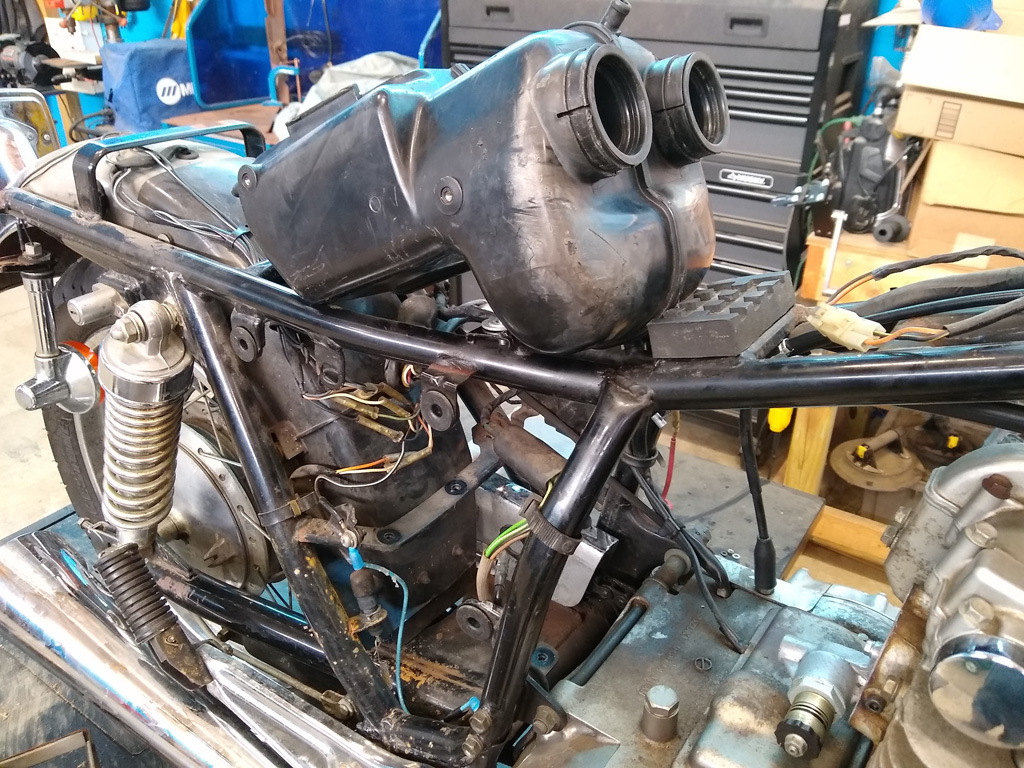
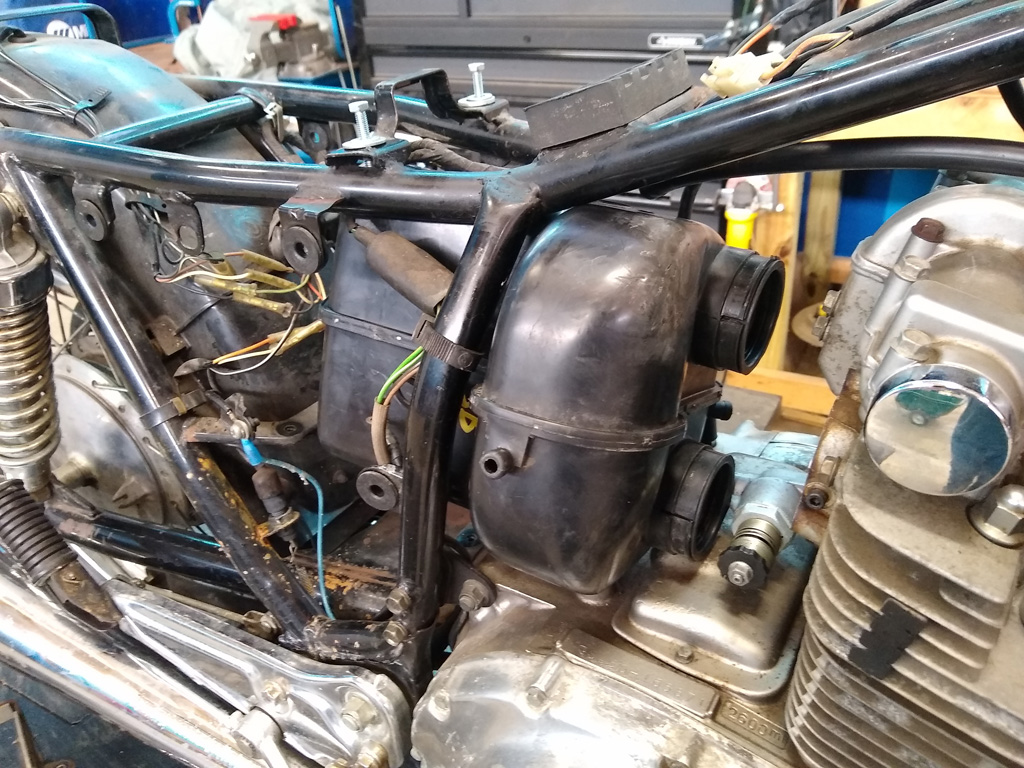
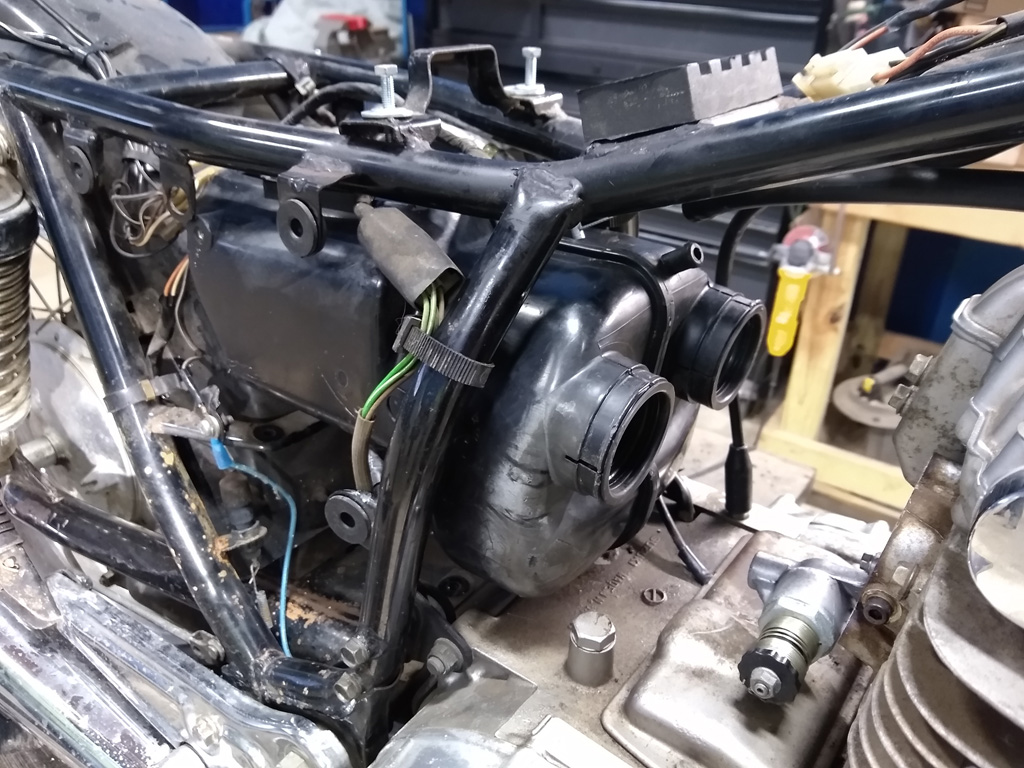
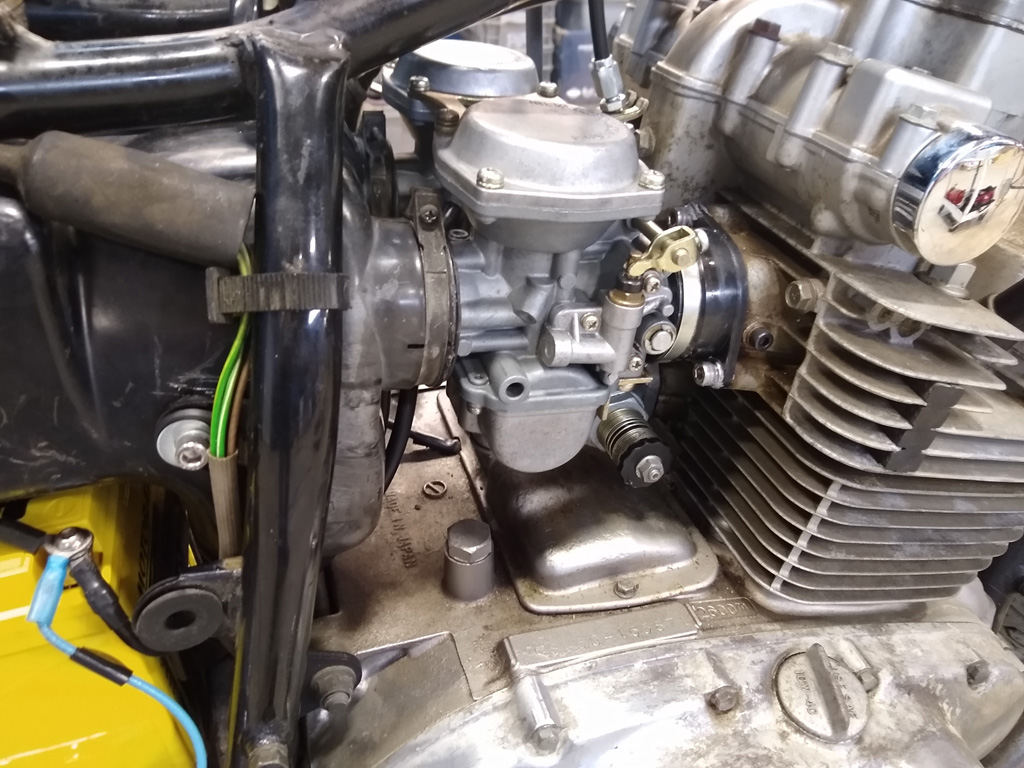
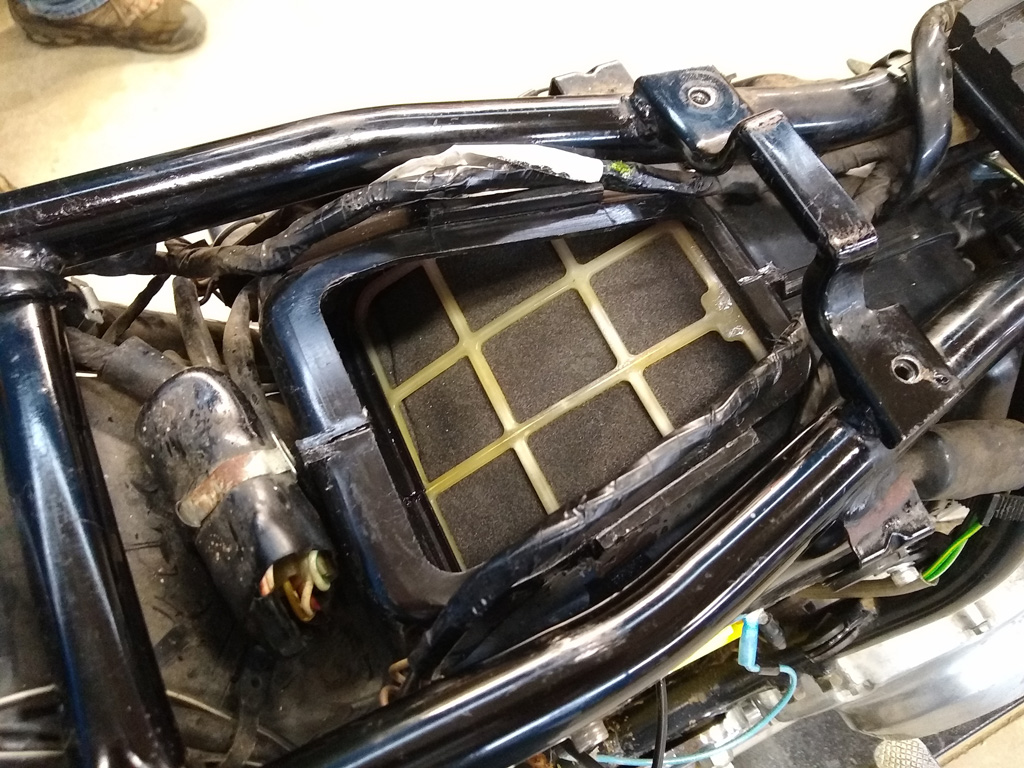
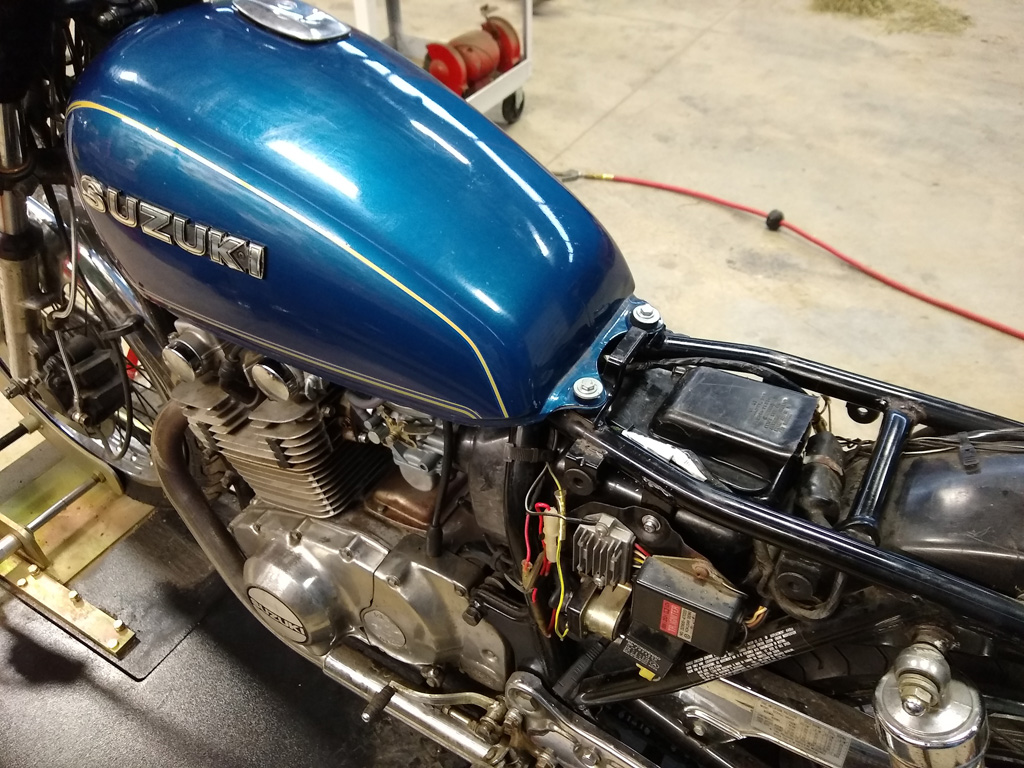
        After hearing horror stories about removing/inserting the airbox with the engine in place I was prepared for the worst. ...but I didn't have much trouble. It was a tight fit, sure, but the scuffs on my secondhand unit provided some clues about fitment as well as the purpose-made dent on the left corner. I removed the battery box and electrical bracket. With the airbox turned sideways I was able to fit it to this point. But the cam chain tensioner prevented it from rotating rightways.


        So I removed the tensioner and the airbox slipped into place. Now I needed the rest of the assembly.


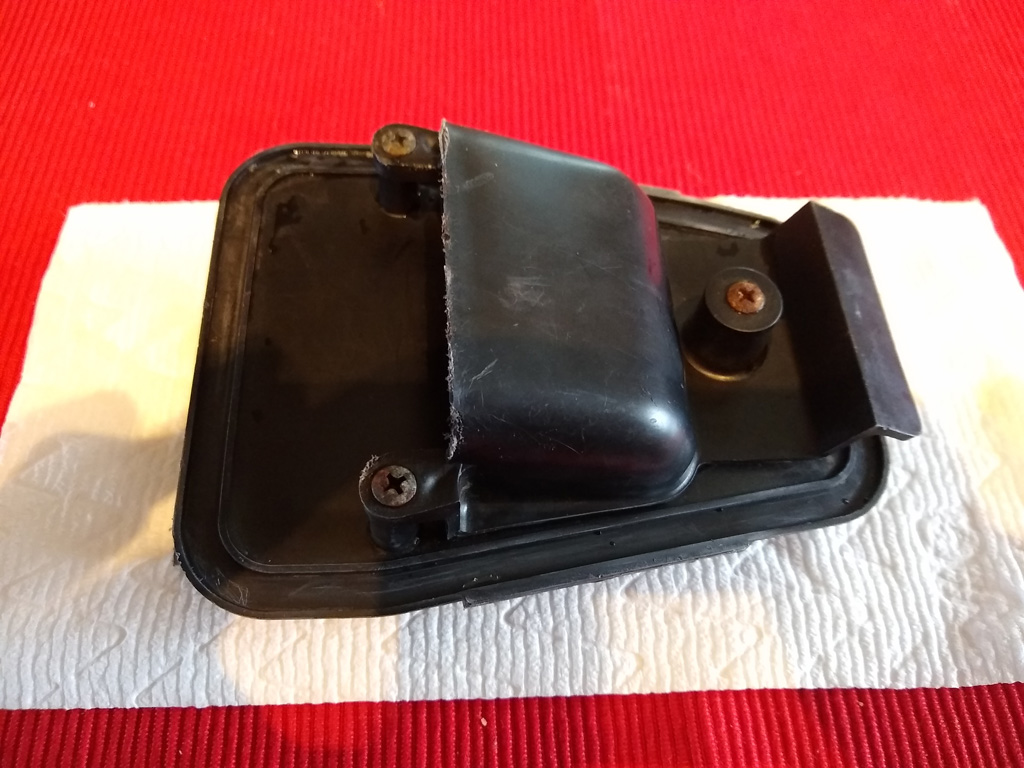
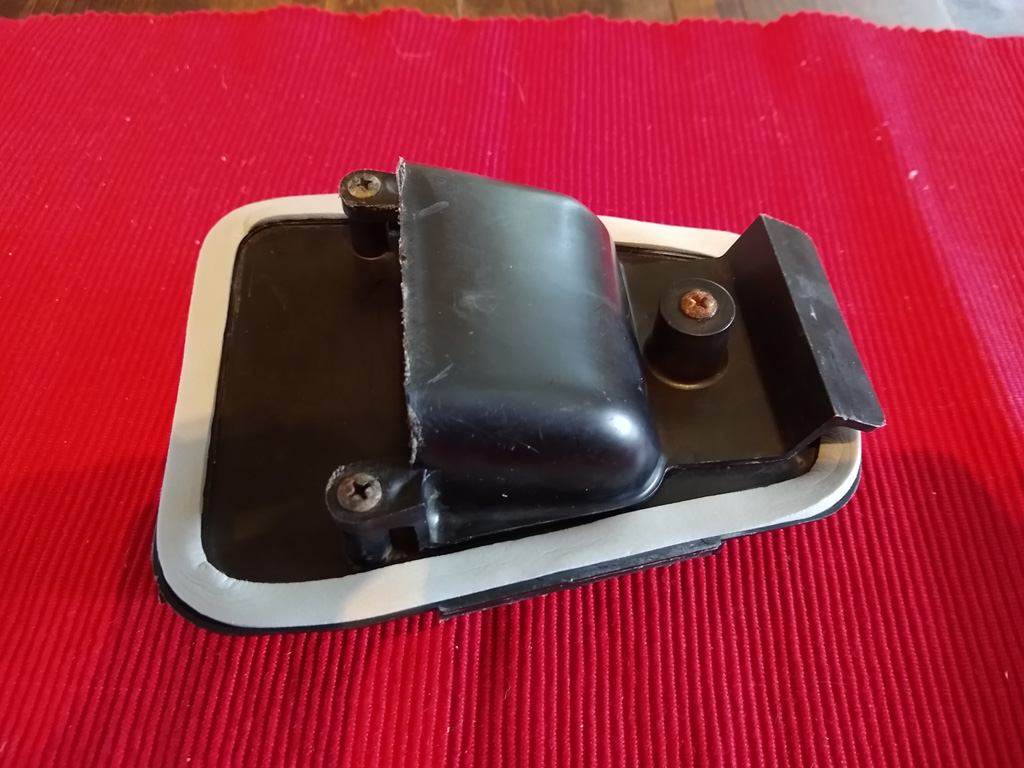
        You can actually still order the cap new, but I just bought a used one and cleaned it up, removing the remnants of the original foam gasket.


        And then used some off the shelf weatherstripping to make the seal.


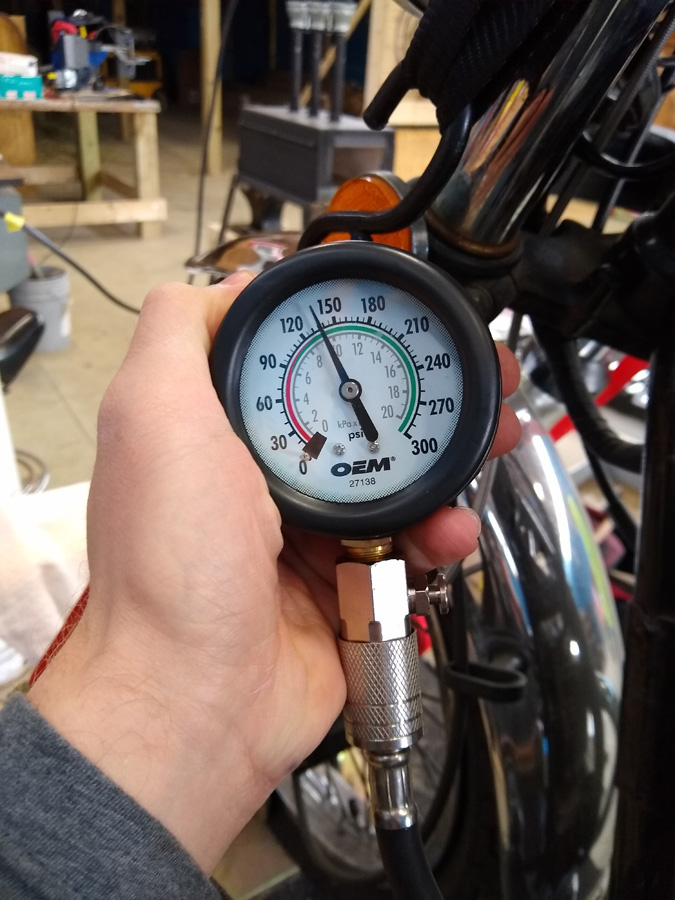
        At this point I was waiting for the carbs back and the clips that attach the lid to the airbox. Just to check (how did I not do this when I first got the bike?) I got a loaner compression gauge and checked the compression. Bone cold the left cylinder is just about in the middle of spec.


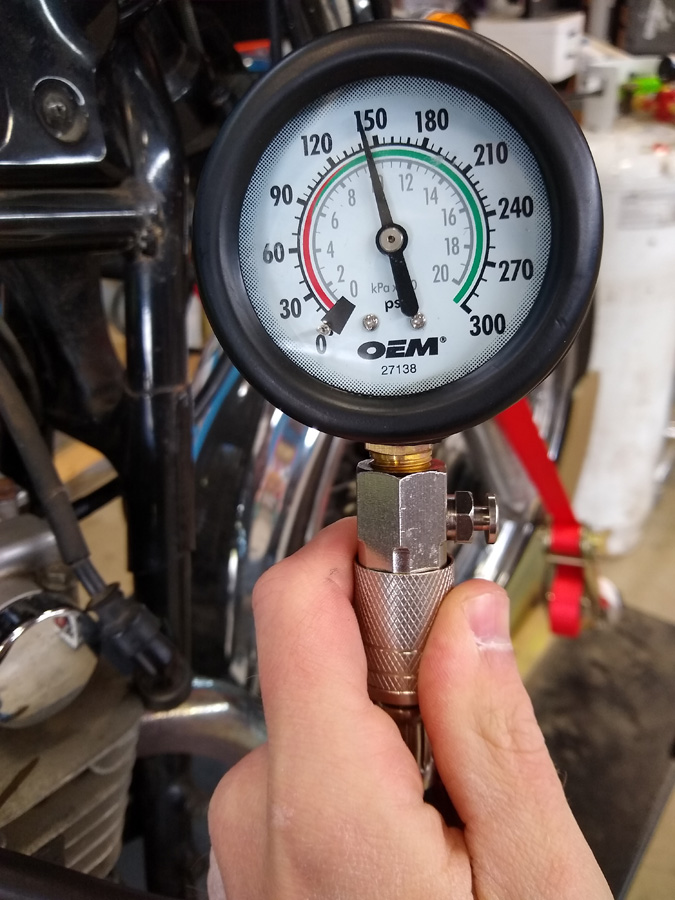
        And the right cylinder a touch stronger, but well within the acceptable difference. That's good news.


        I got the carbs back from Bill (Thanks man once again!) and put them in place. Holy crap I see why people tear the airbox out. It is so in the way! The carbs were very easy to remove with the pods. Even with the airbox backed way up I had to smush the intake boots more than I liked to. But they did eventually slip into place. Hopefully keeping fuel stabilized keeps the carbs in good shape because I'm not in a hurry to remove and insert them again anytime soon. I also should've attached the fuel line before placing them. I couldn't reach both hands to the nipple and had to get some long needle nose pliers to push the line on.


        My bike doesn't have the toolbox bracket so I had to piece together new hardware to mount the right side of the airbox. Since I didn't have a picture earlier, I also replaced the battery with a Motobatt AGM. I'm not risking another acid burp.


        Oiled the filter with simple Bar and Chain oil. I couldn't find a consensus if modern foam filter oil is worth it, especially when the official manual just calls for 30w motor oil.

        Continued Below
        Last edited by VGplay; 04-21-2020, 01:45 PM.
        1982 Suzuki GS450TXZ
        1985 Honda CB700SC Nighthawk S
        2015 Suzuki V-Strom DL650

        Comment


          #5


          Cap on and ready to try finding the best idle and syncing.


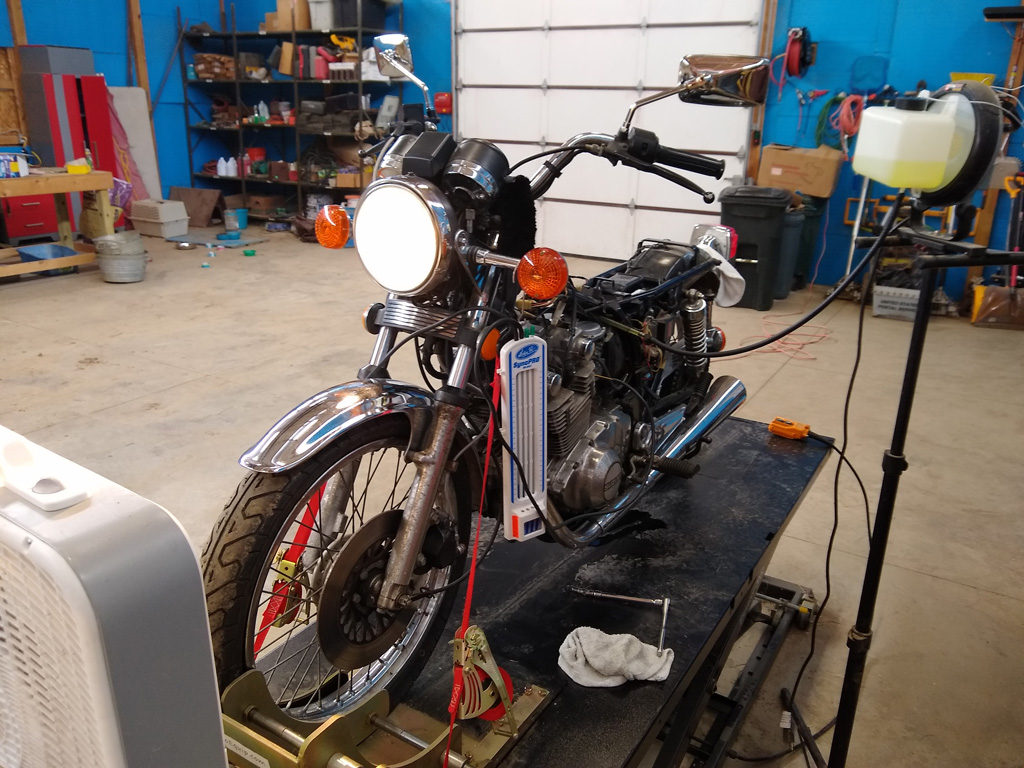
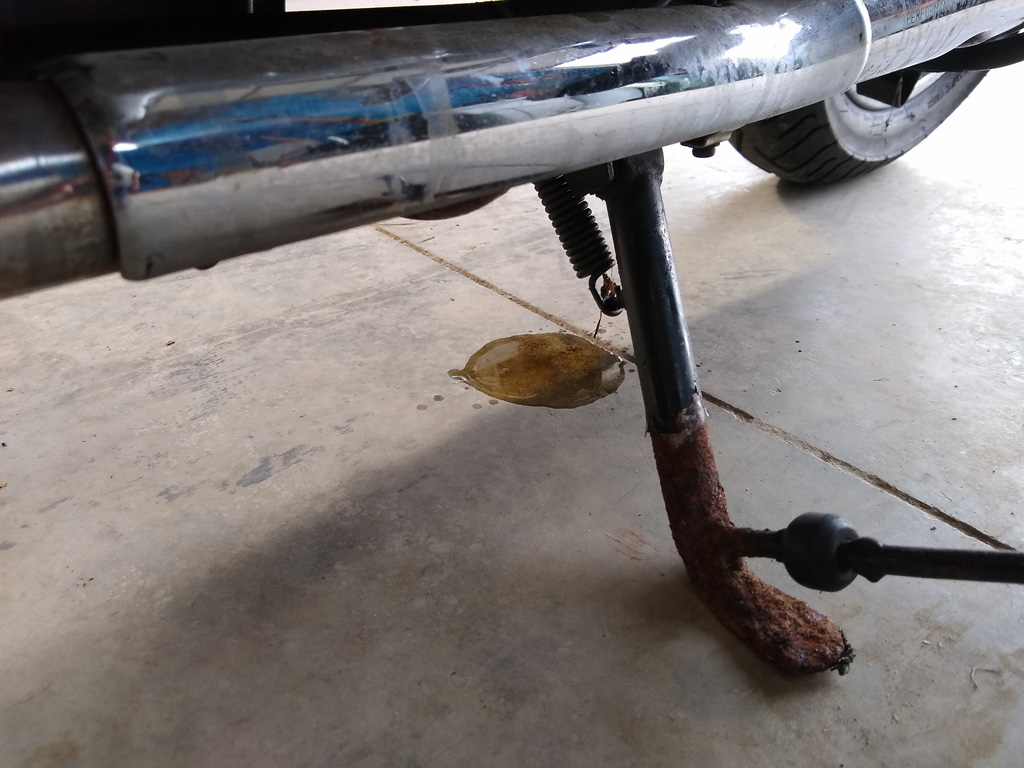
          I went a little fancy on my fuel supply. Got a generic coolant reservoir and since I wasn't about to remove the fuel line from the carbs I used a barbed shutoff switch to splice the normal fuel line with a new length. Worked pretty well and it was nice to be able to control the flow. I used the "Highest RPM" method to settle on an idle mix setting (did that with the normal tank still attached). Yes that is a puddle of oil under the bike. I got a better picture later.


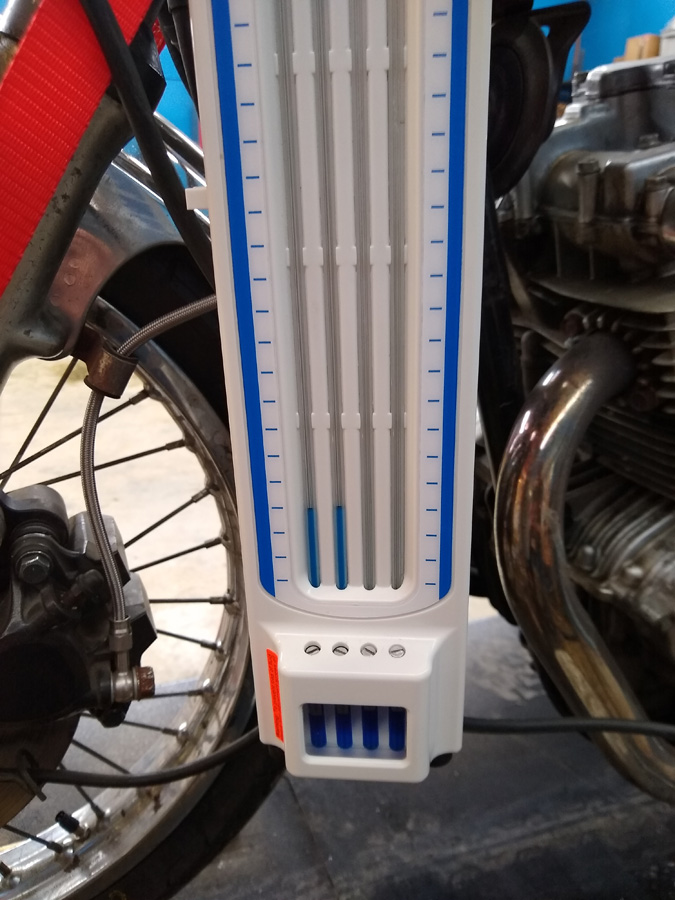
          Then it was time to sync, correctly this time. That looked more even in person. Using a universal joint on my socket I was able to reach the lock nut from above.


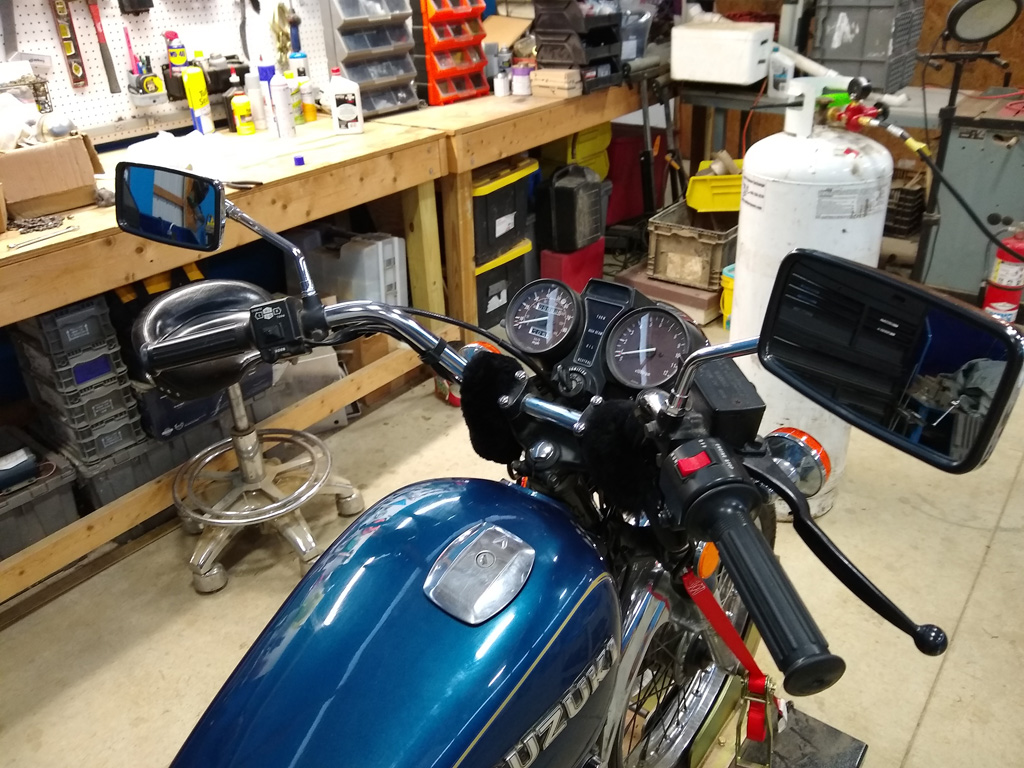
          One final touch, new mirrors. I liked the rectangular ones it was fitted with but they drooped. These are just cheap eBay ones, hopefully they don't droop.


          Oh yeah, that puddle of oil. I overoiled the air filter apparently by a lot and even a couple days after fitting the filter oil was still dripping. Oops. I need to fit a hose to discharge to the side instead of in the tracks of the tires.


          That's a nice smooth idle. Let's take a ride.


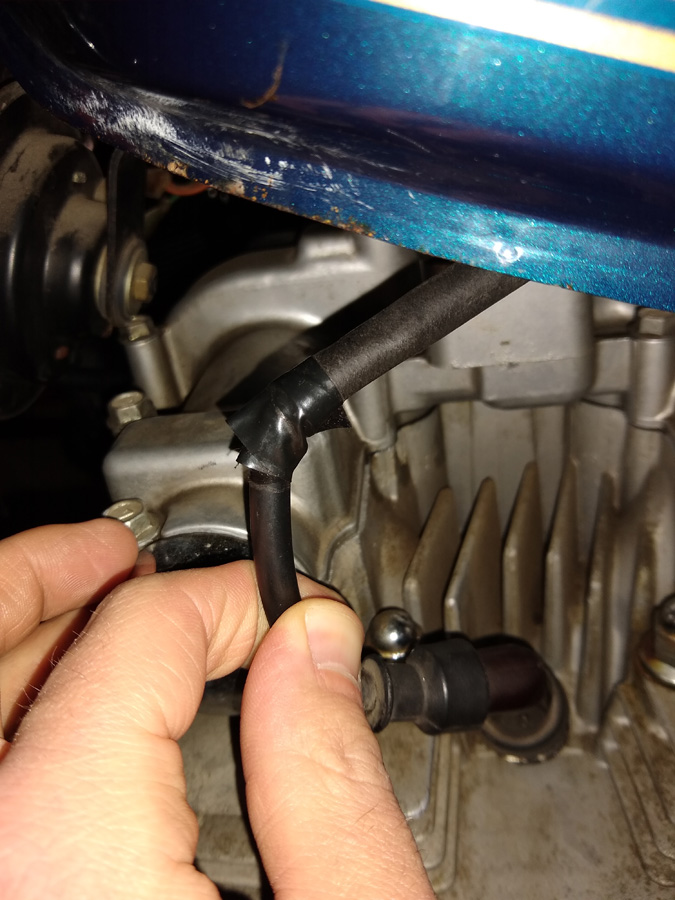
          I made it five miles or so and the bike felt great and sounded great. I was finally on the road with it and confident I could actually ride it somewhere outside the nearby vicinity. At right about that thought I lost a significant amount of power. There were no odd noises, no vibrations, just an inability to rise above 4000rpm at full throttle in 4th gear resulting in 45mph. It actually felt like it was running fine, it just had no power. I made my way home and looked over things. Luckily a mechanic family friend who helps with the animals was over. I hadn't even considered the ignition so he showed me how to check for a spark. There was none on the left cylinder. I had noticed this electrical tape in the past but it felt solid so I always assumed it was just covering a tear in that thicker part.


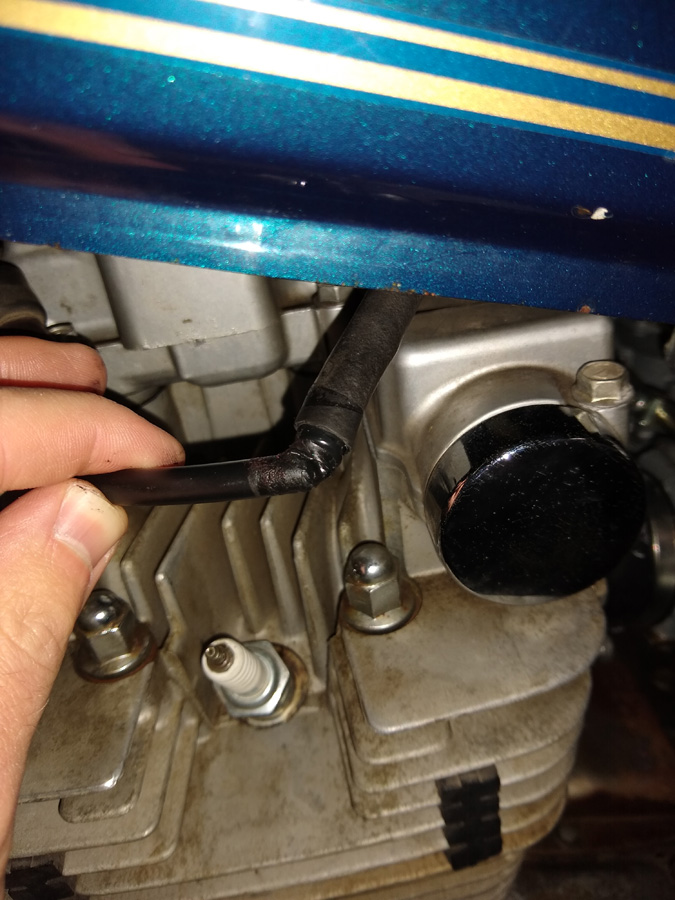
          Nope. That looks like a short, which would explain why it was running at full strength to start before losing it. Maybe a roadside fix that never was corrected? My poor bike was limping me home on one cylinder. I'll tell you what, it is pretty impressive how well it was running on one! A splice kit and new boot has been ordered, ideally that fixes things and this is not a larger ignition issue.

          And that's where things currently sit. I appreciate that you read this far! I'll continue updates as I work on my bike more.

          On deck to-do:
          1. Splice spark plug wire.
          2. Give the bike a bath.
          3. Clean and lube chain.
          4. Touch up rust around battery box.
          5. Install digital speedometer.
          6. New fork seals and springs.
          7. New rear shocks.
          Last edited by VGplay; 04-21-2020, 01:51 PM.
          1982 Suzuki GS450TXZ
          1985 Honda CB700SC Nighthawk S
          2015 Suzuki V-Strom DL650

          Comment


            #6
            Wow!

            Lots of narratives here!

            Thanks for that...and the pics!

            I have an 82/750T...16V...not the 8V you got. And you've got a single front disc and drum on the rear wheel!

            You're having lots of fun...this is a good story-telling thread!

            Ed

            ****
            GS750TZ V&H/4-1, Progressive Shocks, Rebuilt MC/braided line, Tarozzi Stabilizer[Seq#2312]
            GS750TZ Parts Bike [Seq#6036]
            GSX-R750Y (Sold)

            my opinion shouldn't be taken as gospel or in any way that would lead you to believe otherwise (30Sep2021)

            Comment

            Working...
            X