Announcement

Collapse
No announcement yet.

GS(X)1100ESD Long term project.....

Collapse
X
 
  • Filter
  • Time
  • Show
Clear All
new posts

    #31
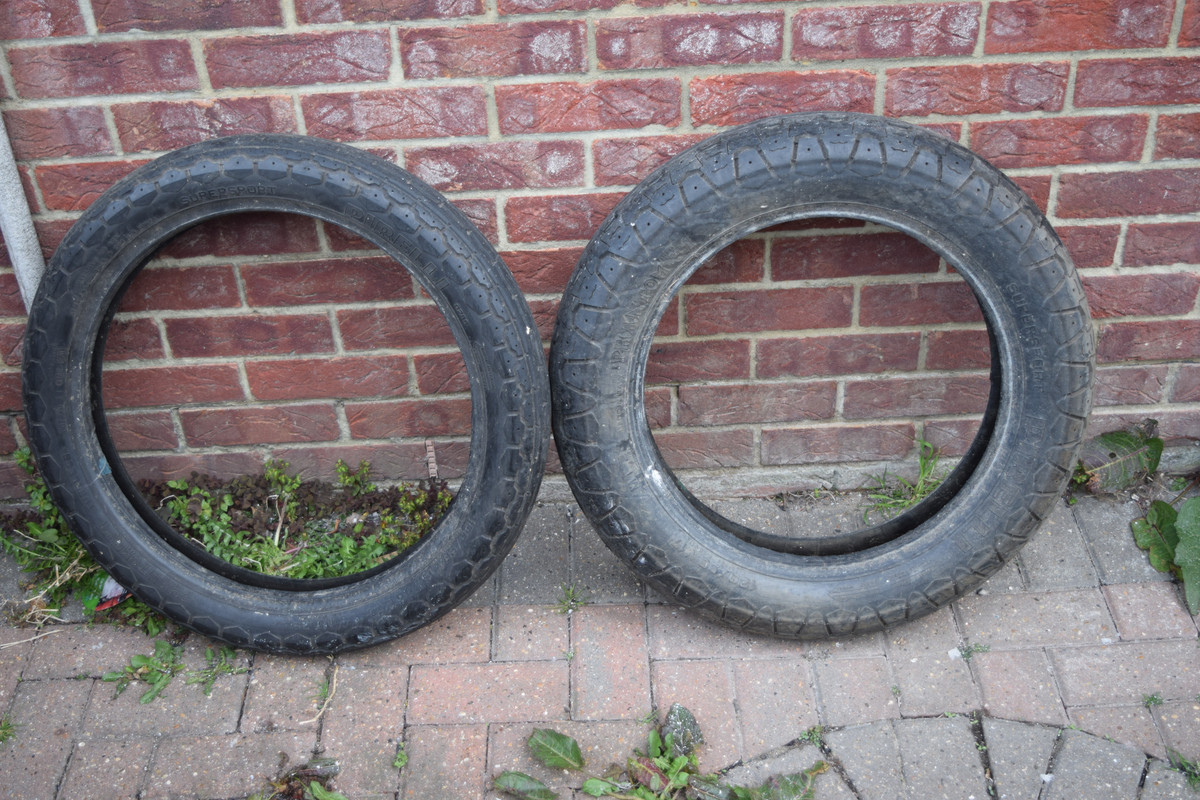
    Yep, they are both front and rear.


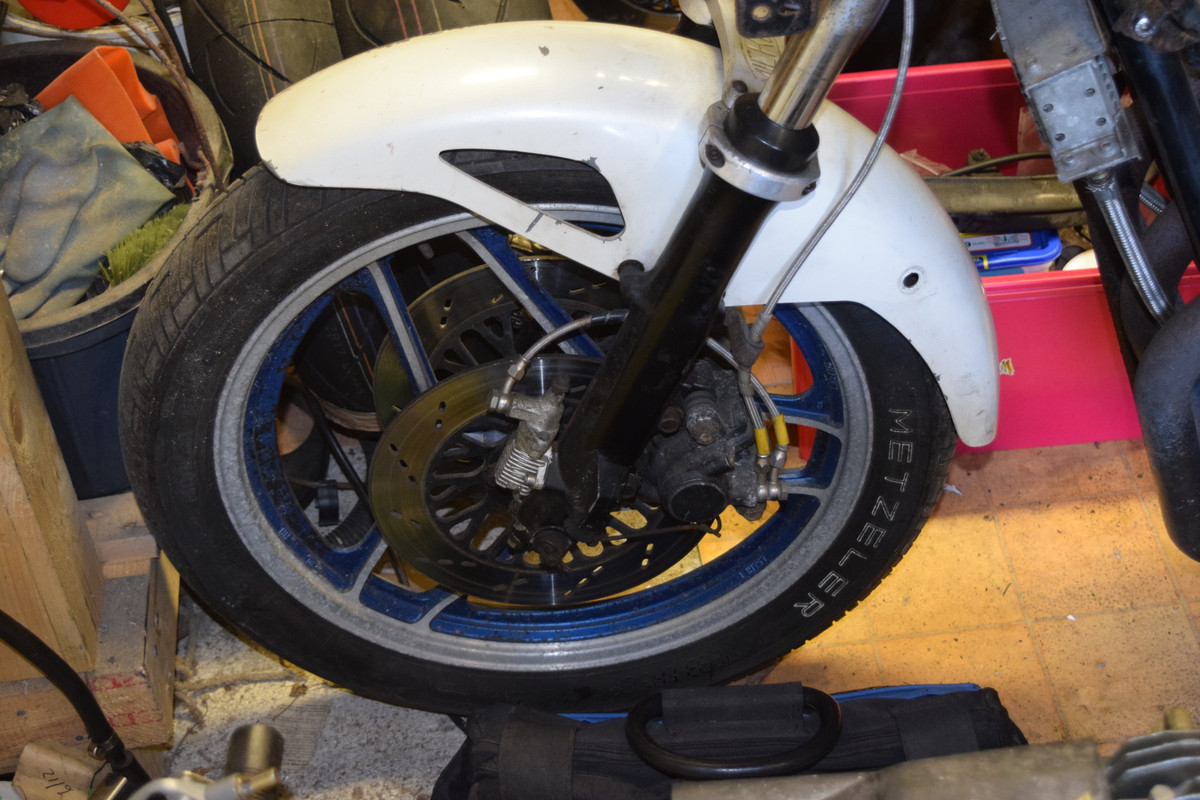
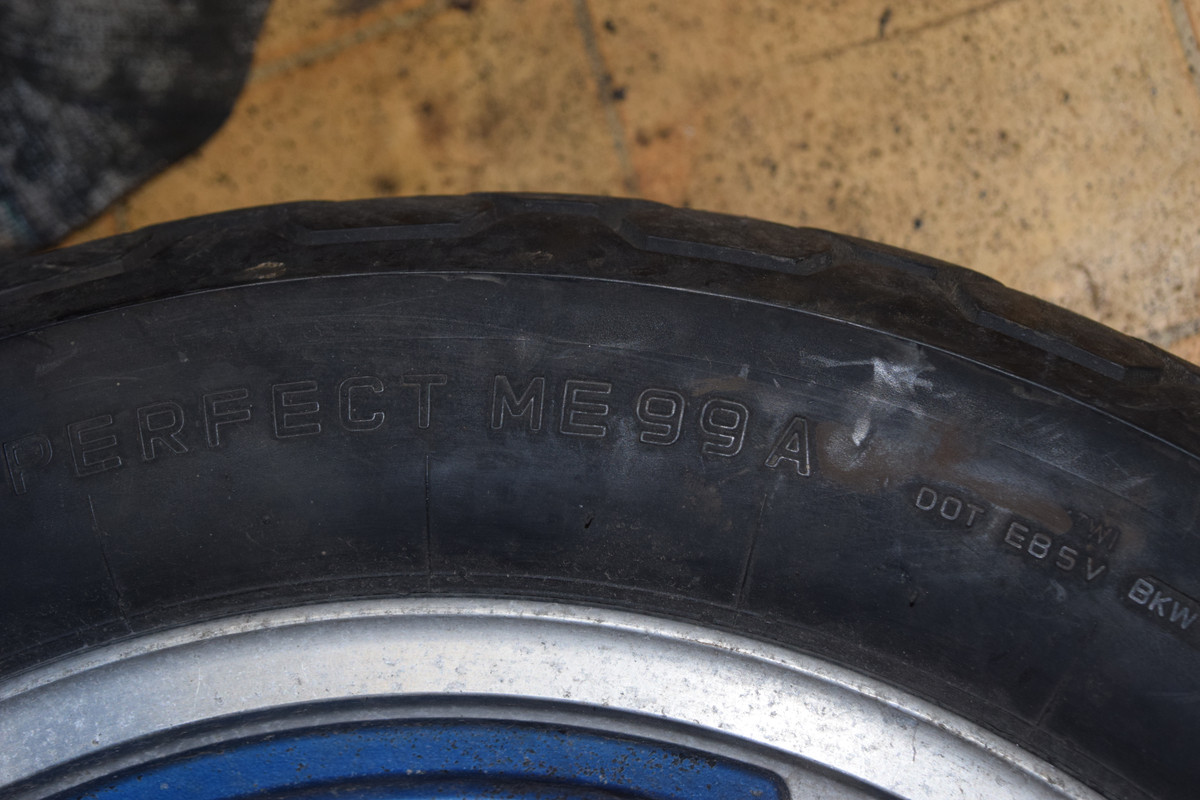
    Sorry no date code for the tyres I can see. Probably too old for date codes to be on bike tyres. I can say that whoever put them on was riding on the cheap. These are the H rated tyres not the V it should be.

    Nearly as bad as my GS1000E project bikes tyres.....another blast from the past.


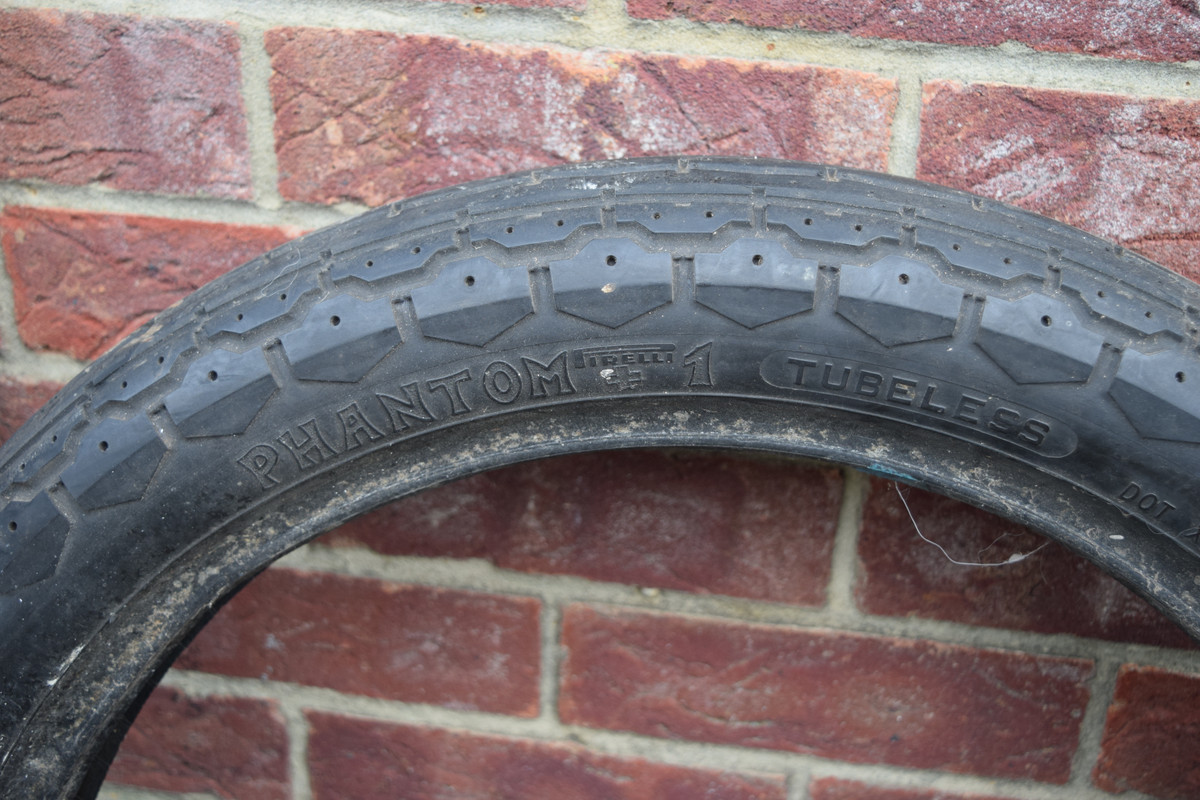
    Pirelli Phantom 1's, ribbed front, squireled rear. I always used Pirelli back in the days of these bikes being new never Metzelers.
    Last edited by Suzuki Mad; 04-11-2021, 02:30 AM.

    Comment


      #32
      As it was first day of UK lockdown restriction being lifted I drove over to collect a few spares that were too large to post. Also was a good time for my daughter to practice driving. With that being the case spent only a short time in the workshop.

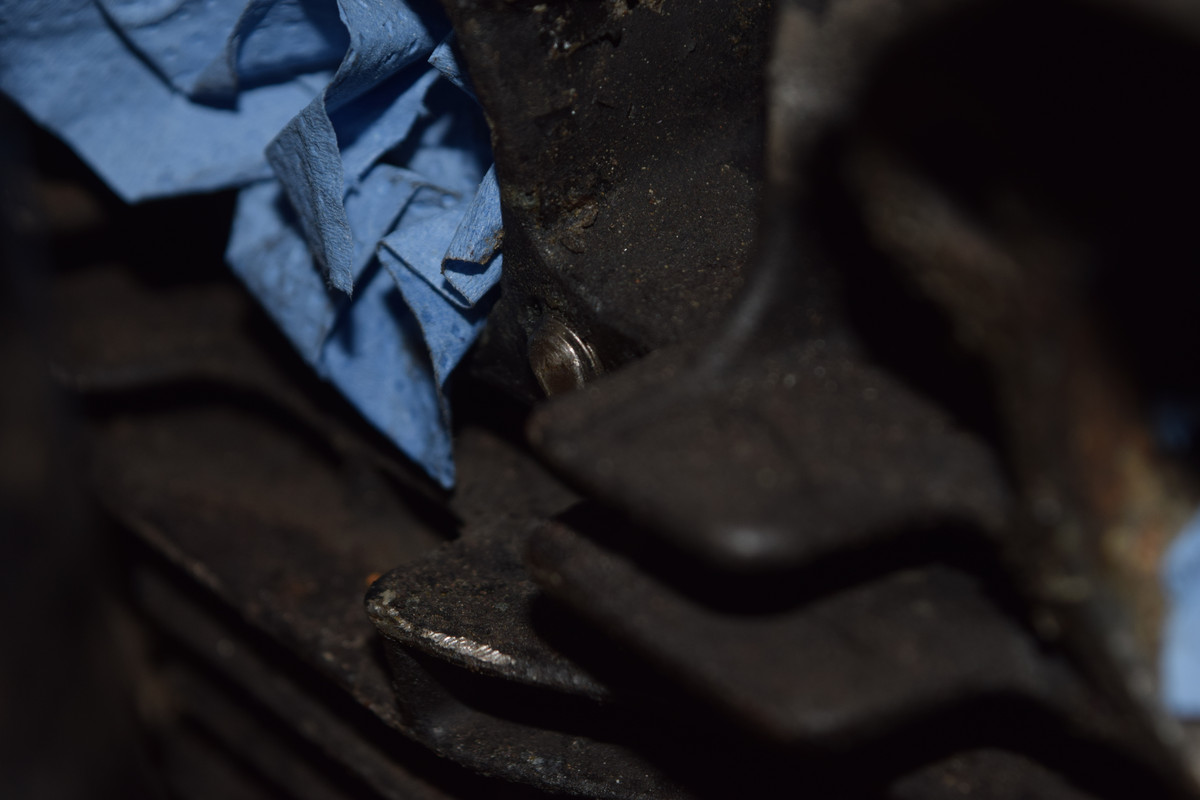
      Swift work of removing the headers to give access to the sheared off head bolt.


      Its not dead flush but close on. As so and so to get at with a punch and hammer to try and knock it out.

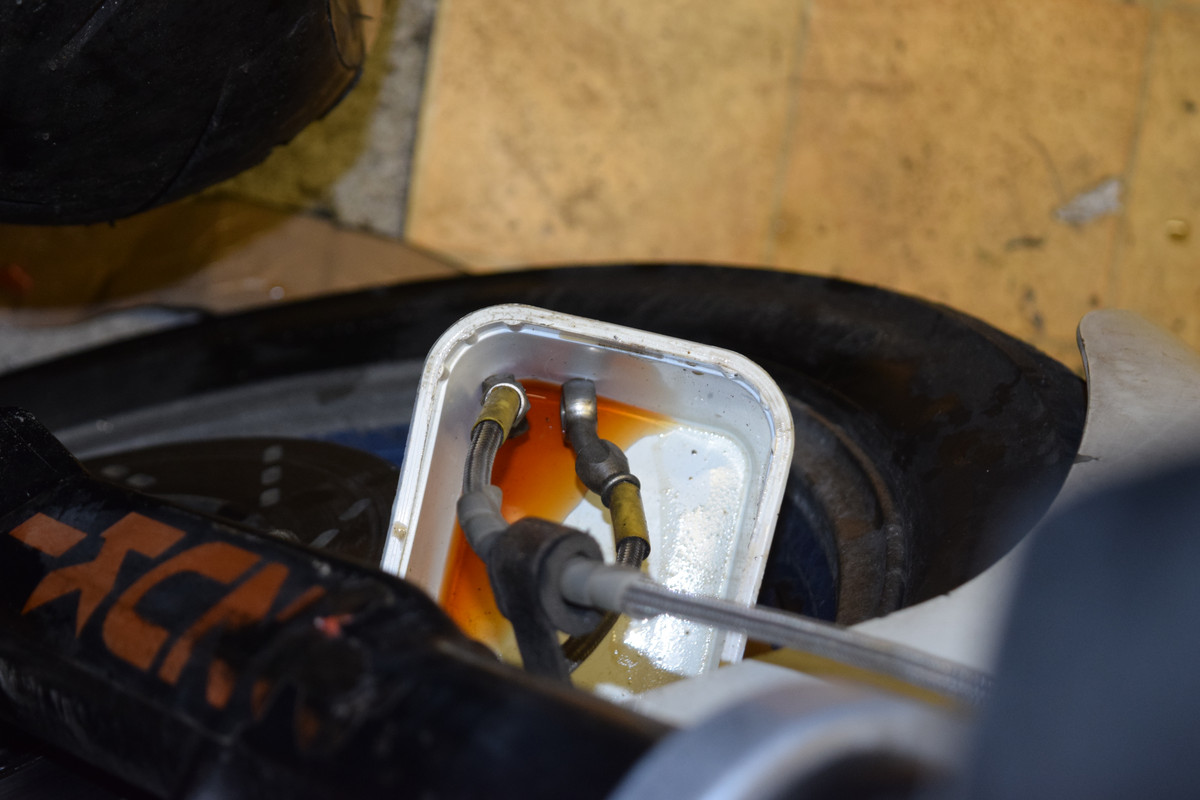
      Whipped the front callipers off, not before loosening the pipework and also the slide pins that were seized solid.


      Not sure what came out was blood or very old and nasty brake fluid.


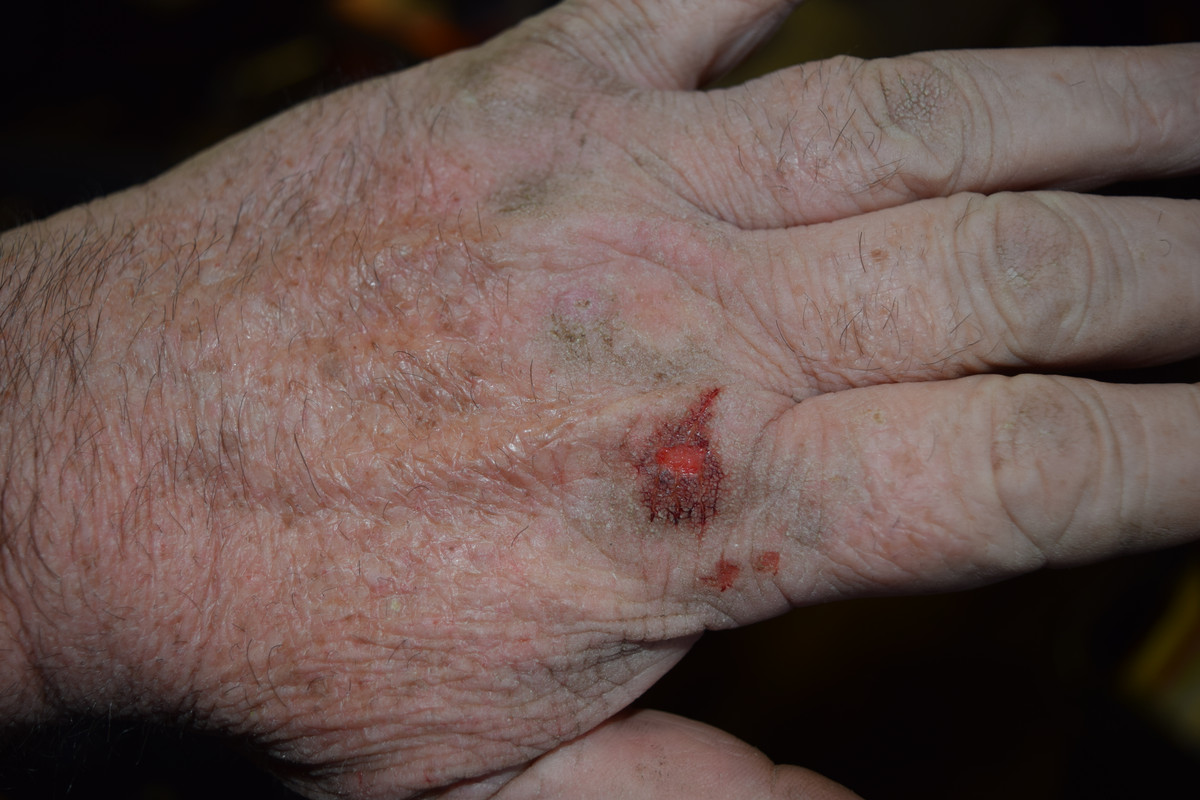
      Even my hand got in on the act.


      Think tomorrow will be sorting out front brake and the front master cylinder so that there are working brakes for when I have to move the bike.

      I've been asked why and the answer is I need that bushing done and the guys need the engine and frame to do it. Its a dam site easier to move the whole thing than as bits. The engine can be pulled apart later once its been heard running which is a few days away as I'm waiting for a battery and a few bits for the carbs. When I do the carbs I will post a bit about it.

      Comment


        #33
        Started to remove the front end. Micron fork brace was fun to get off.

        Any idea what this might be and its Suzuki part number?

        Comment


          #34
          Here's a better view with the fork out and on the bench for closer inspection.

          Comment


            #35
            Is that a rag you found under the dust boot?
            sigpic
            When consulting the magic 8 ball for advice, one must first ask it "will your answers be accurate?"

            Glen
            -85 1150 es - Plus size supermodel.
            -Rusty old scooter.
            Other things I like to photograph.....instagram.com/gs_junkie
            https://www.instagram.com/glen_brenner/
            https://www.flickr.com/photos/152267...7713345317771/

            Comment


              #36
              Originally posted by dorkburger View Post
              Is that a rag you found under the dust boot?
              Good question and the answer is, I'm not sure. Looks like stuff you would use in a stern gland on a boat or that you'd pack water valves with to make them water tight. It's been in there 24 years so it's had it time. Guess somebody had a leaking fork seal and found a way to hold it up and keep riding.

              The tubes are badly pitted but I was seeing how much of the lower leg could be saved and reused.

              Comment


                #37
                After a long day playing for forks and strange things lurking, sorting out what can be kept, what has to be sent away for restoring plus checking fleabay its come to that time.

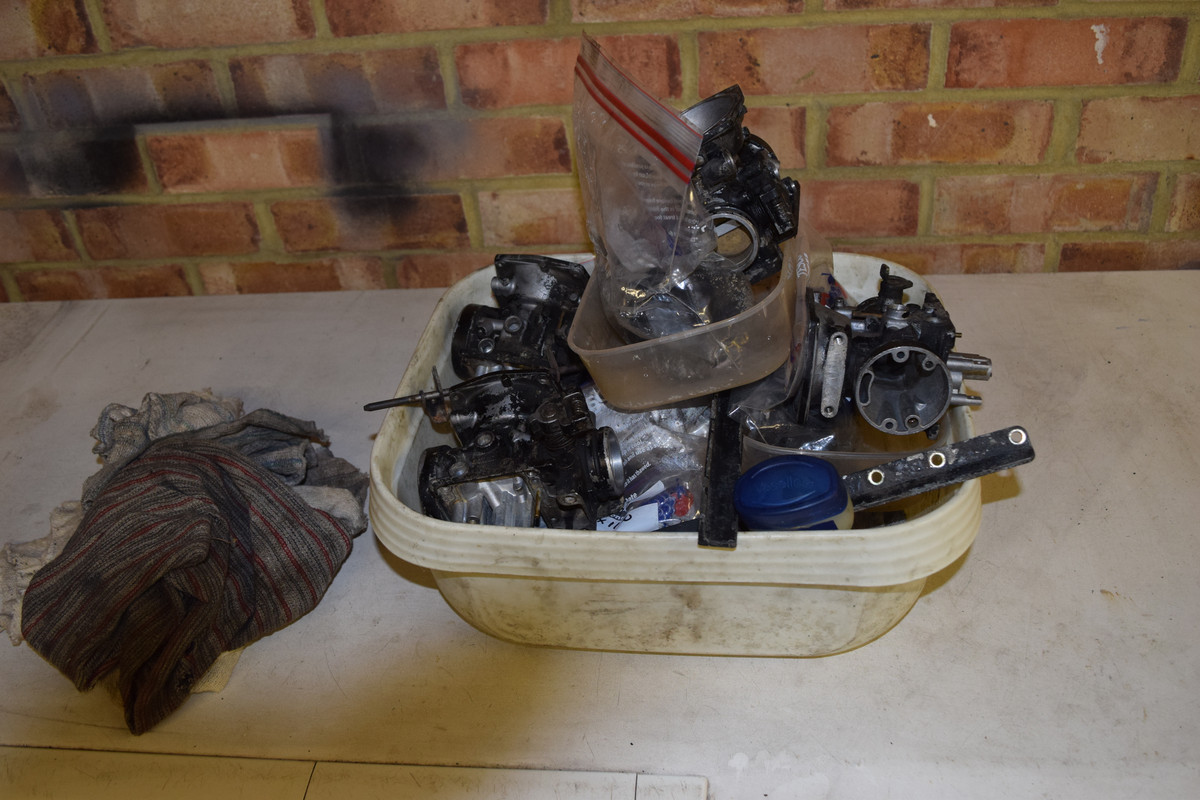
                Carb bath time.

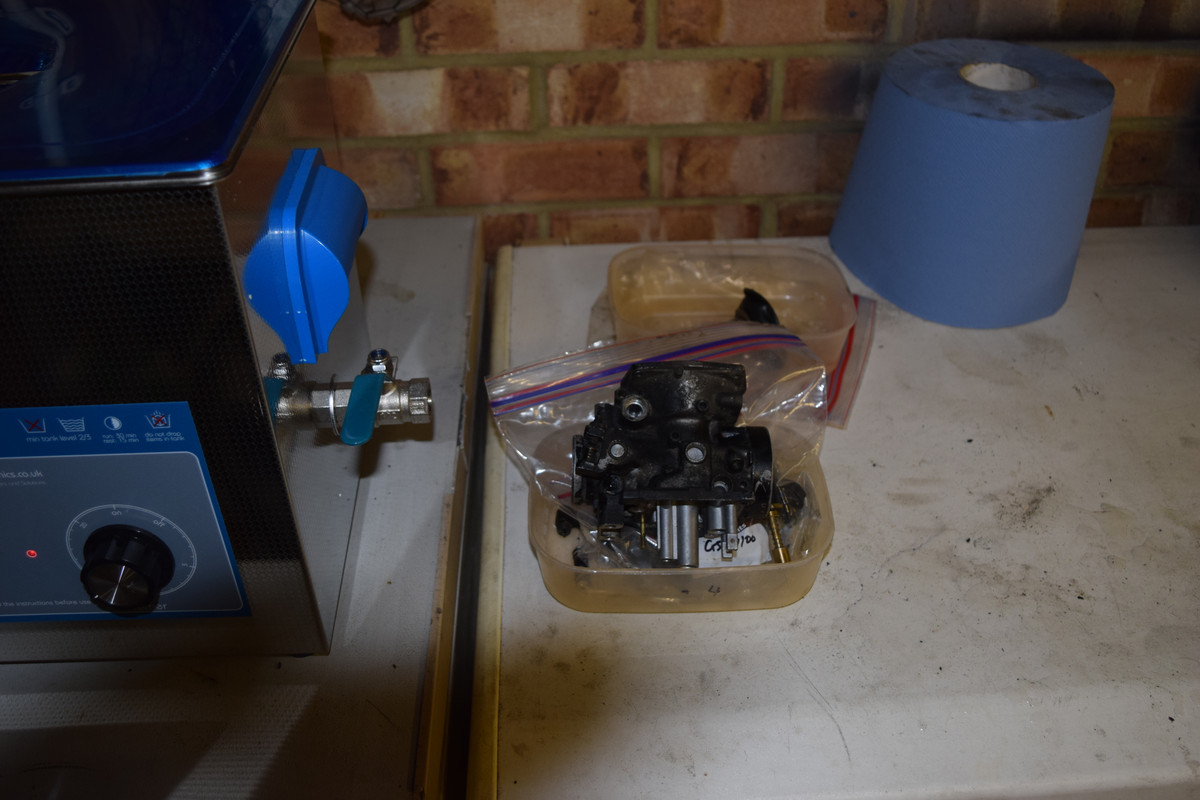
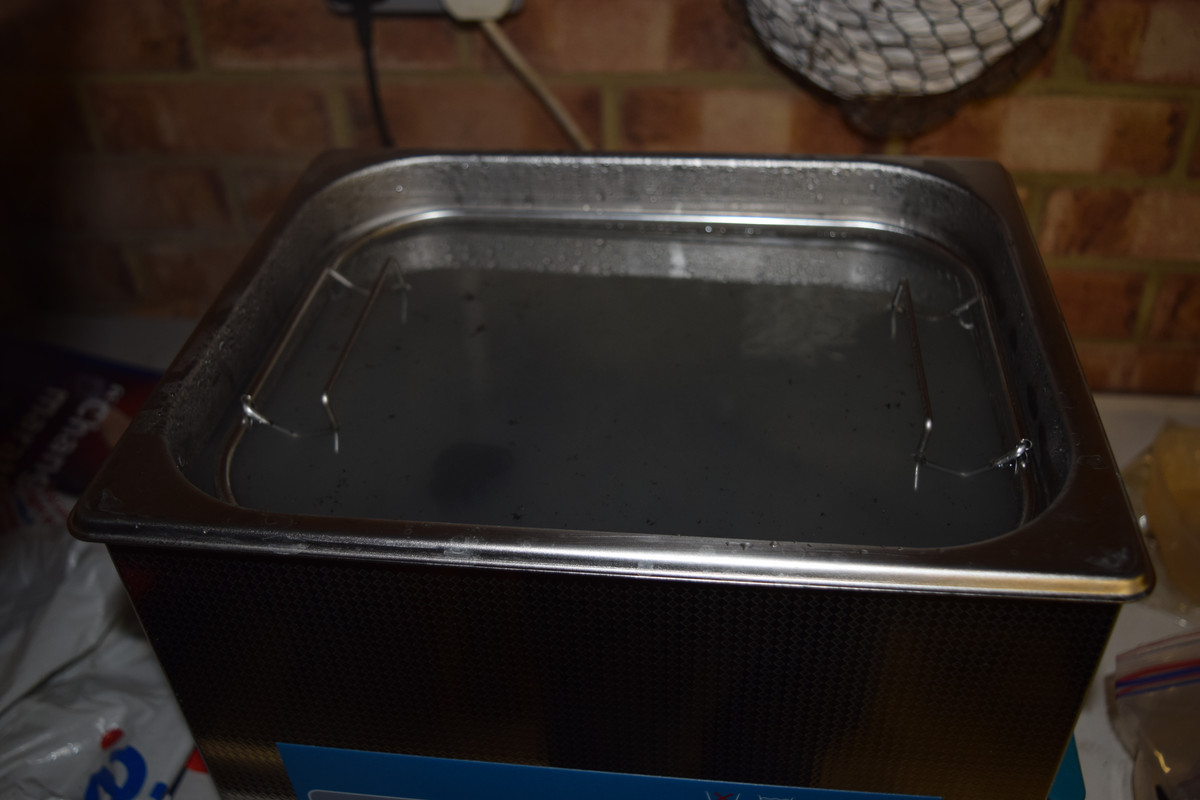
                Firstly, thanks to Londonboards who walked me through cleaning carbs last year. With my new toy, an ultrasonic cleaner, its time to start. Filled it up, started it off and popped off to have dinner. Came back and did carb one.


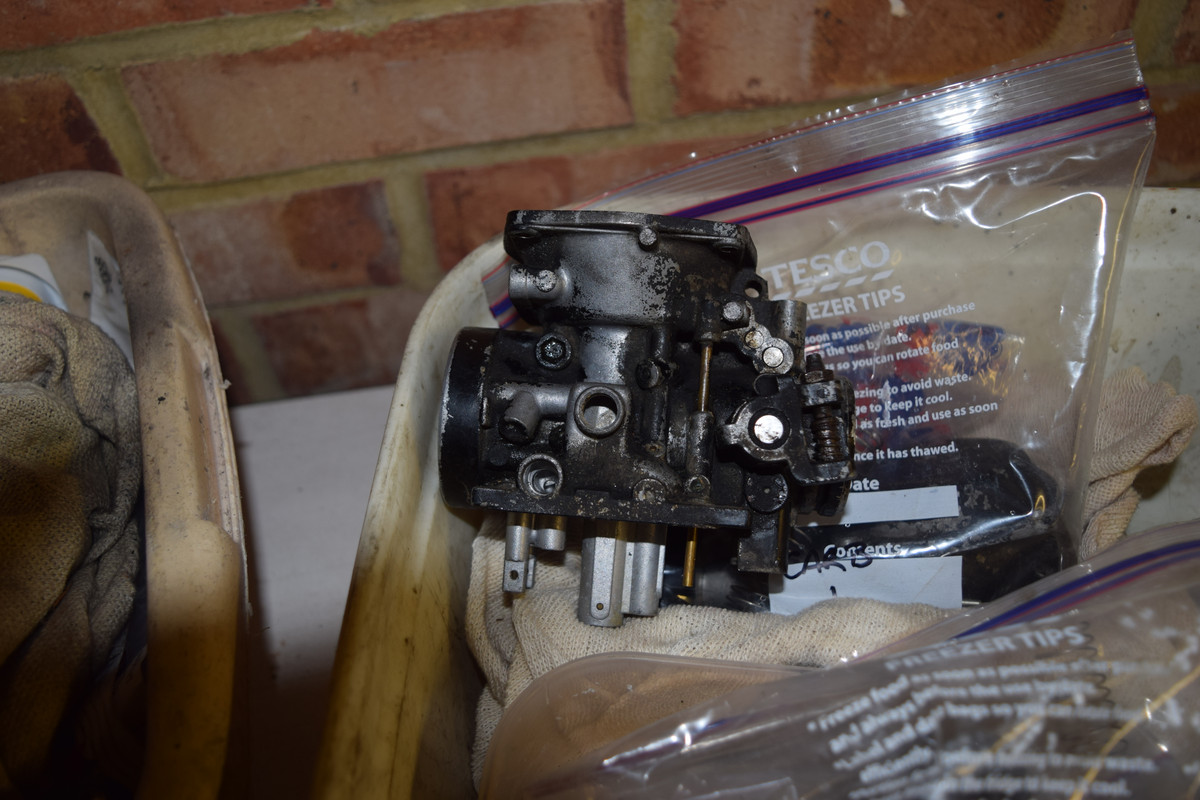
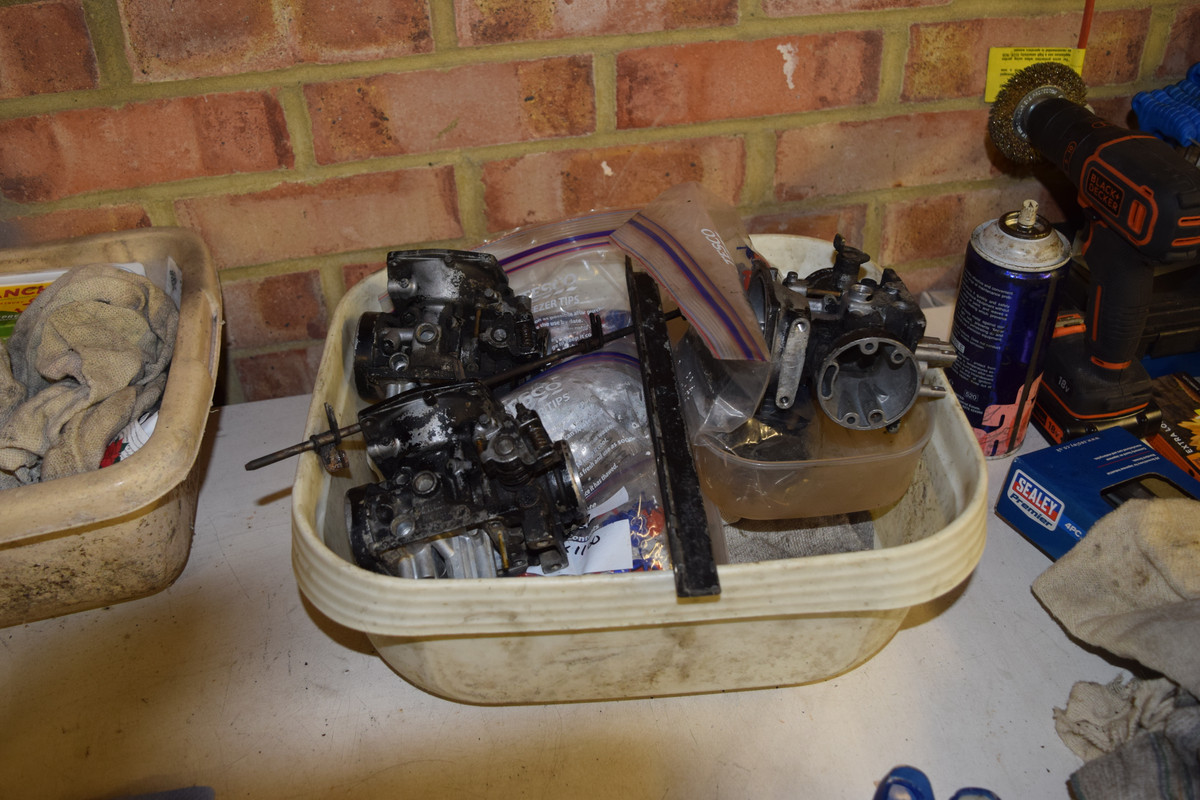
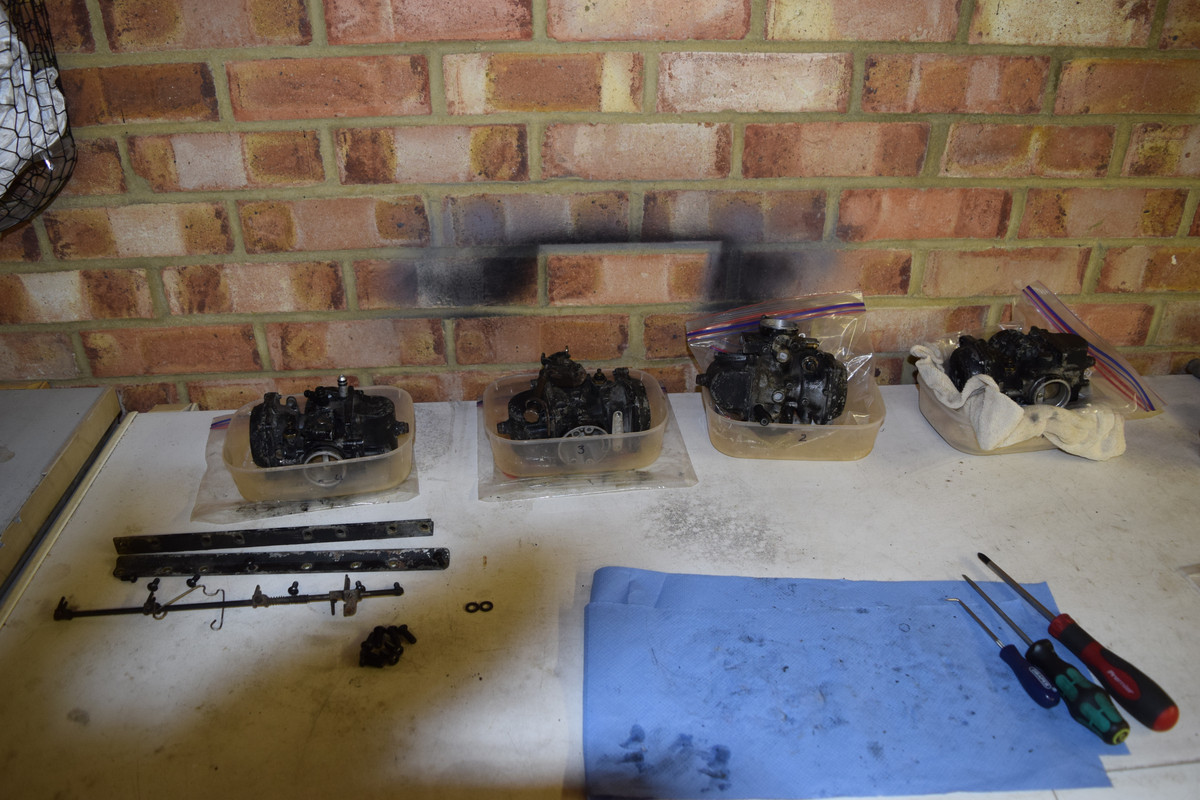
                As you see a tub and 2 plastic bags for the carb and bits. Into the bath go the big bits and the smaller bits into 2 glass jars to be cleaned at the same time.


                Gets a bit toasty in there. That fluid if from one carb by the way.

                The one big issue was that all three of the synch lobes and springs were seized solid in the carb.


                A small bit of tapping with a small dift onto a solid hammer head and that knocked them free. I had to remove the synch screws to get the lobes and springs out, clean the holes they fitted and gave them a little lubrication so now they move freely.


                Worked through each carb cleaning and sorting as I went.


                All bagged up, clean and lubed ready to have there new O rings fitted, a little grease where needed and new black stainless screws to replace the originals that were chewed up getting the rails apart. I will check the jets and all there little passages are clear tomorrow so may well have the cleaner out again to give them a bit more of a clean and going over. But it's looking good so far.
                Last edited by Suzuki Mad; 04-13-2021, 05:53 PM.

                Comment


                  #38
                  Good progress! What fluid are you using in the ultrasonic cleaner?
                  1981 GS850G "Blue Magic" (Bike Of The Month April 2009)

                  1981 GS1000G "Leo" (Bike Of The Month August 2023)

                  Comment


                    #39
                    Originally posted by 2BRacing View Post
                    Good progress! What fluid are you using in the ultrasonic cleaner?
                    Just distilled water.

                    Comment


                      #40
                      A little bit more progress.

                      My hands have been bad the last few days with cracking, being sore and bleeding so I said I wouldn't do any work on the bike today. I ended up doing some electrical work.
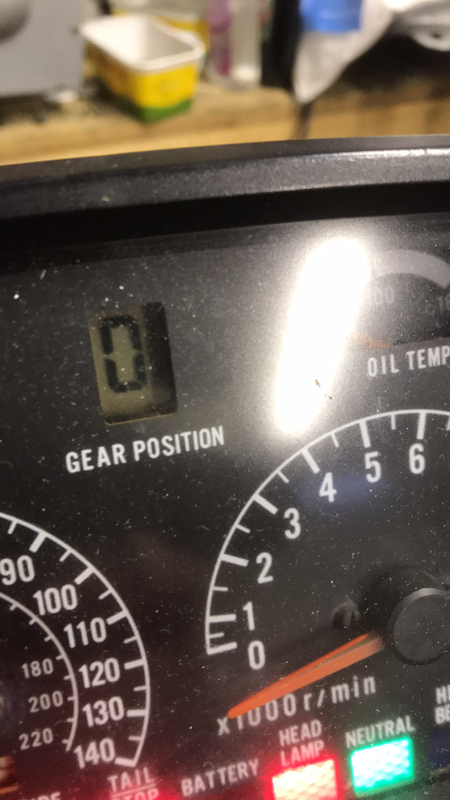
                      Jury rigged a battery....


                      Didnt check anything just turned the key....


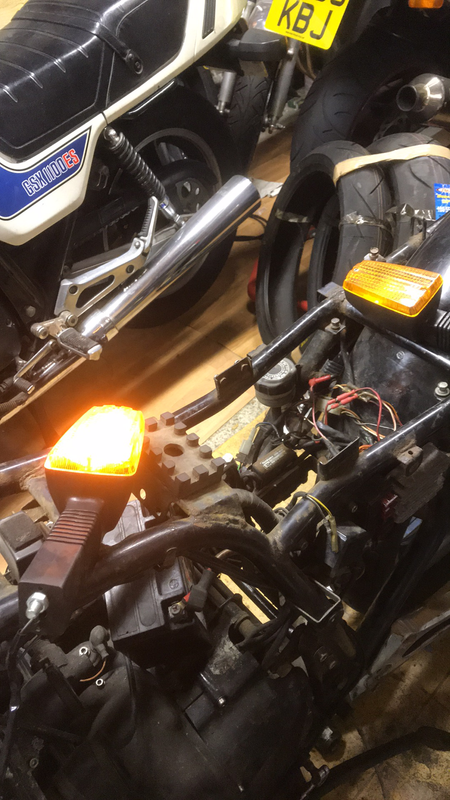
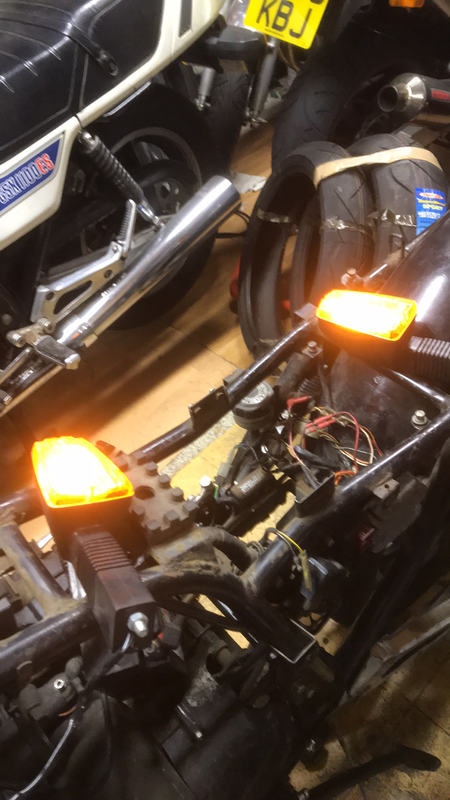
                      got life out of her. No horns as none are attached but both are dead so I need new ones. Sadly these items are discontinued at Suzuki so I will have to find an alternative. Tried the indicators....


                      One worked the other didnt but that was because I had pushed the bullet connector into the wrong connector.


                      Got it right second time around. I did label them up after getting both right and left side to come on. Issue is I cant get the to blink, so its a control unit which I have a spare here or the relay.

                      Lights didn't work but that wa due to dead bulbs. Brake lights worked fine. Its questionable about the side stand switch. Didnt check for spark but should have done. I do know that she spun on the starter fine. No odd noises or 'orrible valve crashes. Get the carbs back together when I have some nitrile gloves, refit and add a bit of fuel........hopefully she will fire up and run.

                      Comment


                        #41
                        This afternoons job......


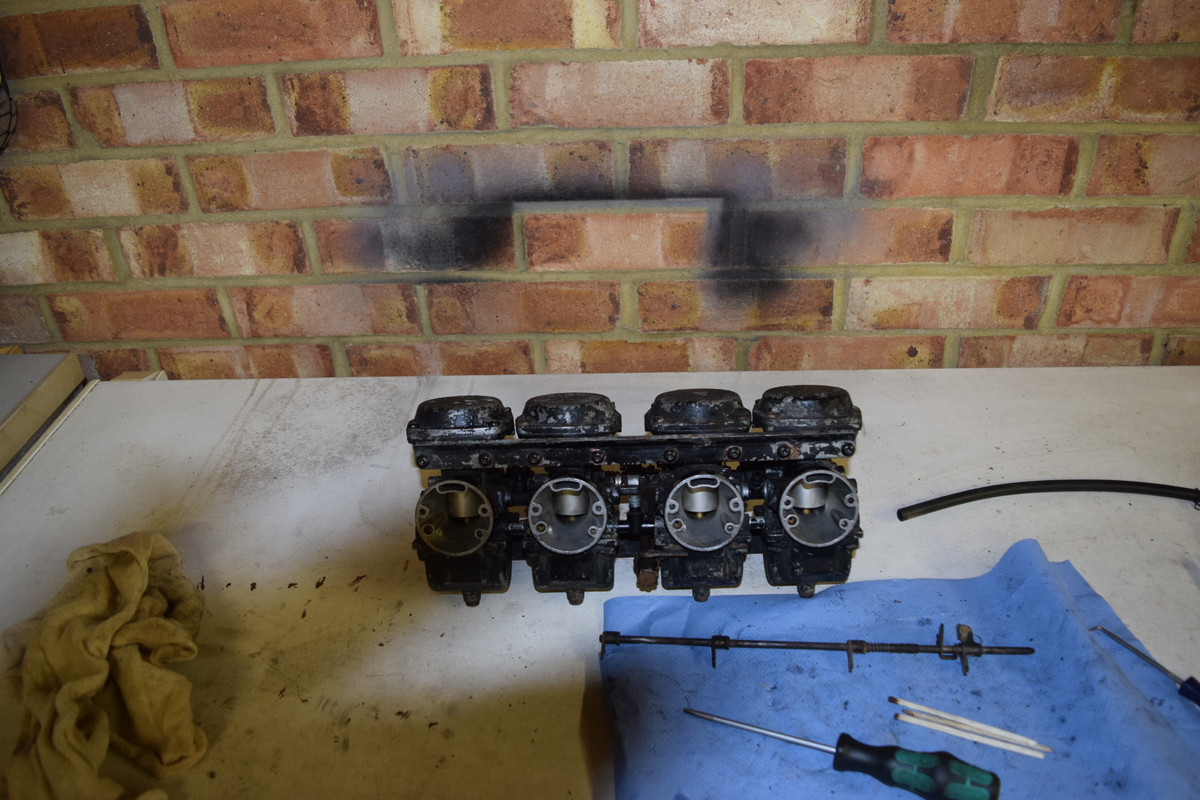
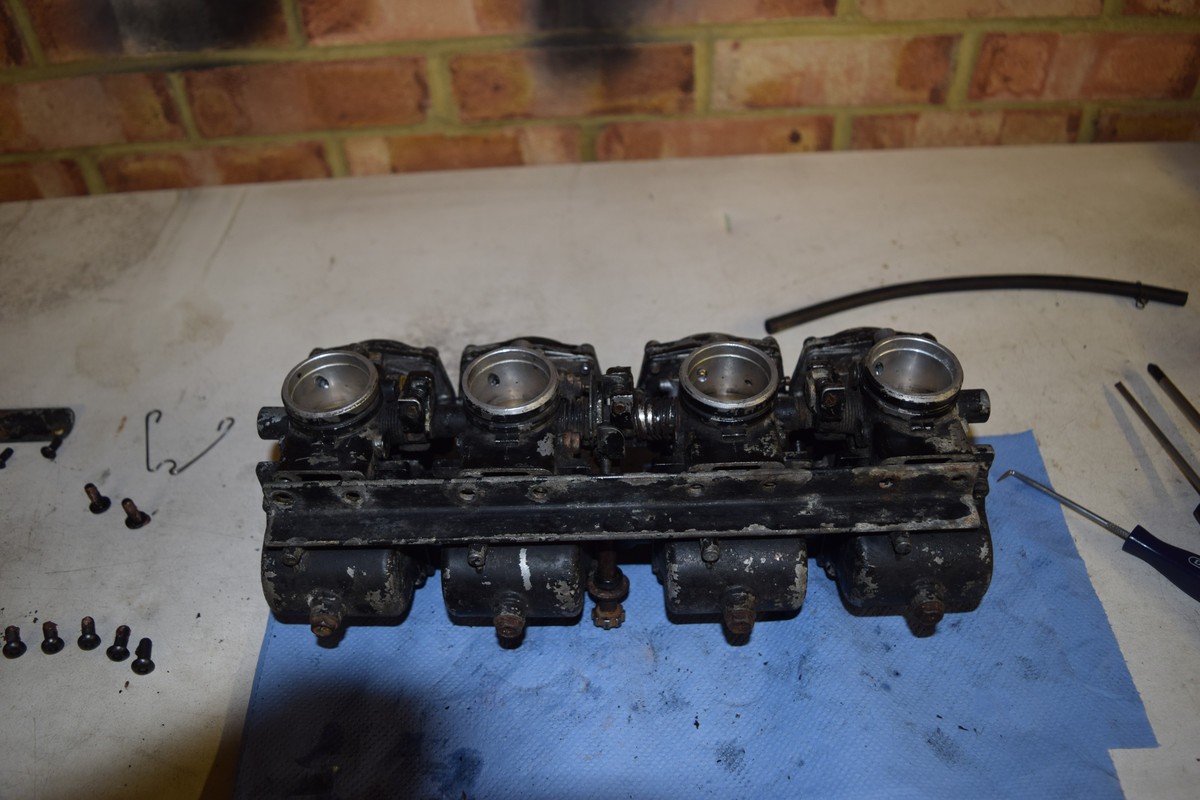
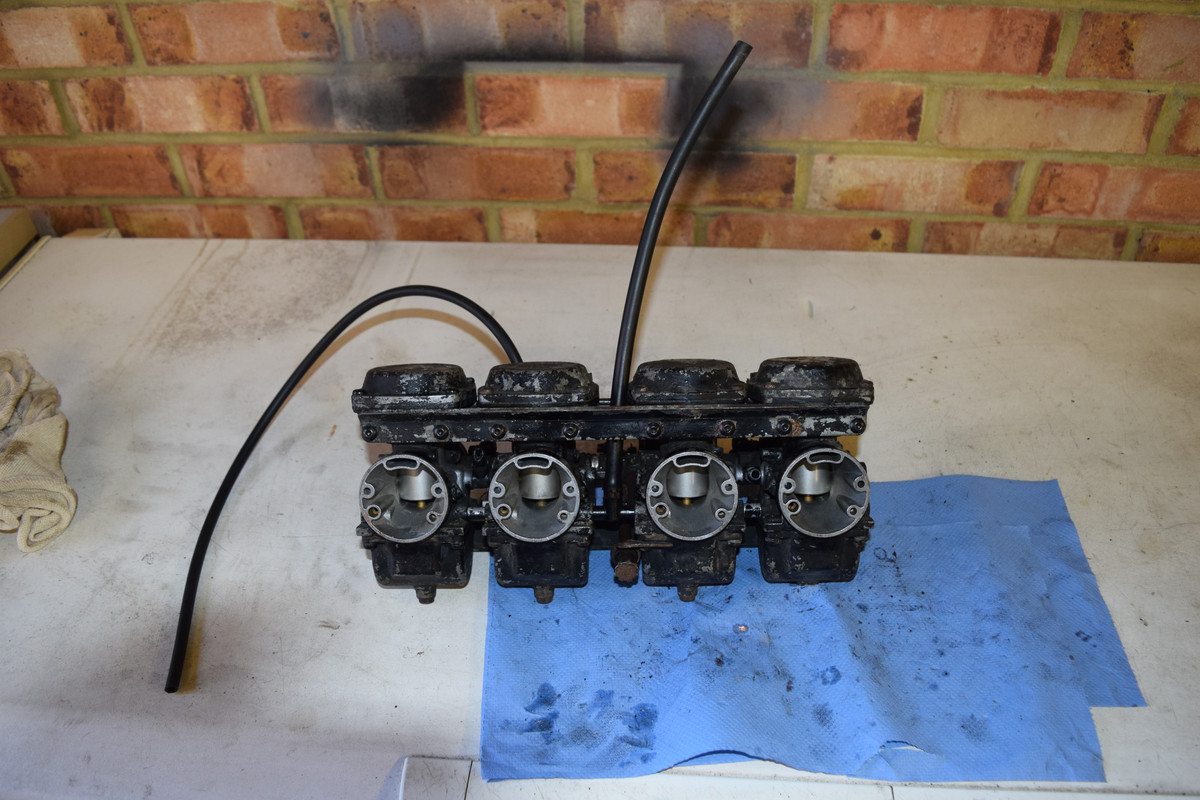
                        Turn this.....


                        Into this.....


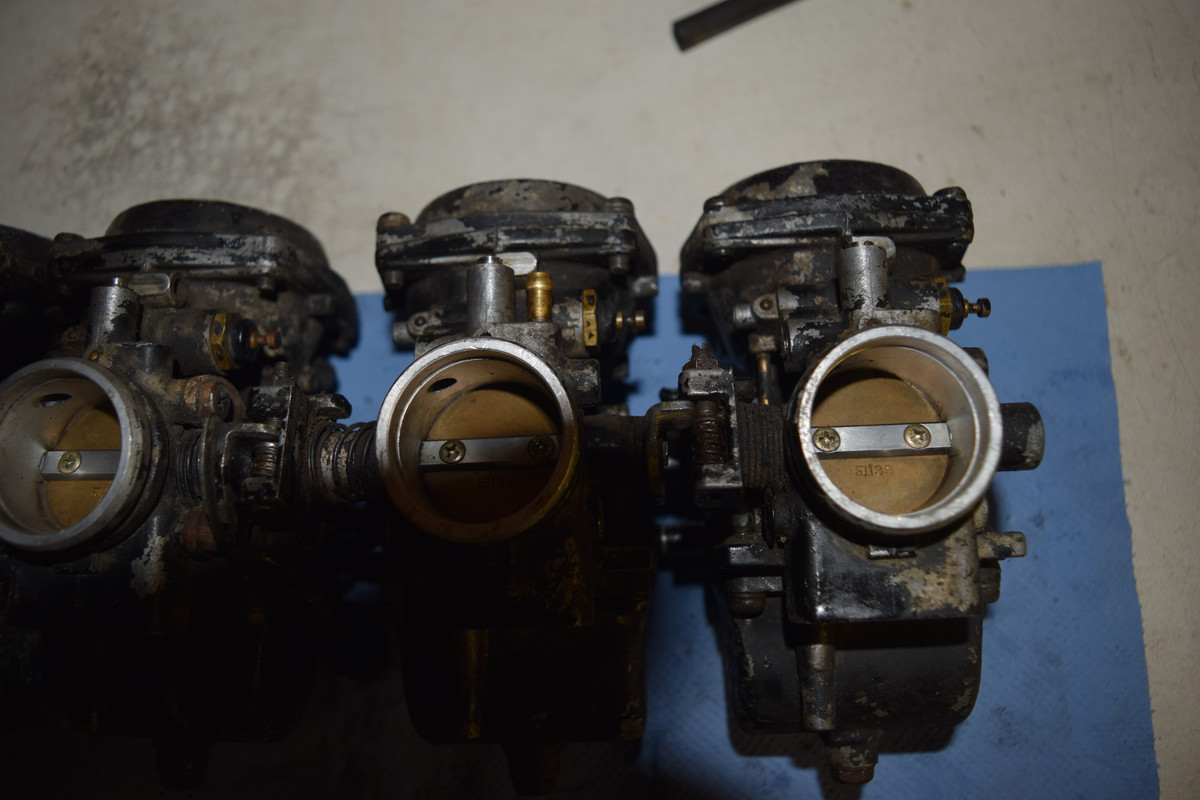
                        Yep the carbs are back together.


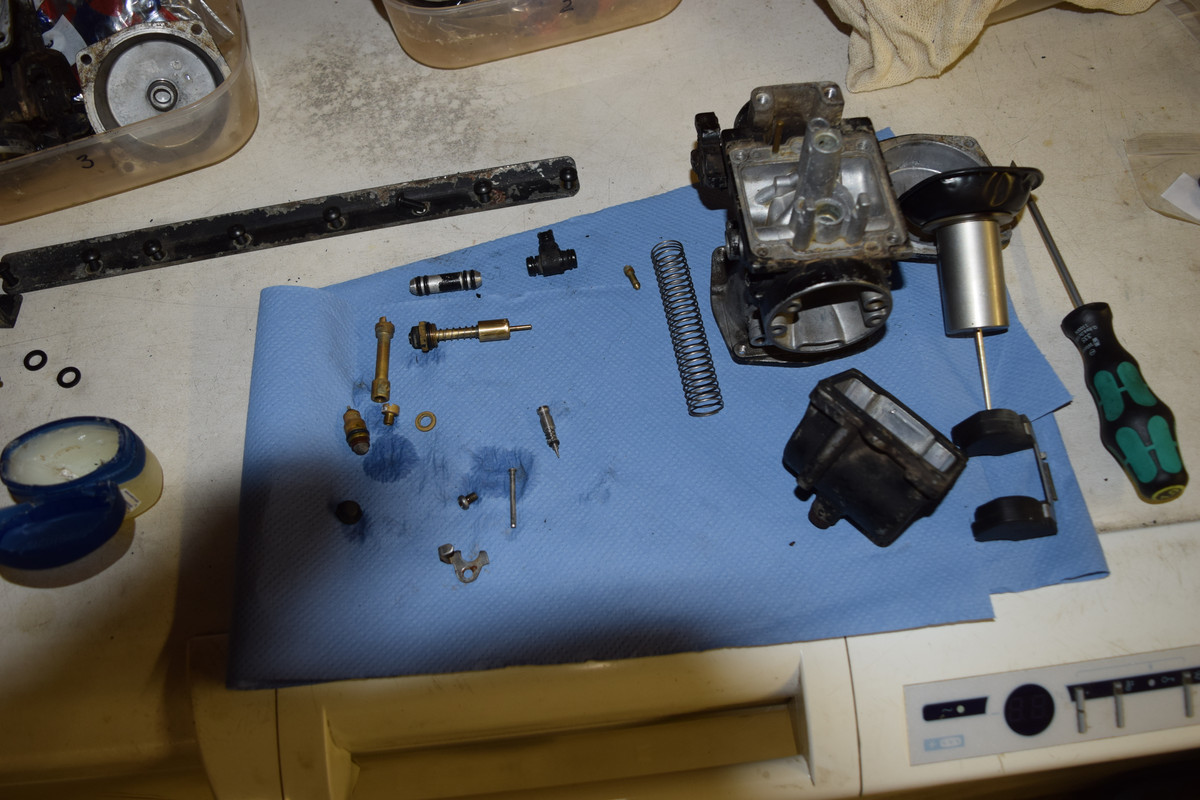
                        Going from one carb....


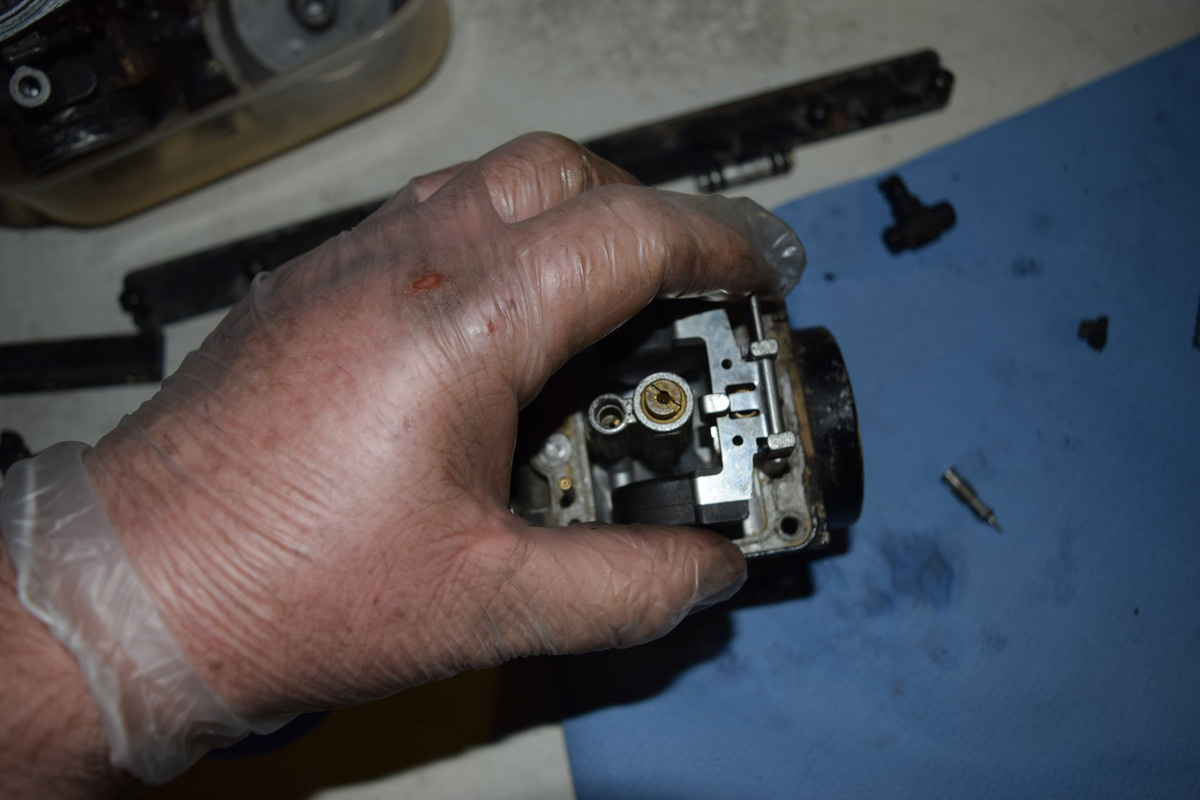
                        I stick the tube in the centre with the jet that screws into it. Then screw the smaller jet into the hole next to it using the green handled screwdriver.


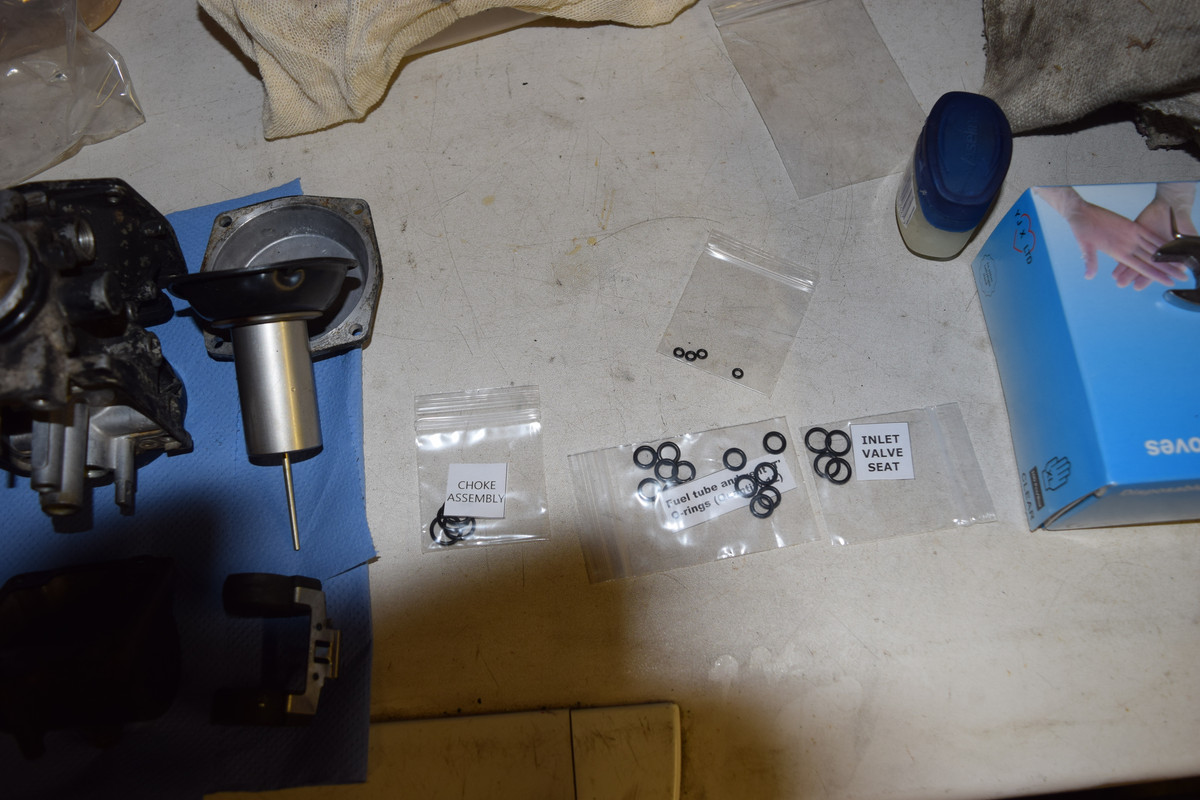
                        Using the O ring kit...


                        Remove all old O rings (all hard and brittle after 37 years and join to all places.


                        Choke 1,
                        fuel tube 4
                        overflow 2
                        Needle float holder 1
                        Mixture screw 1.


                        Drop the needle float holder into its slot and put retaining ring in with a screw.


                        Fit the float and remember, the pin only goes one way!


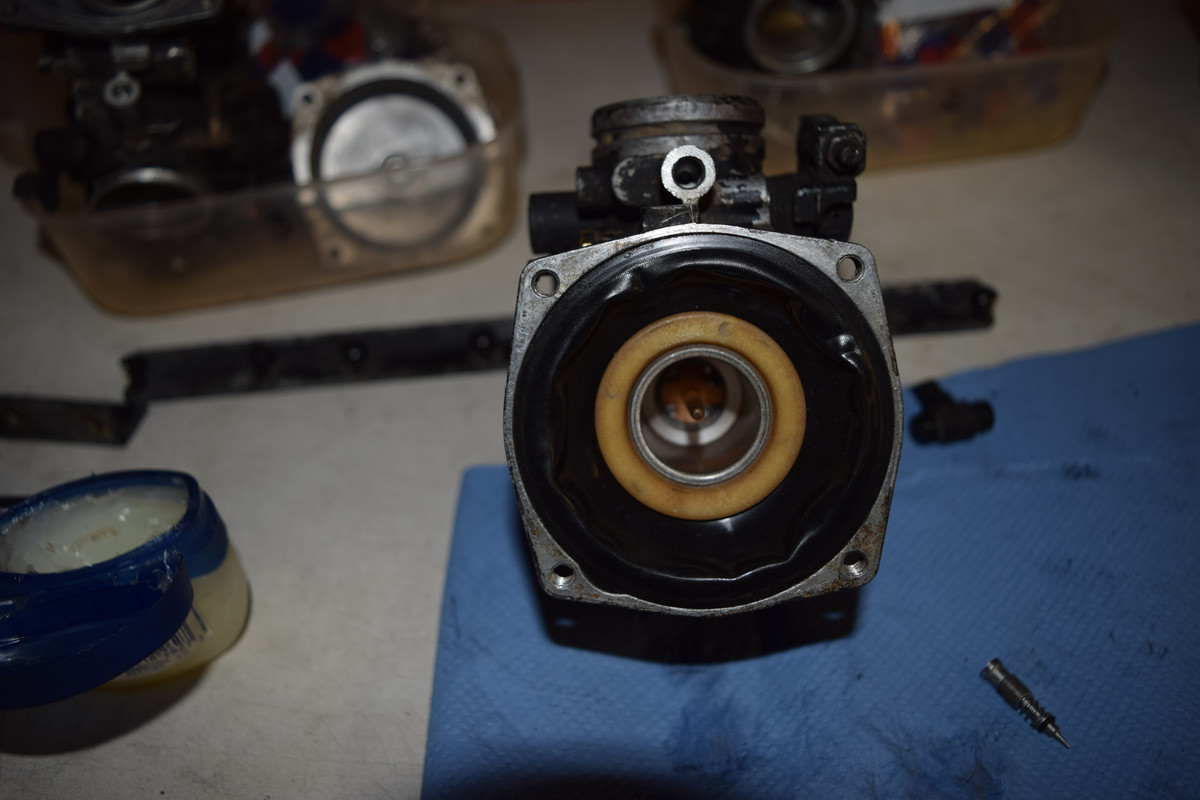
                        Bowl on, flip carb and get the diaphram with needle in the tube.


                        Line up the little dimple in the carb body with the corresponding dimple in the diaphram and smooth down. In goes the spring and then the cap. Lastly I do the mixture screws.


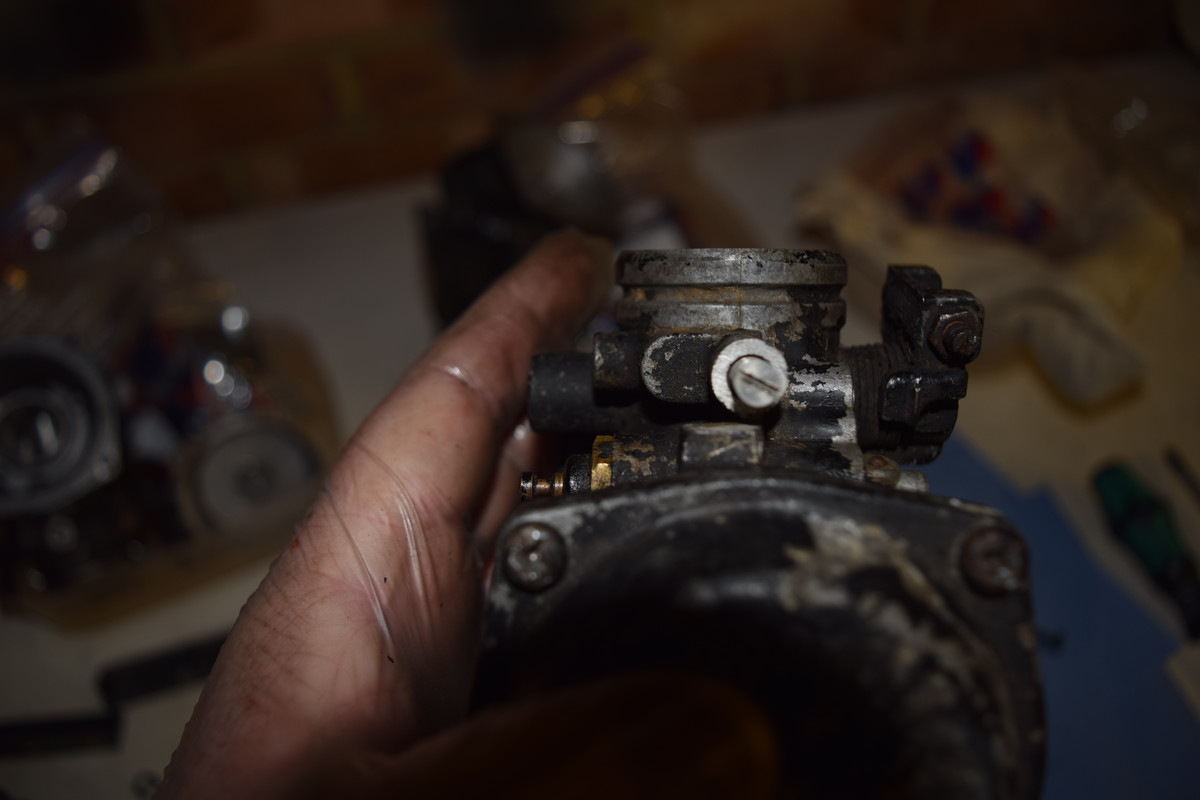
                        These carbs have been altered to take GSX1100EFE mixture screws and the posts have been shaved down so a lot of needle sticks out.


                        When I removed them they were all at 1 and 3/4 turns out from seated. That done, jobs a good un for that carb.


                        Now repeat 4 times!

                        Comment


                          #42
                          Repeat 4 times hey.....


                          I start with No's 2 and 3 carb. Line the fuel supply tubes up and squeeze then sort the springed adjuster part.


                          Heres 3 and 4 carb lined up...


                          Get the others lined up right then join them with the rails.


                          I'm not going OEM here I am using black stainless steel button head Allens keys.


                          Put the upper rail on, clutch cable holder, fuel line and vacuum line and its all done.


                          A tad over 2 hours from start to finish. I'm going to have to wait for some more fuel hose to arrive as I don't have any for the overflow drains.


                          Did I say that earlier in the day I pulled 1 and 2 plugs and spun here over. There was spark on both so in theory with a bit of fuel and hoping we have compression she should fire and run once these carbs are back onboard. Overflows arriving early next week along with new battery......


                          I did also go through the front master cylinder earlier. I cleaned it out of all the years of sludge and goo. It does amazingly seem to be pumping as I watched as air came bubbling out of the system when I used the lever. It's clearly springing back. The refurb kit has arrived but I'm not sure it's for this model bike. I can try it though.


                          Next up rebuild the front end, refit the back end and get brakes working .

                          Comment


                            #43
                            Well done. You seem all over it! Keep it up!
                            Paul


                            sigpic


                            Comment


                              #44
                              Had a small delivery of a headlight bulb, tail light bulb and a relay.

                              Now the indicators work, the headlight works but sadly the tail light doesn't. The unit on the bike has 5 wires going into a 3 pin socket, 2 browns, 2 black and white and 1 white. All that will work is the brake light when a switch is depressed. All the bulbs have been checked with a multimeter and are good.

                              When checking the loom feed you only get 6.3V with the headlight on. When going through the light unit the reading is 0v.

                              I swapped it to another tail light that has a 3 pin socket with 4 wire and a grey spare and I can get a number plate light working and a brake light but no normal tail light.

                              So scratching my head now. Any suggestions?

                              Comment


                                #45
                                According to my fuzzy wiring diagram the white wire is the brake light, the brown is the tail light & the black & white is the ground/return or "earth" for both. with a volt meter on the plug between the brown and black & white you should see a nominal 12 volts. If you only get 6, no light would be an expected result.
                                Paul


                                sigpic


                                Comment

                                Working...
                                X