-
Previous owner let the front sprocket get loose and chewed up the splines I figure. It's a good thing I pulled it down too, the clutch hub was worn and cracked. Everything else was like new though. Really enjoying this thread, very nice workmanship. -
Yeah, it is looking good, Crank journals look pristine and lightest of wear marks on the shell bearings. Gear teeth show next to no wear, selector forks ditto. Looks like the cases have never been split. Given the ham-fisted work on the top-end, I needed to have a look to quell any doubts and I'm really pleased at the condition of the bottom-end and gearbox. I'll check all the bearings, give everything a clean and paint the cases, and start the reassembly. What was the issue with your output shaft BB?Originally posted by Big Block View PostLeave a comment:
-
Looks good. I was there a few weeks ago installing a new output shaft.Leave a comment:
-
Cases split. The rotor/fly wheel wasn't coming off with heat and some pretty heavy slams with a slide hammer. As there's no oil seal or anything to replace, I'll just leave it in place.
So clean, measure, paint and reassemble.Leave a comment:
-
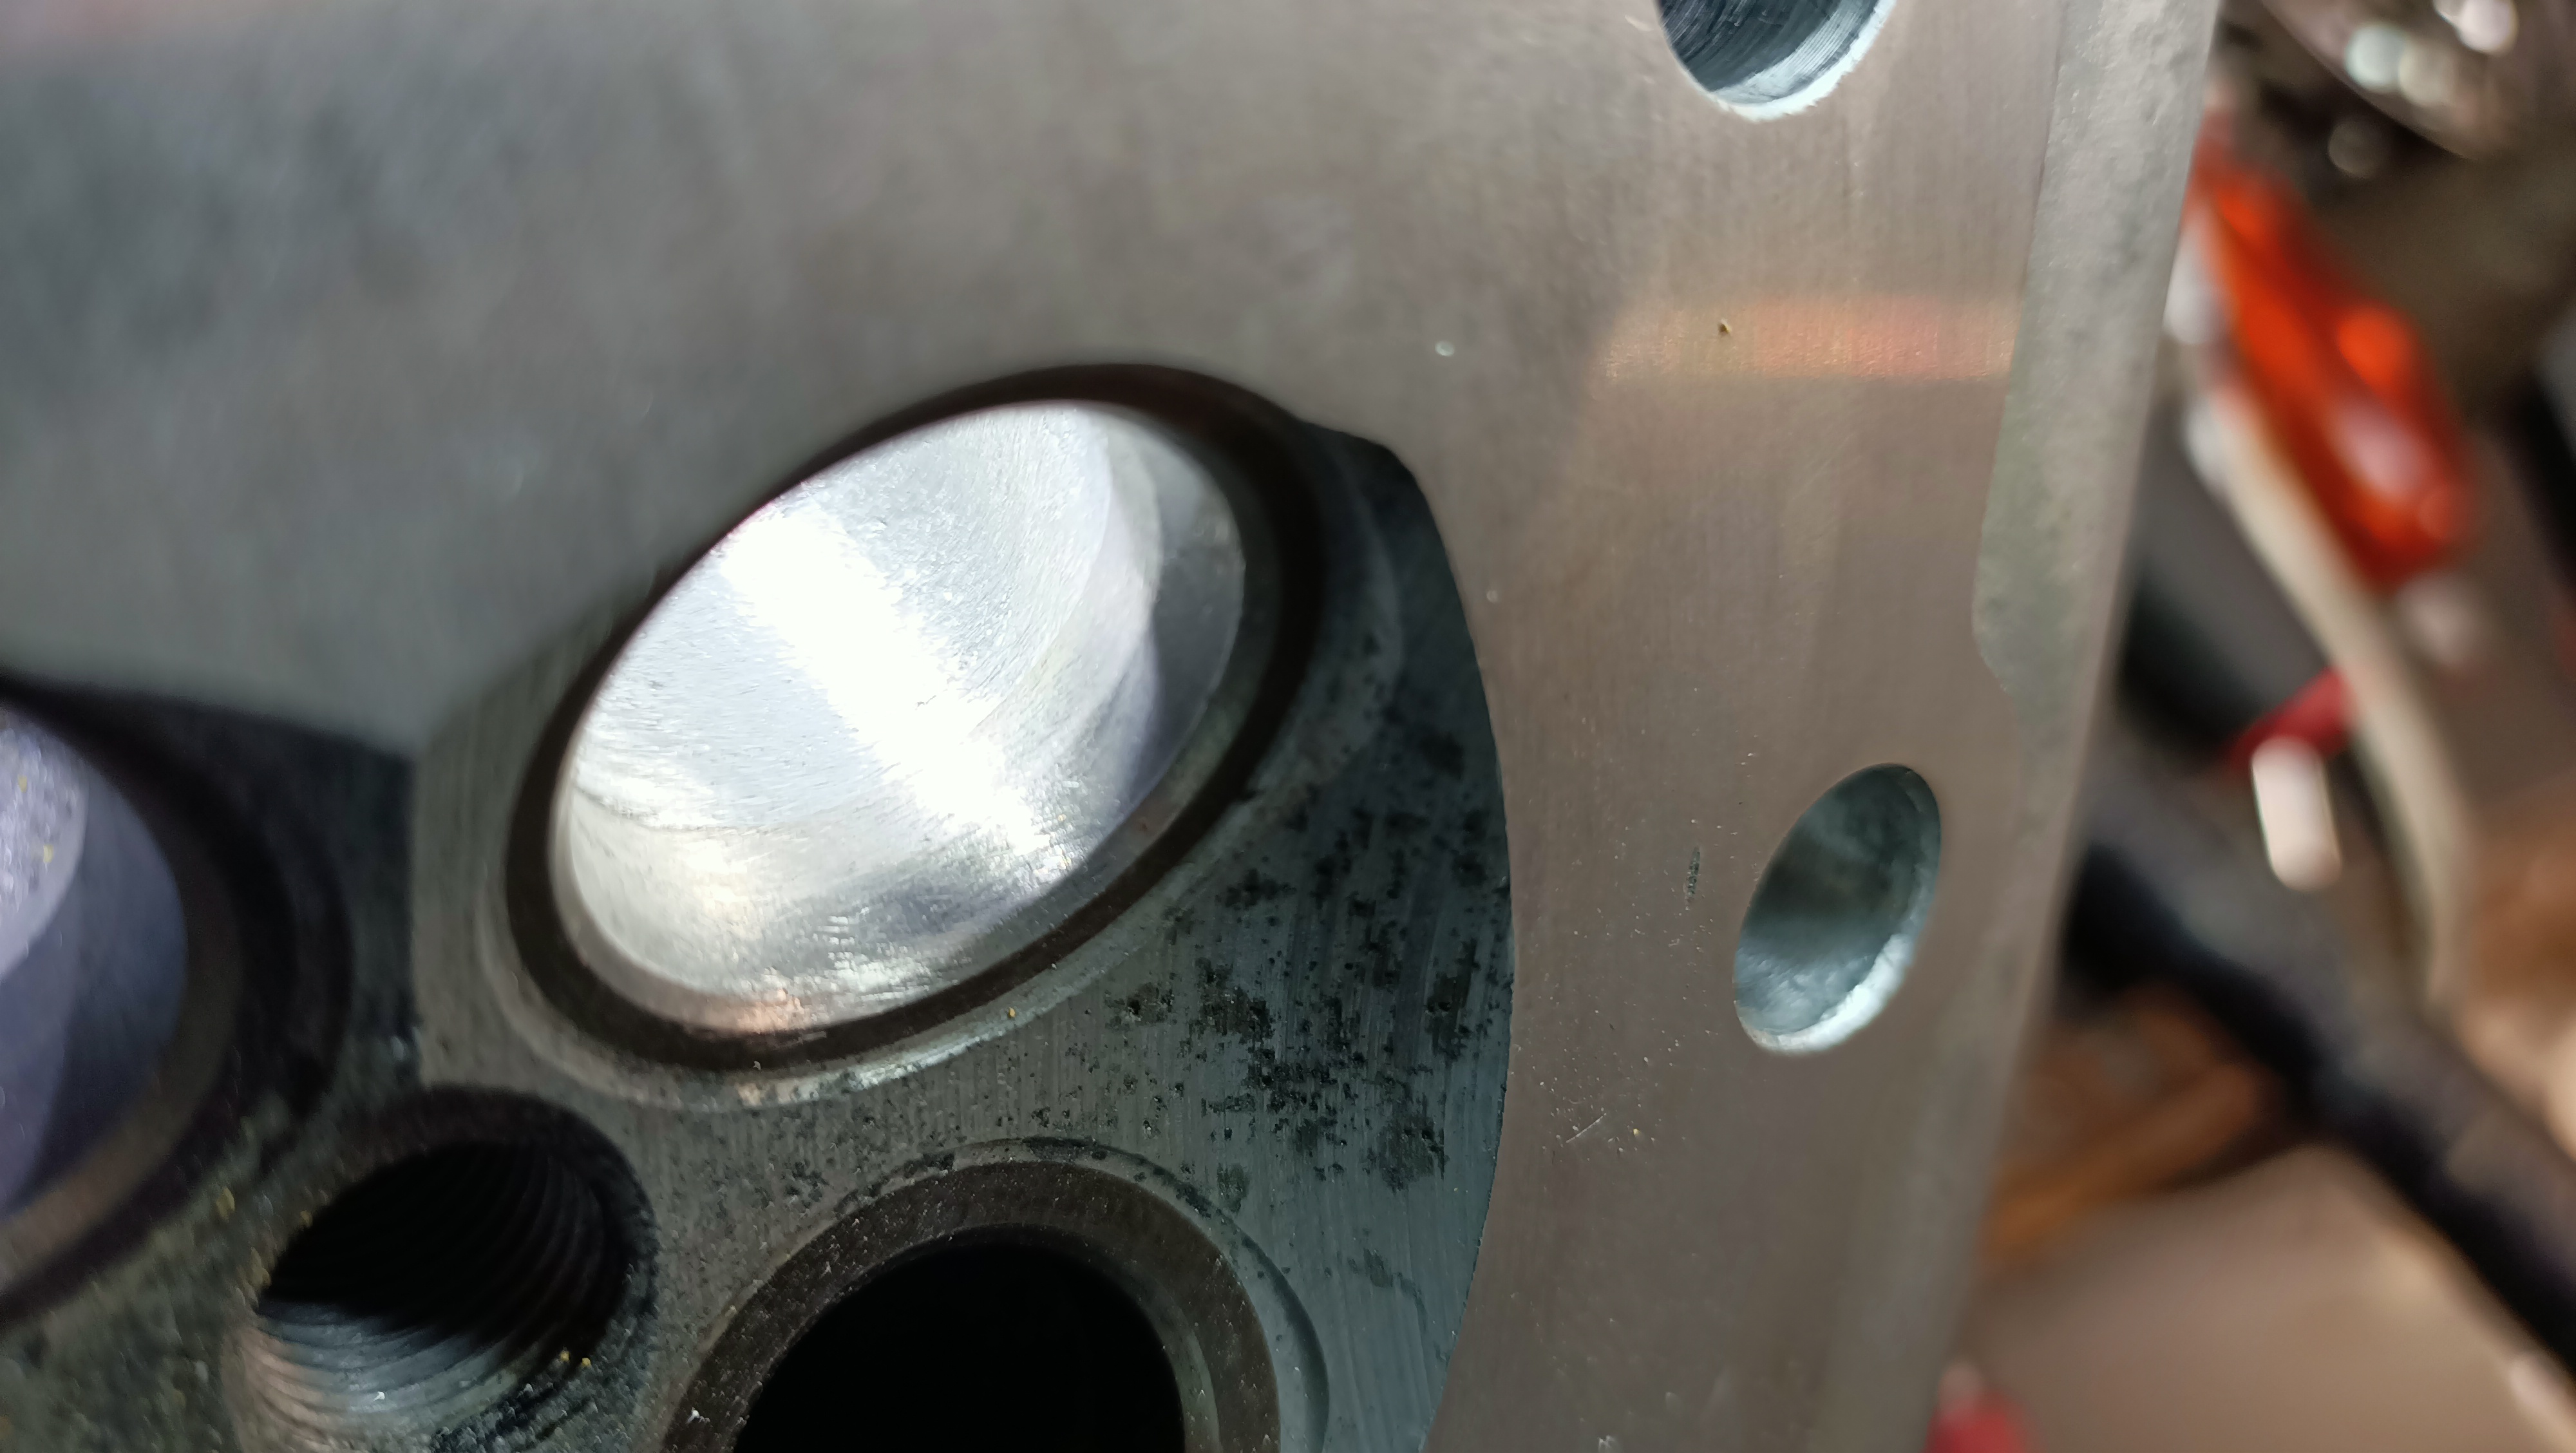
Got a spare 17" Eneki rear for the 750. It's marked "MT" which as far as I know is 'motorcycle tubeless' Of course being early 80s and not being specifically marked as tubeless it has the right rim profile but won't take a tubeless valve stem.
Counterbored a face for the valve stem seal. And used the metal valve stem face with some grinding paste to remove the cutter chatter marks.Leave a comment:
-
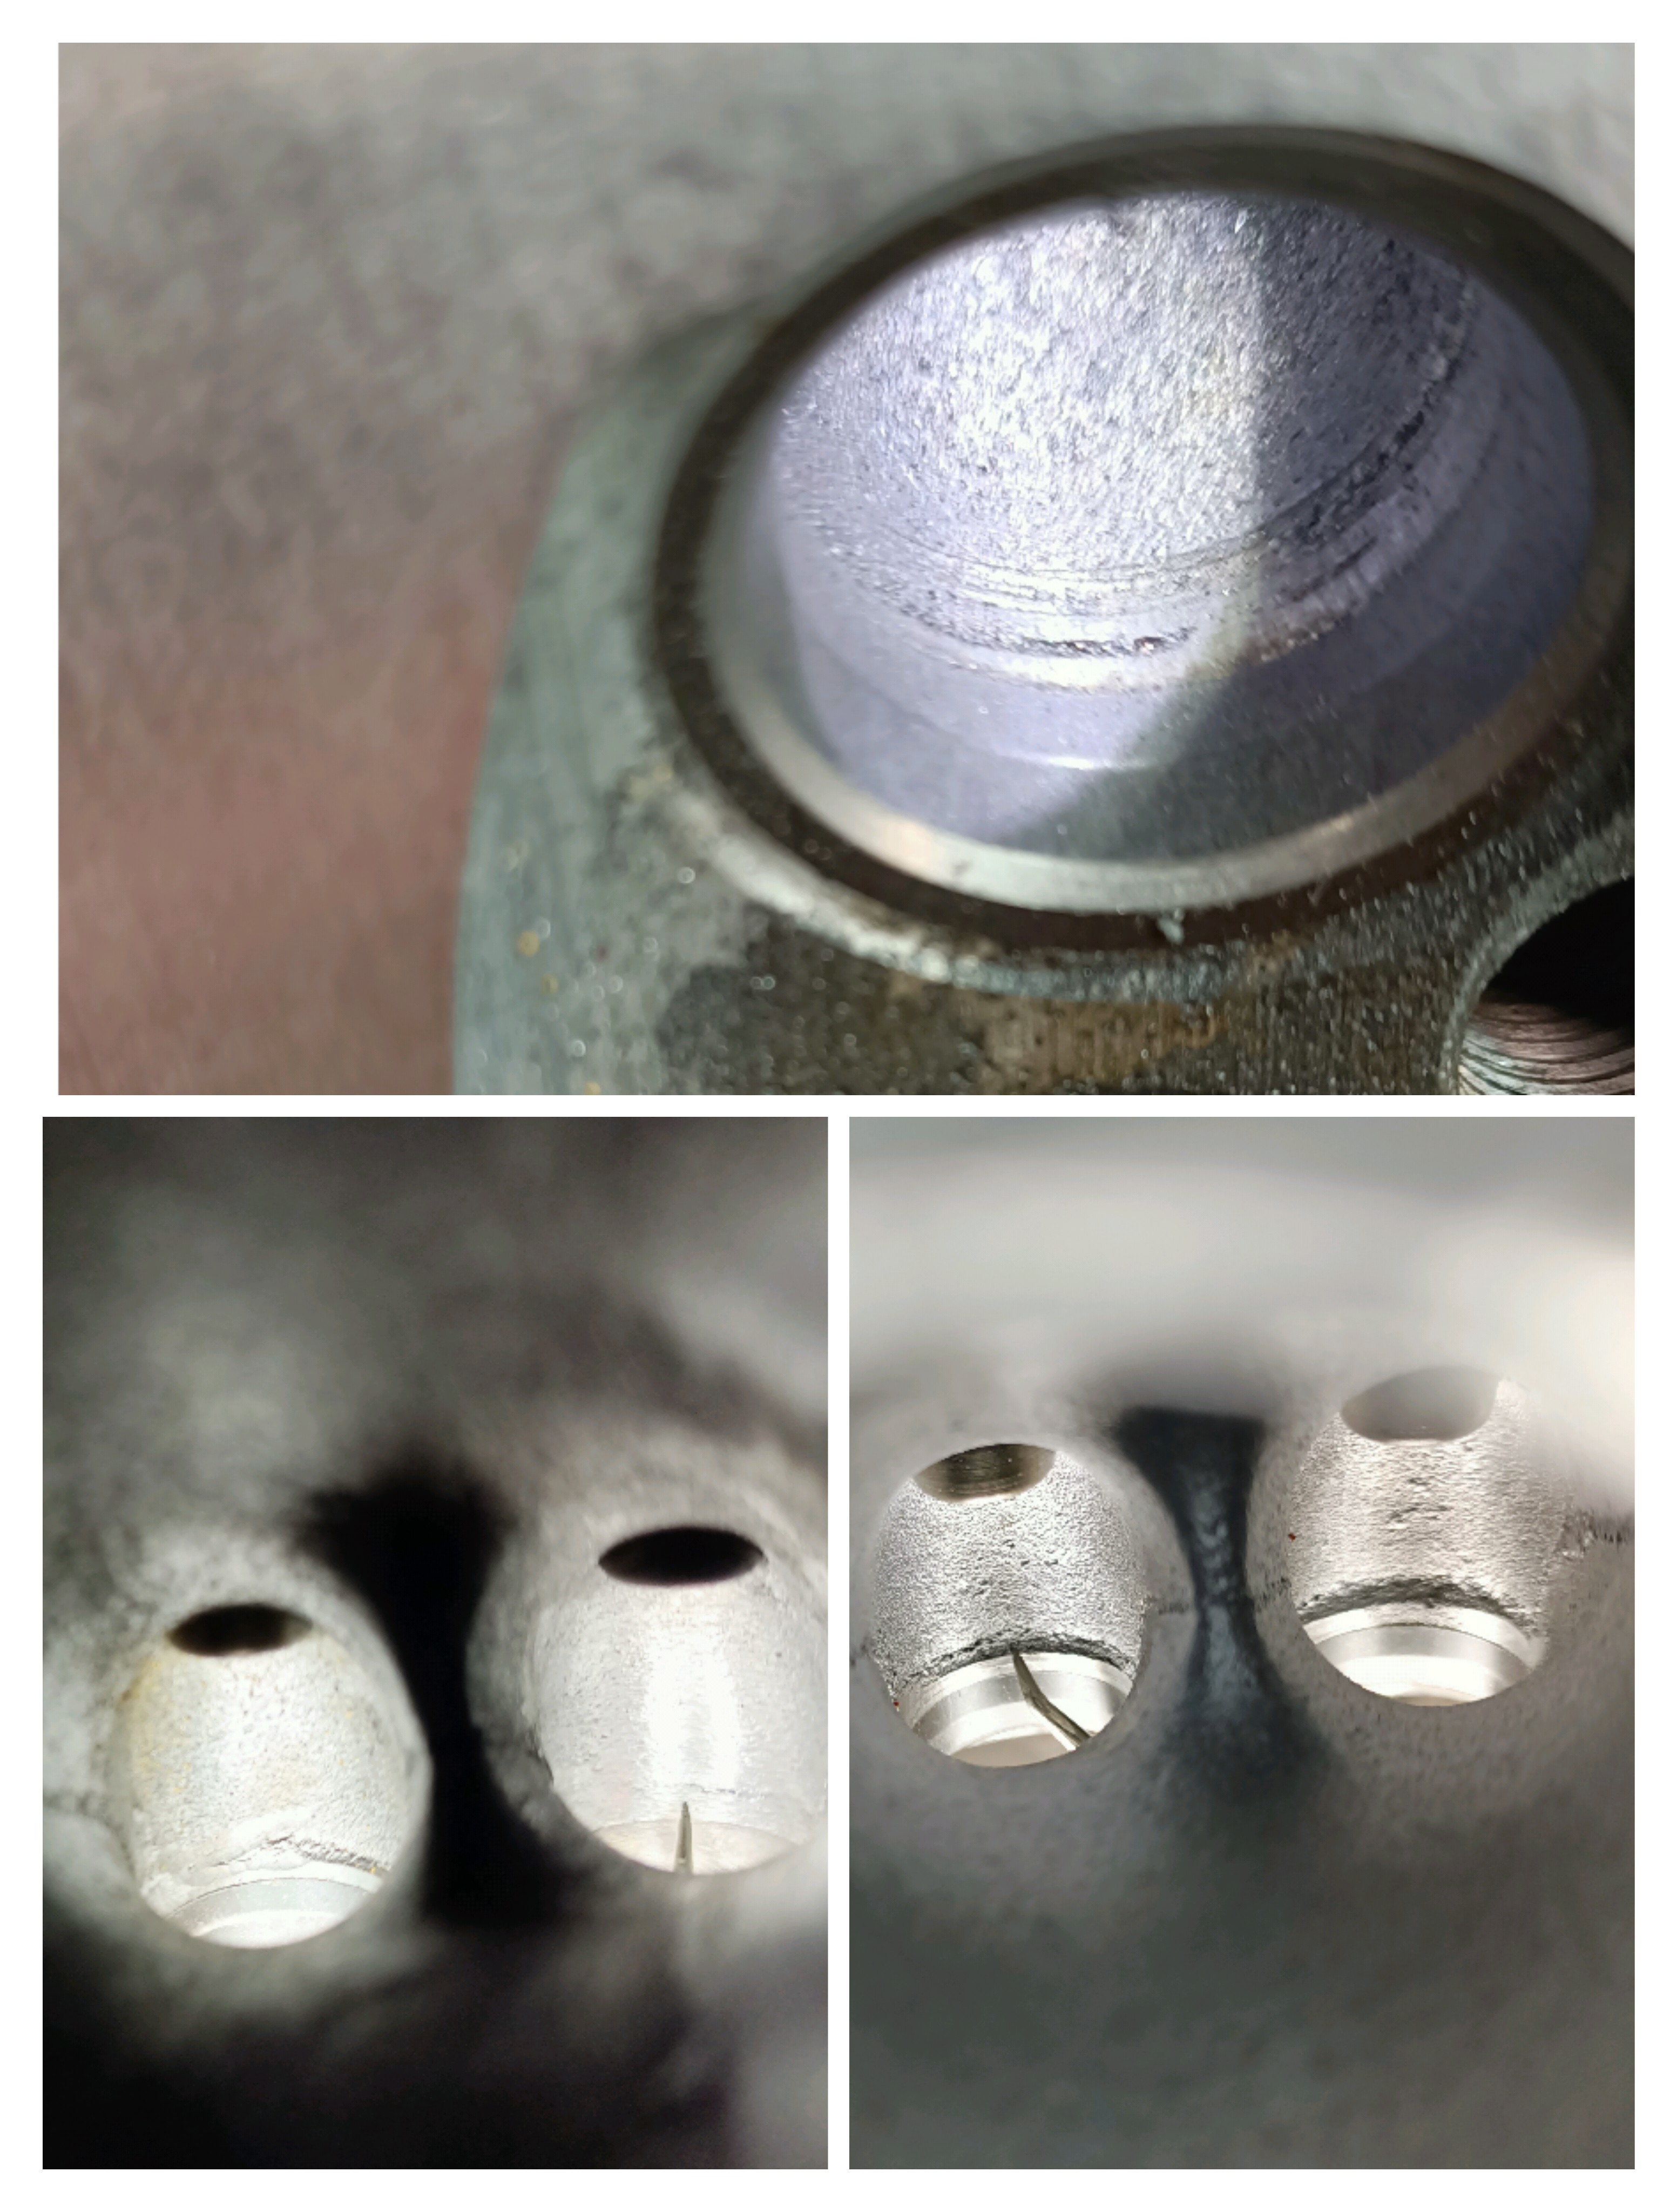
Exhaust ports cleaned up. A couple of the inlet valves are badly cupped on the sealing face. It looks like the valves have been heavily lapped on using an electric drill. Replacements on the way. A serviceable inlet is shown for comparison.
I'm using a marker pen as a substitute for engineers blue to reveal and measure the seat contact width. The inlets appear to be over the 1.1mm limit. As do the exhausts.Leave a comment:
-
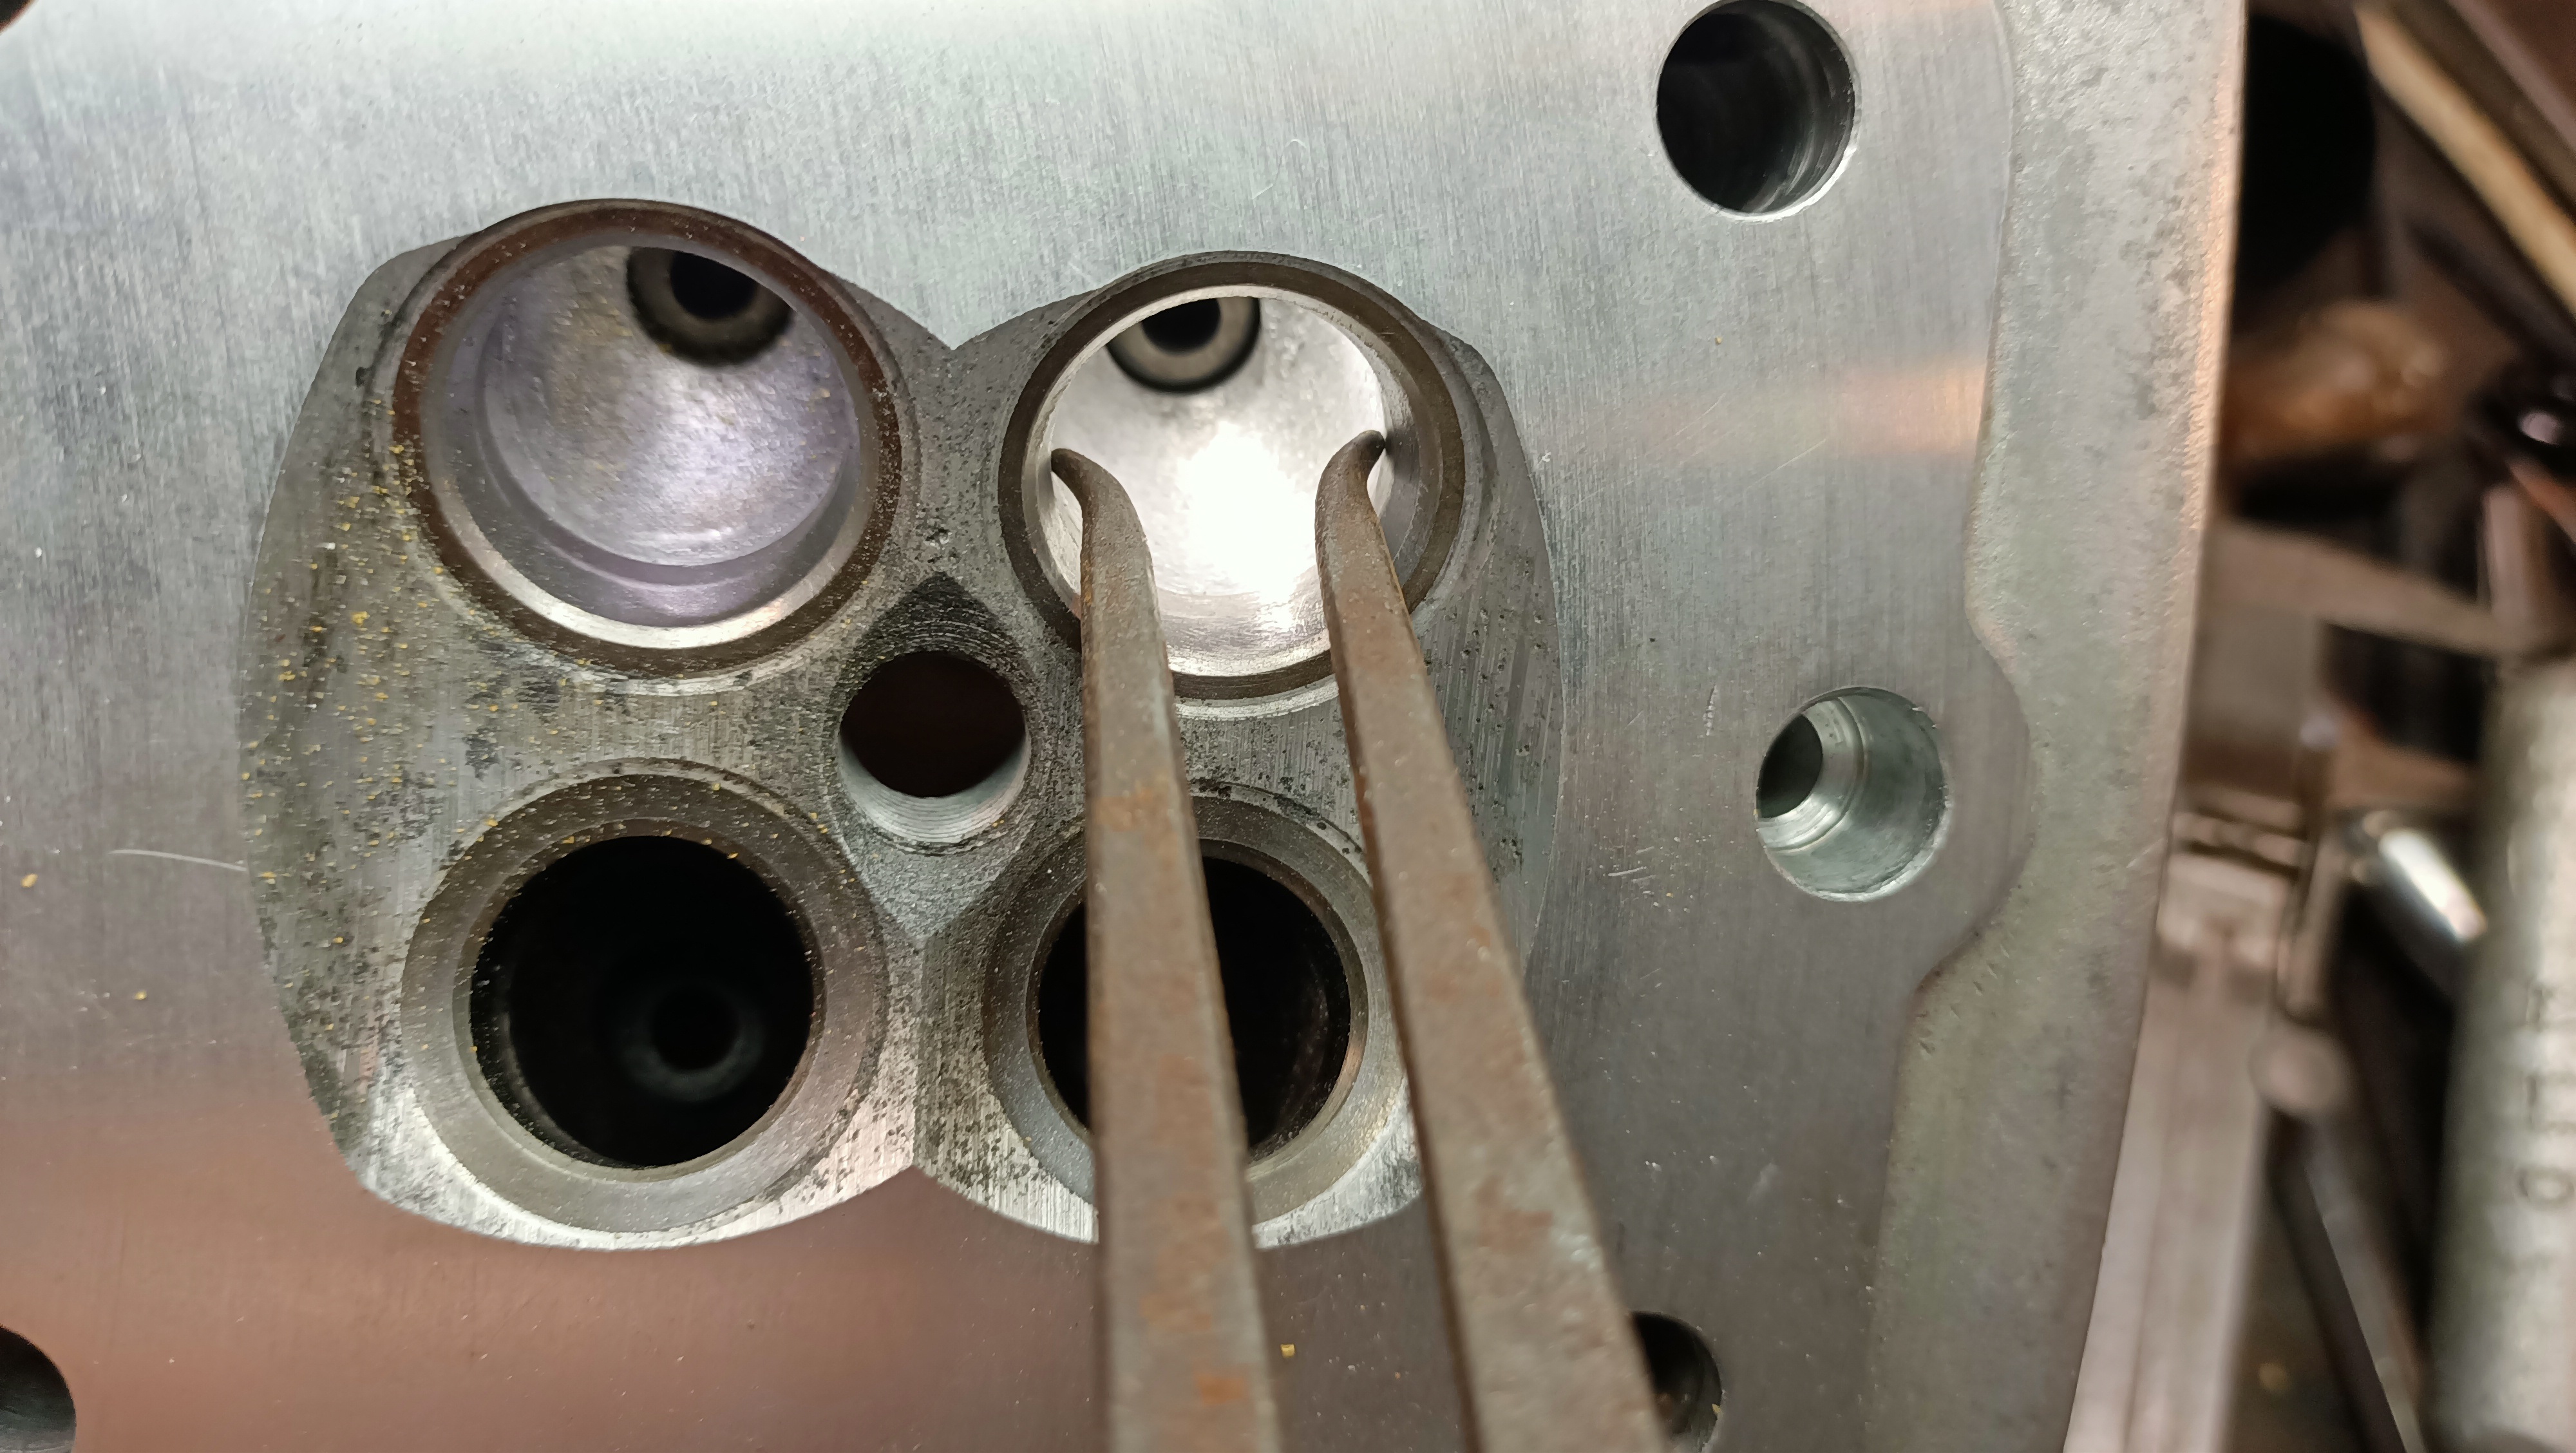
Pretty much finished the inlet ports. Got some valves coming to replace some that need to be swapped out.
Tried to take minimal material out as I'd like to maintain as much port velocity as possible. Also left the throat area as undisturbed as possible apart from cutting out the casting flaws on the long side and blending a gentle radius back into the bowl. On the short side I radiused it as best as possible, removing the sharp step which is ringed in red below. Again removing minimal metal.
Cleaned up the casting core flashings in the turn of the ports and blended then into the throat area. The bottom pic above is one done, and one to be done. Surface finished in 80 grit.
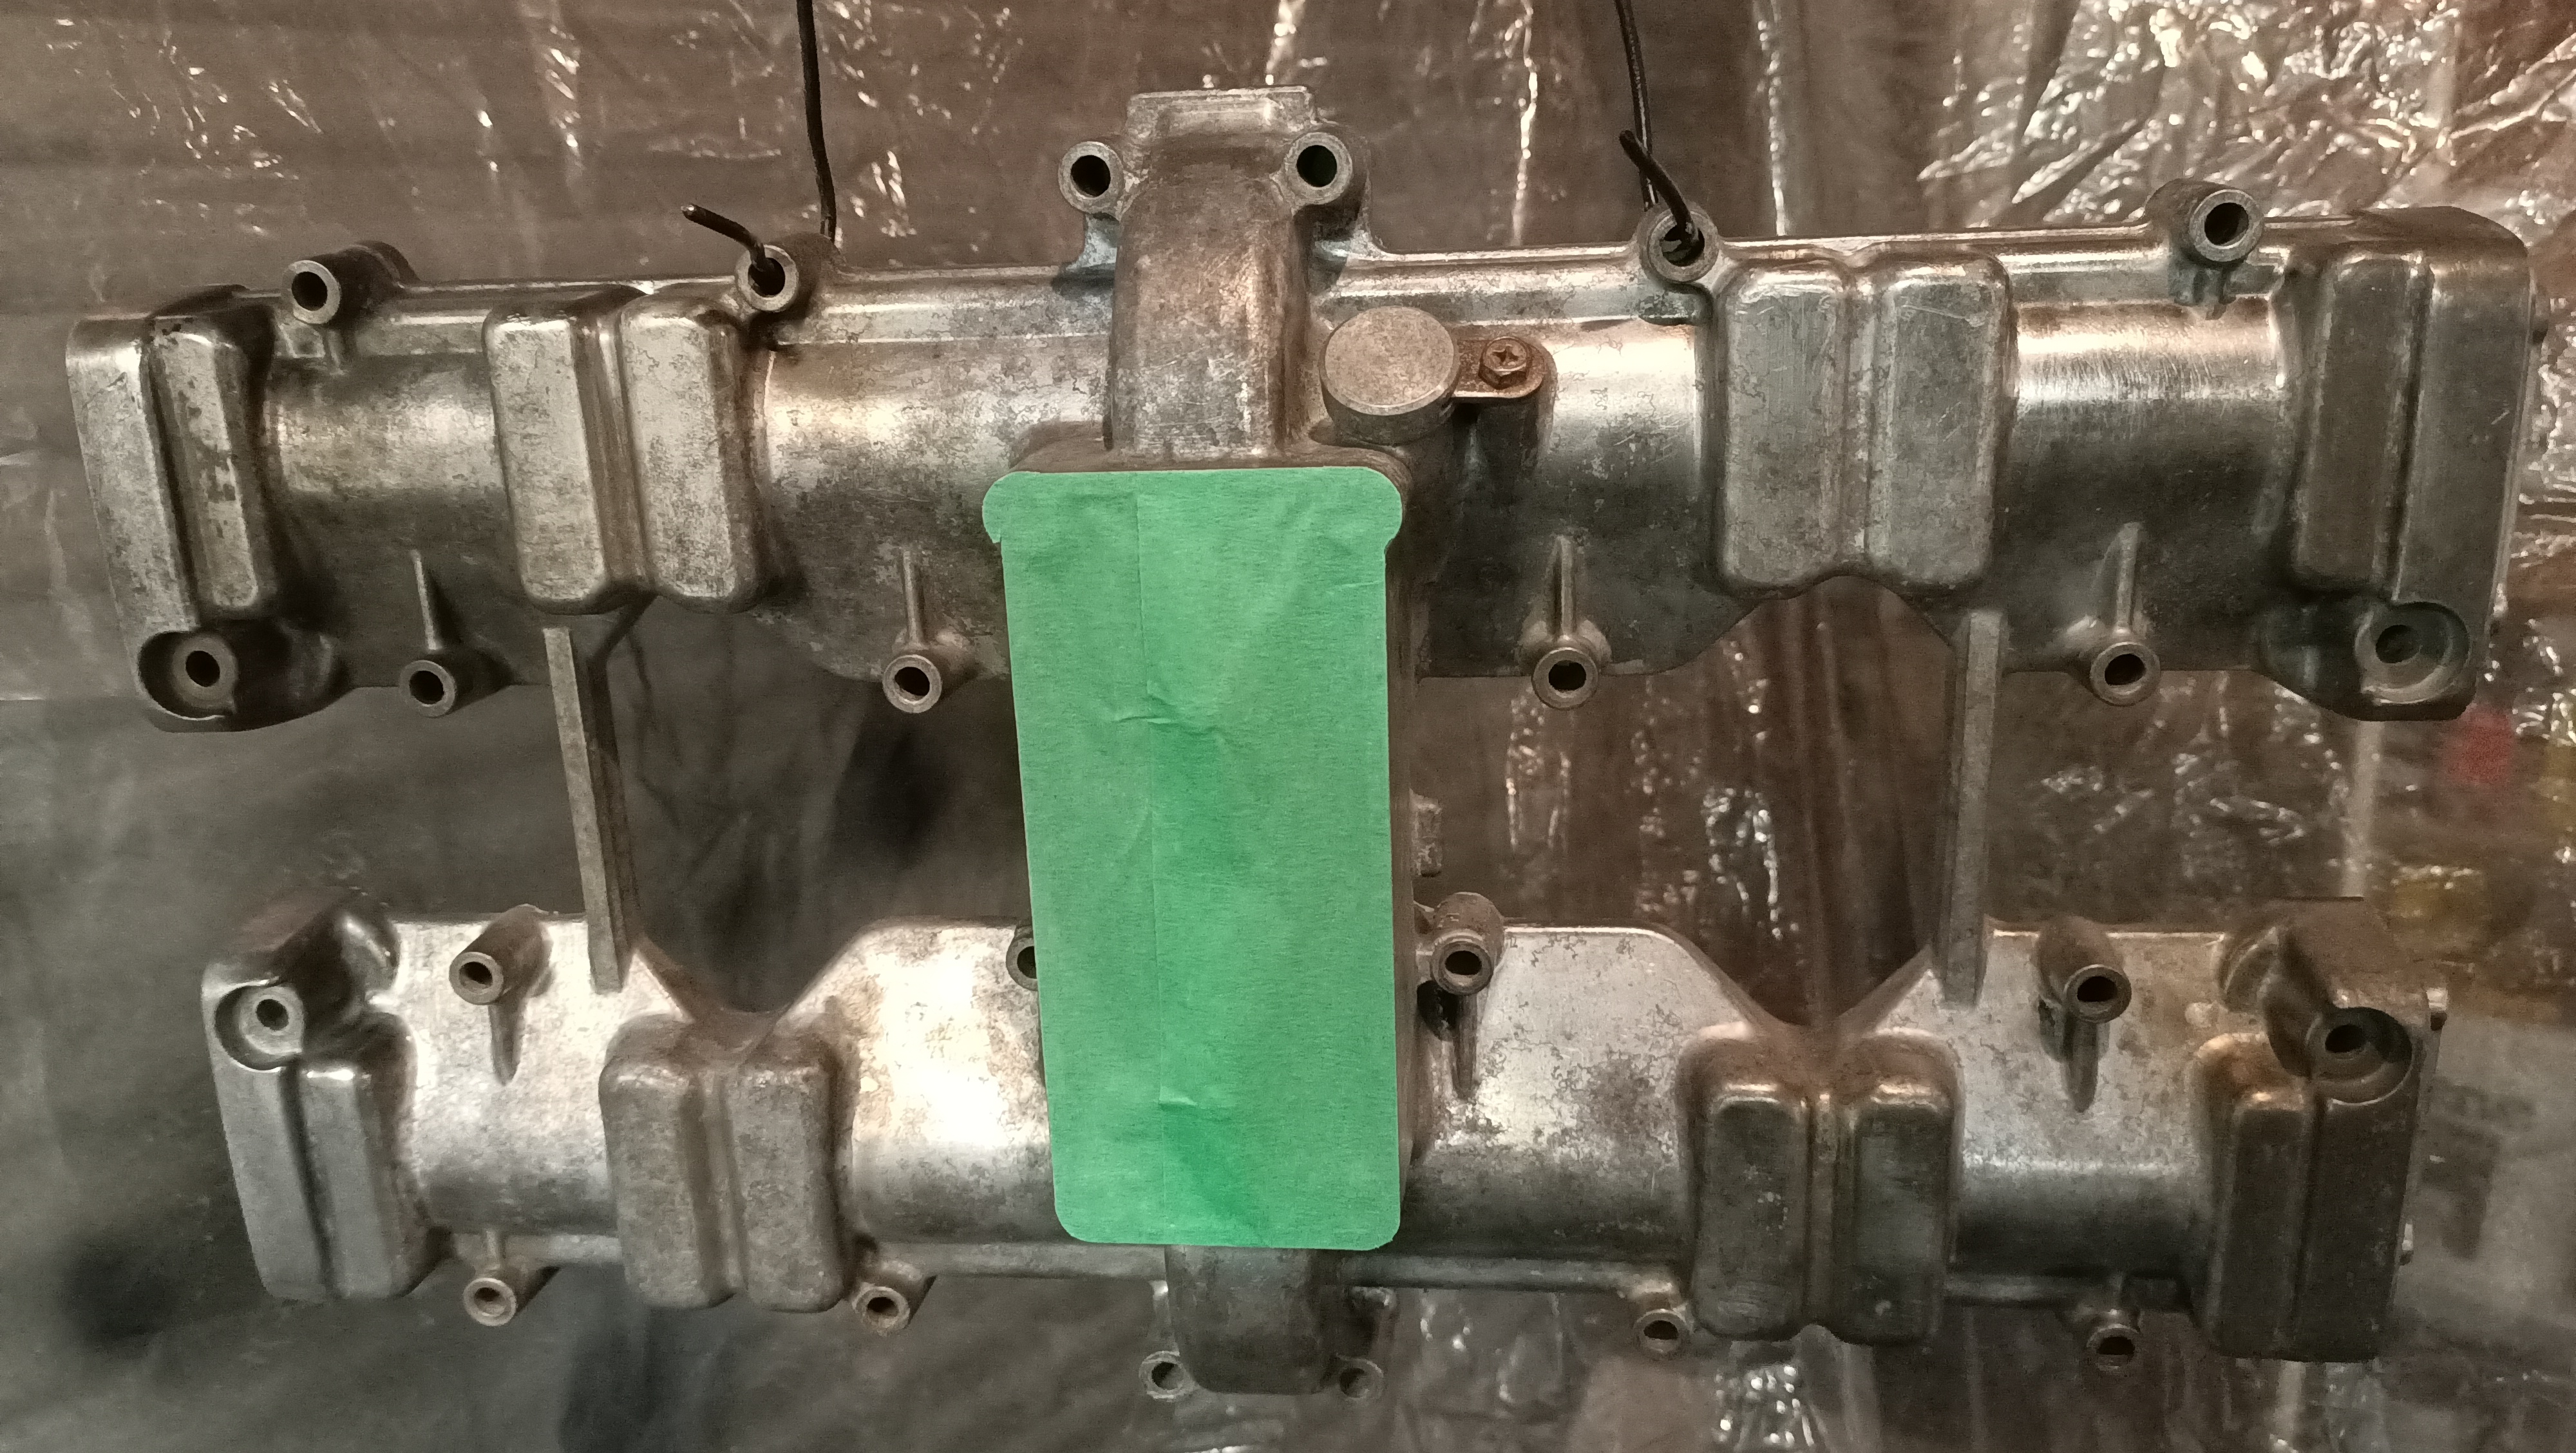
Fitted new roller bearing on the clutch release shaft. Never regretted buying a hydraulic press..
Leave a comment:
-
Thanks Forden, that's very flattering. Just sharing the journey and posting what I think is interesting. Hopefully others, such a yourself, find it interesting too.Leave a comment:
-
this build thread is a real education in itself, thanks for sharing your work in such detail--you say it's therapy, well, I thank you for sharing your time on the professor's couch.
I could never quantify the time I have spent fishing, either... probably best not to think about it too hard.Leave a comment:
-
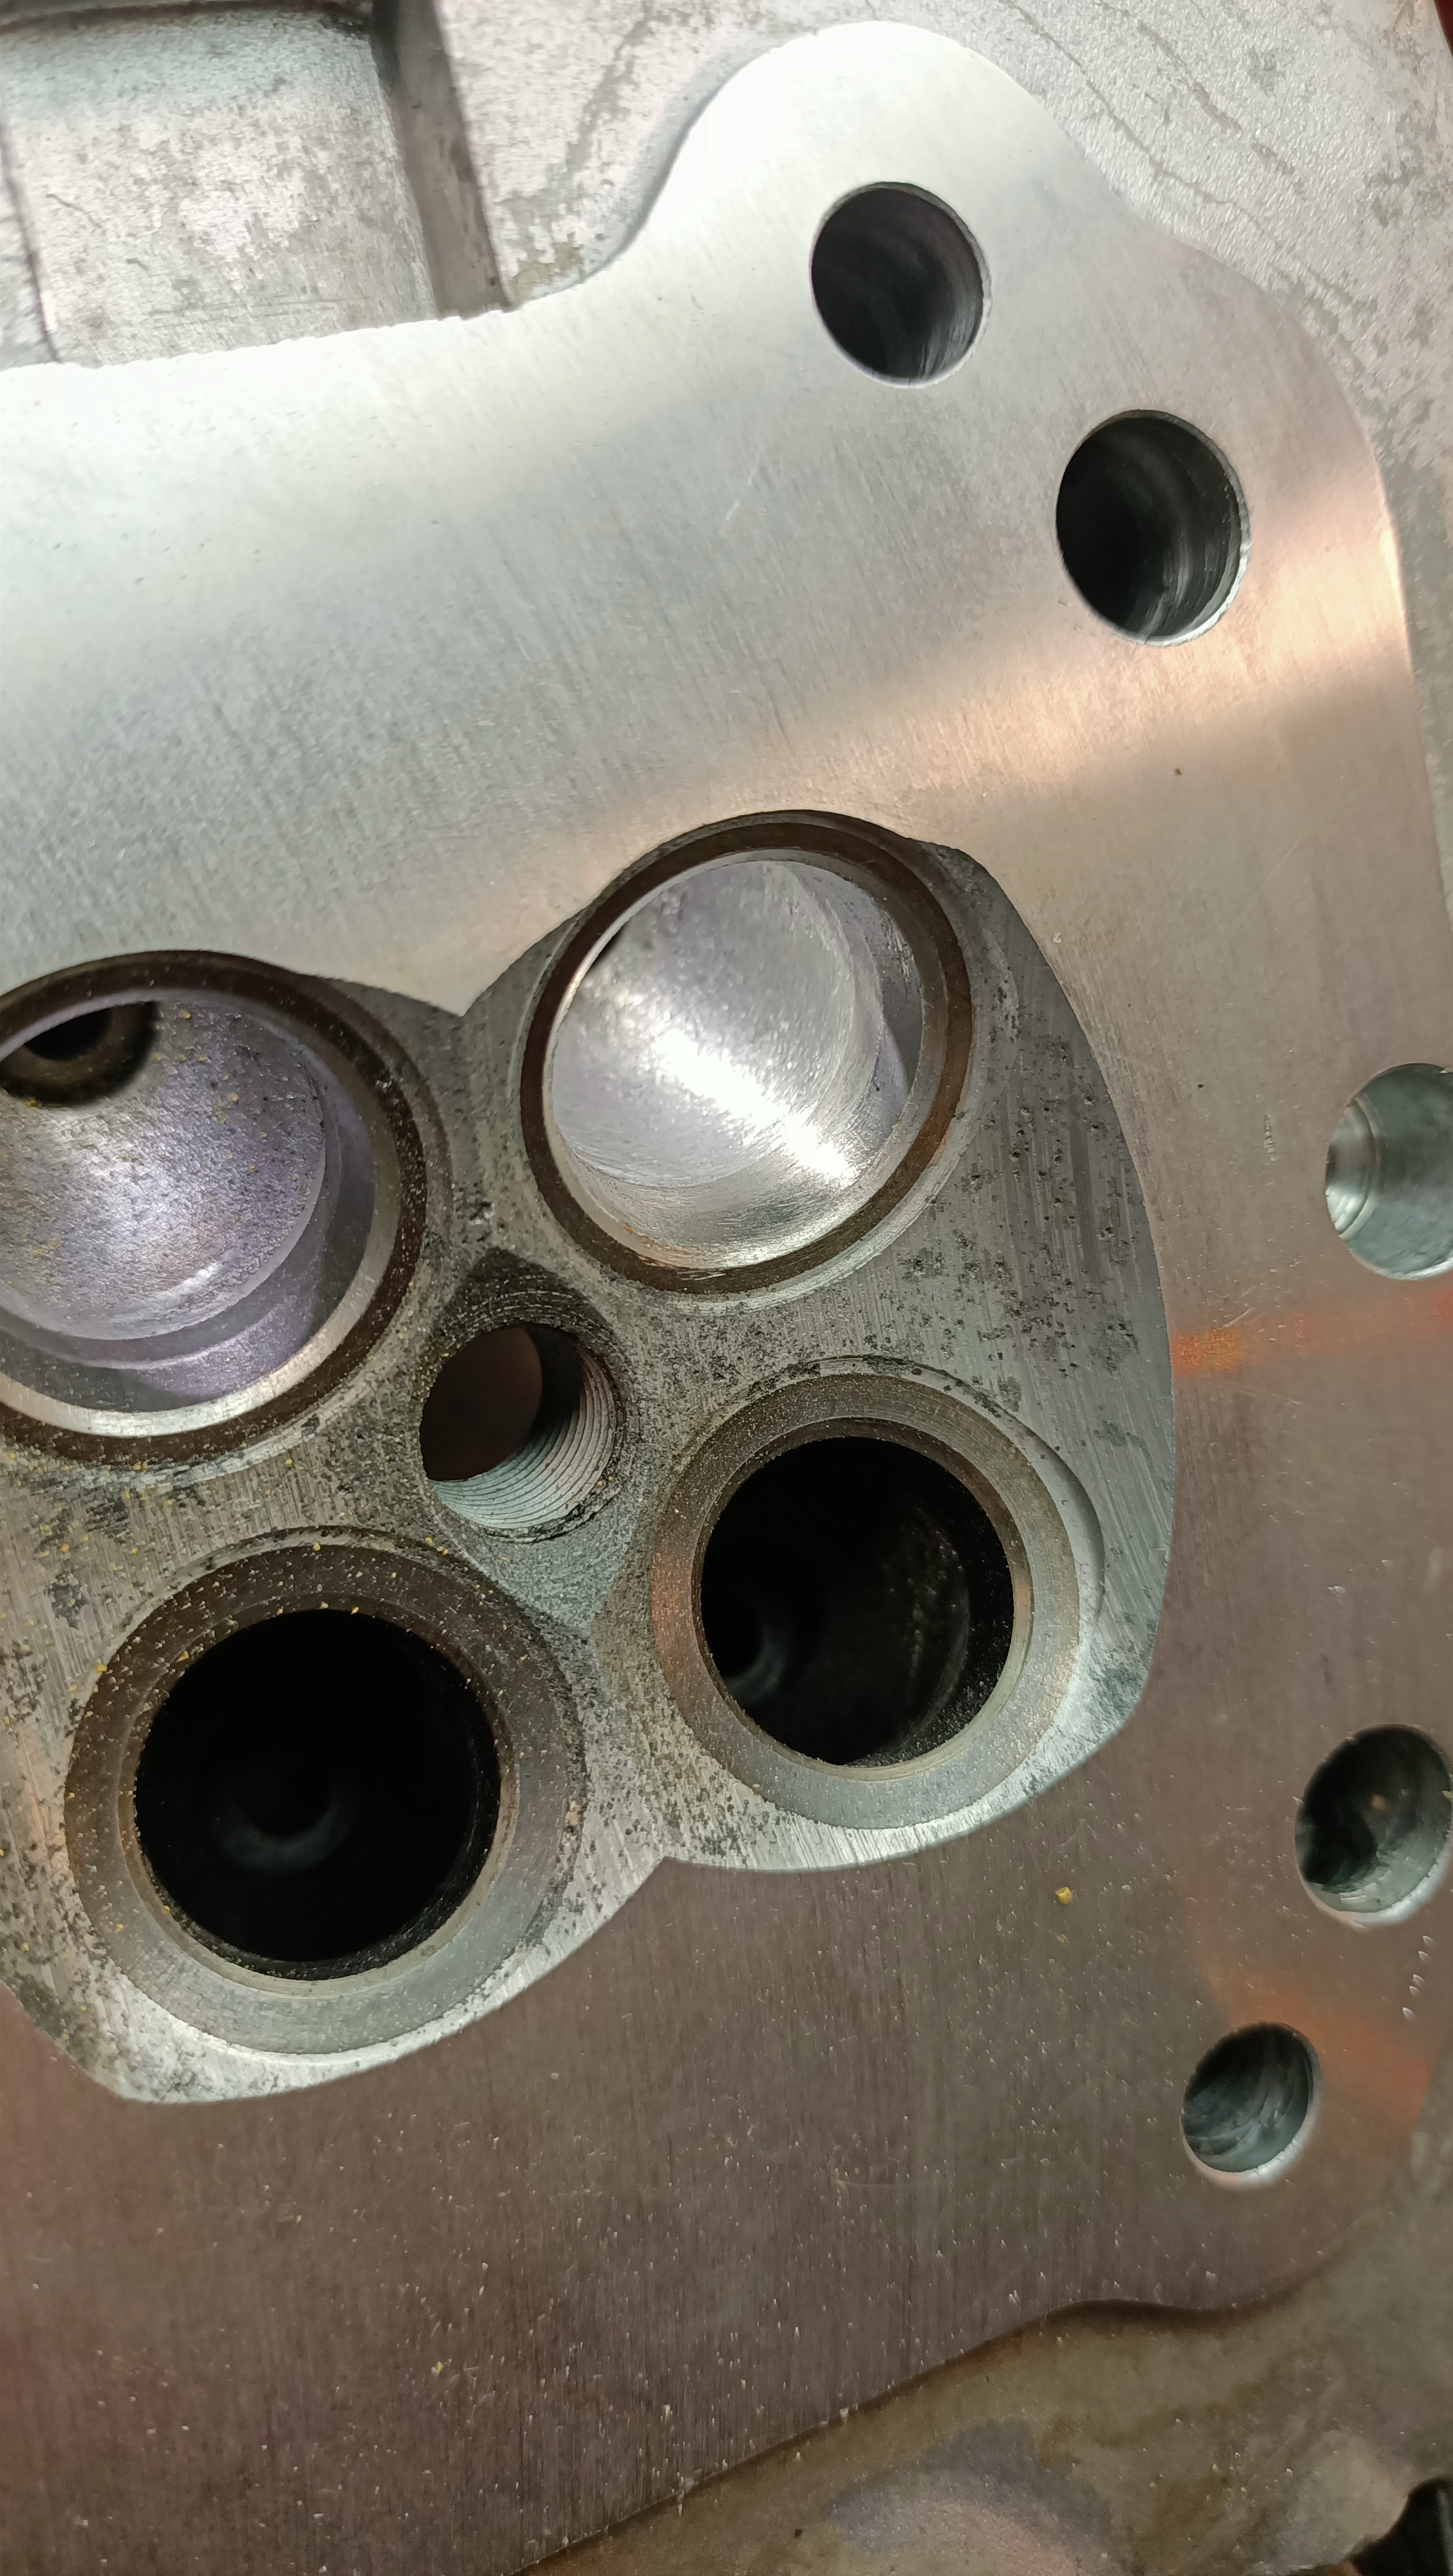
Did some work on the worst of the inlets
Comparison.
A mark is still visible, but it feels smooth and a dentists pick doesn't catch in it.
Leave a comment:
-
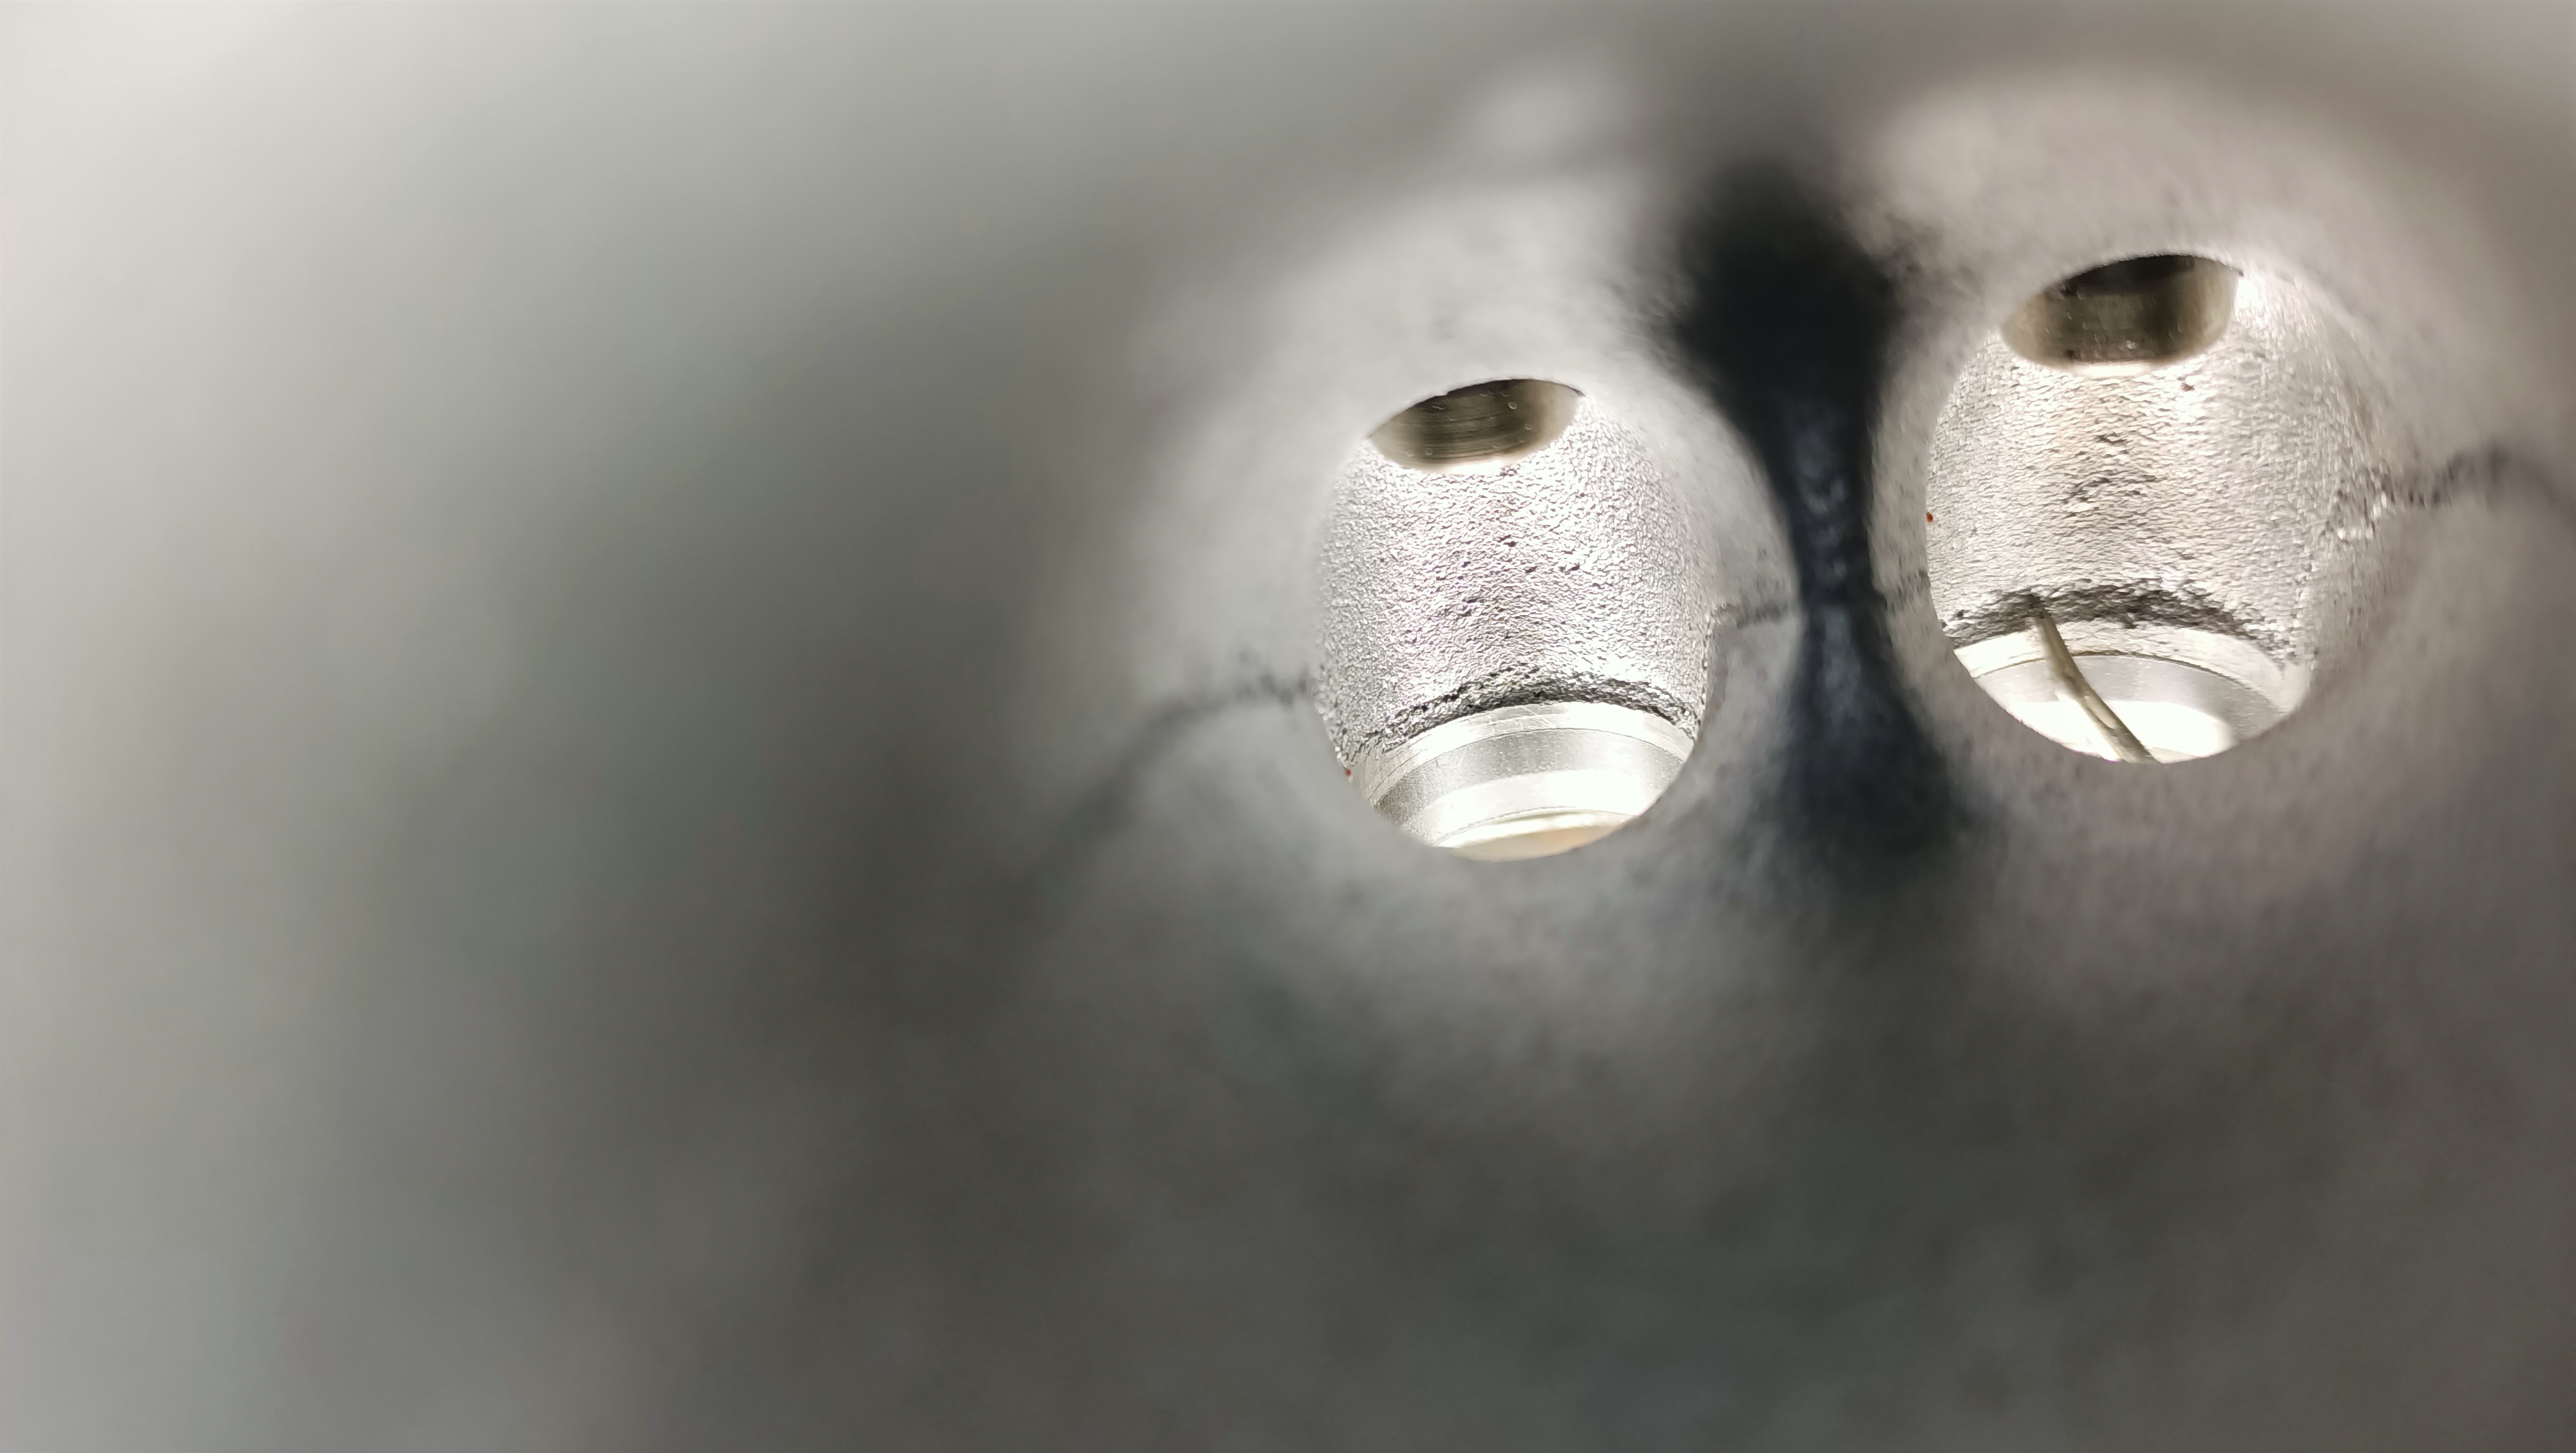
Had a good look at the ports and found various flaws and steps and undercuts where the inlet port joins the valve seat. Which is the most important part of the port - the throat.
Basically the turbulence created by the casting flaws at this point has is extremely detrimental to flow past the valve.
I will carefully cut back imperfection and blend this section of the port back into the bowl. What is important is to maintain the valve to throat percentage which I measured at 82% stock. The throat acts like a venturi so I don't want to disturb this area at all. Work on the port above the throat has to be carefully done but isn't as critical.
I've started on one of the less problematic ports.
Leave a comment:
-
Parts back from the machine shop. Barrels planed 0.15 mm (0.006") to close up squish.
Head refaced 0.07 mm (0.003").
Leave a comment:
.png "Powered by vBulletin")
Required reading for all forum users!!!
Welcome!
Register to access the full functionality of the GSResources forum. Until you register and activate your account you will not have full forum access, nor will you be able to post or reply to messages.A note to new registrants...
All new forum registrations must be activated via email before you have full access to the forum.A Special Note about Email accounts!
DO NOT USE sbcglobal.net, att.net, bellsouth.net or email.com email addresses when registering for the forum! Email that our system sends out to these email servers is treated as SPAM and you will never receive your activation email, or any other email that our system may send out. Use an email address from gmail.com or some other email server.A note to old forum members...
I receive numerous requests from people who can no longer log in because their accounts were deleted. As mentioned in the forum FAQ, user accounts are deleted if you haven't logged in for the past 6 months. If you can't log in, then create a new forum account. If you don't get an error message, then check your email account for an activation message. If you get a message stating that the email address is already in use, then your account still exists so follow the instructions in the forum FAQ for resetting your password.Have you forgotten your password or have a new email address? Then read the forum FAQ for details on how to reset it.
Any email requests for "can't log in anymore" problems or "lost my password" problems will be deleted. Read the forum FAQ and follow the instructions there - that's what we have one for...
New users should be sure to read the FAQ as well as the posts in the Announcements forum. This will answer many of the questions you may have about how this forum works.
Before posting questions in the forums be sure to use the forum search function!!! Odds are your question has already been asked and answered before. And when posting, please make sure that you post to the correct forum.
Finally, be sure to check out BassCliff's website here. He has useful information that can't be found on this site. His welcome page containing useful GS information can be found here. Be sure to check it out!
If you are a returning visitor to the forum and can't log in using your old forum name and password, chances are your account is deleted. Just create a new forum account and you should be all set.


Leave a comment: