.png "Powered by vBulletin")
Originally posted by KiwiAlfa156
View Post
-
Degreasing In the parts washer followed by a wire brushing and P80 to clean off the crusties. 340 grit to surface. Masked up and grease and wax remover, Duplicolor engine primer and the Duplicolor satin black engine enamel paint.
Leave a comment:
-
To be honest, I have no idea. It's mindfulness time. It's therapy. I can't tell you how many hours I've spent fishing over the years either ☺️Originally posted by 77gs750enjoyer View PostLeave a comment:
-
How many hours do you estimate you have put into this project?Leave a comment:
-
Removed the broken and the stretched stud by welding a nut on to each of the damaged parts. Yes, that is a splatter shield made out of a cardboard beer box. And yes, it did at one stage catch fire. But it did work.
Sludge and a few silicone worms in the pan
Leave a comment:
-
Started the engine work at long last. I took the head and barrels off earlier and as you may recall that was a horror story of stretched and snapped cylinder studs from a literal "tighten her up until she strips and back of a quarter turn" engine reassembly. To be generous, a lot of ambition, unfortunately not matched with the required knowledge/skill.
Plan of work is to do a full strip down of the bottom end to check for damage or missassembly; clean the cases and paint them satin black; reassemble assuming no repair is required. I'll take the head a barrels to my automotive engineer to skim true the face of the head, and to plane 0.15mm off the barrels to give me a squish/quench clearance of 0.85mm. This hopefully will be the only part of the resurrection that will require work outside my garage. I'll give the ports a bit of a clean up, lap in the valves (the seats look OK) and hone the cylinders myself.
So I stripped the head of the valve gear and found a few issues. After cleaning the valves, it became obvious that the stems of the exhaust valves had suffered some corrosion
Priced replacing all 8 valves and it's more than what I paid for the entire bike! But this is more a function of the low price paid for the bike than the price of the valves. You could probably refit them and just cruise around. But I don't 'cruise' and revving it out would cause dropped valve anxiety. No fun.
Also the RH exhaust camshaft bearing pillows seem to have been repaired by welding and machining back. This is the "B" cam cap side. The oil ways are uneven as is the wear pattern.
I decided to check the clearance using Plastigage. I started with blue to check whether the clearance was over the 0.15mm stated in the manual. It wasn't
So then I used green to get an accurate read and it measured up at 0.1mm which seem about right.
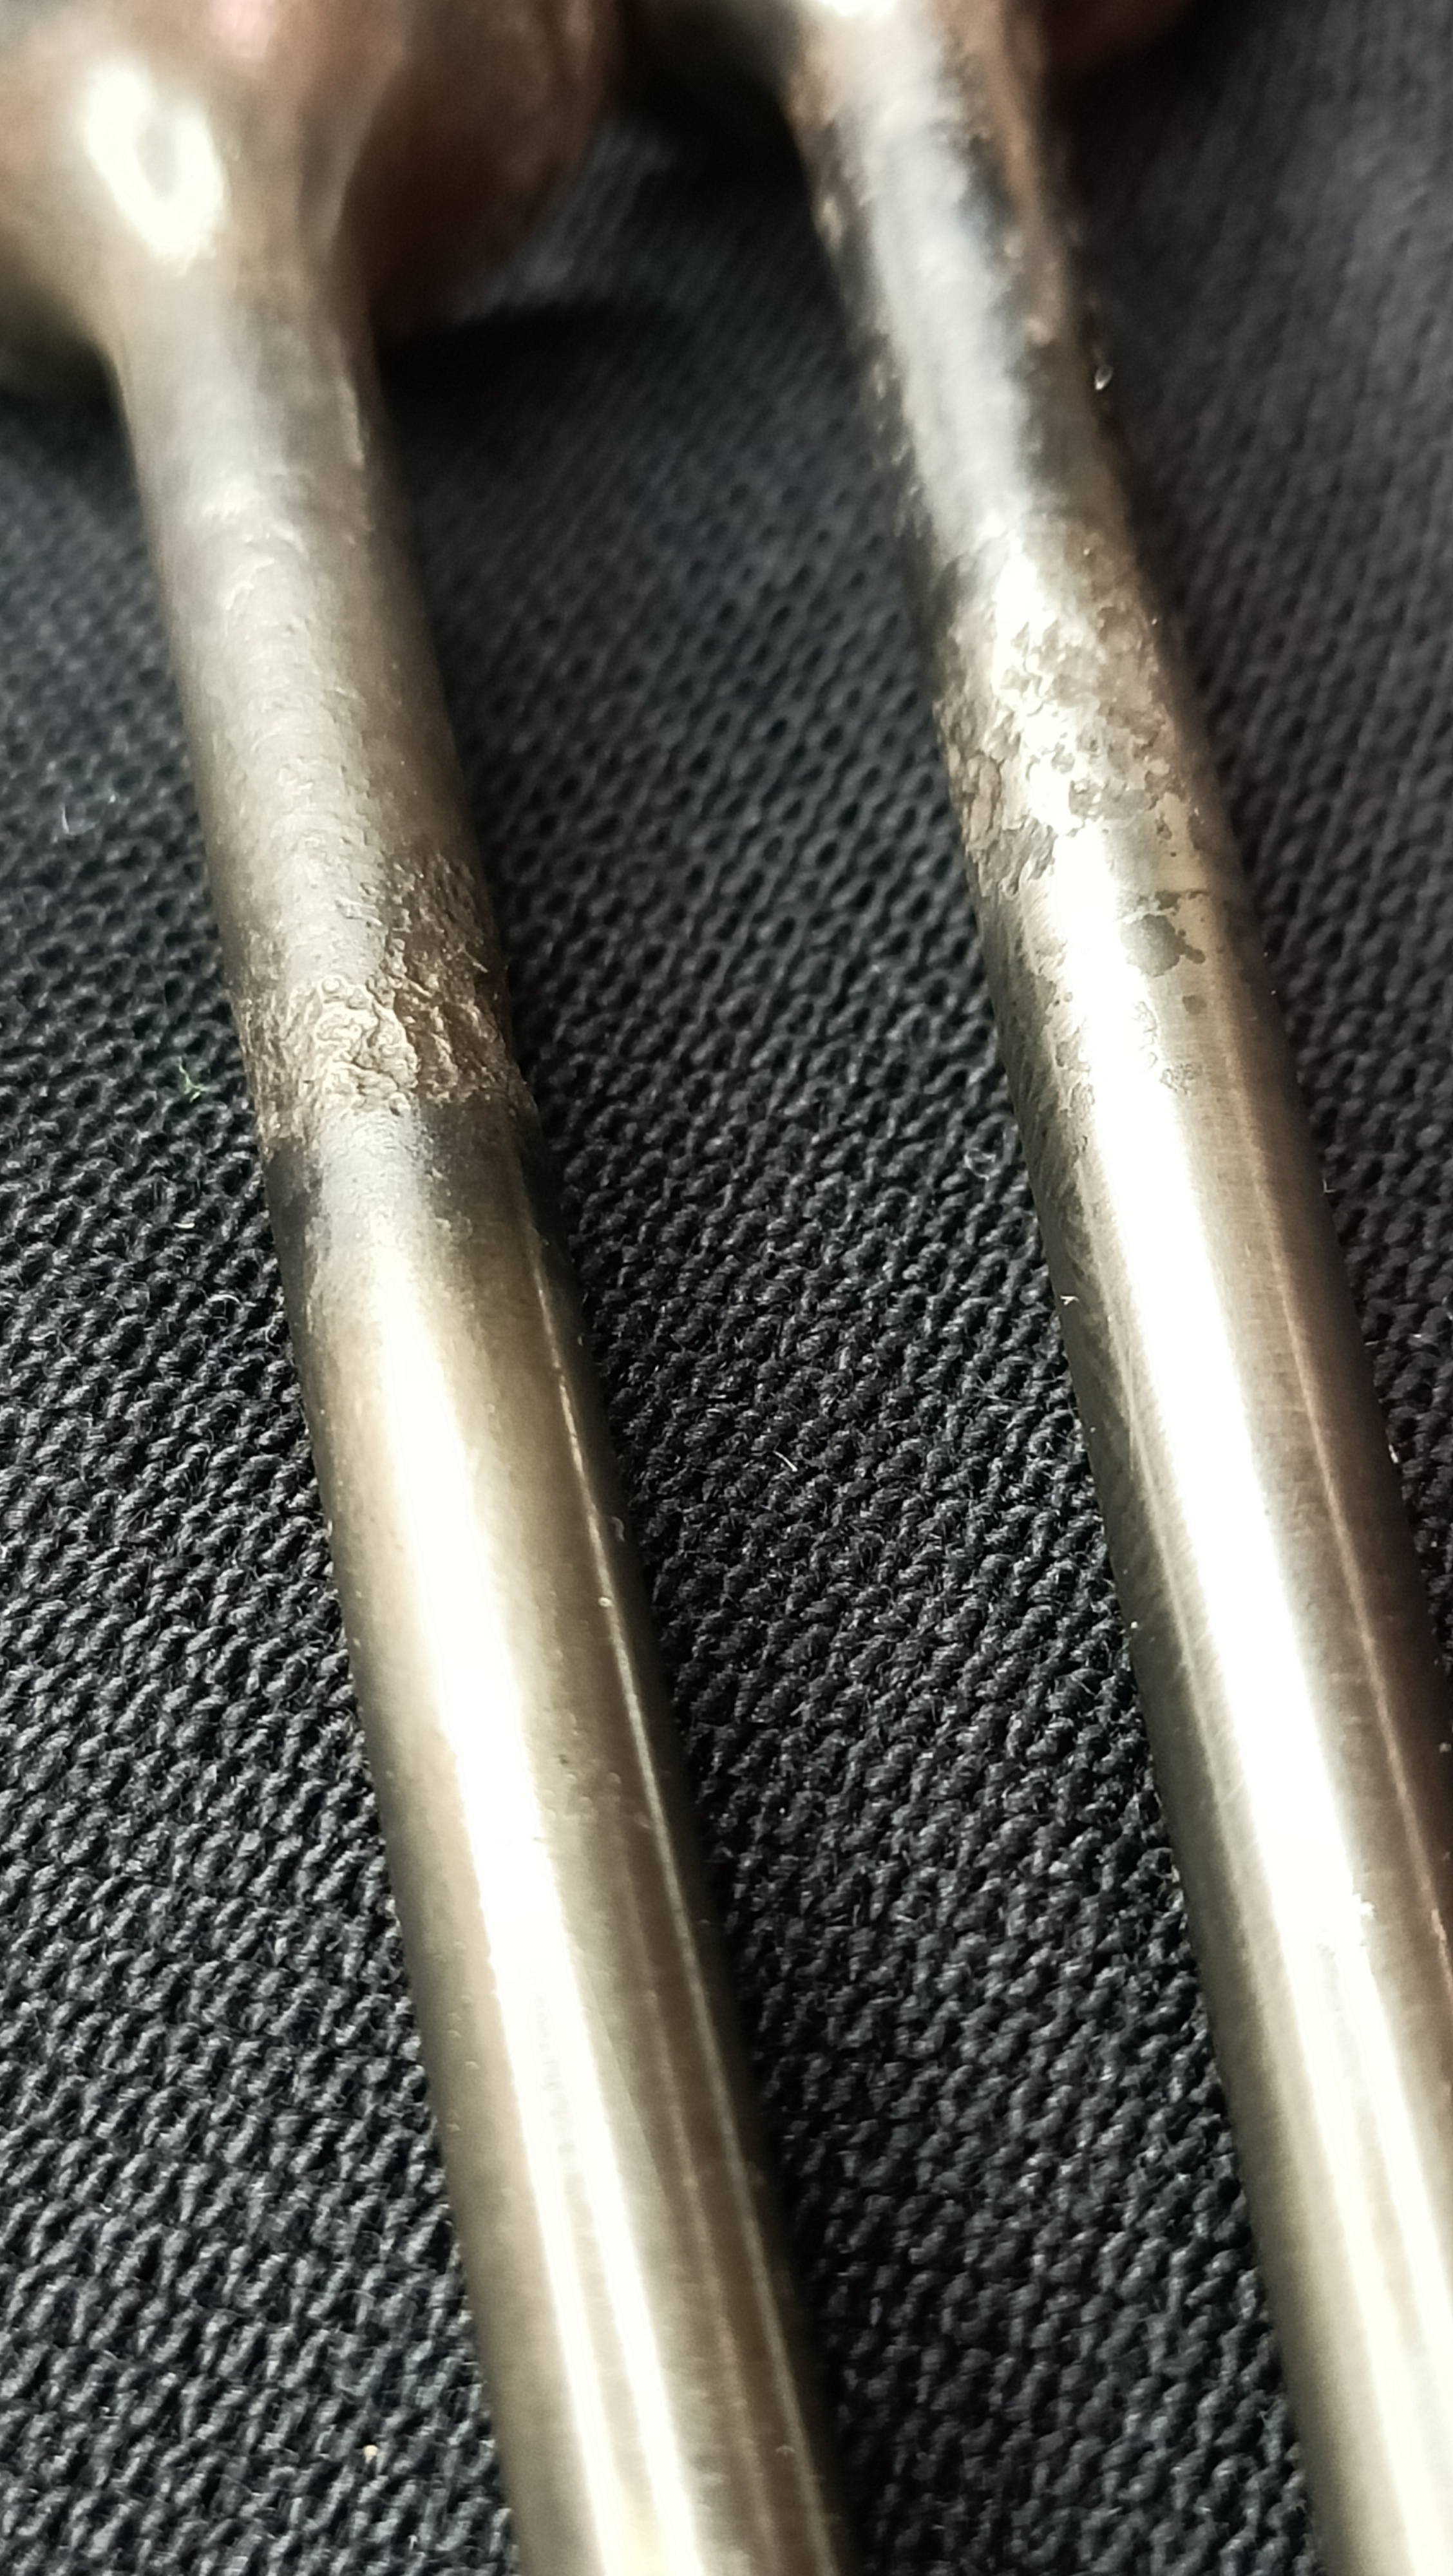
Three out of the four threads on the 4-bolt "B" cap were stripped so carefully drilled, tapped and helicoiled
Leave a comment:
-
Cut and polished the last piece of body work this morning. Colour sanded with 1500 and then 2000 grit to remove (most) of the orange peel. Then cut and polished by hand with a corse then a fine compound. Assembled the fairing and loosely fitted everything on the chassis and took it out into the sun for a look.
It's not perfect, but overall I'm pleased with the results. It's been a learning experience with a couple of stuff-ups along the way.
Last edited by KiwiAlfa156; 04-15-2022, 08:16 PM.Leave a comment:
-
I had almost the exact same thing happen when painting a 1000S tank; during the very last clear stage, the tank slid off the support and flopped upside down on the ground. It was horrifying. I baked the paint overnight then sanded out the debris and reshot the clear the next day. $hit happens. It's how we bounce back that matters!
 IMG_1348 by nessism, on Flickr
Leave a comment:
-
Thanks fellas, I was fine after an hour or two of self-flagellation, burning regret, a beer, and a good night's sleep. Looking forward to finishing the painting so I can start on completely stripping down the engine. Although more paint will be involved.Leave a comment:
-
I've had to walk away more times then I want to admit. It's all you can do until it dries thoroughly. As Steve mentioned, way better then hitting the floor, although not much solace, I'm sure. Your repair looks good, and I like the red Suzuki letters. They go better with your stripe design imo. That bike is gonna be really nice when it's done.Leave a comment:
-
Too bad about the paint mishap but obviously better than bouncing off the floor.
I also think it is a good move on stepping way from the mishap.
At times I have used those thin rubber shelf liners on the workbench and inside tank tunnels.Leave a comment:
-
Disaster. During the final coat of clear the tank began to slide off the saw horse it was on. I grabbed it to stop it and stuck finger holes through the fresh paint ... I was gutted. Washed the gun, closed the door and walked away.
Have started the repairs. Cut back to remove the bumps, and faded paint over the affected area. Will remask for the third time. Shoot the black. Drop in the pin stripe and clear for the third time.
The tank decals were the wrong shade of blue and should have matched the Navy Blue section of the seat. Had a spare set of OEM decals, so peeled off the custom piece and applied them.
Leave a comment:
-
Two coats of clear. Ready for decals then another two final coats of clear.
Flatting back the base coat was a mistake. It knocked off the mica and metallics in the paint, so I masked up and sprayed another 2x coats of base and then put on the clear coat.
The Black Pearl has a metallic flake that matches the Tiger Mica, which was the effect I was hoping for.Last edited by KiwiAlfa156; 03-11-2022, 11:17 PM.Leave a comment:


Leave a comment: