Announcement

Collapse
No announcement yet.

Effective Tab Repair using Aluminum L

Collapse
X
 
  • Filter
  • Time
  • Show
Clear All
new posts

    Effective Tab Repair using Aluminum L

    I'm reporting this stuff here because I have been asked a few times and it seemed hard to dig out.

    A tip if you dont want to file is much is to pre-drill holes in the L bracket so that you get the hour glass shape and then just saw each one off and you will have a more uniform tab and much less filing to form the tab. There is a diagram attached for illustration.


    Is to get a piece of 1"x1" aluminum L bracket, and cut off a 3/8" piece at the end or(or what ever width the tab is). Then using a file shape one side of the same shape as the original tab was); the other side will be bonded to the back of the cover.

    Once you are satisfied with the shape use some plastic weld 2 part epoxy to glue down the piece to the back of the cover. A couple of tips I use:
    1.) there are a few of these quick cure 2 part epoxies, the 3000+ psi strength is 24 hour cure time and unusually says "plastic weld" is the strongest.
    2.) I use a little sand paper to scratch and clean the under side of the cover first
    3.) Use a little masking tape to help form the surface of the epoxy before it cures. This stuff is hard and hard to sand or cut once it cures. Spreading a little tape over to form the epoxy (don't squish it all out you need some strength).
    4.) For additional strength and since I was repainting everything, if there are any high stress areas (like right at the front of the 82/83 covers), I layered water proof fiber glass reinforced bondo to improve the strength. It adds a little weight and I could have used fiberglass mat and epoxy resin, but I did not feel that was necessary. If you really need a lot more strength do the fiberglass, but I'm trying to bolster a stress point in a thin piece of plastic. It doesn't take too much and again the bondo is simple and cheap. I did use the fiberglass reinforced so it is more structural that plan non-waterproof bondo (the pink stuff).

    If you are careful about locations of the tabs you will not move where the cover mounts, you will avoid the zip ties and it is strong enough to last. Also replace all of the little rubber mounting pieces for the frame and tank; use a little Vaseline (thanks Chef) so the tabs slip in nicely.

    This forum contains old posts which may have information which may be useful. It is a closed forum in that you can not post here any longer. Please post your questions in the other technical forums.


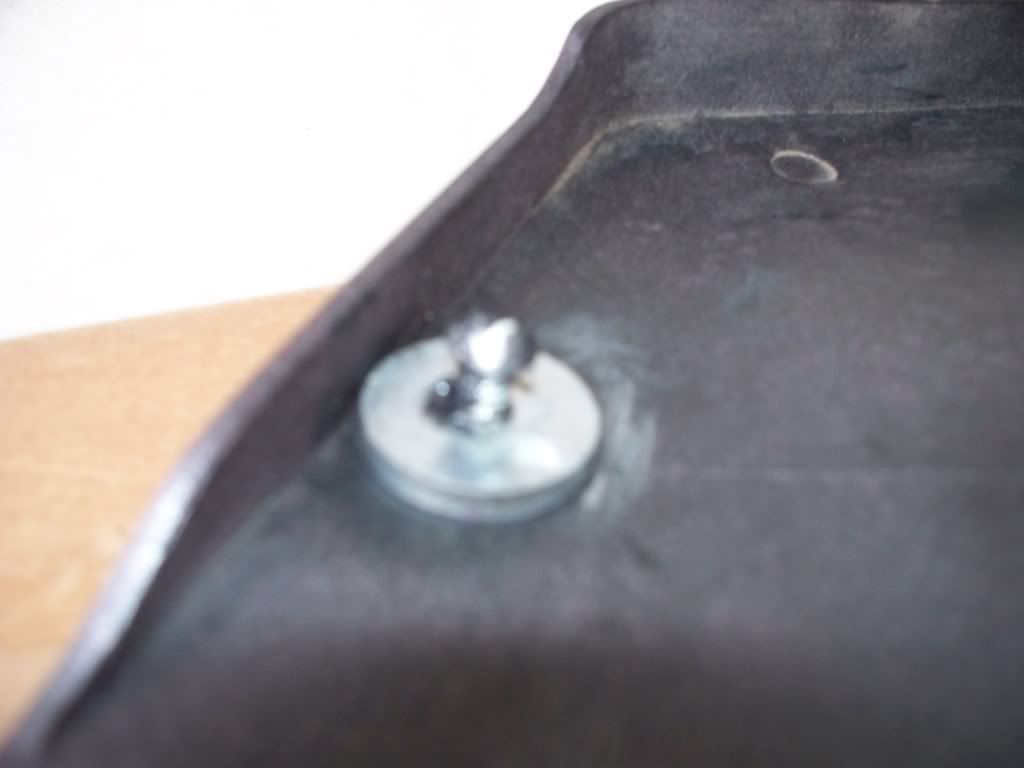
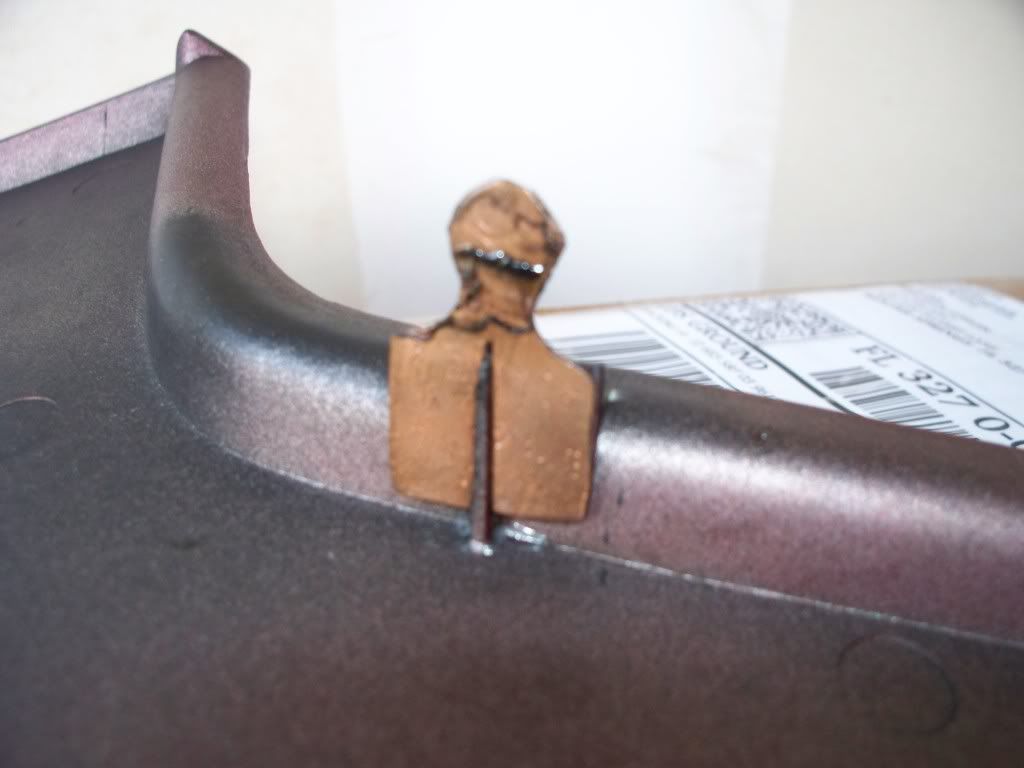
    I got his idea from one of my ED PO's and it works remarkably well. Fashion a post out of aluminum stock to fit the female receiver( the part on the bike). Bond it to the inside of the cover with two part epoxy. The post below is actually made from a piece of "L" bracket so that there is a foot that can be bonded to the flat back.

    To improve the adhesion drill a hole in the foot so the epoxy can come through as well as all around. The shape of the post can be done with hacksaw, drill and files (any combination) and aluminum is lighter and easier to work with than steel. It is however much stronger in sheer and less trouble than trying to form a post of fiberglass or epoxy.

    One other tip, t oavoid making a gooy mess on the back of the cover, after apply the two part epoxy, tape over it with a bit of masking tape. That allows you to form the shape with your finger and get it pretty smooth. Generally it is easiest to pull the tape back off before it has completely harrdended else the tape will bond too well so the epoxy. The epoxy shapes you see were done that way. without any final grinding required.

    Sorry about crappy pics, all I got at the moment. Both of the posts are off my Red ED, which as most know have chronic tab breaking problems.

    Pos


    Last edited by posplayr; 06-03-2010, 02:29 PM.

    #2
    Eeeinteresting. How is the wear and tear on the grommets in the frame? I would have thought you'd need to build up a round tab based on the aluminum in order to get a snug fit and not tear up the rubber.
    Dogma
    --
    O LORD, be gracious to me; heal me, for I have sinned against you! - David

    Skeptical scrutiny is the means, in both science and religion, by which deep insights can be winnowed from deep nonsense. - Carl Sagan

    --
    '80 GS850 GLT
    '80 GS1000 GT
    '01 ZRX1200R

    How to get a "What's New" feed without the Vortex, and without permanently quitting the Vortex

    Comment


      #3
      As long as it has no sharp edges it's not an issue. The ones I did I also built up a bit of epoxy on the centre of the flat face to help with this.
      (They are not round but they are not flat either).

      Buy new rubbers, it might well damage old brittle rubbers. All the rubbers are available from partshark etc.
      1980 GS1000G - Sold
      1978 GS1000E - Finished!
      1980 GS550E - Fixed & given to a friend
      1983 GS750ES Special - Sold
      2009 KLR 650 - Sold - gone to TX!
      1982 GS1100G - Rebuilt and finished. - Sold
      2009 TE610 - Dual Sporting around dreaming of Dakar..... - FOR SALE!

      www.parasiticsanalytics.com

      TWINPOT BRAKE UPGRADE LINKY: http://www.thegsresources.com/_forum...e-on-78-Skunk/

      Comment


        #4
        That sounds about right. I already have the new rubber bits, top and bottom. They're too cheap not to replace.
        Dogma
        --
        O LORD, be gracious to me; heal me, for I have sinned against you! - David

        Skeptical scrutiny is the means, in both science and religion, by which deep insights can be winnowed from deep nonsense. - Carl Sagan

        --
        '80 GS850 GLT
        '80 GS1000 GT
        '01 ZRX1200R

        How to get a "What's New" feed without the Vortex, and without permanently quitting the Vortex

        Comment


          #5
          Originally posted by Dogma View Post
          Eeeinteresting. How is the wear and tear on the grommets in the frame? I would have thought you'd need to build up a round tab based on the aluminum in order to get a snug fit and not tear up the rubber.
          Put a little Vaseline on the rubbers; I've had no issues coming loose or breaking either.

          Comment


            #6
            ok, what am I missing?? ... I don't see how this photo displays the 'L' style bracket you're epoxing to the side cover ?? (not to mention ... this 'mating' surface is not 90deg ... more like 100deg (?))


            Originally posted by posplayr View Post

            Comment


              #7
              Originally posted by ptexotik View Post
              ok, what am I missing?? ... I don't see how this photo displays the 'L' style bracket you're epoxing to the side cover ?? (not to mention ... this 'mating' surface is not 90deg ... more like 100deg (?))
              that one is flat; the first one is "L" shaped. They still work the same

              Comment


                #8
                As a '82 GS1100EZ owner I had one broken tab and one broken stud (round hole) on one frame cover to repair.
                For the stud, I took a phillips screw and washer that the screw cut new threads in. I ground down the head to the approximate size then attached the oversized washer for the base, then I sanded smooth the mating surface of the back of the cover where it attached, then gorilla glued it.
                2 years now and it's still holding up.
                For the tab, I took a 1/2" copper pipe, cut it down the middle lengthwise,
                then flattened it out, traced out a tab pattern, then I cut a groove in it and bent a 90 degree angle where it would fit up against the side of frame cover. The plastic support on the frame cover for the tab fit right in the groove so tight I really didn't need to glue it, but I did. Worked out well.
                On my other frame cover I used a new grommet, it was smaller than the original, being a revised part number and unsuitable substitute part, fit too tightly around the tab and ended up braking another tab off, so I did the copper repair for that one also after putting the old worn out grommet back in.
                I might get a chance to take some pic's today and post them.
                I can't believe the poor engineering that went into making these frame cover hold downs. They had it right with the GS1000E which just slipped over the posts on top (no pressure) and a screw on the bottom to secure it. What were they thinking when they did the '82-'83 GS1100E?
                sigpic
                Steve
                "The world is a book, and those who do not travel read only one page." :cool:
                _________________
                '79 GS1000EN
                '82 GS1100EZ

                Comment


                  #9
                  Originally posted by posplayr View Post
                  that one is flat; the first one is "L" shaped. They still work the same
                  ok thanx for that! (it also looks like your flat tab is maybe slotted ?? to work around the original tab remnants ?)

                  Thanx JM

                  Comment


                    #10
                    Originally posted by sedelen View Post
                    then I cut a groove in it and bent a 90 degree angle where it would fit up against the side of frame cover. The plastic support on the frame cover for the tab fit right in the groove so tight I really didn't need to glue it, but I did. Worked out well.
                    ?
                    ok, got it. & thanx!

                    Comment


                      #11
                      this would be so nice & easy ... but I can't afford the 4mm drop in protruding tab position (effectively raising side cover position) ... due to Corbin seat confinements

                      need a CNC machine!!

                      Comment


                        #12
                        My Corbin is very old. I called them and sent a letter to Corbin asking if they could send me some replacement rubber bumpers for the bottom of my seat. They sent me about four of them with the pop rivets free of charge. The bumpers had worn down over time reducing the gap between the seat and side cover.

                        The other thing you can do is add metal or plastic pads to the top of the pads on the frame where the seat bumpers rest.

                        Comment


                          #13
                          I took some pic's of the tabs/posts I fabricated for my '82 GS1100EZ.

                          Here's one of the oversize phillips screw that I ground the head into shape to match the other and found washers with just a large enough hole that the threads of the screw had to cut into it for a solid fit. I used washers large enough to build a good base for the gorilla glue and sanded flat the area where it was to be glued. So far it has held 2 years. Sorry for the poor quality resolution, but you get the idea.


                          Here's my tab repair out of a 1/2" piece of copper tubing, cut longwise, flattened, tab traced out, cut to size, and used a hack saw blade to cut a slot for the frame tab support, which fit so tightly. I glued it still though. To the right you can see a hole the PO used for a small tie strap which is the way I got it. I don't use it now.


                          Here's another tab I made the same way, except I didn't glue it since it fit so tight.


                          The one thing I would like to have and haven't been able to find is some original tab grommets, the new ones are too small and just break off your tabs instead.
                          sigpic
                          Steve
                          "The world is a book, and those who do not travel read only one page." :cool:
                          _________________
                          '79 GS1000EN
                          '82 GS1100EZ

                          Comment


                            #14
                            Originally posted by sedelen View Post
                            The one thing I would like to have and haven't been able to find is some original tab grommets, the new ones are too small and just break off your tabs instead.
                            Copper!! malleable! hmmmmm thanx!

                            yes, the 'one size fits all' grommets are lame!!

                            thanx for photo effort.

                            Comment


                              #15
                              so now I'm thinking of a thin base plate, with an appropriate tab 'attached' to assimilate original protruding tab position
                              (picture shows base plate mock-up awaiting additional tab to be 'attached' above)
                              any suggestions on materials and their 'bondability' ?? my metallurgy (sp) is non existant
                              Last edited by Guest; 02-21-2012, 02:49 PM.

                              Comment

                              Working...
                              X