Announcement

Collapse
No announcement yet.

DIY - Starter Repair

Collapse
X
 
  • Filter
  • Time
  • Show
Clear All
new posts

    DIY - Starter Repair

    Photos now added Basscliff and other aggregators are welcome to copy this information with credit. I welcome any feedback or corrections, as I am not an electronics expert.


    This is the second time I have seen this problem and done this repair with good results. (on two different starters!)

    Symptom:
    Starter either feels extremely weak or has stopped spinning entirely. Sucks current and feels like a dead battery even though you know it's good.

    Cause:
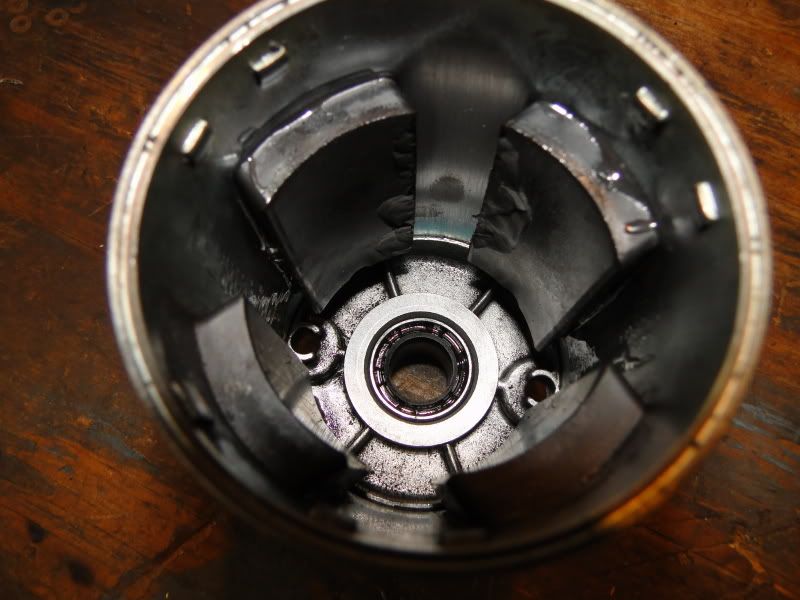
    Magnets broke off case inside starter.

    Starter removal:

    Similar but varies depending on your bike. This will almost always require removing the carbs. The bike for this project was an 82 GS650GL. In this case, pulling the carbs is done by loosening all the boot clamps & intermediate airbox, and pulling back as far as possible to free the carbs in the front first by tilting up, then the back by tilting down. TIP: on CV's usually the accelerator cable bracket can be removed before trying to slide the carbs out. This makes life much easier. Note only remove the bracket, not the accelerator cable itself. This comes off after the carbs are partway out. On re-installation, remember to put the accelerator cable back on before you slide the carbs in or you will never get it back on. Slide the carbs out, release the cable. Now we can actually get to the starter.

    2-3 bolts hold the cover on, then there should be two bolts on the back of the starter and the not holding on the power wire. Be careful freeing the power wire. Hold on to the wire so the post doesn't spin. this doesn't always happen, but does sometimes. If it does, you could spin the tower enough to rip the wire it is attached to.

    That's it, just pull it out. Nothing more to it.


    Starter disassembly:

    Remove the two long screws.
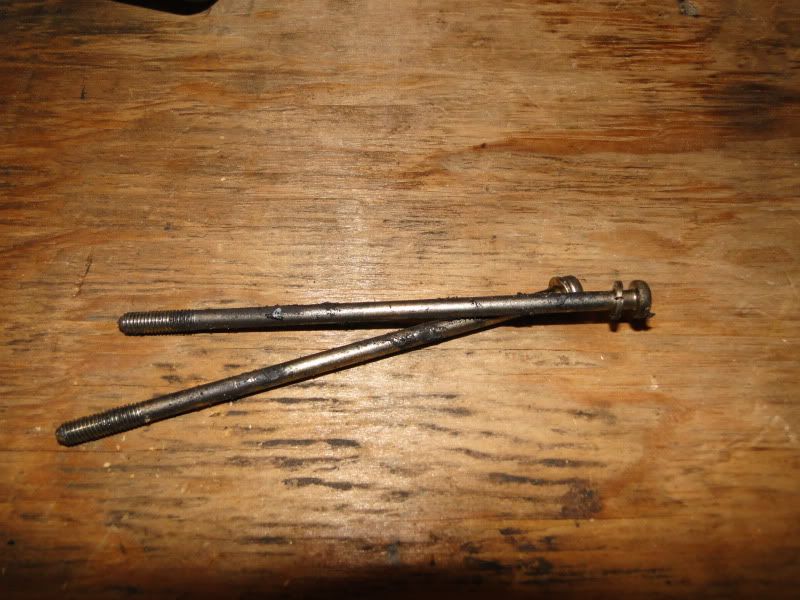


    Carefully pull apart the starter, and you will get:

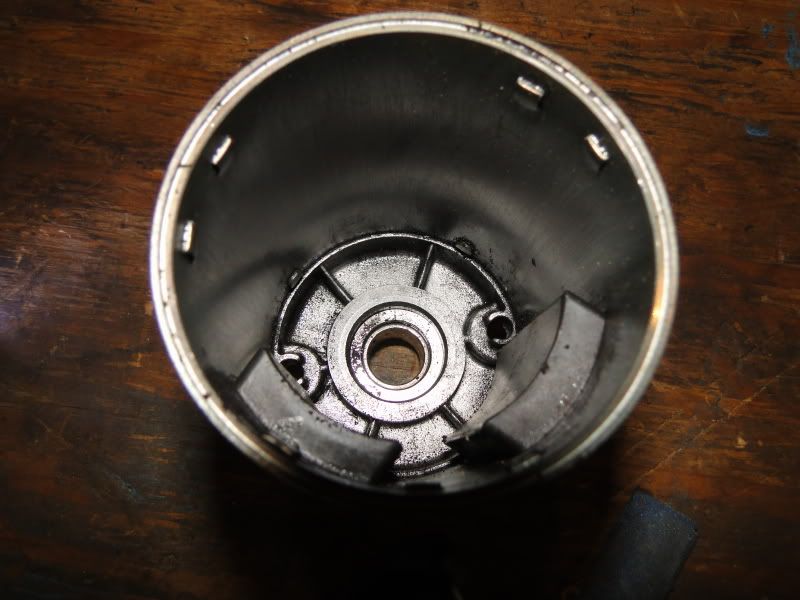
    Front cover(shown still attached to body)

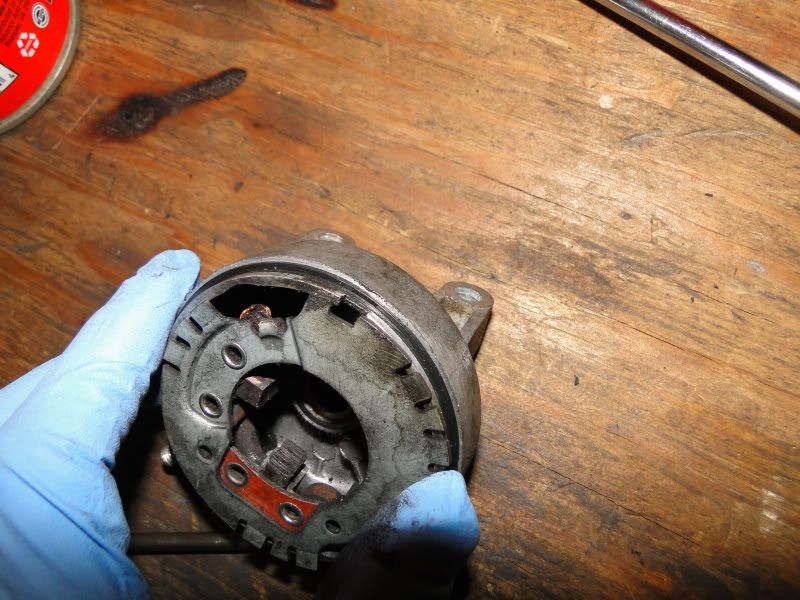
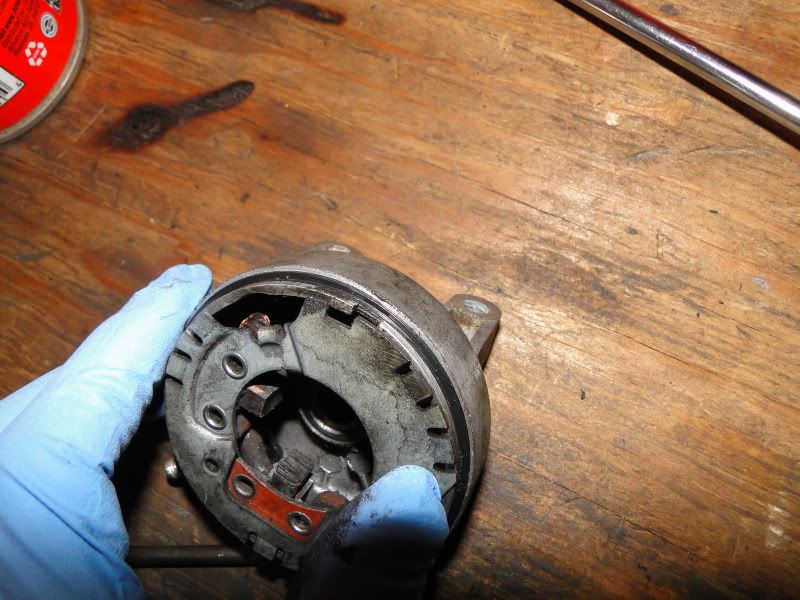
    Back cover with brush assembly attached (try to keep close to the position it came off at)


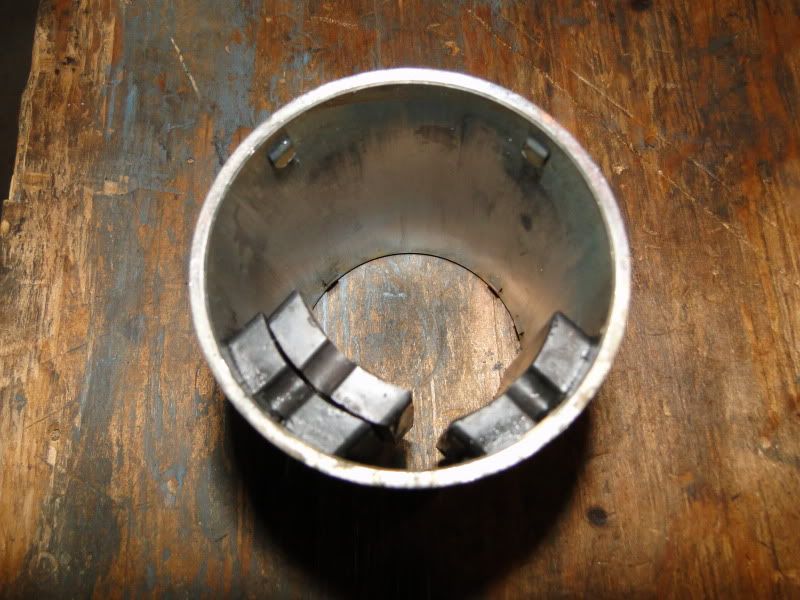
    Body w/ magnets


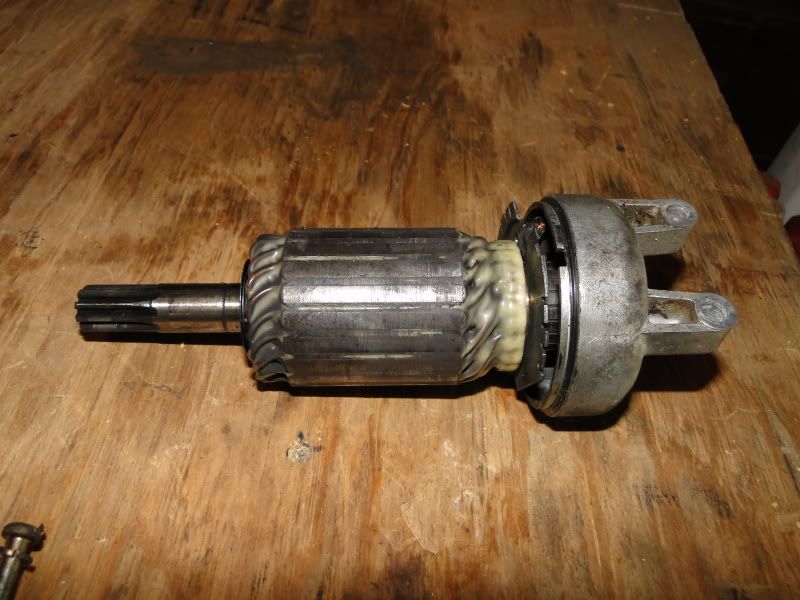
    Armature w/shims (try to keep track of which went where, or leave on the armature).


    Cleanup:

    Make sure you have plenty of meat left on the brushes. If not, will need some new ones. cleanup any burrs and lightly sand the surface. Do the same to the commutator (where the brushes touch) and the armature surface (What passes by the magnets).

    If your failure was like mine (30 year old epoxy broke down and the magnets slipped into each other), then you have some cleanup to do. Pull out the loose magnets and try to blow off/wipe off all the little magnet bits that went everywhere. The magnet will still work fine even with a serious chip in it.
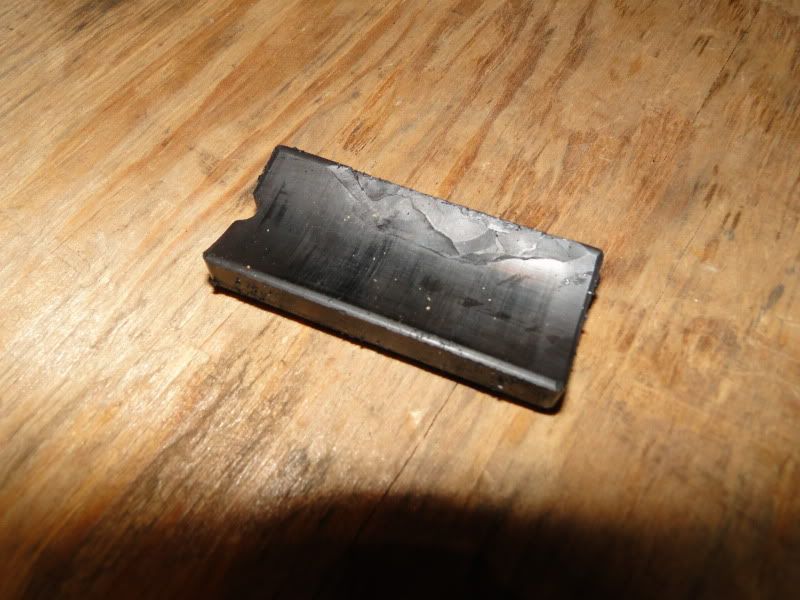

    Sand all old epoxy off the back of the magnet and the inside of the body. Clean with a solvent, repeat, repeat, until you are 100% sure there is no grease to compromise your repair.
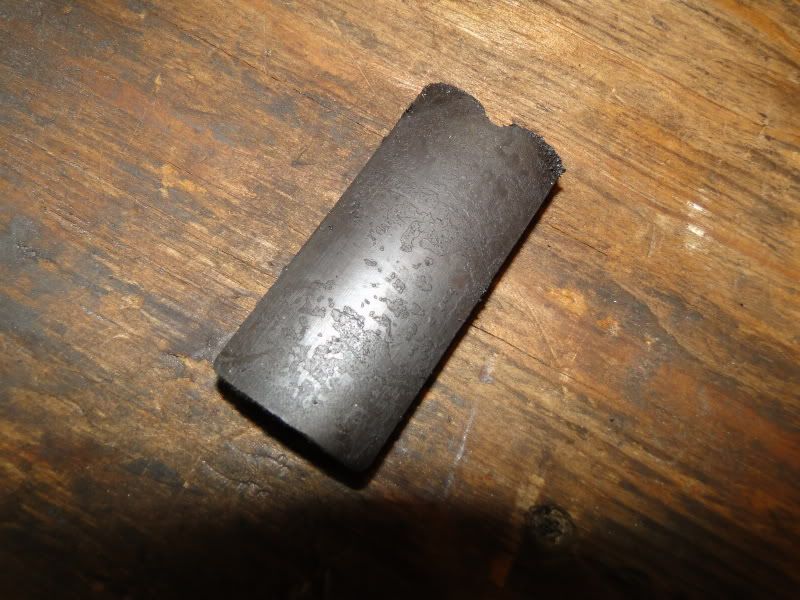
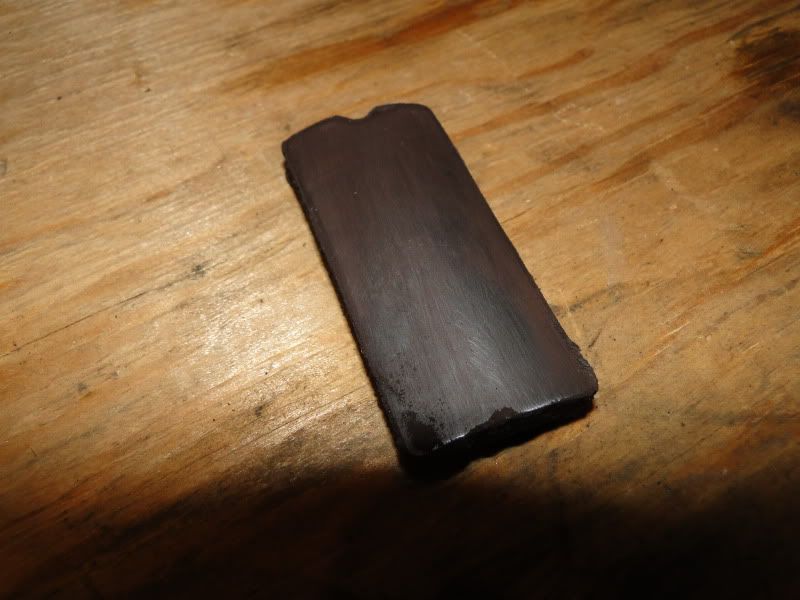


    If you lost more than one magnet, or are redoing the epoxy on all for good measure, you will have to keep track of which magnet went where. LEAVE ONE IN so you can do the other three without getting confused. There are two types of magnets, N-S and S-N. Around the circle, it goes A, B, A,B. Magnets of the same type will spoon each other but won't look each other in the eye. Magnets of the opposite type won't spoon, but will go back to back or face to face.

    In other words, if a magnet spoons another magnet, they should be opposite in the body. If it won't spoon, they should be 90 degrees apart.

    The one in the photo needs to go opposite the one it is touching, since it is the same type.


    CONTINUED BELOW:
    Last edited by spchips; 04-30-2012, 09:24 PM.
    Yamaha fz1 2007

    #2
    Nice! And don't forget to lightly emery cloth the armature that contacts the brushes.

    Comment


      #3
      Magnet repair:

      Prepare some 5 minute epoxy of good quality (only enough for 1 magnet), cover the back of the magnet lightly, and put it in place, working it back and forth to make the epoxy underneath as thin as possible. Note there is a notch to help line it up. Hold it in place until the epoxy starts to harden, otherwise the other magnets will pull it out of alignment. This is isn't rocket science, your eyes are the only gauge you need to get it straight. Repeat until all magnets are installed.


      Wait at least a few hours for the epoxy to cure before reassembling, 24 hours before using as a starter.

      Reassembly:

      Install the front cover into the body so the screw holes are perfectly in between two magnets. There are tabs to align this, and it can go either the right way or 90 degrees off. If it is wrong, you will find out in the next step and just have to try again. Install the armature and shims, with a little grease on the bearing surfaces. The back cover and brush assembly can only go on one way. look for a notch in both pieces and line them up. on the body, there is one tab different than all the others which will catch both notches when put together correctly.


      Push back the brushes, set the brush assembly onto the tab, then the back cover. Check to see if the screw holes line up. If not, carefully lift off the front cover and rotate 90 degrees, being careful to get the tabs lined up right.


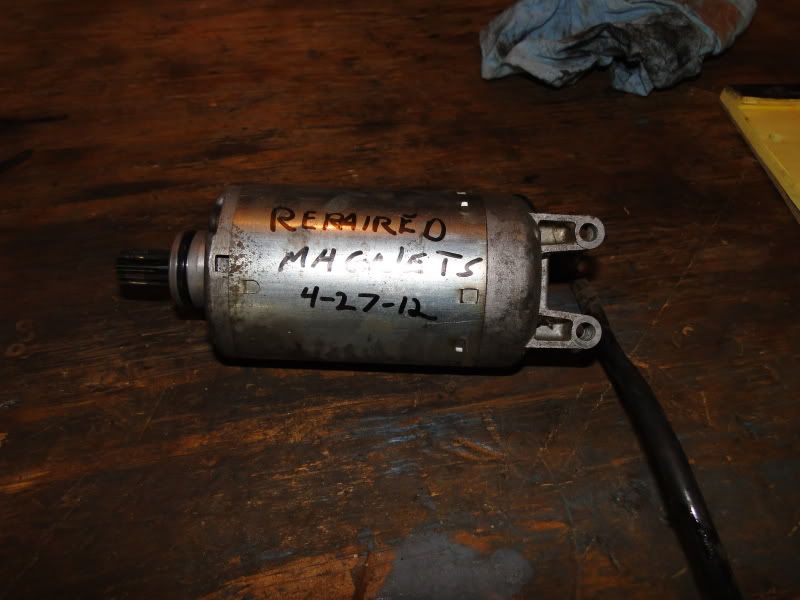
      There you go, a rebuilt starter that you can ride on for another 20-30 years.

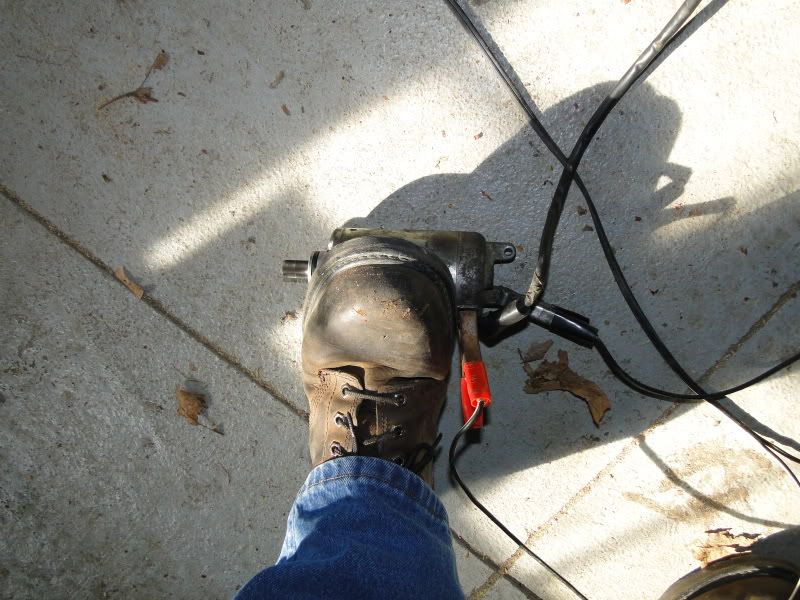
      Note, you might want to test it. You can hook it up to a battery or a charger. A 6 amp charger will spin slowly. Also check you didn't accidently flip the brush plate. Most (but maybe not all??) starters will turn in the same direction as the engine when oriented as installed. This is beacause there is one idler gear in between the starter and the crankshaft.
      Yamaha fz1 2007

      Comment


        #4
        Timely information.

        Thank you for taking the time to write it up.

        Comment


          #5
          Thanks, very useful guide.

          Comment


            #6
            thanks, I thought at first you were jocking about the N-S and S-N magnets. Very interesting

            Comment


              #7
              Originally posted by cableguy View Post
              Nice! And don't forget to lightly emery cloth the armature that contacts the brushes.
              That is an almost essential addition while the starter is apart, as the armature tends to wear over time and wear or dirt will affect the contact and make the starter both work harder and wear faster.


              Simple clean-up is often all that is necessary, but even a badly worn armature can be made to work again if the ridges are smoothed out.

              I have done this through use of a crude-but-effective smooth, flat, file while the armature is spinning in a drill press..

              It takes care to avoid ANY contact with the windings as this would damage the insulation instantly.


              A second note...brushes should be inspected and, if necessary, replaced. The best place and price I have found is Stockers, in California. They sell brushes loose or already attached to a new plate.

              www.Stockers.com
              Bertrand Russell: 'Men are born ignorant, not stupid. They are made stupid by education.'

              Comment


                #8
                Crocus cloth or emery paper is best to use to clean the commutator, but not that easy to find anymore. You can use a conductive abrasive like aluminum oxide but you have to be fastidious about cleaning the commutator with a brush and degreaser. Also wipe the end of the carbon brushes with degreaser if you are not replacing them.

                Bikes of our age tend to get carbonized at the commutator due to the oil vapors that seem to make their way from the drive end. Another age problem can be some corrosion within the threaded area of the two mounting bolts degrading the grounding.

                One other issue that you can run into is having the JIC through bolt heads strip out. Using a cutoff wheel on a Dremmel will allow you to cut a slot so a flat head screwdriver can be used. The unfortunate thing about those through bolts / screws is they are not available as a replacement part.

                Comment


                  #9
                  Originally posted by TooManyToys View Post
                  Crocus cloth or emery paper is best to use to clean the commutator, but not that easy to find anymore. You can use a conductive abrasive like aluminum oxide but you have to be fastidious about cleaning the commutator with a brush and degreaser. Also wipe the end of the carbon brushes with degreaser if you are not replacing them.

                  Bikes of our age tend to get carbonized at the commutator due to the oil vapors that seem to make their way from the drive end. Another age problem can be some corrosion within the threaded area of the two mounting bolts degrading the grounding.

                  One other issue that you can run into is having the JIC through bolt heads strip out. Using a cutoff wheel on a Dremmel will allow you to cut a slot so a flat head screwdriver can be used. The unfortunate thing about those through bolts / screws is they are not available as a replacement part.

                  My bikes PO tried to open the starter but ended up scrapping one of the bolts. I had to drill the end off. I looked for a bolt but could not find one of same diameter. I ended up buying a stainless steel rod at home depot and cutting it a bit longer then the original. Long enough to add 2 nuts + lock washer and using a tap and die to both ends. A real pain in the ass and time waster.

                  This is my temp fix. I'll be looking for hex bolt next.

                  Comment

                  Working...
                  X