Announcement

Collapse
No announcement yet.

Soda blasting a complete motor

Collapse
X
 
  • Filter
  • Time
  • Show
Clear All
new posts

    Soda blasting a complete motor

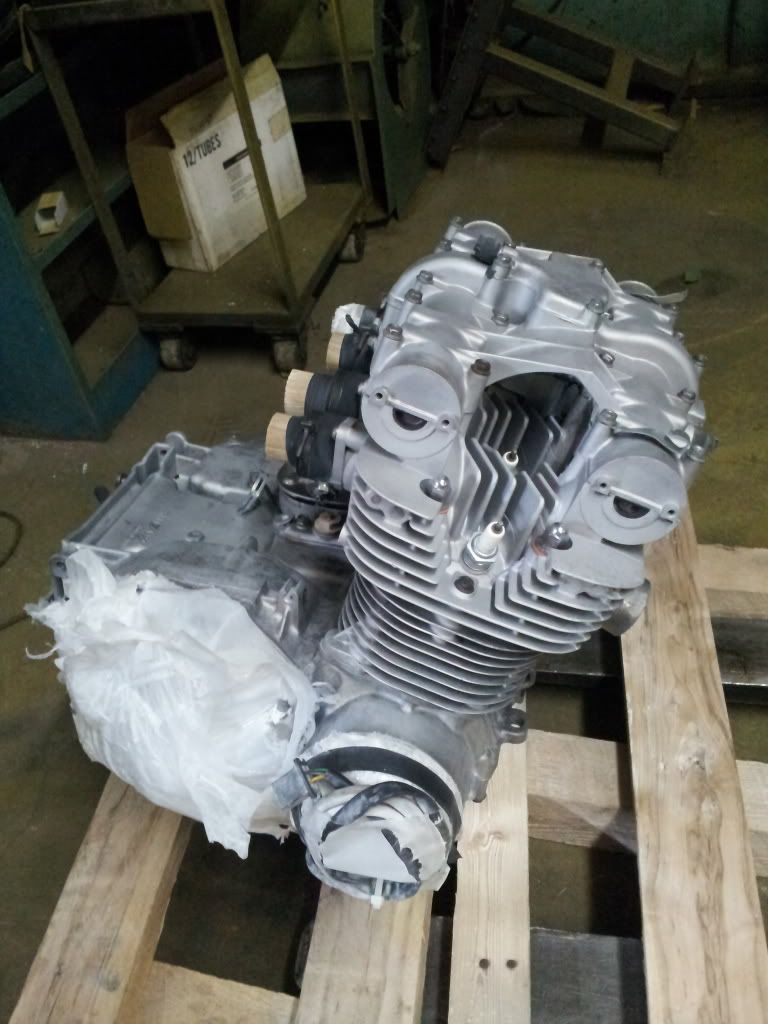
    Im looking into taking my motor in for a dusting. It currently has a painted finish beginning to flake. I won't be stripping it down but i intend to plug up the intake and exhaust then taking it in to be done.

    Should i remove the starter motor or leave it in place?

    Once stripped clean can i leave it a bare finish or will it likely turn funny with oxidation? Should i shoot it with clear? Or paint it again?

    #2
    You've got to cover it with something or it will oxidize for sure. I guess it depends on what look you want but paint would probably be best. Make sure it's heat and gas resistant.
    Rob
    1983 1100ES, 98' ST1100, 02' DR-Z400E and a few other 'bits and pieces'
    Are you on the GSR Google Earth Map yet? http://www.thegsresources.com/_forum...d.php?t=170533

    Comment


      #3
      Personally my plan is to take it out blast it as you describe, and paint with VHT sp127 http://www.ebay.com/itm/VHT-ENGINE-E...99a61f&vxp=mtr

      and clear coat over that with SP145


      and polish the side casings and leave them as they are

      Comment


        #4
        I did mine .

        It came up a treat but there was some "blotchiness" to the colour of the alloy so I hit it with a VHT "alloy" paint and no clear . It still looks good (if not with some minimal flaking) 7 years on .

        It'll have to be really properly goodly degreased before blasting .
        I sealed all the "holes" with "million miles an hour tape" (duct tape) . No problem .

        It doesn't hurt rubber seals and such either .

        I also got my carbs done . Just plugged the holes (million miles an hour again) and didn't even dismantle them from the rails and linkages . I didn't paint them and just left them "raw" .

        I left the starter motor in to keep the soda from getting in and hosed it all down with water to get all the dust off when it was done . Tooooo easy .

        Giz us some before and after pics , or we'll talk about ya when we're drunk .

        Cheers , Simon .
        http://i258.photobucket.com/albums/h...esMapSimon.jpg

        '79 GS1000S my daily ride in Aus

        '82 (x2) GS650ET in the shed

        Comment


          #5
          Mine came up like this ..........


          and , this ........


          Cheers , Simon .
          http://i258.photobucket.com/albums/h...esMapSimon.jpg

          '79 GS1000S my daily ride in Aus

          '82 (x2) GS650ET in the shed

          Comment


            #6
            Great guys ill post a pic of the ugly thing later today. I wanna make a stand for it soon so i can pick it up and set it places easier. I won't be blasting till next week or so

            Comment


              #7
              82 gs850... Before


              Last edited by Guest; 06-27-2013, 06:44 AM.

              Comment


                #8
                That looks more like an '83.


                What is the production date of the bike?

                .
                sigpic
                mine: 2000 Honda GoldWing GL1500SE and 1980 GS850G'K' "Junior"
                hers: 1982 GS850GL - "Angel" and 1969 Suzuki T250 Scrambler
                #1 son: 1986 Yamaha Venture Royale 1300 and 1982 GS650GL "Rat Bagger"
                #2 son: 1980 GS1000G
                Family Portrait
                Siblings and Spouses
                Mom's first ride
                Want a copy of my valve adjust spreadsheet for your 2-valve per cylinder engine? Send me an e-mail request (not a PM)
                (Click on my username in the upper-left corner for e-mail info.)

                Comment


                  #9
                  No idea vin comes up as an 82. what and where do i find a stamp on the motor with the build date?

                  Comment


                    #10
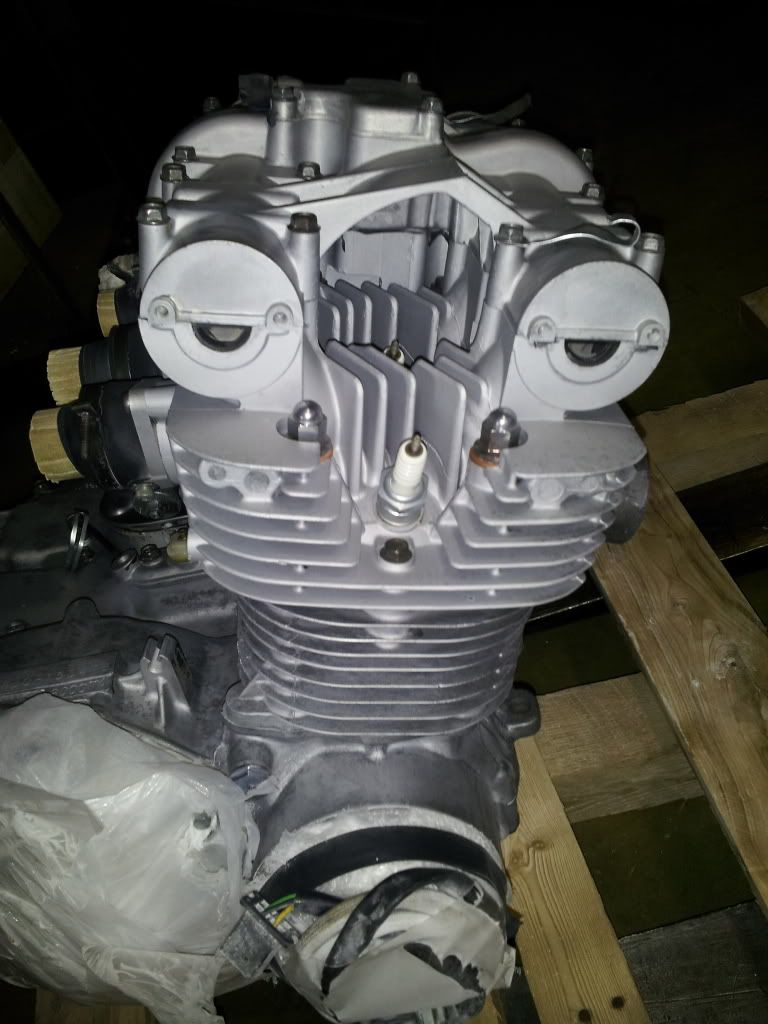
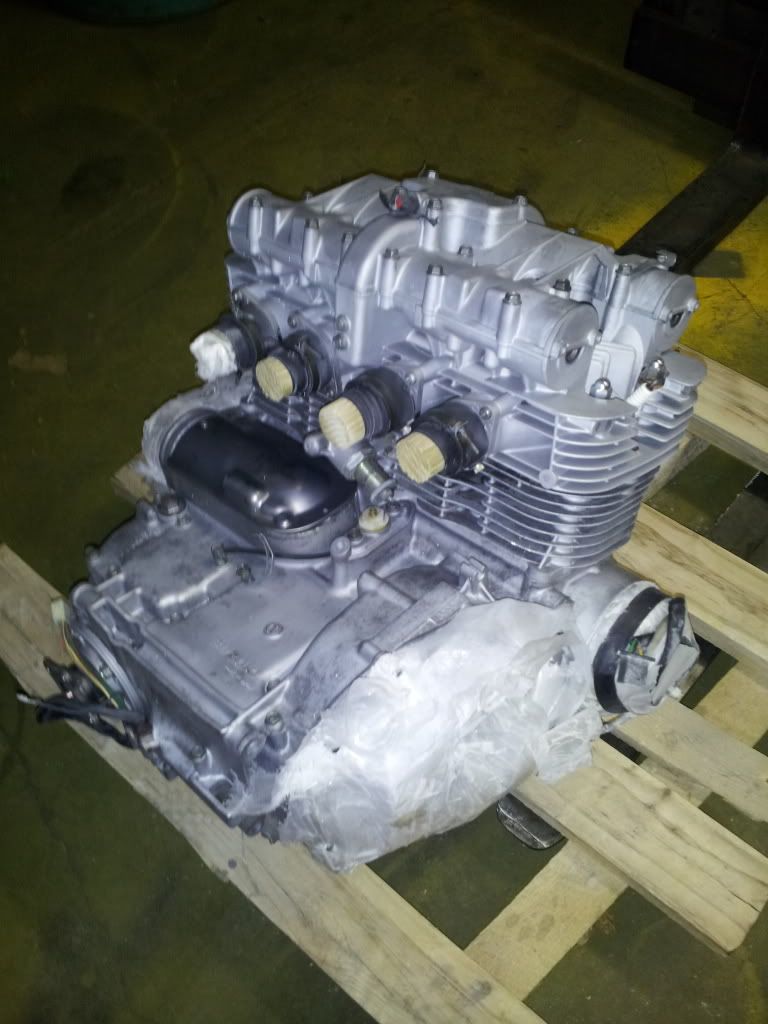
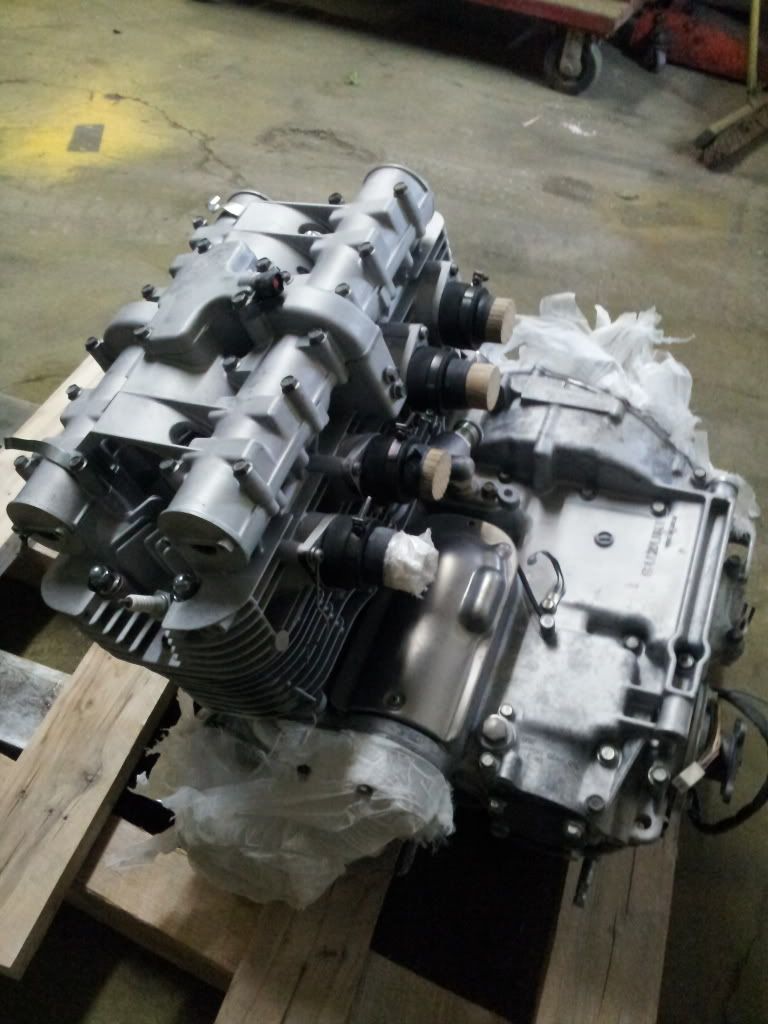
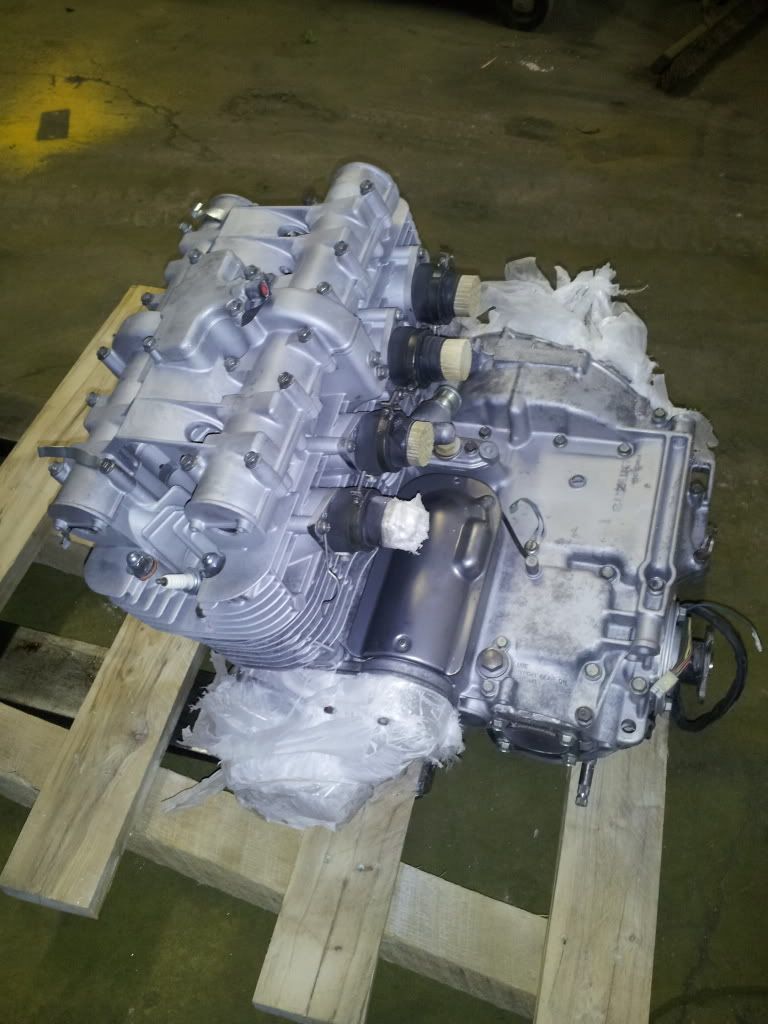
                    Heres the results. A little blotchy and will likely need painting but still very nice to start with


                    Comment


                      #11
                      Paint it with VHT High Temp engine enamel called UNIVERSAL ALUMINUM. Let it dry over night, start the bike till it starts to feel heat on the back of your hand and then shut it off and let it cool. Then start it and run it a little longer than the first time and let it cool.

                      The thing is to heat cycle it more and lore till it bakes ..but NOT blistering . If youn heat it too long the3 first few hot/ cold cycles you may bubble the finish.

                      Part # SP-127 UNIVERSAL ALUMINUM
                      MY BIKES..1977 GS 750 B, 1978 GS 1000 C (X2)
                      1978 GS 1000 E, 1979 GS 1000 S, 1973 Yamaha TX 750, 1977 Kawasaki KZ 650B1, 1975 Honda GL1000 Goldwing, 1983 CB 650SC Nighthawk, 1972 Honda CB 350K4, 74 Honda CB550

                      NEVER SNEAK UP ON A SLEEPING DOG..NOT EVEN YOUR OWN.


                      I would rather trust my bike to a "QUACK" that KNOWS how to fix it rather than a book worm that THINKS HE KNOWS how to fix it.

                      Comment


                        #12
                        Fuel resistance with a spray bomb isnt that good though isnt it? I would probably be better off with a good tinned paint reduced to spray with an appropriate hardener. I really dont want fuel issues after its all said and done. I know fuel will spill as i set the bike back up to run

                        Comment


                          #13
                          I painted mine using spary cans, and no issues so far, had a wee bit of fuel spill on it once and it held up.....

                          There really is no reason fuel should be spilling onto the engine, unless you have a leak or bad petcock or crap in the carbs to allow them to overflow etc....but once the engine is in and all is in place, fuel should only go from tank to carbs to engine, causing a big vrrrroooommmmm and rindig you shall go....

                          .

                          Comment


                            #14
                            Id just rather not risk the headache of it getting ruined. I see fuel being a factor at some time. And then ill need to be careful what cleaners i use down the road to clean. Before i had it stripped there was evidence of a decent Spray bomb type paint on it.. The paint on the heads clearly took the heat the best and stuck the best but anywhere on the lower end was quite easily removable with simple cleaners and solvents. Any oil and exhaust really did some lifting of the paint also. I may look into some good two stage paints but ive really gotta do more research on the topic of fuel and solvent resistance and solvent proof solutions.

                            Comment


                              #15
                              you will find your answers here on the board.....

                              it's been discussed many a time, from cleaning to painting and what to use and what not to...

                              .

                              Comment

                              Working...
                              X