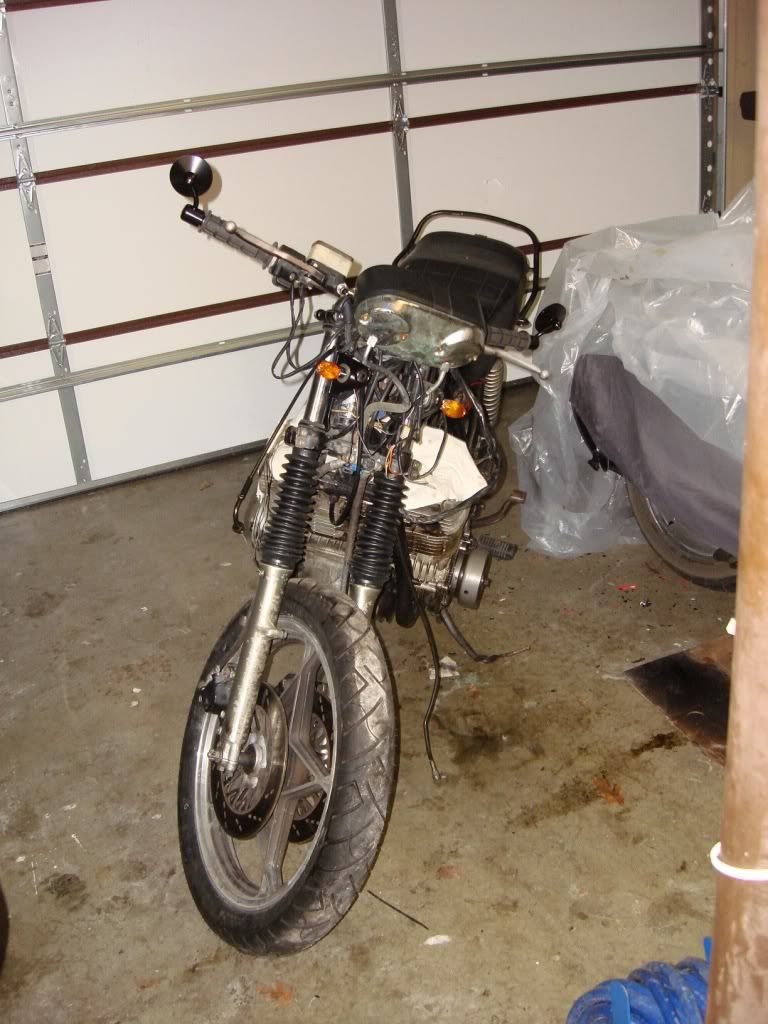
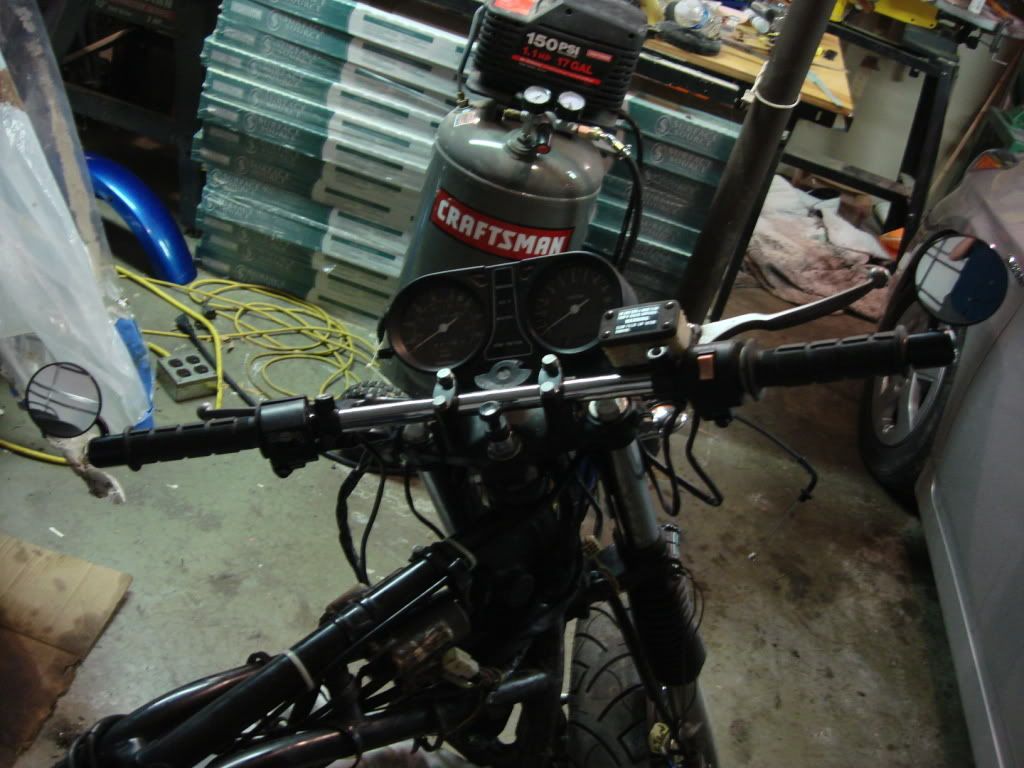
With the forks all buttoned up I also installed my new handlebars, grips and bar end mirrors. Overall a very successful day yesterday in terms of getting the bike ready for springtime. It is starting to warm up here though, in the 50's yesterday, so I am going to light a fire under it to get everything completed.
Announcement
Collapse
No announcement yet.
Fork Overhaul
Collapse
X
-
 afholderman
Fork Overhaul
With help from my lovely girlfriend an overhaul was done on my forks yesterday. A set of progressive springs were installed, with new fork seals, 15w oil, and accordion style dust covers. I ended up with a 1 7/8" spacer to get the suspension to a fairly stiff level. As I am 6'2" 180 and often ride two-up with her additional 105 lbs I dialed in a bit of extra pre-load to compensate. As has been the case with everything that I have taken apart on the bike thus far, the springs were installed wrong. The spring cap washers were placed on the top of the spacer instead of in between the spring and spacer. This caused my right spring to be jammed into the spacer and I had to get in there with a screwdriver and unstick before it would come out. Also I realized that after having new tires installed at the end of the summer the shop didn't reinstall the cotter pin in the front castle nut, so that was replaced.
With the forks all buttoned up I also installed my new handlebars, grips and bar end mirrors. Overall a very successful day yesterday in terms of getting the bike ready for springtime. It is starting to warm up here though, in the 50's yesterday, so I am going to light a fire under it to get everything completed. -
 Runningdog
Re-doing forks is one of those jobs that gets shoved off to "tomorrow", or to a repair shop, don't it...until you buckle down and attempt it yourself, then suddenly you're finished, and mutter, "that was easy, what was I worried about?"
Easy to make adjustments to your riding style/cruising weight, as well, once you understand how it all goes together.
-
 BassCliff
Hi,
Nice work.
Fork seals are something I've been putting off for a while. I've been spending my weeks commuting and my weekends riding, not really having much fun - just running errands. Sometimes it's hard to NOT ride and to wrench instead. Maybe it will rain this weekend and give me an excuse to spend some time in the garage.
Thank you for your indulgence,
BassCliff
Comment
-
 afholderman
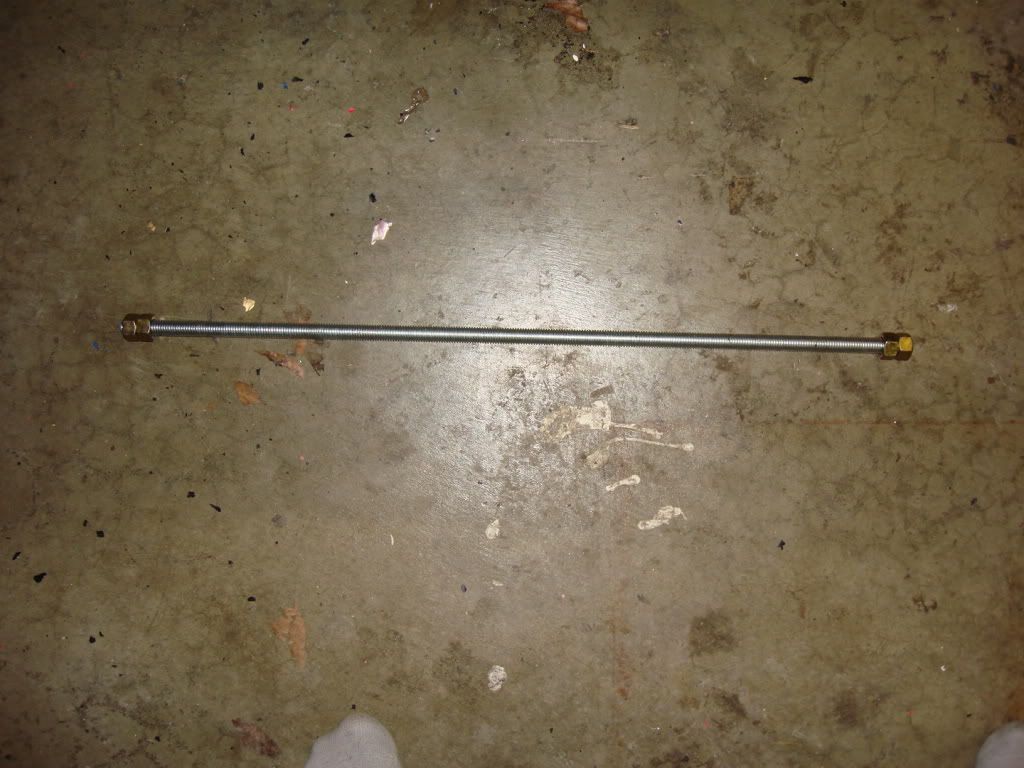
I thought it was going to be a much more painful experience. A big thanks to you BassCliff for your progressive spring guide and to Matchless for the fork seal guide. What took the longest was the run to the hardware store for some 1/2" nuts and all-thread to make the removal tool.Last edited by Guest; 02-14-2011, 11:32 PM.
Comment
-
I'm guessing you are talking about fork boots or gaiters...Originally posted by afholderman View Post...and accordion style dust covers.
Where did you get them and how about a picture... Bob T. ~~ Play the GSR weekly photo game: Pic of Week Game
'83 GS1100E ~ '24 Triumph Speed 400 ~ '01 TRIUMPH TT600 ~ '67 HONDA CUB
Comment
-
 afholderman
Yep, gaiters, boots whatever your preference. I'll post up some pictures tonight, I'm at work right now. I got them on eBay from emxparts. They are Daystar black boots and fit perfectly in place of the old dust covers. Put in the minimum bid and won them for a total of 17.99 shipped. The breather hole allowing them to expand and contract without creating suction was molded shut on one from the mold injection. Not a big deal, took all of a second to prick the holes open with a utility knife and was good to go.Last edited by Guest; 02-14-2011, 05:14 PM.
Comment
-
 d_hoffman
how did you make the removal tool
This is exactly what I started doing yesterday also. I have the forks off and drained. However building/getting the special tools has me stopped. Local shops want $80 to $100 per fork even with them off the bike!! Did you use a a 19mm nut on the end of that all-thread rod? The Matchless write up mentioned that. However you mentioned some 1/2" bolts (?) If you would please post some pictures of the tools you used/fabricated . And congratulations on a job well done.
Comment
-
 afholderman
D_hoffman- Sorry to mislead, the threaded rod was 1/2" with 3/4" nuts. Just assemble them as below and torque together as tightly as possible. Then you can use a crescent wrench on the end coming out of the tube to keep it from spinning. Cost me less than $5 at the hardware and farm supply store for the bolts, all-thread, 4 cotter pins, and the PVC coupler to use as a drift.

Forks with boots

New Drag Bars, Grips, and Mirrors

Comment
-
 d_hoffman
 -
Forum LongTimerGSResource Superstar
Past Site Supporter- Oct 2006
- 14006
- London, UK to Redondo Beach, California
Fork brace makes a big difference on the 1000G or at least it did on mine! Best $$ after the progressives....1980 GS1000G - Sold
1978 GS1000E - Finished!
1980 GS550E - Fixed & given to a friend
1983 GS750ES Special - Sold
2009 KLR 650 - Sold - gone to TX!
1982 GS1100G - Rebuilt and finished. - Sold
2009 TE610 - Dual Sporting around dreaming of Dakar..... - FOR SALE!
www.parasiticsanalytics.com
TWINPOT BRAKE UPGRADE LINKY: http://www.thegsresources.com/_forum...e-on-78-Skunk/
Comment
-
 afholderman
 -
Forum LongTimerGSResource Superstar
Past Site Supporter- Oct 2006
- 14006
- London, UK to Redondo Beach, California
Yes and I just saw the pics of the new mirrors! Thanks 1980 GS1000G - Sold
1978 GS1000E - Finished!
1980 GS550E - Fixed & given to a friend
1983 GS750ES Special - Sold
2009 KLR 650 - Sold - gone to TX!
1982 GS1100G - Rebuilt and finished. - Sold
2009 TE610 - Dual Sporting around dreaming of Dakar..... - FOR SALE!
www.parasiticsanalytics.com
TWINPOT BRAKE UPGRADE LINKY: http://www.thegsresources.com/_forum...e-on-78-Skunk/
Comment
.png)
Comment