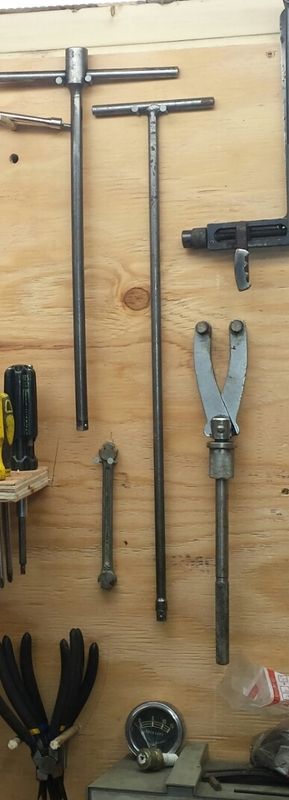
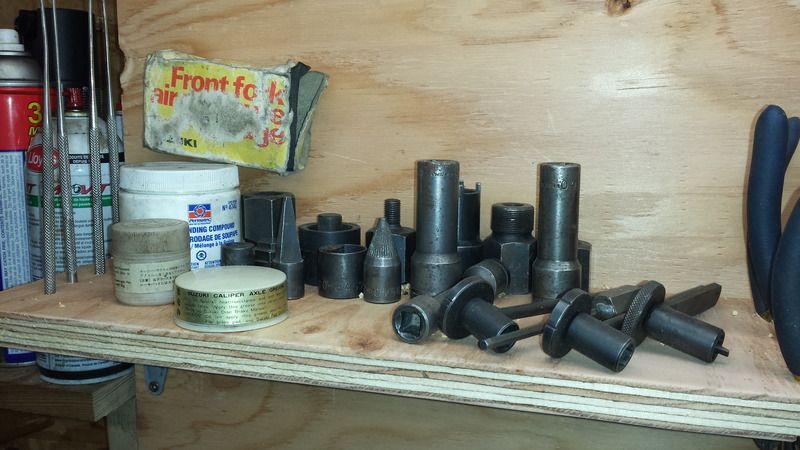
soo what are you guys using? the real one or one you came up with?
Announcement
Collapse
No announcement yet.
Special tool for fork dissasembly
Collapse
X
-
Special tool for fork dissasembly
So i need to replace one of my fork seals on my 82 1100G and I have watched a couple tutorials for taking GS forks apart, seems really easy. But as far as the special tool to get the Allen bolt out of the bottom(goes inside the fork tube and prevents the dampener from spinning i think?).
soo what are you guys using? the real one or one you came up with?Tags: None
-
Use an air impact to loosen those bolts a little before the springs are removed... Use a broomstick jammed down the tubes to keep the damper rod from turning... Make up a tool with All thread and nuts... Weld up a nice tool out of steel bars and a nut... Use a spark plug socket reversed on a bunch of socket extensions, some spark plug sockets will go on backwards, some won't.
Probably other ways I've forgotten, but a search will find a few more.
-
As Tom says... this is the method I've used many times.Originally posted by tkent02 View PostUse a spark plug socket reversed on a bunch of socket extensions, some spark plug sockets will go on backwards, some won't.
Hit up harbor freight for an assortment set of extensions that will let you reach down the fork tube.
Might as well replace both seals while you've got it apart...'85 GS550L - SOLD
'85 GS550E - SOLD
'82 GS650GL - SOLD
'81 GS750L - SOLD
'82 GS850GL - trusty steed
'80 GS1100L - son's project bike
'82 GS1100G - SOLD
'81 GS1100E - Big Red (daily rider)
Comment
-
 sharpy
 -
Somewhere on here is a thread on how to make the tool from a length of threaded rod and 4 nuts, everthung available at your local hardware store. Works great.Rob
1983 1100ES, 98' ST1100, 02' DR-Z400E and a few other 'bits and pieces'
Are you on the GSR Google Earth Map yet? http://www.thegsresources.com/_forum...d.php?t=170533
Comment
-
 JamesWhut?
Drain the oil, put the cap back on, secure the upper leg in a (padded) vice, put an impact wrench on the bolt and use it to compress the fork leg as much as possible, hold lower leg with one hand to keep it from spinning, and rattle out the bolt with one movement. Take the leg off the vice, mind the dribble of oil that will leak out and disassemble the fork per the manual but knowing that the lower leg might fall off.
This has worked for me many times.
Comment
-
I was super lucky and managed to pick up the actual Suzuki tool a bit ago

 Rob
Rob
1983 1100ES, 98' ST1100, 02' DR-Z400E and a few other 'bits and pieces'
Are you on the GSR Google Earth Map yet? http://www.thegsresources.com/_forum...d.php?t=170533
Comment
-
 JamesWhut?
They aren't all the same size. The diameter of the upper tube determines the size of the damping rod and the "socket" in the top of it.
Comment
-
The easiest way I have found it to leave the forks together after slightly loosening the cap since this leaves pressure against the everything inside from the springs. Using a wood clamp on the fork, break the bolt free from the bottom just enough to loosen it. Remove the clamp, loosen the cap and bolt to drain the fork oil, replace the seals and go from there.Cowboy Up or Quit. - Run Free Lou and Rest in Peace
1981 GS550T - My First
1981 GS550L - My Eldest Daughter's - Now Sold
2007 GSF1250SA Bandit - My touring bike
Sit tall in the saddle Hold your head up high
Keep your eyes fixed where the trail meets the sky and live like you ain't afraid to die
and don't be scared, just enjoy your ride - Chris Ledoux, "The Ride"
Comment
-
 Jmo371
basically just a long handle with various square drive accessories that go on the other end. I will probably just get some threaded rod and put a 19mm on the end and have my local welder drop a quick bead on it and try it out...if its smaller its not like a big expense lolOriginally posted by azr View PostI was super lucky and managed to pick up the actual Suzuki tool a bit ago


Comment
-
 Jmo371
so to tighten the bolt back up you do it last once you have pressure on it and in the tree?Originally posted by cowboyup3371 View PostThe easiest way I have found it to leave the forks together after slightly loosening the cap since this leaves pressure against the everything inside from the springs. Using a wood clamp on the fork, break the bolt free from the bottom just enough to loosen it. Remove the clamp, loosen the cap and bolt to drain the fork oil, replace the seals and go from there.
Comment
-
I use the same method as when I took it apart - attach the upper to the lower, put the spring in, close the top without being too tight, clamp it down to the workbench, and tighten it down.
It has worked for me at least.Cowboy Up or Quit. - Run Free Lou and Rest in Peace
1981 GS550T - My First
1981 GS550L - My Eldest Daughter's - Now Sold
2007 GSF1250SA Bandit - My touring bike
Sit tall in the saddle Hold your head up high
Keep your eyes fixed where the trail meets the sky and live like you ain't afraid to die
and don't be scared, just enjoy your ride - Chris Ledoux, "The Ride"
Comment
.png)
Comment