Announcement

Collapse
No announcement yet.

Project Windjammer

Collapse
X
 
  • Filter
  • Time
  • Show
Clear All
new posts

    Project Windjammer

    I have always had this dream to fit a Windjammer to my GS1000G, but have been unable to locate one here in South Africa.
    Thanks to Chuck and Dale this is on its way in becoming a reality.
    Unfortunately I was in for a shock when we found out that the shipping cost would be astronomical.
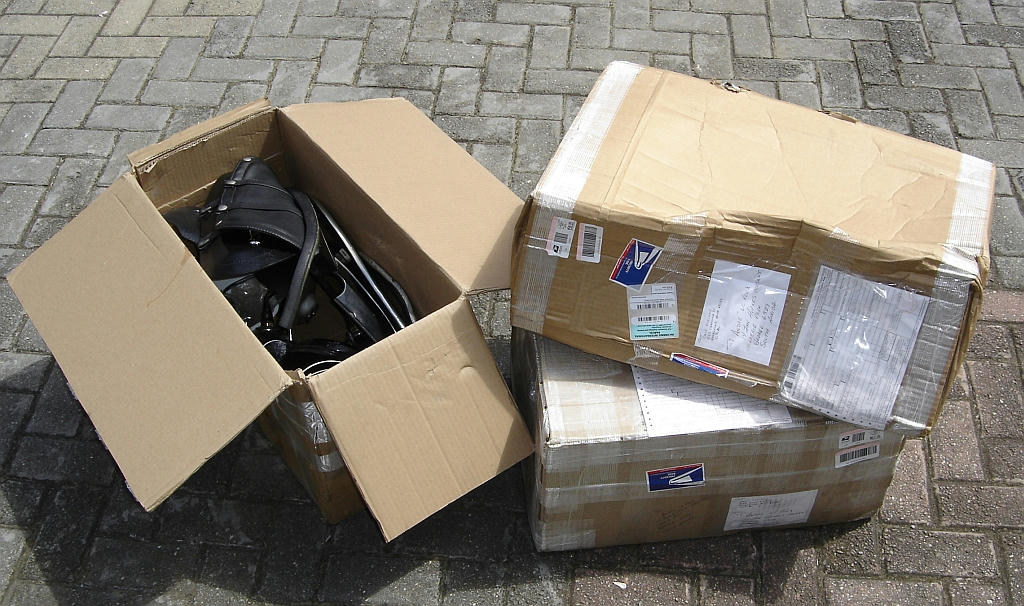
    Plan B kicked in and Dale cut the WIndjammer into 3 parts which allowed it to be shipped in 3 smaller boxes at a significant saving.
    Today the last of the 3 boxes arrived after being shipped for 13500 kilometers:
    Last edited by Guest; 12-02-2010, 12:48 PM.

    #2
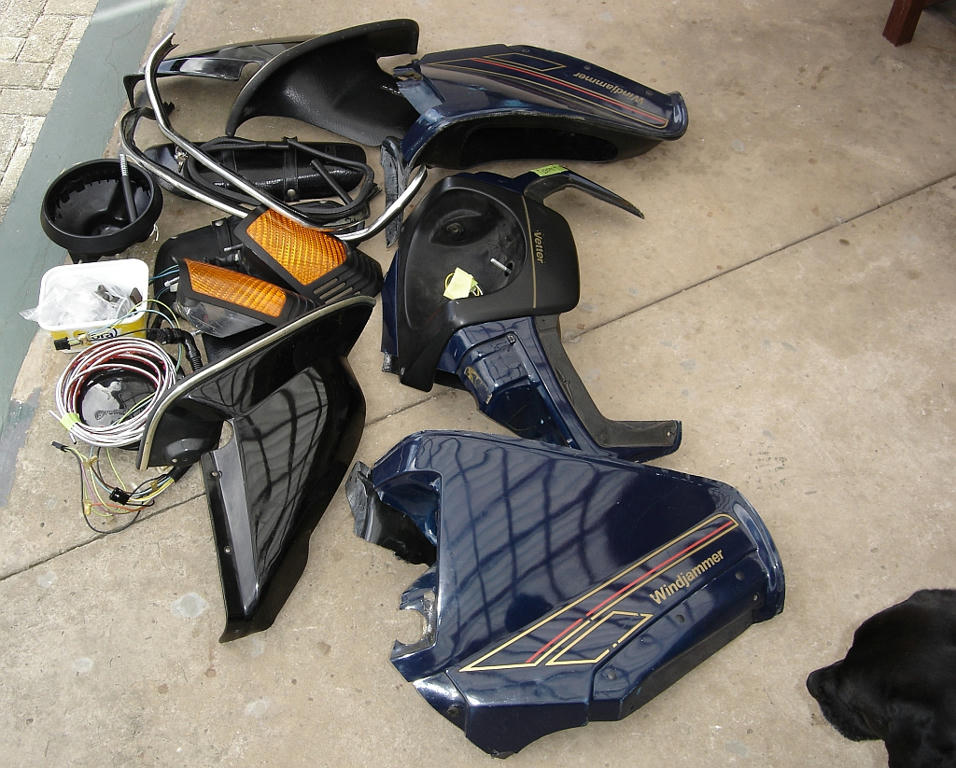
    I ripped them open and here is what awaits me:

    Dale dissected it very scientifically and most of the cut is behind the flashers.
    My Labrador Georgie does not look too confident!
    Last edited by Guest; 12-02-2010, 12:00 PM. Reason: footnote added

    Comment


      #3
      I love it when a plan comes together !!!!!

      Can't wait to see the pics of it mounted up.
      Larry D
      1980 GS450S
      1981 GS450S
      2003 Heritage Softtail

      Comment


        #4
        Originally posted by Highway_Glider


        Hi.

        The prospect would, as, freaked me out. I gather you know what you are doing.

        Keep us informed. Please.

        DP
        Oh yea of such little faith... one look at Georgie tells the whole story!
        De-stinking Penelope http://thegsresources.com/_forum/sho...d.php?t=179245

        http://www.thegsresources.com/_forum...35#post1625535

        Comment


          #5
          Spent time tidying my garage and stocking up on what is needed to get the Windjammer back in shape.
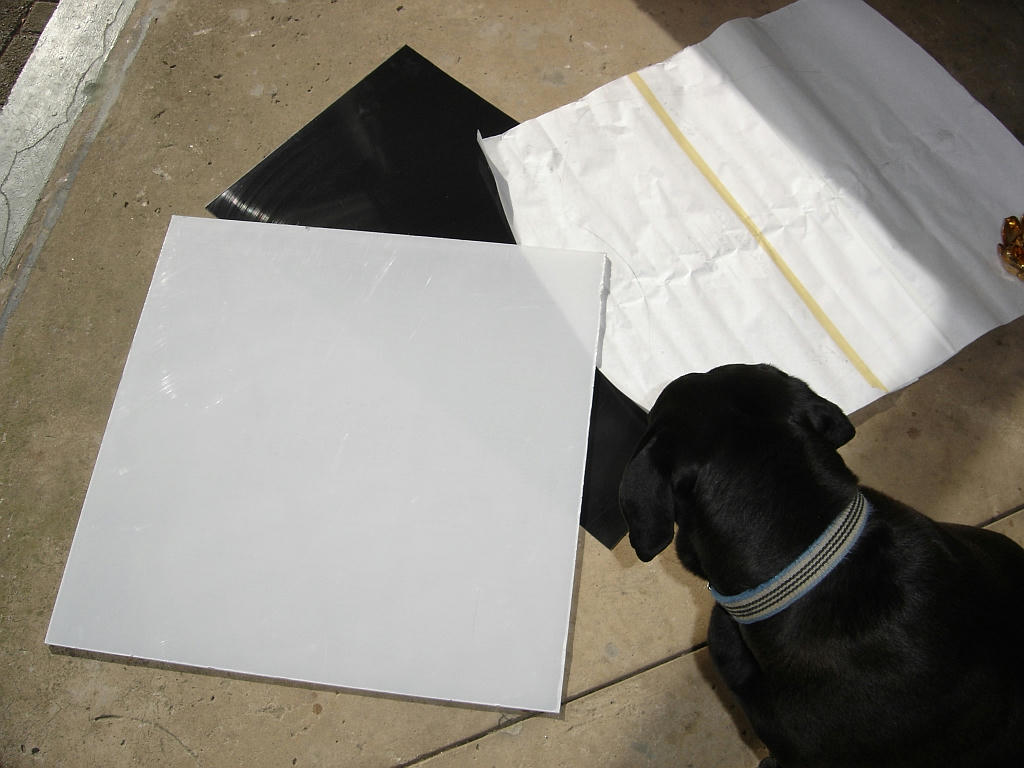
          Here is a piece of 5mm 650mm x 650mm Naxel, a sheet of ABS with the outline of the Windshield on the paper. Heat forming the windshield will happen a bit later.

          Georgie is not so sure!

          Comment


            #6
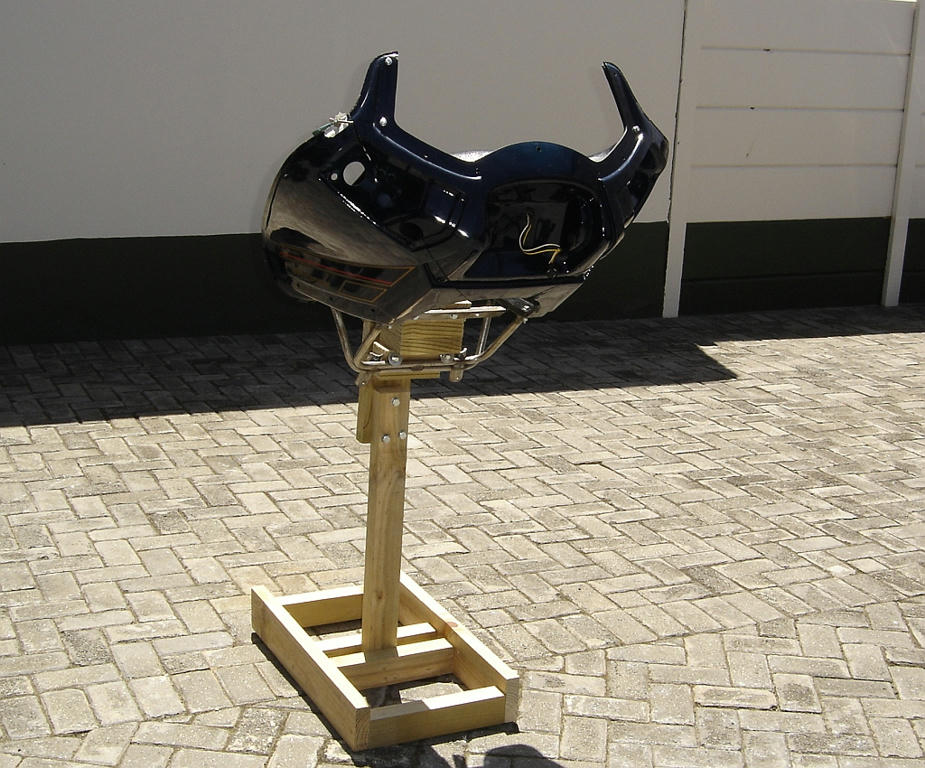
            At last some space in my garage! I managed to put together a stand for reassembling the Windjammer. It can rotate if required:

            Comment


              #7
              Simply amazing!

              How did the cut edges align after you put the sections together?
              what does your wife think of the project now?

              it's sure looks like you'll be finished with it in short order. I guess it's time to 'pull finger' and package up the other bits... http://yfrog.com/b8pict2860jj
              De-stinking Penelope http://thegsresources.com/_forum/sho...d.php?t=179245

              http://www.thegsresources.com/_forum...35#post1625535

              Comment


                #8
                Before you package up the radio, make sure the frequencies are compatible.

                .
                sigpic
                mine: 2000 Honda GoldWing GL1500SE and 1980 GS850G'K' "Junior"
                hers: 1982 GS850GL - "Angel" and 1969 Suzuki T250 Scrambler
                #1 son: 1986 Yamaha Venture Royale 1300 and 1982 GS650GL "Rat Bagger"
                #2 son: 1980 GS1000G
                Family Portrait
                Siblings and Spouses
                Mom's first ride
                Want a copy of my valve adjust spreadsheet for your 2-valve per cylinder engine? Send me an e-mail request (not a PM)
                (Click on my username in the upper-left corner for e-mail info.)

                Comment


                  #9
                  Originally posted by Steve View Post
                  Before you package up the radio, make sure the frequencies are compatible.

                  .
                  Steve,
                  We are on the same fortunately. Hope the Afrikaans stations will work though!

                  I have to paint the bathroom, but felt a slight loss of motivation and decided to rather do the stand this morning, somehow enjoyed that more!

                  Comment


                    #10
                    Originally posted by rustybronco View Post
                    How did the cut edges align after you put the sections together?
                    what does your wife think of the project now?
                    The edges align very well, in actual fact your cutting lines could not be better and were well planned. I have been playing with small spacers and clamps and so far it looks better than I could hope for.

                    I have also fixed the sag on the one side.

                    My wife was quite impressed and thought it would do nicely as a podium!

                    Sydney dropped in this afternoon and his comments were: Its very big!
                    That is without the windshield on it!

                    I will post pictures of the welding and repair tools and adhesives tomorrow.

                    Comment


                      #11
                      G'day old mate . It's been a while .
                      If this all turns 1/10th as good as your bike build , it'll be spectacular .
                      Good bloke old mate Rustybronco he is .

                      You should try his BBQ pork or Nancy's desserts . They'd out a horn on a jellyfish .

                      Looking forward to seeing this all come together .

                      Cheers , Simon .
                      http://i258.photobucket.com/albums/h...esMapSimon.jpg

                      '79 GS1000S my daily ride in Aus

                      '82 (x2) GS650ET in the shed

                      Comment


                        #12
                        Simon,
                        I am still green with envy after following your trip on the other side of the world!
                        Dale even knows some of the the South African rituals around the braai! He is a great guy and exceptionally helpful.

                        This project is going to be a challenge and I am going to try and drag it out a bit. My wife will tell you that actually means I will be working on it as much as I can and neglect other more mundane jobs!

                        Keep well

                        Comment


                          #13
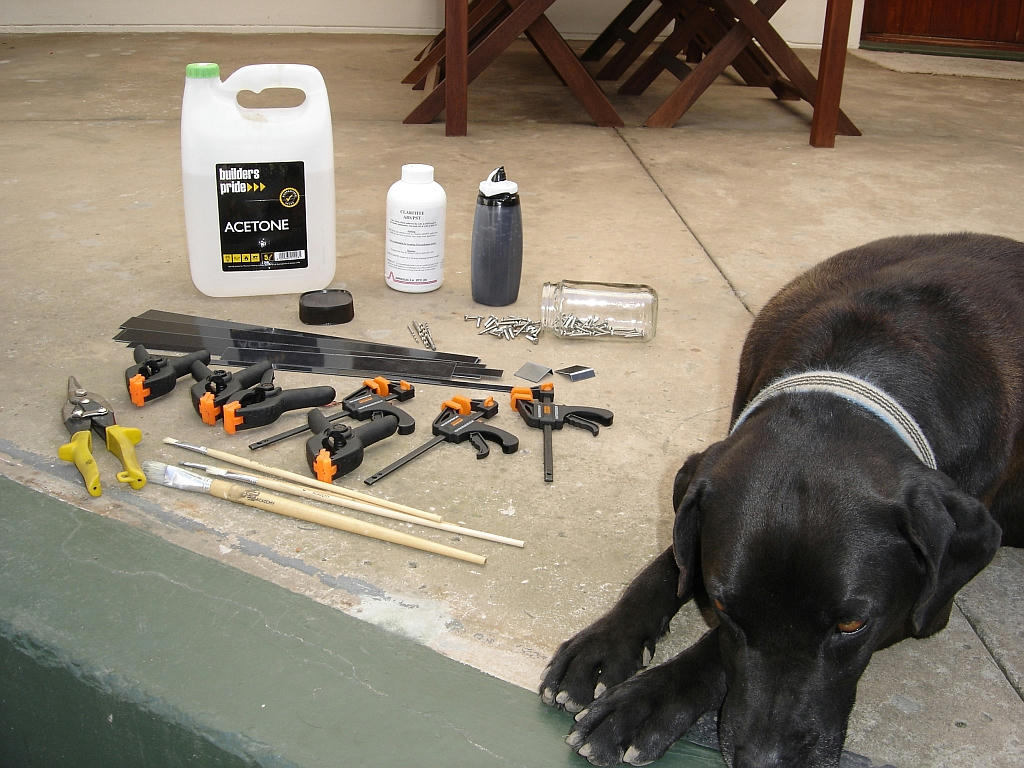
                          As promised here are some of the things needed to get it together again:

                          Clamps, ABS cement, ABS slurry, S/S self tappers, Acetone, ABS strips and spacers and some stiff artists brushes.

                          Georgie still wants to see this happen!

                          Comment


                            #14
                            Looking good so far! Watching anxiously for updates and picks as the project comes along...

                            Regards,

                            Comment


                              #15
                              Just some info if anyone is contemplating fixing a damaged Windjammer, side cover or other ABS plastic part.
                              I am no expert and this is just some basic info if anyone is interested:

                              1) Windjammers are made from ABS plastic, varying in thickness.

                              2) ABS plastic can be joined and formed quite easily, by heat and solvents and thus the reason for its widespread use.

                              3) Commercially available ABS solvent adhesive can usually be found at hardware stores or plastic advertising board suppliers etc.

                              4) Acetone on its own can be used as a solvent for joining ABS and if done properly forms an exceptionally strong bond.

                              5) ABS slurry can be used to fill holes and cracks or even fabricate small bits, like a broken ear or mounting tab using a mold.

                              6) ABS slurry can be made at home by grinding up ABS plastic and mixing it with Acetone or MEK and leave to dissolve and form a paste.

                              7) Repairing a side cover tab or crack in ABS with Acetone, ABS slurry or ABS solvent is supposed to be longer lasting than using epoxy's or super glues. Apparently, I am told, anything that is used to join parts that is harder than the base ABS will cause a crack over time and this is why joining ABS with ABS is the better way to go.

                              8) ABS can be heat formed by using a hot air heat gun carefully or any other controlled heating method.


                              If ABS slurry is used to repair or rebuild a part, the outer layer dries as the acetone evaporates and this slows down as the outer shell dries. Quite a lot of the acetone then is leeched into the hard dry part and softens that as well, depending on the amount. The drying process then slows down more as the acetone evaporation slows down and sort of traps the rest inside a hard shell, keeping the inner soft. It may take many days for a thick bit of slurry to dry out properly and tests have shown that it would be at its strongest after 60 days! So rather apply it in thin layers with sufficient drying time in between each application, than applying thick and heavy beads of slurry to do it at once!

                              Warning:
                              Acetone is an ABS solvent and will damage the ABS, as well as the paintwork if not careful. Work in a well ventilated area and do not breath the fumes or ignite them!
                              The above is just for more insight on how I intend going about joining the pieces and no-one should use this as a guide if they value their health and sanity!

                              Comment

                              Working...
                              X