• Required reading for all forum users!!!

    Welcome!
    Register to access the full functionality of the GSResources forum. Until you register and activate your account you will not have full forum access, nor will you be able to post or reply to messages.

    A note to new registrants...
    All new forum registrations must be activated via email before you have full access to the forum.

    A Special Note about Email accounts!
    DO NOT SIGN UP USING hotmail, outlook, gmx, sbcglobal, att, bellsouth or email.com. They delete our forum signup emails.

    A note to old forum members...
    I receive numerous requests from people who can no longer log in because their accounts were deleted. As mentioned in the forum FAQ, user accounts are deleted if you haven't logged in for the past 6 months. If you can't log in, then create a new forum account. If you don't get an error message, then check your email account for an activation message. If you get a message stating that the email address is already in use, then your account still exists so follow the instructions in the forum FAQ for resetting your password.

    Have you forgotten your password or have a new email address? Then read the forum FAQ for details on how to reset it.

    Any email requests for "can't log in anymore" problems or "lost my password" problems will be deleted. Read the forum FAQ and follow the instructions there - that's what we have one for...

  • Returning Visitors

    If you are a returning visitor who never received your confirmation email, then odds are your email provider is blockinig emails from our server. The only thing that can be done to get around this is you will have to try creating another forum account using an email address from another domain.

    If you are a returning visitor to the forum and can't log in using your old forum name and password but used to be able to then chances are your account is deleted. Purges of the databases are done regularly. You will have to create a new forum account and you should be all set.

1979 GS 550 - Spring Cleaning

  • Thread starter Thread starter kulchur
  • Start date Start date
K

kulchur

Guest
Hey all,
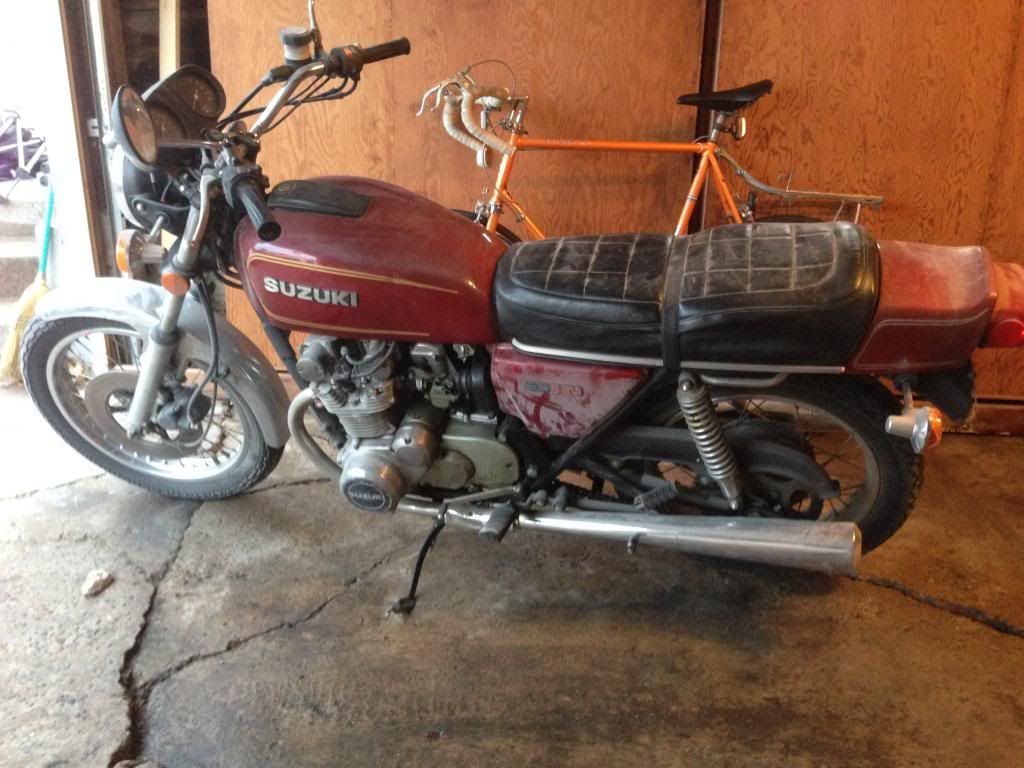
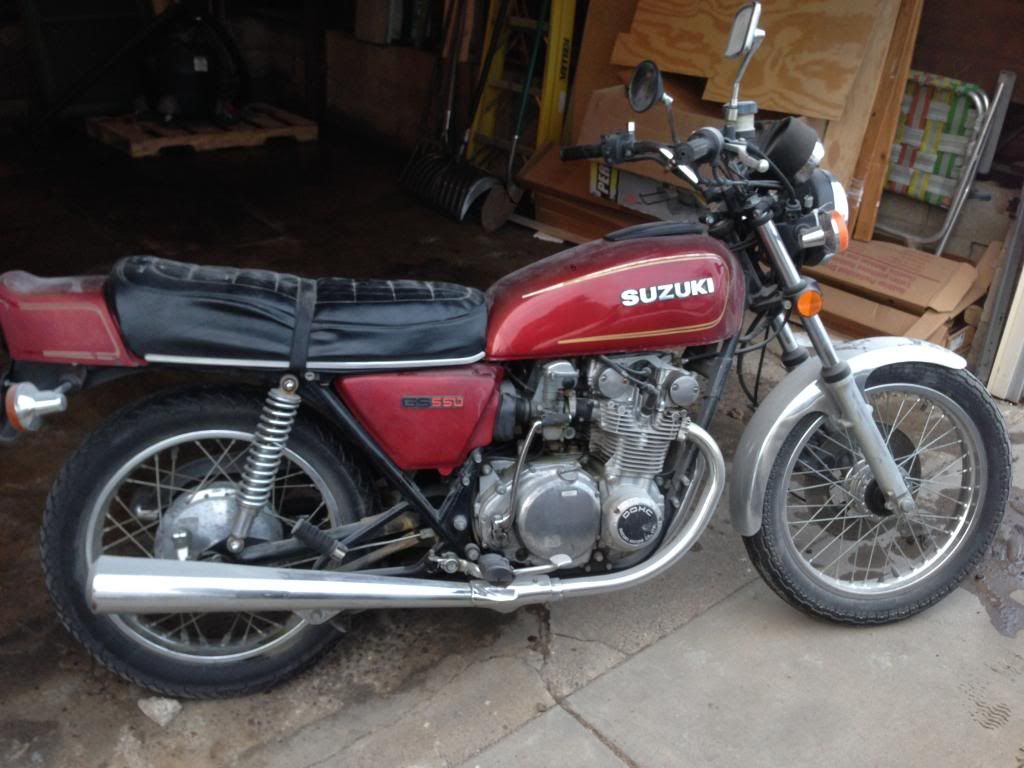
The weather finally got consistently above 40 (we hope) in Minnesota, so it's time to start wrenching on my first bike, a '79 550 in pretty decent shape.

I bought it in mostly good condition from a guy on Craigslist knowing I'd have to put some work into it - it started and ran very cold all last summer, the petcock lost its vacuum and I stripped out the oil drain threads while finishing up an oil change last year. Yikes! It also spent the incredibly cold winter in the back of my unheated garage, which was also the site of my dad's drywall-cutting workshop during a home renovation this winter.

photo4_zpsea877f61.jpg


photo5_zps80b2d8c3.jpg


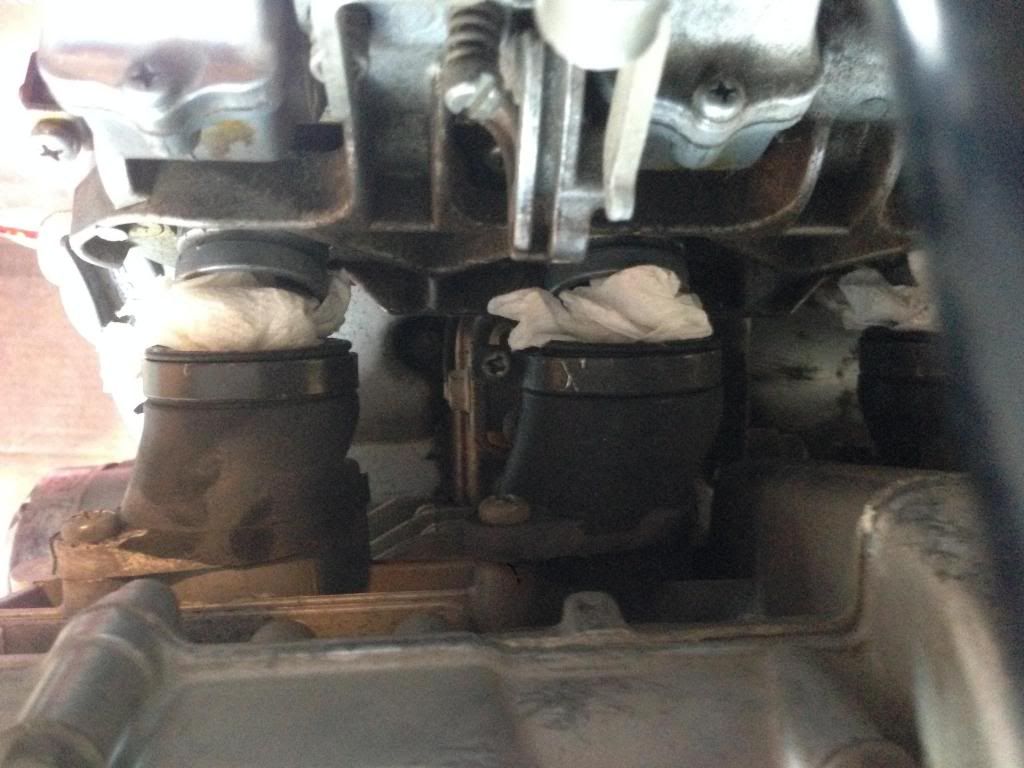
To my knowledge, it hasn't been consistently gone through in a long time - the guy I bought it from said it sat in a garage from the early '90s to a couple years ago - so I spent the winter reading up on the manuals posted by BikeCliff, among others. I think I'm ready to start tackling it ... but first, I need to buy about $500 of gaskets, boots, connections and general rubber. It was a great day today, though, so I figured I'd at least start disassembling it.

photo1_zps3e4a7db5.jpg


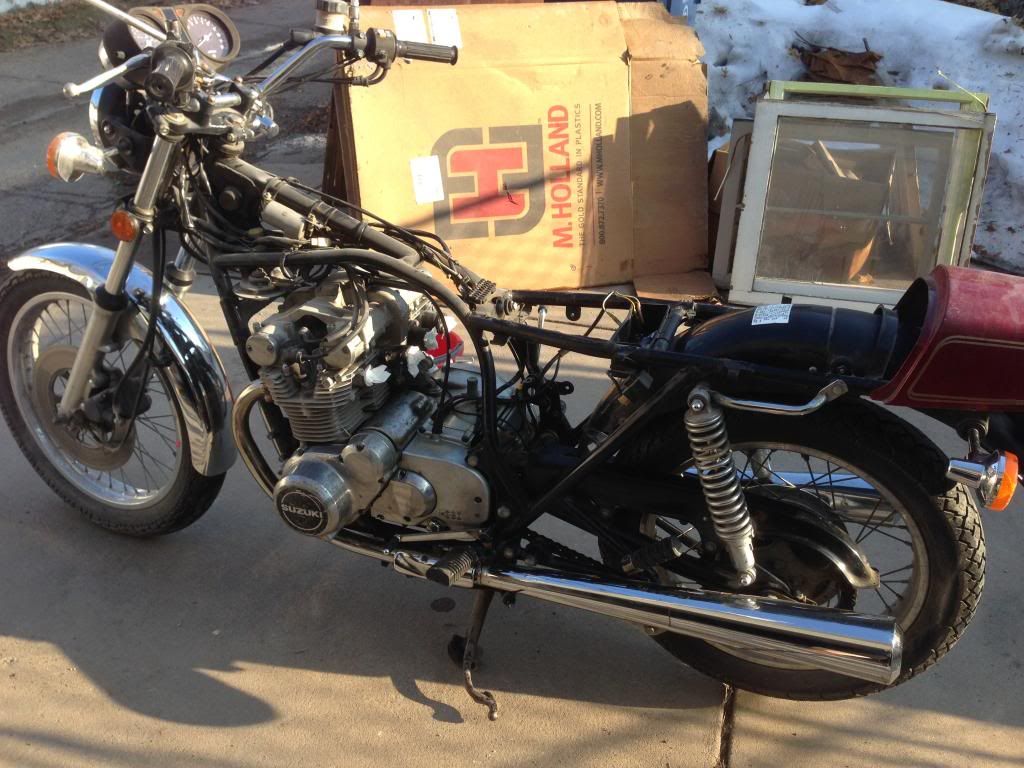
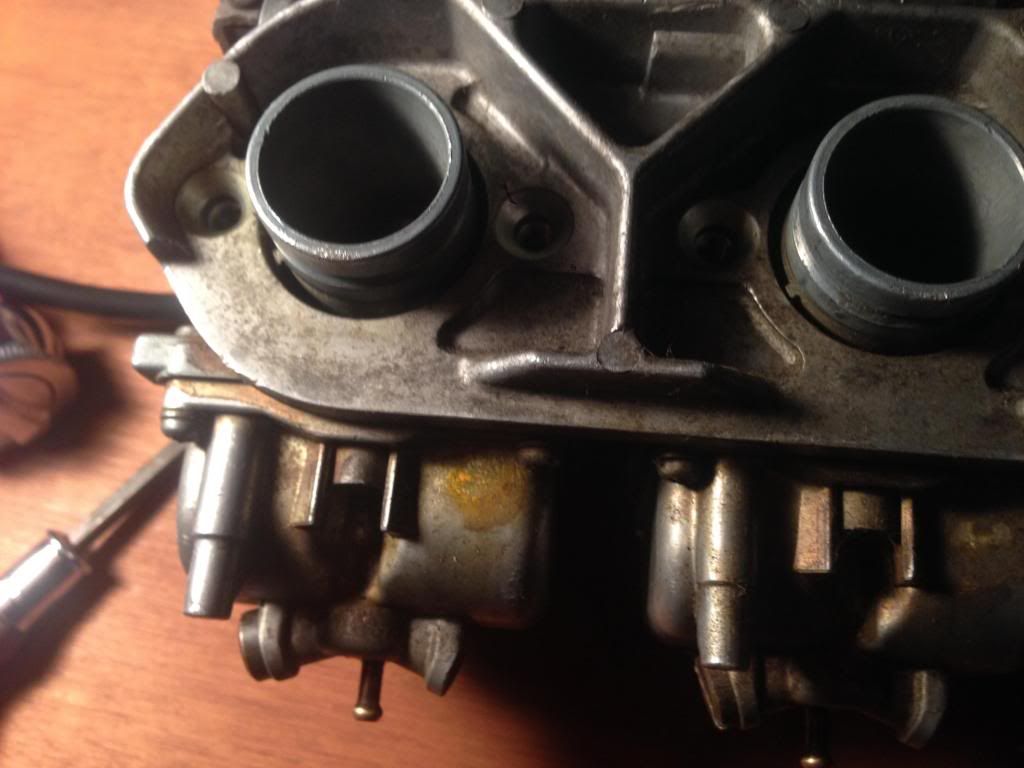
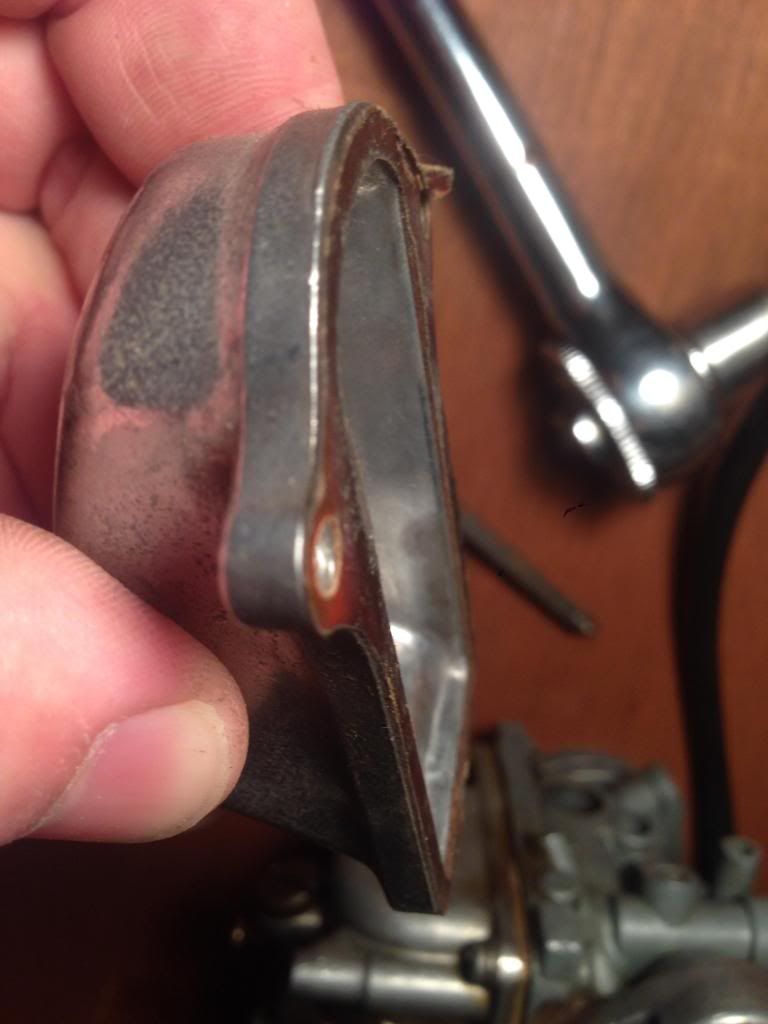
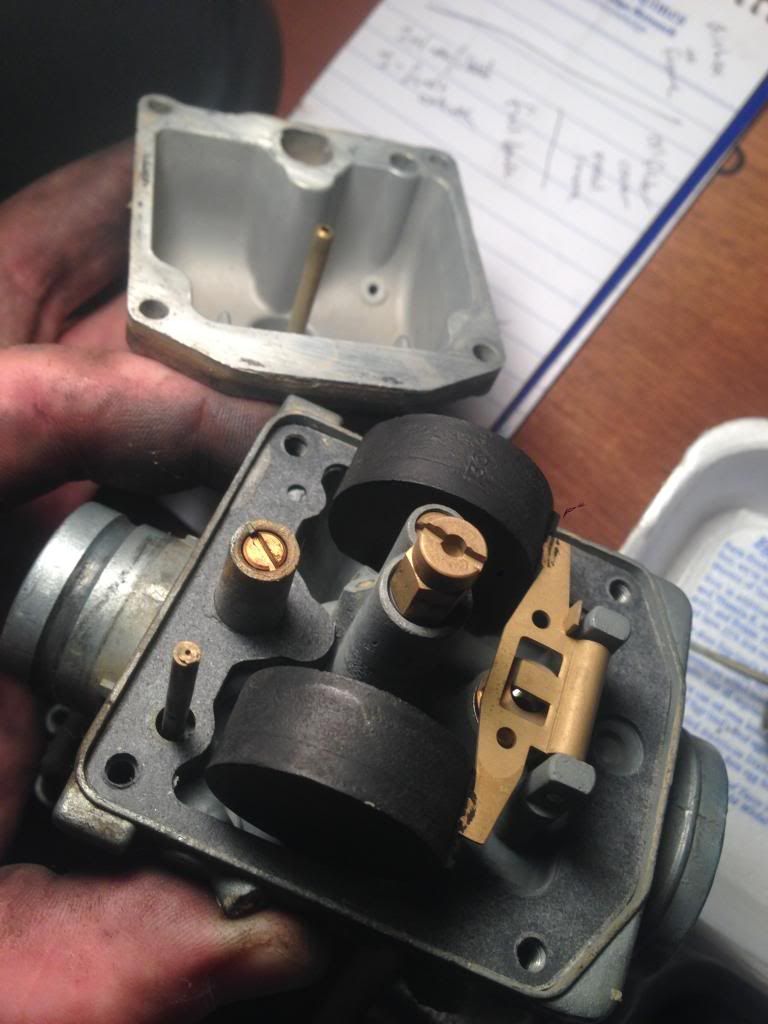
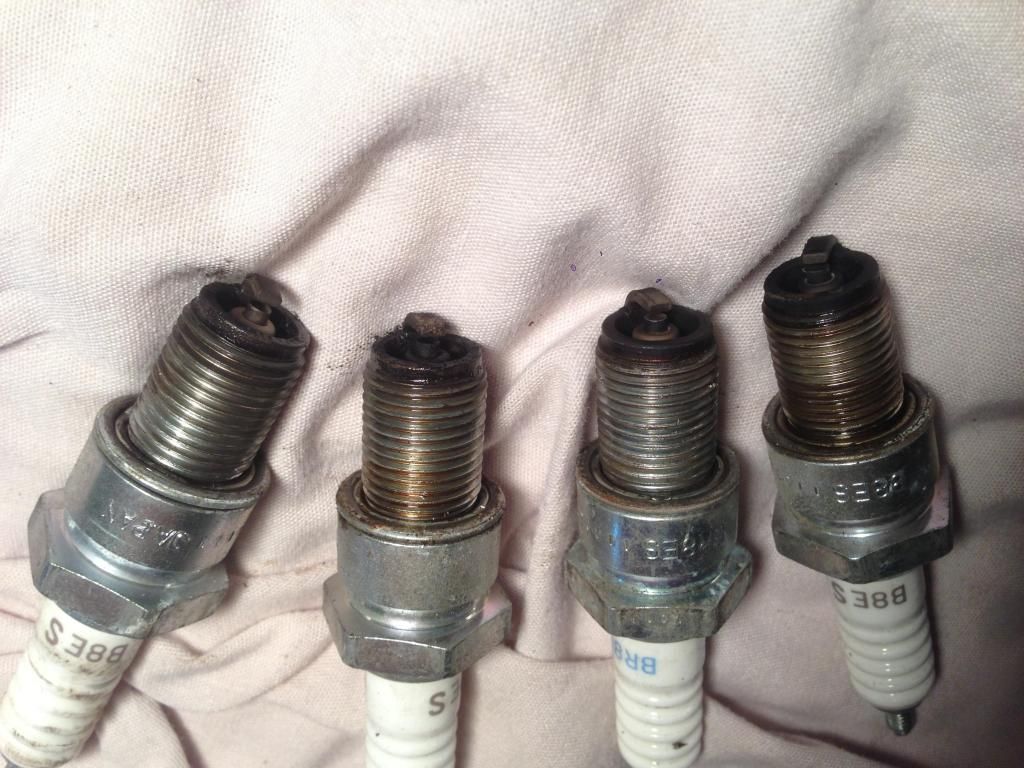
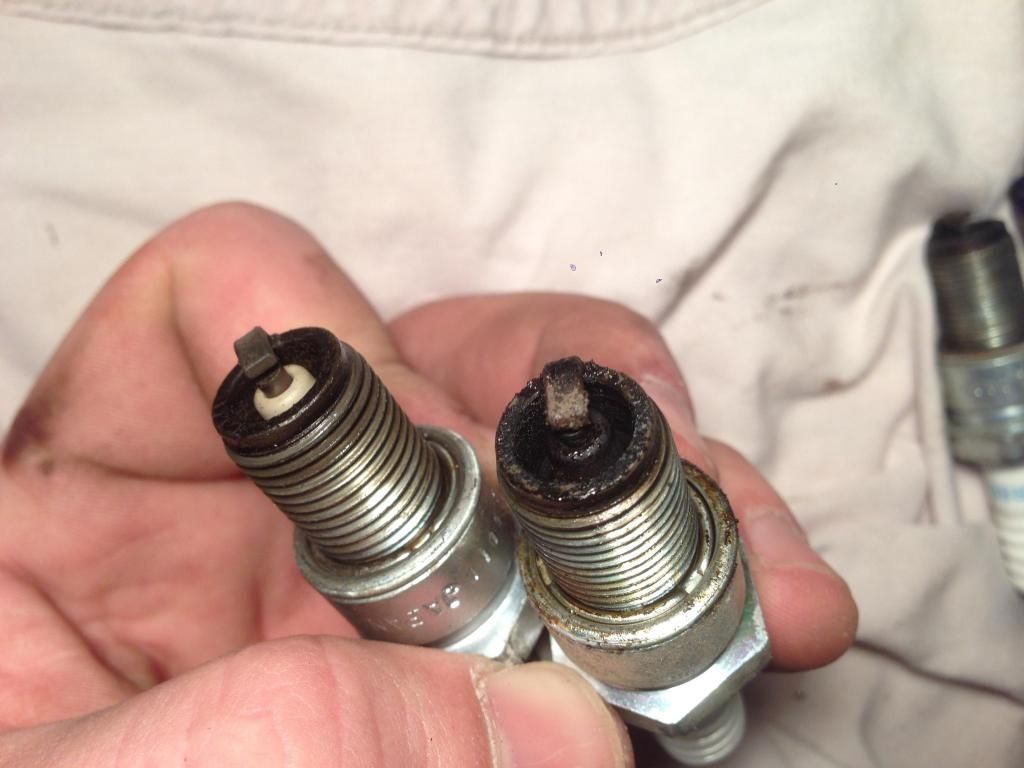
This is my first time working on anything this mechanical, but I feel like it'll be doable for me. On the docket: valve clearance adjustment, new exhaust seals, carb disassembly and cleaning, oil pan replacement, airbox cleaning and sealing, new boots and O-rings, brake bleed ... can't think of what else at the moment.
 
Last edited:
Looks like a great project. Don't forget to check the bearings and clean out the brakes!

I have some 550 oil pans if you need one, and a bunch of new points and condensers.
 
Things continue slowly here - just scrubbing down the bike after what appears to be many years of no real disassembly/maintenance. I've had to hold off a bit while I wait to order all of my boots and gaskets and such, so things are kind of at a standstill.

One thing I noticed while taking the carbs off is that my old boots weren't oriented straight out of the head ... they were all kind of baked into a slanted position. Here's a photo from above:

photo_zps0b1e07e9.jpg


Is this normal for really old boots? Both pairs point toward the center, so in "opposite" orientations. If the carbs were misaligned, I could see all of the boots eventually drifting in the same direction. As it is, they meet in the middle, like this: // // \\ \\ . Odd.
 
Well, color me embarrassed. Too much reading and not enough real-world experience can have you overthinking every last thing, I guess.

Finally ordered the first third or so of the parts I need, so I can finally commence on my carbs. Started taking them apart tonight, and boy, were they a beast. I don't think they've ever been fully disassembled, and there certainly hasn't been any new rubber on there in years.

Here's their general level of dustiness and lack of cleaning:

42eb9be1-b4e8-4b3d-85bc-61c4e3570f36_zpsb1b46977.jpg


Got the covers off and discovered that the gaskets were pretty much gone:

photo3_zpsdda546f1.jpg


Had a dog of a time getting the throttle shaft out from the slider assemblies. It was attached like concrete to the throttle cable assembly - I eventually got it out by bracing it all into one piece and smacking it out with a wooden mallet. A solid half-hour was gone by the time it came out ... the shaft is still in great condition, but I'll really have to de-gunk it. In progress:

photo2_zps3b890665.jpg


Finally got the shaft out, bodies separated, opened up #1 to find that there was very little bowl gasket at all. I doubt I'll find much on the others:

photo1_zps16795eff.jpg


Overall, a productive night. I got all the jets and screws out, except the pilot jet, which is lodged way up in the body. I'll have to go at it tomorrow with a jeweler's screwdriver to see if it will come out.
 
Last edited:
Those gaskets are fine, that's how they look. They are supposed to be thin. The top ones leave them in place, they are just dust covers anyway, don't even need to be dipped. The bowls need to be dipped, for the gaskets try to slide them sideways, they should pop off without breaking. If they come off in one piece they are fine to use again. Again they are supposed to be very thin, yours look fine. They don't normally leak, because they are above the level of the fuel. If you try to peel them they will break. If you leave them in place the dip will ruin them. If you use an ultrasoninc cleaner just leave them there, they will probably just fall off ready to go on again.

Your carburetors actually look a lot cleaner than 99% of the ones I have taken apart.
 
Things continue to move slowly here, as I've started a new job recently and am adjusting to the new pay schedule. Ordering parts has been slower as a result.

I've taken just about everything possible off the bike in preparation for cleaning, adjusting and reassembly. The exhausts are off and ready to be polished this weekend; the stripped-out oil pan is gone and the totally crusted air filter is out as well.

The carbs have been soaked, washed, sprayed and dried and are ready to be reassembled, but I've noticed some minor spots of white corrosion in some of the screw threads, etc. Is this the kind of thing that's fixed by a good spray clean and then a dry with compressed air? I can borrow a neighbor's air compressor if so.

I gave the airbox a good soak and wash, as there was quite a deposit of old oil that had slowly seeped through the bottom. I re-sealed the box with new weatherstripping and it should be a much tighter system this season.

Who wants to help me read my plugs? It's 1-4, left to right. Is this correct?

#1 too rich #2 oil fouled #3 too rich #4 too rich

6e8f5a1a-c367-4c45-b15a-2caa5b07c2df_zps49acdd12.jpg


Here's a closeup of 1 and 2, for comparison:

75831008-5081-4448-863d-4f28dcb735c7_zps4a59450b.jpg
 
Those plugs don't tell you much, you don't know the circumstances under which it's been running. Get the bike running as well as you can, valves and everything else adjusted, take it out and ride it a lot, then look. Doing actual plug chops will tell you more about the different carburetor circuits. As far as #2 looking oily, once you get everything adjusted properly and run it a thousand miles or so it probably won't look like that.

That's not even a matched set of plugs, who knows where they've been.
 
Good to know. Is the minor corrosion on the newly cleaned carbs something to clean again for? Or will that all get cleared out once some gas flows through?

Also, couple things I noticed: there seems to be a ton of oil gunk coming down where the crankcase meets the head - only on the left side of the bike. Here's a picture looking from the left; crankcase is above, and you can clearly see the line where the gunk seeped from:

photo2_zpsa8b46745.jpg


This stuff also coated the left side of the oil pan, but there's no evidence of it on the right side. Is this just a normal byproduct of combustion that happens to be on the chain side of the bike? It's no problem to clean up - just want to make sure I don't have a leak inside the crankcase.

Also, here's the interior of one of my exhaust ports. My parts fiche says there should be some gaskets (part #3) in there, but I didn't see anything when I got the exhaust off. To the best of my knowledge, the black rings are not baked-in rubber. Are the gaskets the little metal sleeves inside the head, and if so, are those worth replacing?

photo1_zps55e6fa5e.jpg


Thanks as usual for all the guidance.
 
Well, finally moved some money around and ordered the last of the parts I need to get the engine, carbs and air all buttoned up and ready to go. It's a good feeling to know I might be on the road sooner rather than later! It was above 70 today in Minneapolis and really got me itching to ride.

Went around to a few hardware stores and started collecting socket-head bolts to replace all the semi-rusty OEM bolts that are on the bike at the moment. Had good luck at one of them - cleaned them out, though, so I'll have to go back to get the rest later.

Managed to get the exhaust gaskets out without causing too much trouble, and got my grungy crankcase leak cleaned up. Practically everything that came off is ready to go back on when the parts arrive.

Took the rear wheel off to check the drum for wear - and for my own learning! All seems well - just have to give the hub and rim a good clean. I'll probably need to replace the tires a little later this season. They still have plenty of tread left, but I know they're pretty old. Haven't checked the date codes yet - what's the rule of thumb? Two years?

Question: what does a "bad" wheel bearing look like? My rear bearings seemed clean and functional, but I didn't know exactly what I was looking for. I also don't have access to a truing stand at the moment...
 
Oh, also: When I bought the bike, the PO gave me the original ignition assembly, but said it had seized and stopped working at some point before he got it. He just replaced it with a generic one that doesn't include a fork lock, which I would like to have if at all possible. Any way to rehab an ignition assy. or is it just kaput? The key just doesn't turn at all.
 
Success!

Success!

Well, it's been three-plus months, but this beast finally fired up last night.

Over the last month or so I got my carbs reassembled, checked all my clearances, gave everything a good scrub and got ready. I met up with bomber737 a couple times - we installed new tires and tubes out at his shop. Didn't take many pictures during the reassembly - everything went mostly okay!

All the major improvements did their job - the new petcock and gaskets stopped my gas leak, the new oil pan and gasket (and non-stripped-out drain plug) keep the floor of my garage dry. The brakes are much tighter than they were last year - my master cylinder was pretty gross when I drained it out to clean.

Yesterday bomber came over to my place with some valve shims I needed and we swapped those out, got the bike all buttoned up and synced the carbs. The one thing I didn't do correctly: the fabric-wrapped wire that leads from the starter motor into the crankcase had three metal clips that I thought went between the gasket and the oil pan to keep it secure. That extra sliver of metal was enough to dump all the new oil I put in out onto my floor - so the exhausts came off, the oil pan came off and got cleaned, used some gasket maker (plus the new gasket) on the weak side and reinstalled without the clips in. That mostly fixed the problem - I had also bought some socket drive screws for the oil pan, but they were slowly congealing oil on their heads, so I swapped them back for the original OEM screws. That seems to have fixed the problem.

Took it for a quick ride last night and it seemed much better than last year - at the very least it fired right up and didn't need much warming, which is what I wanted to have happen after a very slow last year. The only thing left to do before I ride again is to torque down the exhausts some more - I was blowing oil/condensation out of my #4. That's my last bit before finally getting to ride it.
 
Done

Done

Well, this project is officially finished!

Switching to socket drive bolts and awkward exhaust positioning meant I wasn't able to get very good torsion on some of the connectors. Plus, seven of my eight exhaust header bolts were OEM, but the last one (on the #4 header) was stripped out and had been tapped somewhat awkwardly with a smaller bolt. The replacement bolt I got was not a great fit, so that one was especially loose. That's where I was blowing oil from.

I tried putting the old bolt (super rusty and a little bent) back in, and it was working just fine. I thought I'd give it one more turn and BOOM, the bolt sheared off halfway down. Luckily there was enough sticking out of the head for me to back it off with a pliers. I took the remainder down to the hardware store, got a replacement for the replacement with a normal socket head, and buttoned everything back up.

No drips, no blowing oil, no nothing! My valve gasket is still impregnating with oil and weeping a tiny bit onto the head, so I might torque down the valve cover a bit more. Other than that, no complaints. I did my highest-idle tuning yesterday and took it for a couple hours of great riding. Did some plug reads too - #3 and #4 are a bit oily, but that is the only complaint. Have to choke it for a minute to ride it - a major improvement over the 10 minutes it needed last year! Thanks to bomber737 - and everyone who contributed guides, articles and questions that helped me out. I'll post some pictures when I snap a few.
 
Back
Top