• Required reading for all forum users!!!

    Welcome!
    Register to access the full functionality of the GSResources forum. Until you register and activate your account you will not have full forum access, nor will you be able to post or reply to messages.

    A note to new registrants...
    All new forum registrations must be activated via email before you have full access to the forum.

    A Special Note about Email accounts!
    DO NOT SIGN UP USING hotmail, outlook, gmx, sbcglobal, att, bellsouth or email.com. They delete our forum signup emails.

    A note to old forum members...
    I receive numerous requests from people who can no longer log in because their accounts were deleted. As mentioned in the forum FAQ, user accounts are deleted if you haven't logged in for the past 6 months. If you can't log in, then create a new forum account. If you don't get an error message, then check your email account for an activation message. If you get a message stating that the email address is already in use, then your account still exists so follow the instructions in the forum FAQ for resetting your password.

    Have you forgotten your password or have a new email address? Then read the forum FAQ for details on how to reset it.

    Any email requests for "can't log in anymore" problems or "lost my password" problems will be deleted. Read the forum FAQ and follow the instructions there - that's what we have one for...

  • Returning Visitors

    If you are a returning visitor who never received your confirmation email, then odds are your email provider is blockinig emails from our server. The only thing that can be done to get around this is you will have to try creating another forum account using an email address from another domain.

    If you are a returning visitor to the forum and can't log in using your old forum name and password but used to be able to then chances are your account is deleted. Purges of the databases are done regularly. You will have to create a new forum account and you should be all set.

1982 GS850gl

  • Thread starter Thread starter blackstag
  • Start date Start date
B

blackstag

Guest
Well here I go again, another bike, another build

I am a new fellow around here and hopefully I don’t let anyone down by asking stupid questions (which really there aren’t any, just some which annoy people) and doing crap work.

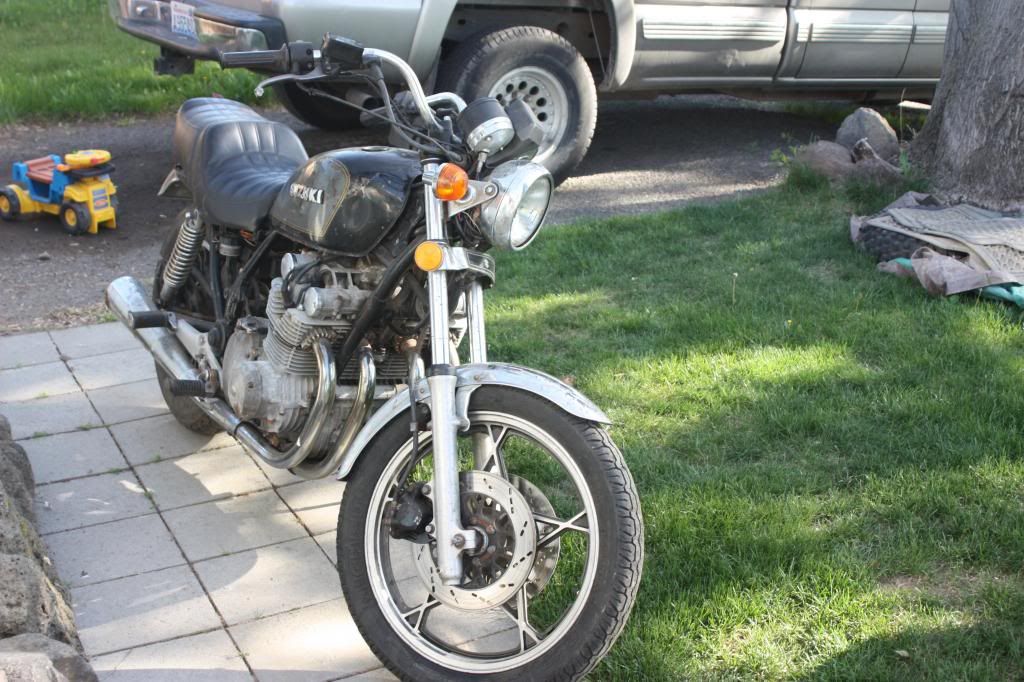
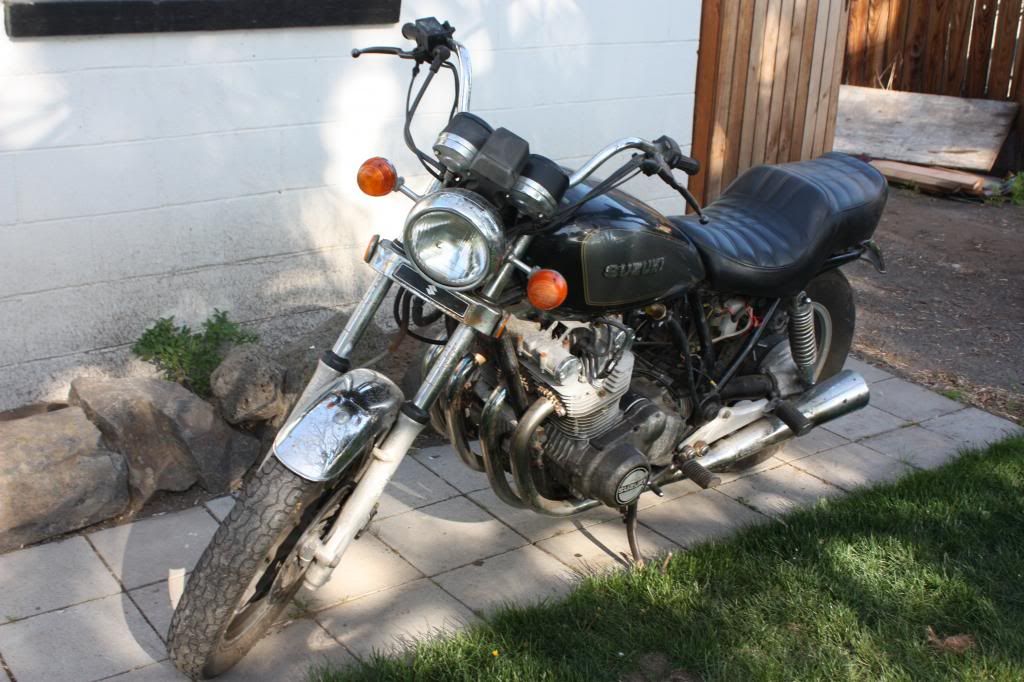
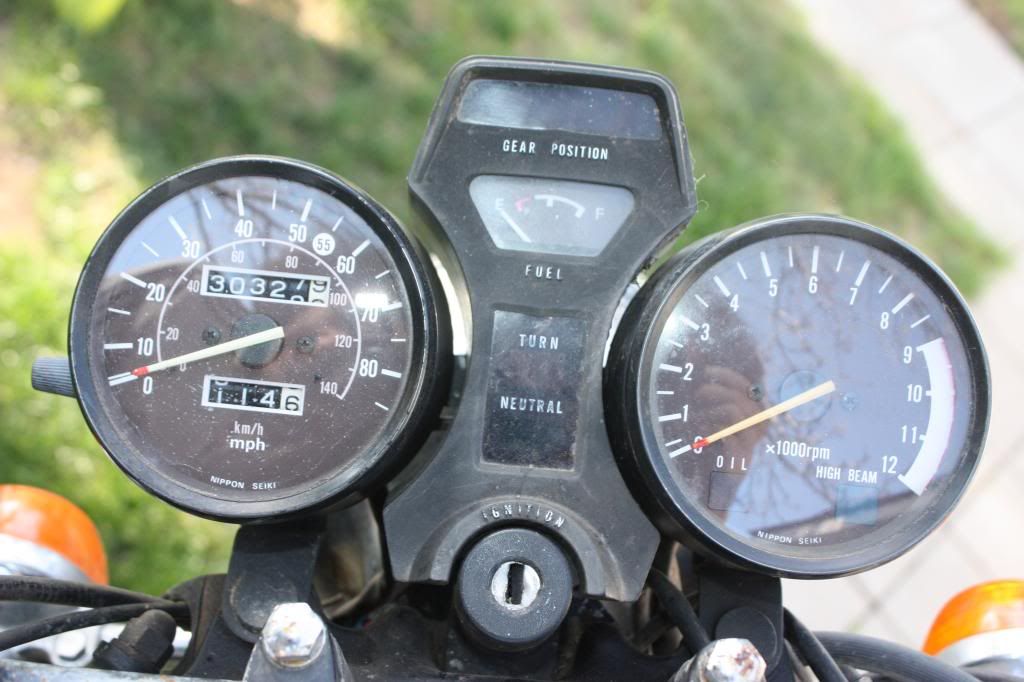
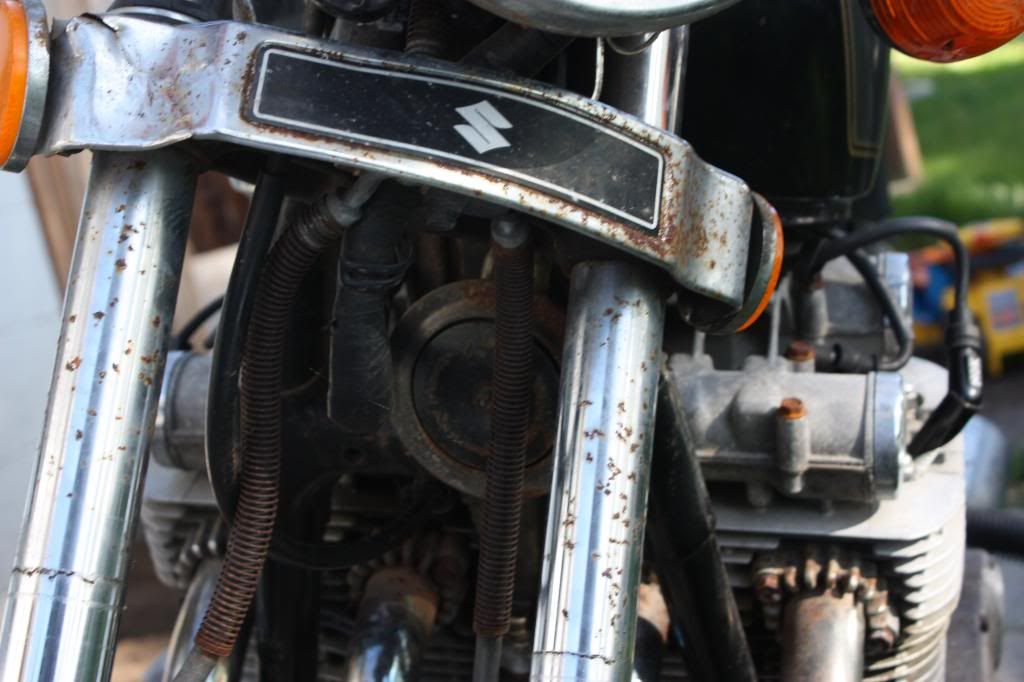
I picked up my 1982 Suzuki GS850 from a ad on craigslist.

$300 bucks with title and it started right up. It didn’t run the greatest but it started right up which was a step up for me. I have always bought bikes that didn’t run.

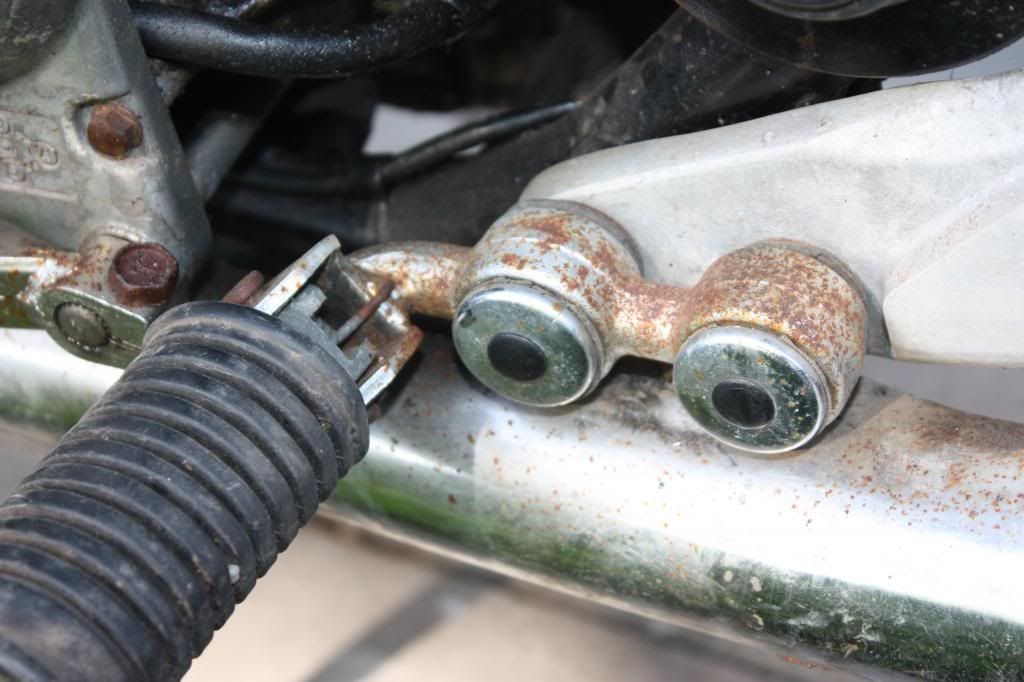
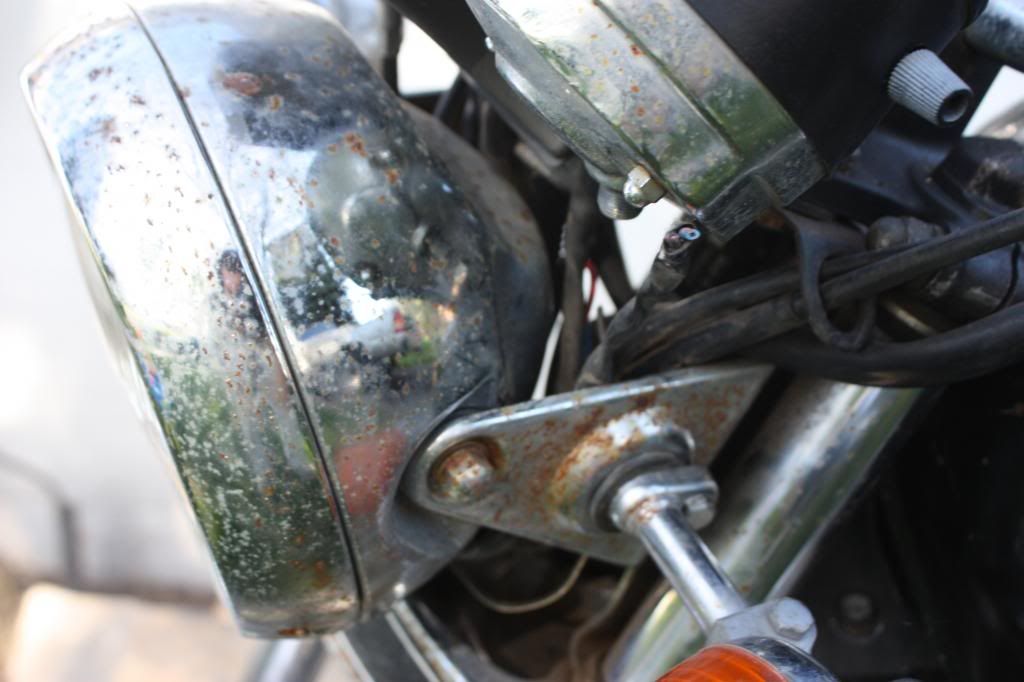
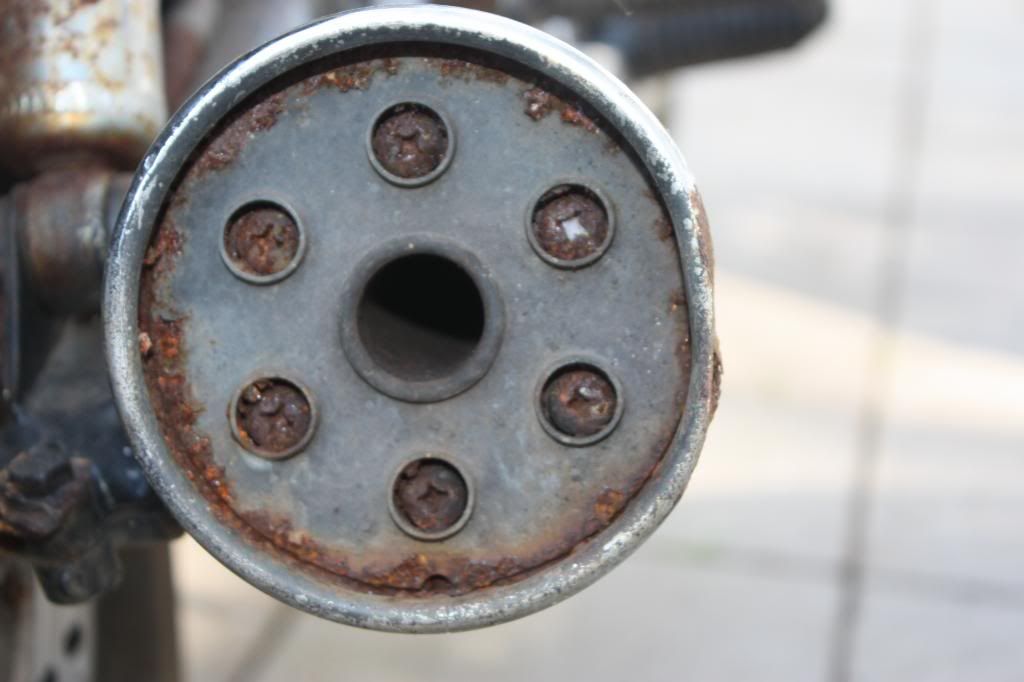
It is in rough shape, rust and scale galore.

No big problem in my book, just some elbow action, grease, paint and she will be looking sweet.

180_zps14007ae3.jpg


181_zps8def0b29.jpg


183_zps6e5c1592.jpg


186_zps1678e954.jpg


187_zpsed8a59d6.jpg


188_zps77b0bb25.jpg


189_zps73403132.jpg


190_zpscb70546c.jpg


192_zpscdc9ac40.jpg


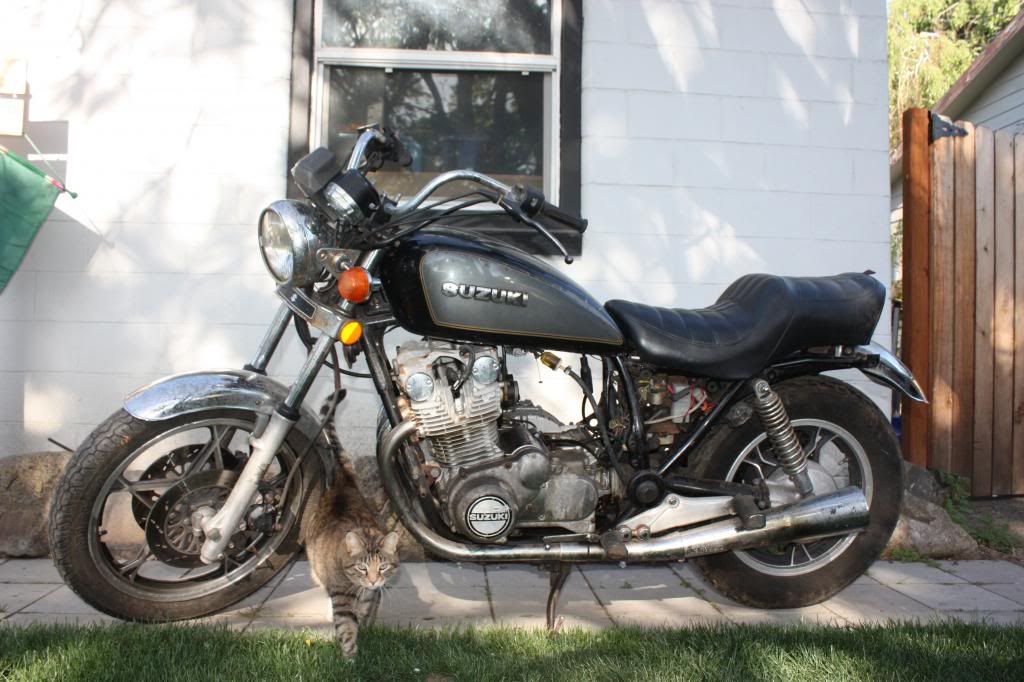
I do plan on changing the bars, building a new seat and most likely doing some carbon fiber work for side panels, headlight and whatever else is necessary.


We shall see, first things first; ensure the bike’s engine will run well.
 
Last edited:
Carbs are out and almost disassembled

Carbs are out and almost disassembled

Man....... some of those scews in the carb bodies were mother truckers to remove......

Either way carbs are out and nearly disassembled.

I noticed that one of the rubber passage plugs was missing when I tore them open. Anyone have a recomendation where to buy them? I see that I can get them on ebay; 4 for $10

I also just bought a few items from cycleorings.com

Mikuni BS series o-ring kit
Intake o-rings 38mm
20mm stainless screws

I plan on changing out all screws to allen head's. I have done enought of these carb rebuilds to know that good hardware will keep the swear words from flying out of my mouth and the project rolling along.

Just as the post above, pics tonight
 
Z1 Enterprises is an excellent source. If it's on their site, it's in stock ready to ship. G&S Suzuki is someone I see mentioned a lot lately in a positive way.

Do not go to Bike Bandit, Alpha Sports, etc. They're just expensive.
 
Welcome to the forum! I am partial to your bike since I rebuilt mine last year. You can see the build in my signature. I was just thinking about how much I enjoy riding it these days. It's a great bike.

One thing that will garner subscribers to your build thread is good pictures. The more the merrier. So post up some pictures of your bike and the progress you are making.

Also one more bit of advice. Be a proud "L" owner. We catch a lot of flak around here. All in good fun of course.
 
Welcome! I have the 1980 version of your bike. They're quite easy to work on and this community is beyond fantastic.

Can't wait to see some pics!
 
i do quite a bit of shopping with z1, good products and pretty good prices.

I ran into a problem yesterday trying to get my float pis out; its simple, they wont come out... I have tried spinning them and cant get a good grip. I have tried using a razor to try and get them to move a bit for me..... I have tried to use a center punch. Nothing!!!!

I had these soaking in PB for a day knowing that this was coming up.

Any suggestions? is there any other way to get the float seat out without removing the float itself?
 
Good buy for $300. I don't see anything that can't be fixed. What are your plans? Are you going to restore it to stock, just get it running, or take the saw to it?

On the carbs, you have to take the floats out. Just be careful taking the pins out. The float posts are notorious for braking. That is a pain.

I'm sure you've thought of this, but are you taking them out in the right direction? Soaking them in PB should help a lot.
 
Now I see the pics! She looks to be in about the same shape as mine: rusty but loveable. :)

Float pins should come out with a punch, just be absolutely certain to put a socket or something underneath the lower pin when you're hammering, otherwise you can break off the post that it goes into. (Not the end of the world if it does, just ends up being one more thing to fix...)
 
Yea the float pins....... still working on that one. I swear those were a cake walk on every other project I have worked on, not this one.

As for what I am doing with the bike;

I have a vision to make this a hybrid bike where when its just me riding it will have a different seat, more brat style and when its me and the wife it will have the L seat on it.

because of the pitting in the chrome I am going to carbon fiber some parts. most likely the air box covers, headlight, headlight ears and possibly the front and rear fenders.

it really all depends on how things clean up really. I like to polish things but then again, I have always wanted a vastly black bike.

I am seeing the engine being either black or a dark metallic grey.

Really it all boils down to this; mainly black with modified seat or black and chrome.

I have always been a fan of older things still having that old feel so I usually dont go too heavy on the cleanup of things to get them perfect. we shall see.

Right now my main concern is getting the carbs rebuilt and ensuring that my entire intake system is ready to go so that I can see where I stand on the engines performance.

brakes work so i should be able to cruise around my local streets to see if leaks, smoke or other problems arise.

thanks everyone!
 
One thing you will need to do is take that fuel filter off. They typically don't work well with these gravity fed fuel systems.

As far as your brakes are concerned, you probably need to replace those lines as well. Those look fairly original and Suzuki recommended that they be replaced pretty often. You can order up a set of Stainless lines for about the same price as replacing those.

As for the vision for the bike, that sounds like a good idea. You would have a lot of parts to replace to do a proper restoration. I like the brat style bikes.

Onward!
 
Last edited:
I have been missing from here lately and I felt that it was time to update everyone on what I have been doing.

Carb Rebuild-

GOT EM TORE DOWN!!


I was finally able to get the float pins out. It took a few “more persuasive than I would like to be” thwaks before any of them came out.

I broke the float post on one of them. NOT MY FAULT!! It already had a crack in it from some previous service I am assuming. Either way, the dam thing broke off.

I poured through the forums looking for everyone’s favorite fix and I settled on the repair of using a piece of 12 Gauge copper wire and a 5/64th drill bit

First I gathered all of my materials
1- Drill
2- 5/64th drill bit
3- 12 gauge copper piece


With everything gathered I measured and marked the center of the broken and the remaining piece of post. (no pic)


I went really slow with the 5/64th bit keeping an eye on my level and ended up with a pretty center hole that went down about 3/8-7/16th deep


I then tapped in a piece of 12 gauge copper


I forgot to take a pictures for my next two steps…. but after this I made a mark on my post at about the 5/16th mark and then I proceeded to cut the wire at the designated spot after lining it up and checking the measurement.


I made a mark on my drill bit and drilled the post until it was the designated stopping point.


I made sure the hole was clean and tapped the post into position. I was already working with expoxy so I put a little on the copper before I tapped it into place.


The post lined up perfectly and feels very sturdy, I am definitely not worried at all.


After this I let them sit till the next day and began to reassemble
(remember, expoxy takes 24hours to truly harden)

pictures and more storry when I get home fellows!
 
Last edited:
I had already soaked the carbs in carb cleaner before the post repair but I did another overnight soak because there was still gunk on the outside.

After taking a wire brush to the set they were pretty clean and ready to roll.


I found this paint at a local automotive paint supply store. It is by ?plasticote? and is called ?cast aluminum? It is a very unique color in that it is slightly metallic with a hint of brown undertones.


Before I began assembly on the carbs I tested the floats to ensure that they did not have any holes. I just tossed them in some water for a few hours per float. Just a little piece of mind you know.


From here I went through and re-assembled the carbs with the O-Ring kit that I purchased earlier. Took a lot longer than disassembly?? I did not replace the original screws on carbs because this is a temporary re-construction. I have since ordered some socket caps for the float bowls ect?. (sorry no pics of the assembled assembly)

Overall the carb rebuild wasn?t anything different than I have done before, the float posts however were the worst that I have ever had to deal with. Learned something from it though!!

Whats next? Airbox repair baby
 
So after the carbs were rebuilt I performed a bench synch using a piece of wire, they are pretty close.

I am in the process of building a manometer and have synch adapters on their way along with a motion pro carb aduster tool. I have synched these things using a screwdriver and wrench before and decided that the $15 dollars was worth it.

Either way; carbs were ready to go but my air box was not!

First things first I popped the covers off?..


And this fell out of each..


I pulled out the air filter and found a K&N air filter. SCORE!!


The cage was ugly but I got it cleaned right back up again


I also sanded and added a fresh coat of heat and oil resistant paint to the air box and covers


While tore apart I added some outdoor rubber weather stripping to make this puppy nice and sealed


Before I got ready to put the box on the bike I made sure that my rubber boots were still good to roll, they are still nice and squishy


http://s1294.photobucket.com/user/redahtamn/media/gs850l/IMG_2322_zpsd93e3183.jpg.html

http://s1294.photobucket.com/user/redahtamn/media/gs850l/IMG_2321_zps9a500e09.jpg.html
 
and of course my little helper made sure to clean out the breather passage


So at this point, my airbox was up to snuff. My newfound air filter was cleaned and oiled and my carbs were rebuilt.

It was time to throw everything back on and fire it up! Right? WRONG!

While examining the carb intake boots I discovered that two of them were seperating from the metal mounting plate..... not good
http://s1294.photobucket.com/user/r...rt=3&o=36&_suid=13681357385950270130494178903


at this point I knew I needed new intake boots but I really needed to know the state of the engine, I wanted to see if it leaked anywhere and how it performed mainly.

with this knowledge I threw my hands up and some extra epoxy to seal these things back on.

After a day I went back out and cleaned up the petcock and began to install my carbs and air box

Good help is hard to find till this guy shows up


after some oil and a a wee bit of force the carbs popped into those crappy boots.


I got all the proper cables connected again and almost started the bike.

I decided to replace the oil first because it smelled like it had some gas in it and I am paranoid about other people and their inability to change oil....

I added some marvel mystery oil to the mix and felt like I was ready to roll.

until I discovered my battery was not quite charged :oops:

so I waited till the next day to get it fired up. With the charged battery the bike sprang to life and idled quite well considering it was not quite tuned.

I gave it a few minutes then said to hell with it and rode it around the block a few times.

The bike has some nice power and rode very well considering it was not tuned.

I have some popping on deceleration and some hesitation getting off the line. All due to tuning and **** poor carb boots.

The only leak that I found after riding for about 30min was where the RPM tach goes into the motor.

Other than that, the bike ran great and has gotten me excited about the project!
 
Cool beans! Looks like you're doing everything by the book. You'll have it running right and spiffed up in no time. Looking forward to the rest.

I have a little helper too, different gender but just as eager!
 
I'm paying attention to this rebuild thread. I recently picked up a second "T" but it has been sitting for the time being. Reading through your thread is planting seeds for me when I go through my rebuild.

I'm preoccupied at the moment but my running "T" is keeping me happy at the moment.


Ed
 
I cant gurantee speedy completion due to the completion of another project of mine.

I was told by my woman (the wife) that if I wanted to complete this build that I needed to finish my other bike first....

its a 1974 cb360! Should be done here within two weeks. I will have to post a pic when its done.


Thanks for paying attention fellows
 
Told y'all this wasn't going to be completed fast. After completing my 360 I then moved onto adding a walk in closet plus a brand new bathroom plus all the other stuff life brings on. Either way....... this project is back on.

I have the headlight, carbs and gauges off and tore apart agAin.

My first question is.... does anyone know the bulb number/type for the gauge lights?

I am going to be upgrading these to led along with all other bulbs
I think these will work.

http://www.superbrightleds.com/more...194-led-bulb-5-led-wide-angle-wedge-base/199/

So if someone knows the bulb number feel free to chime in.
 
I'd thought about doing it too for my bike, I have BA9s bulbs, but decided against it right now due to several points.

1. I've read some folks have issues with the amount of light into the gauges requiring several bulbs to be used. This would mean possibly having to install more than the one that is currently in place for the speedo/tach.

2. Uncertainty for the right colors needed in some sections as you have to match the color of the lens. A blue lens requires a blue led bulb and from what I was told in my own thread I started about this, that may not work properly.

3. I really want to get my bike on the road before the end of the season and the playing around I would need to do to make sure I have it right isn't worth it right now. I'll work more on mine over the winter possibly.


If you look at Basscliff's site under electrical odds and ends (http://members.dslextreme.com/users/storagecliff/images/electrical_odd-n-ends.html#A14), you'll find your bulb is a 194 so you should be right. Just really play with it though to make sure you are getting what you want.
 
Back
Top