• Required reading for all forum users!!!

    Welcome!
    Register to access the full functionality of the GSResources forum. Until you register and activate your account you will not have full forum access, nor will you be able to post or reply to messages.

    A note to new registrants...
    All new forum registrations must be activated via email before you have full access to the forum.

    A Special Note about Email accounts!
    DO NOT SIGN UP USING hotmail, outlook, gmx, sbcglobal, att, bellsouth or email.com. They delete our forum signup emails.

    A note to old forum members...
    I receive numerous requests from people who can no longer log in because their accounts were deleted. As mentioned in the forum FAQ, user accounts are deleted if you haven't logged in for the past 6 months. If you can't log in, then create a new forum account. If you don't get an error message, then check your email account for an activation message. If you get a message stating that the email address is already in use, then your account still exists so follow the instructions in the forum FAQ for resetting your password.

    Have you forgotten your password or have a new email address? Then read the forum FAQ for details on how to reset it.

    Any email requests for "can't log in anymore" problems or "lost my password" problems will be deleted. Read the forum FAQ and follow the instructions there - that's what we have one for...

  • Returning Visitors

    If you are a returning visitor who never received your confirmation email, then odds are your email provider is blockinig emails from our server. The only thing that can be done to get around this is you will have to try creating another forum account using an email address from another domain.

    If you are a returning visitor to the forum and can't log in using your old forum name and password but used to be able to then chances are your account is deleted. Purges of the databases are done regularly. You will have to create a new forum account and you should be all set.

77 550 cafe project - couple questions.

  • Thread starter Thread starter DCrippa
  • Start date Start date
I know I'm a bit late on this one but a quick ebay search found this. Don't know anything about the seller or the product.
I did however buy an awesome bolt kit from an ebay seller(cant remember the name) for my 78 1k. All the parts were separated in individual bags labeled with which part they went. It was a no brain'r(good for me).


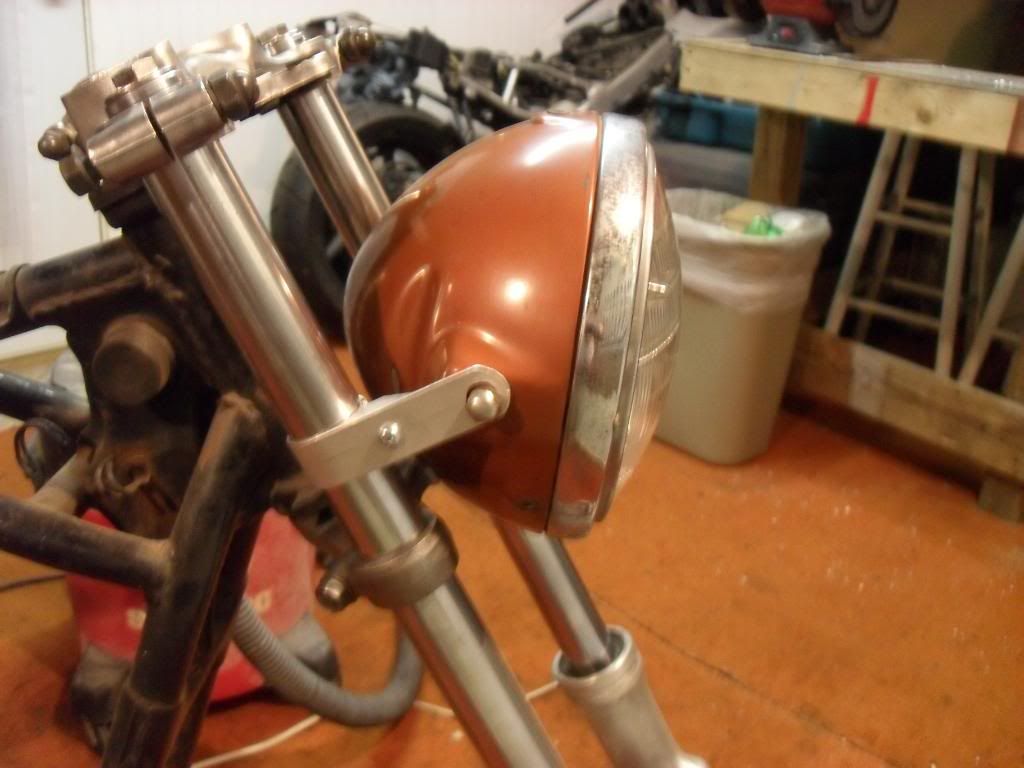
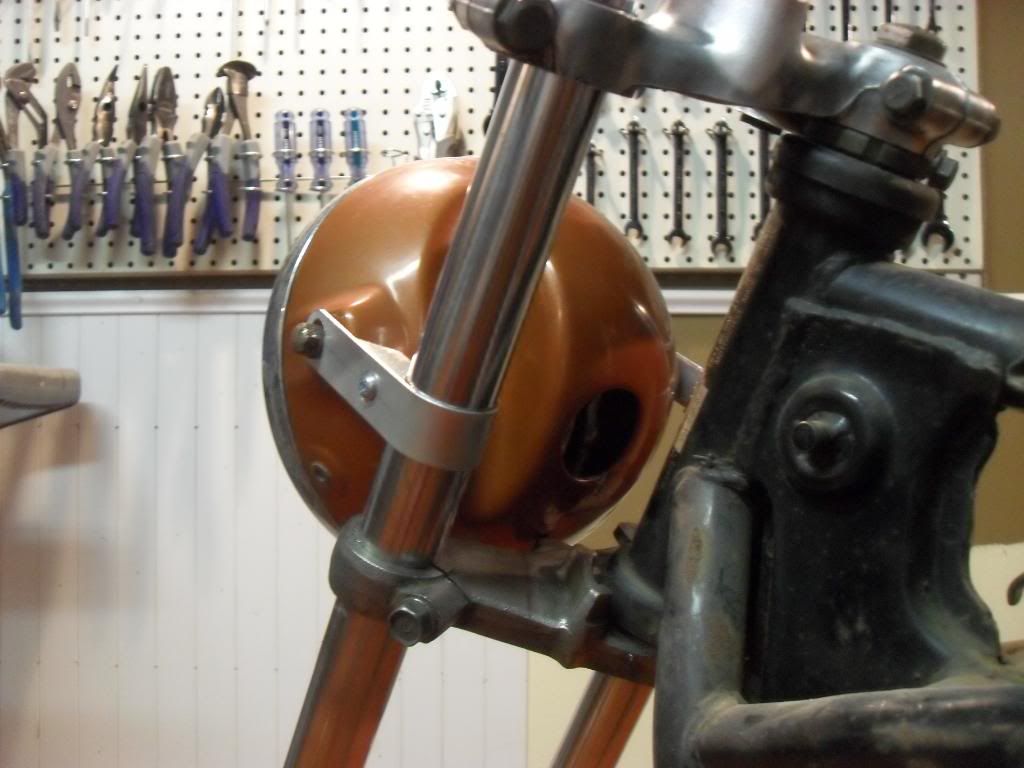
For your issue with the headlight mounting.. I have heard of guys using PVC pipe as spacers on the forks for easier mounting. Just cut to size and slip it on your forks between the upper and lower tree. Paint it black of course or it'll look kinda odd.

http://cgi.ebay.com/ebaymotors/Stai...rcycles_Parts_Accessories&hash=item19c7186382
 
Thanks!

Hopefully I'll come across $15 for the ears... but in keeping it to the as cheap as possible theme I made the ears from the straps and will try the pvc tip may just do the trick... or maybe cut up some old rubber off an old tire and wrap that around the tube to make up the difference.
 
Last edited:
These home made headlight ears are from "tWistedWheelz" over on Dothetone.com, didn't link to the thread because I don't know if you have to be registered to view it... hope this works!

[quote author=tWistedWheelz link=topic=6496.msg129207#msg129207 date=1266504595]
Less than $10 headlight ears!
Well it may cost you a little more, but you will have left over material!
Supplies:
1 Aluminum C Channel (see photos)
2 nuts
2 bolts/screws
1 cereal box
Tools:
Hacksaw
benchgrinder/file set
drill/drill bits
razor knife
1) using the cereal box cut you basic template shape
2) test fit it to the forks and headlight
3) transpose template to C channel
4) Cut away undesired material with hacksaw
5) clean up the cuts with the grinder or files
6) bend your mounting tab out 90 degrees away from the C channel
7) clamp the bracket to the fork tube with a clamp and force the long end around the tube by hand until mounting tab comes all the way around
8) drill holes for securing screw and headlight mount
9) mount and RIDE!
C channel purchased from Lowes for like $8 total!

SDC11543.jpg

SDC11544.jpg


Template
SDC11545.jpg


After cut and bent
SDC11547.jpg

SDC11548.jpg


Drilled and on
SDC11549.jpg

SDC11551.jpg

SDC11552.jpg


DONE! they will require a little more cleaning up and some finish work, but you get it!
SDC11558.jpg

SDC11560.jpg


I will be replacing the screw with a button socket head bolt on my build, it looks better than the screw.
Cheap and fairly easy!
I hope it helps some of you out there!
BUILT NOT BOUGHT!
[/quote]
 
Last edited:
PVC pipe would be good, if the clip-ons didn't interfere, and you could use PVC glue to attach some PVC plate, which you could carve into some cool custom headlight ears or turn signal mounts, then paint.
 
Thanks for the ideas guys - Hoosier-D that is a lot cleaner than what I got going on... Was tinkering for a bit today here's where it's at... but after seeing your suggestion I may seek those materials out and give it a shot if this doesn't hold.

IMG_2031.jpg

IMG_2034.jpg


Hammered out the tank a bit... thinking of doing wells by where the clip ons come near the tank - top left of the picture.
IMG_2033.jpg


little blurry
IMG_2032.jpg
 
So as you can see I need help with the wire harness.

What do the two big white connectors at the top left of the ebay pic connect to? ...

http://www.ebay.com.au/itm/77-78-79-SUZUKI-GS-550-WIRING-HARNESS-COILS-REGULATOR-/260808734672

I've sorted out the RR and ignition - but the rest of the wires coming from the handle bars have me scratching my head as to where they are supposed to connect... and I do not see any matching connectors for the two big white ones next to the battery box in the picture in the link above...
What originally connected to that as I don't see similar ends from any of the wiring in the front of the bike.

I do have a manual / wire diagram and have checked out the links in basscliff's site including the simplified diagrams - but it hasn't helped much with the physical lay out of the harness... pics as to how things are located would help immensely I can't seem to locate where they're supposed to live on the frame...

The left handle switch has a bunch of bullet style crimps on it done by the PO - what should they attach to? I also don't see the corresponding plugs for the guages and am starting to think I should look for another harness.

Any help or advice would be appreciated - I bought spade connectors and some wire - not against rewiring new dedicated runs if need be and crimp or soldering ends.
 
Last edited:
Have pods and a 4-1 still need to get a slip on / muffler...
 
Last edited:
I checked the harness on my '80 750 project. (I know, apples to oranges) I have it labled "hand controls". It is to be located under the fuel tank, to the right of the center backbone of the frame... HTH
 
Thank you that really helps a lot. I figured it was most likely the gauges / hand controls... mine has two blocks like that... and currently I have it backwards - as that piece is currently dangling down by my rear tire...

Given that the PO put bullet ends on thet left control end I'll have to either cut off that block and put a bunch of bullet ends to match what the PO did - or find the complimentary block connector for the other end and cut off all the bullet connectors the PO did. Is this a common block connector that could be found at autozone and the like?
 
So I still have to find time to finish the electrical... and last night I started a mock up out of cardboard for the electric tray which will go under the seat. I also got around to pulling off the points cover - only to discover the bike was powered by Beehive technology!

luckily I do have the points laying around in a parts box but it seems I'm missing the cam lobe that triggers the points - any one know where to get that? If not I may be looking at going Dynatek S but that's $130 I don't have right now....
(I now have the points cam) will be using points till I can afford upgrade to dyna-s
Beetech.jpg


Here's a few mock up shots with the airtech seat... gotta make a seat pan too..

Mockupsideview.jpg


Mockup.jpg


I was able to turn the engine - by hand and the valves move... but the kick start doesn't turn it... just clicks... so I'm going to have to split open the case to see what's going on with that... any ideas? it just makes a clicking sound on the way back up after I push it...
 
Last edited:
Another thing I noticed while mocking it up - the rear seems to sit really low... I may drop the forks in the triple - but if I wanted to raise the rear more - what shocks would you recommend to do so?
 
Made some progress deciphering the wiring harness - but still have quite a ways to go over all -

For now the pain in the ass that is the wiring that has kept me busy - I'm not quite sure this harness is from a like year 550 - probably an 80's version as there are color combinations of wires that I can't seem to find on any wiring diagrams. The last remaining connections are the brake lights and brake switches, head light, gauge lights, turn signals - completing the ignition circuit. Welding the battery tray and fastening the seat... Then after all is running I'll consider tear down and cosmetics / paint & new rubber, 530 conversion....

Turns out my tank doesn't have the gas gauge - so the gauge cluster must also be from a newer model - is there any way to add a gas gauge?

I read about wiring the RR with all three phases and not using the loop through the headlight - which is how I've wired it - but am wondering if the yellow wire that I've found on a connector should be wired to the headlight.
 
Last edited:
Made some progress deciphering the wiring harness - but still have quite a ways to go over all - need to find a mid pipe and exhaust tip...

For now the pain in the ass that is the wiring that has kept me busy - I'm not quite sure this harness is from a like year 550 - probably an 80's version as there are color combinations of wires that I can't seem to find on any wiring diagrams. The last remaining connections are the brake lights and brake switches, head light, gauge lights, turn signals - completing the ignition circuit. Welding the battery tray and fastening the seat... Then after all is running I'll consider tear down and cosmetics / paint & new rubber, 530 conversion....

Turns out my tank doesn't have the gas gauge - so the gauge cluster must also be from a newer model - is there any way to add a gas gauge?

I read about wiring the RR with all three phases and not using the loop through the headlight - which is how I've wired it - but am wondering if the yellow wire that I've found on a connector should be wired to the headlight.


i think the yellow wire is the low beam,
 
The three yellow wires on a new integrated R/R should be connected to the three stator wires (which are White/Blue, White/Green and Yellow).

The red R/R wire should be connected to the red wire on the bike harness.

The black R/R wire should go to the ground (preferably directly to the negative battery terminal).

With a new integrated regulator/rectifier, you won't need the bike's old regulator (it is that small pressed steel item bolted to the back of the battery box, with a yellow wire that connected to the double female bullet connector from the stator's yellow wire), so you can remove it.

You can leave the bike's White/Red and White/Green wires unconnected (tape them off). They connect to each other at the headlight switch.

I did all this on my '78 550, and all functions well.

By the way, the kick starter won't work unless the clutch is engaged.
 
Last edited:
Thanks - I've gotten a newer RR and have it wired as you described. The wire I'm having problem with is up by the front of the harness It's yellow / Red, there's also a green and red that seems to go to powering oil light, neutral light, brake switches according to the colored 550 schematic - I'll try to post some pics tonight. There's one in this thread http://www.thegsresources.com/_forum/showthread.php?t=185636

I've also picked up a relay to do the coil relay mod and some wire - the harness seems short in places and I've connected and shrink wrapped most of the connections but I may have to do it again as I'm not sure if I've routed the harness correctly - it looks very sloppy and doesn't leave much room for the tank - pics to follow.
 
Neither the Green/Red or the Yellow/Red go anywhere. On the wiring diagram, they seem to be extra wiring for an accessory or something. I have a dissected 550 harness at home I can use to double check for you tonight, if you wish (and if I can remember).

The headlight low beam is white. The high beam (and its indicator light) is yellow. The oil pressure light is powered by the Orange circuit and the Green/Yellow wire from the switch on the crankcase.

There's an accurate wiring diagram in the manual posted on BassCliff's site (pages 164 and 165 of the manual).
 
How did you do the cutouts on your tank? I'm about to pick up working on my 79 GS750 again and would really like to do some. Really nice work so far. Keep it up!
 
How did you do the cutouts on your tank? I'm about to pick up working on my 79 GS750 again and would really like to do some. Really nice work so far. Keep it up!

No cuts since I don't yet own welding equipment - I hammered it out - Just drew the pattern out with a Sharpie on cardboard as a template - eyeballed it on each side till it looked even...traced it (kinda wish I hadn't used the sharpie - but whatever it's committed me to a paint job later on down the road).

I could have been more anal about it but was already three beers in when I got going with it - so after that first hammer swing there was no turning back and I let her rip... I just used a mallet and a hammer though I wish I had a ball peen hammer would have made it a lot nicer to define the edges. It takes a second to get the right swing / pressure down but once you do just work it out nice and easy (I used a kind of double tap rhythm - second hit being the harder one worked for me). I started from the center - take care as you get to the edges. Oh and if you do this, be sure to brace the inside where the spine of the bike would be with some wood or something of the same width as the mounts - otherwise it could fold in on itself and then is hard to get back onto the bike...I also took the opportunity to hammer over the welded creases along the bottom - still gotta check for leaks... Not there yet so I can't quite rejoice just yet - but thanks for the compliment got a long way to go. Good luck with yours and search YouTube for some vids of people doing it.
 
Last edited:
Back
Top