7
7981GS
Guest
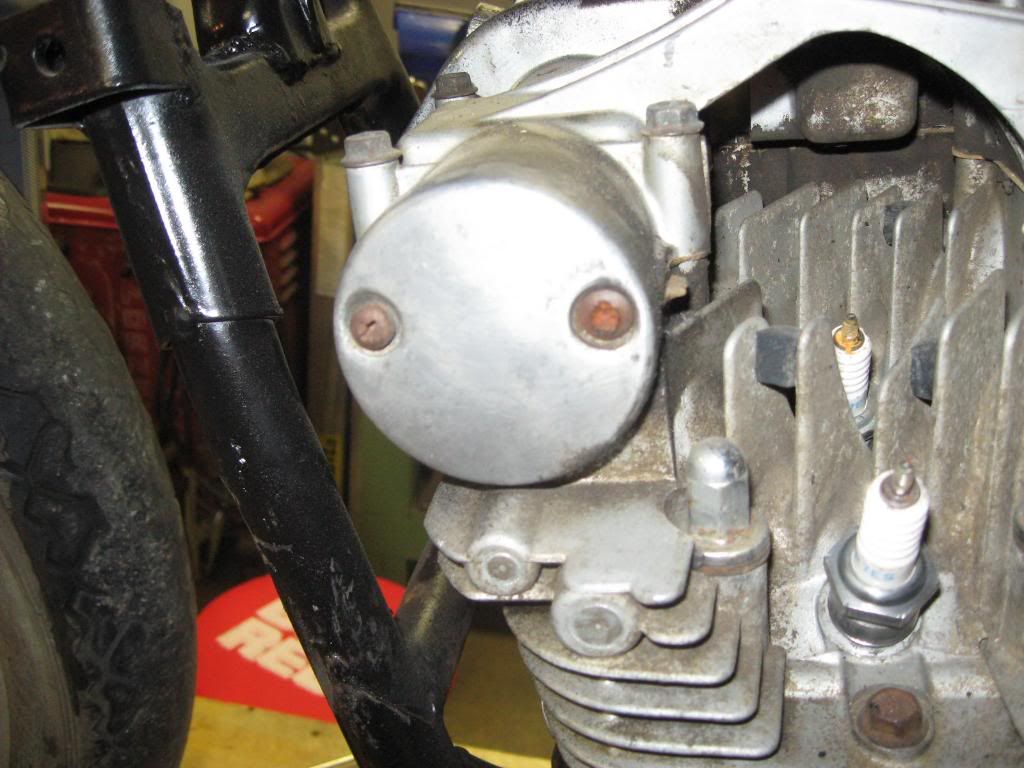
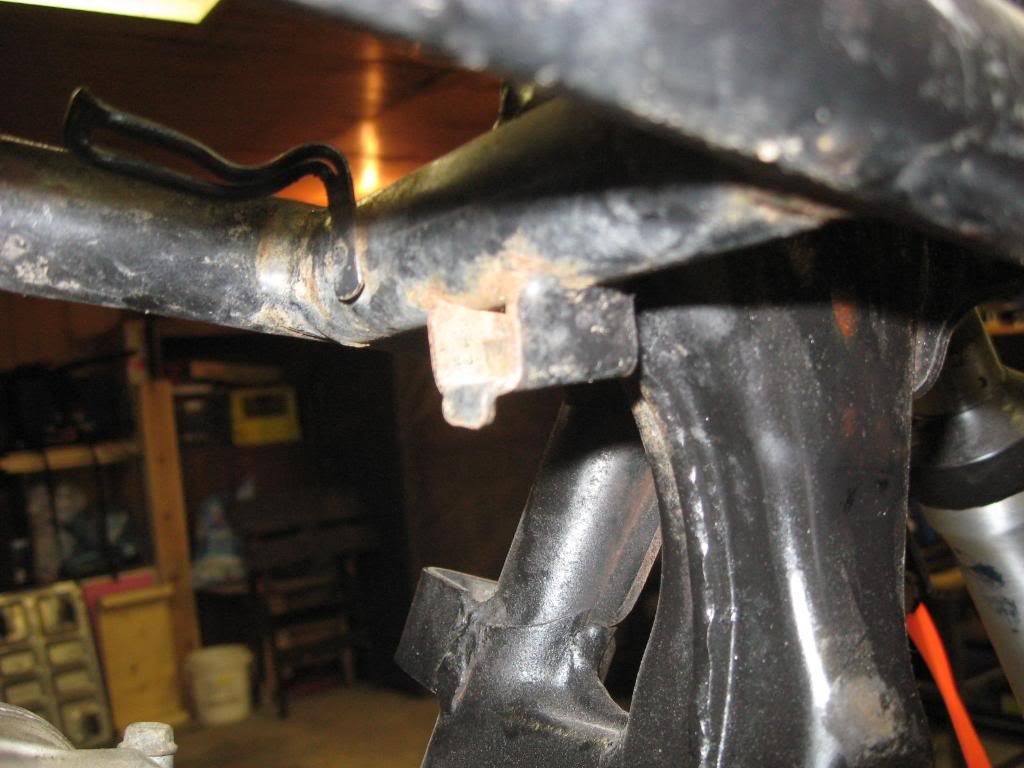
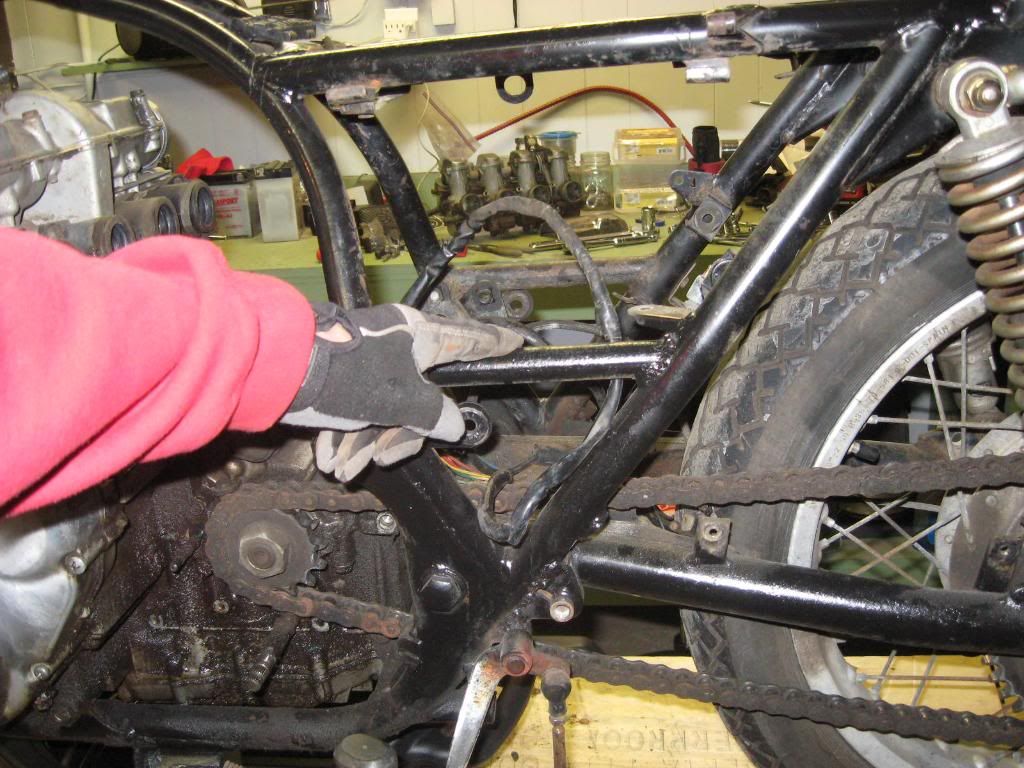
Way too much effort! The absolute easiest way to remove and install engines in these bikes, I have done a dozen or so,
is to place a jack with a board under the oil pan between the frame and a board just over the height of the frame outside
and walk the engine over by rocking it side to side.


Dropping the engine on the floor and lifting the frame is for the birds.

BTDT.
Daniel
is to place a jack with a board under the oil pan between the frame and a board just over the height of the frame outside
and walk the engine over by rocking it side to side.
Dropping the engine on the floor and lifting the frame is for the birds.
BTDT.
Daniel

")