G
Guest
Guest
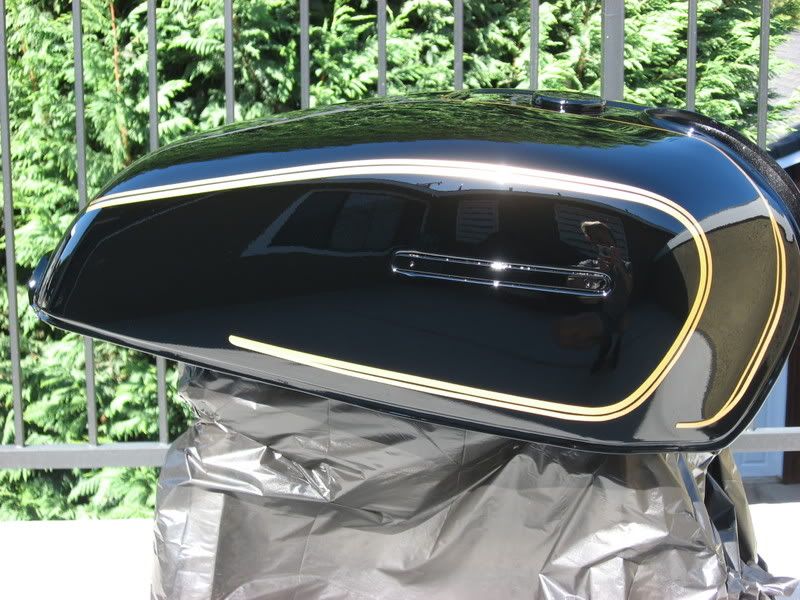
Paint job is an epic fail. Not sure what happen, Paint went down fine, wet sanded with 1,000 grit finish, cleaned and laid down clear coat. Its rough as hell and no gloss to it. WTF happened...
Required reading for all forum users!!!
Welcome!
Register to access the full functionality of the GSResources forum. Until you register and activate your account you will not have full forum access, nor will you be able to post or reply to messages.
A note to new registrants...
All new forum registrations must be activated via email before you have full access to the forum.
A Special Note about Email accounts!
DO NOT SIGN UP USING hotmail, outlook, gmx, sbcglobal, att, bellsouth or email.com. They delete our forum signup emails.
A note to old forum members...
I receive numerous requests from people who can no longer log in because their accounts were deleted. As mentioned in the forum FAQ, user accounts are deleted if you haven't logged in for the past 6 months. If you can't log in, then create a new forum account. If you don't get an error message, then check your email account for an activation message. If you get a message stating that the email address is already in use, then your account still exists so follow the instructions in the forum FAQ for resetting your password.
Have you forgotten your password or have a new email address? Then read the forum FAQ for details on how to reset it.
Any email requests for "can't log in anymore" problems or "lost my password" problems will be deleted. Read the forum FAQ and follow the instructions there - that's what we have one for...
If you are a returning visitor who never received your confirmation email, then odds are your email provider is blockinig emails from our server. The only thing that can be done to get around this is you will have to try creating another forum account using an email address from another domain.
If you are a returning visitor to the forum and can't log in using your old forum name and password but used to be able to then chances are your account is deleted. Purges of the databases are done regularly. You will have to create a new forum account and you should be all set.
Insufficient air pressure.
Wrong temp reducer or hardener for the conditions you were spraying in. --
Not enough reducer or too much hardener.
Incorrect gun set up.
Insufficient air pressure.
Gun held too far from the surface being sprayed.
Hardener too old.
Krappy gun.
Lot's of things...
1000 grit paper is too fine of a grit paper to be using under clear coat.
FYI, paint, reducer, clear coat and hardener were all matched Dupont's Nason materials. One thing, the hardener wasn't recommended for the paint because of the plastic parts.

When I first was experimenting with spraying using HVLP equipement I missunderstood the concept of gun pressure versus tank outlet pressure. I thought that the pressure provided to the gun was at the lower end of the scale i.e. 10 to 15 psi. The result was exactly as you describe. I was also not aware that pressure from the tank drops off dramatically as it travels the hose (even a short one) to the gun. Crank up the outlet tank pressure to 60+ psi (especially on small home compressors) and regulate the painting pressure at the gun. If the gun is not equiped with a regulator it likely will not matter much as the pressure will have likely dropped to the working range anyway.
Sand her down and try again. You'll get it.
Good luck,
spyug
Something not right here. You say the materials were matched, but then you say they were not. What's the story?
I've never used any flex additives when painting ABS plastic parts such as sidecovers or tail cowls since it's not needed. Flex additive is for soft plastic parts like bumper covers on cars and such.
If all the materials were correct, and the paint is supposed to be glossy, then most likely you laid it down too dry. It takes some time to get the hang of a new spray gun, particularly if you are spraying an unfamiliar material. No worry though, just scuff with gray scothbrite and shoot again. Needless to say, play with the settings and make sure you are applying the appropriate amount of material. More is better than less in my experience. Hose it on.
Usually you can add up an additional to 5% reducer to help it flow a little bit better without any ill effects,-- Ratios were spot on per tech sheet and a professional's recommendation.
Did you do a spray out on a separate panel before hand?-- Gun set up was checked and adjusted before each application.
Every gun will be different.-- Air pressure set to tech specs.
Clears shot with some guns need to be sprayed in as close as 3~4 inches.-- Gun was held from surface between 6-8 inches.
Wasn't concerned about it as I recalled you mentioned it once before (??)Other folks here have used the same gun with excellent results. And yes the gun was taken apart and thoroughly cleaned before using.
And that can cause issues with paint adhesion.1000 grit was recommended by the same painter. Paint was smooth as a baby's butt.
As you should.I took great care getting things set up right being this was my first attempt at a paint job.
Depending on the clear you 'may' have to crank it up even more.I would recommend as a good starting point, 55 psi with the trigger pulled, 2 turns open on the fluid adjustment (rear) and 1-1/2 turns on the fan adjustment (side). that should give you a fairly good 9 to 9-1/2 inch pattern with evenly distributed metallics.
Remove it and use a proper paint strainer.I do know one thing, the little inline filter in the gun didn't like the clear coat at all. Would plug up.
Hose it on.

")
Did you do a spray out on a separate panel before hand?
.
The materials were matched, just no hardener for the base coat. There was a hardener for the clear coat. I never said anything about using a flex additive. The painter said not to use a hardener for the paint. The hardener for the clear coat was enough.
There is a pin stripe under the clear coat.
Base coats almost never use a hardener. And both base coat and clear coat is "paint".
Sounds like you sprayed the paint too dry. As Dale alludes, more reducer and a better spray pattern may help. Consider turning up the flow too.
Scuff to flatten the orange peel on the clear, but don't cut through to the base and/or hit your stripes. Should be easy enough assuming you put down a reasonable amount of material.
IT ALL DEPENDS ON THE GUN!3-4 inches on the clear coat hmmmm.
http://www.hotrodders.com/articles/spraygun.html
Read what the man (Brian) has to say about tuning a gun...
There is NO NEED to start over. Gently scuff with scotchbrite, keeping off edges so you don't cut through, and respray the clear. Hose on one light coat, followed by two medium-heavy coats. Worst case is you color sand the clear and polish, and/or respray one last time to lay down a nice smooth finished layer.