• Required reading for all forum users!!!

    Welcome!
    Register to access the full functionality of the GSResources forum. Until you register and activate your account you will not have full forum access, nor will you be able to post or reply to messages.

    A note to new registrants...
    All new forum registrations must be activated via email before you have full access to the forum.

    A Special Note about Email accounts!
    DO NOT SIGN UP USING hotmail, outlook, gmx, sbcglobal, att, bellsouth or email.com. They delete our forum signup emails.

    A note to old forum members...
    I receive numerous requests from people who can no longer log in because their accounts were deleted. As mentioned in the forum FAQ, user accounts are deleted if you haven't logged in for the past 6 months. If you can't log in, then create a new forum account. If you don't get an error message, then check your email account for an activation message. If you get a message stating that the email address is already in use, then your account still exists so follow the instructions in the forum FAQ for resetting your password.

    Have you forgotten your password or have a new email address? Then read the forum FAQ for details on how to reset it.

    Any email requests for "can't log in anymore" problems or "lost my password" problems will be deleted. Read the forum FAQ and follow the instructions there - that's what we have one for...

  • Returning Visitors

    If you are a returning visitor who never received your confirmation email, then odds are your email provider is blockinig emails from our server. The only thing that can be done to get around this is you will have to try creating another forum account using an email address from another domain.

    If you are a returning visitor to the forum and can't log in using your old forum name and password but used to be able to then chances are your account is deleted. Purges of the databases are done regularly. You will have to create a new forum account and you should be all set.

Air box alignment

  • Thread starter Thread starter Frank
  • Start date Start date
F

Frank

Guest
Hi first time bike owner and forum user. Got my 81 GS750 home this weekend found air filter can not connected to air box. Further inspection found air box about an inch or more away from frame with piece wood dowel between frame and air box supporting it, wtf. Some kind of mod, I am trying to determine if this is because last guy could not get it to fit and did this or maybe replaced air box with smaller one and it just does not fit right, it looks right. How wide is stock air box, about, on this bike.
 
Hi first time bike owner and forum user. Got my 81 GS750 home this weekend found air filter can not connected to air box. Further inspection found air box about an inch or more away from frame with piece wood dowel between frame and air box supporting it, wtf. Some kind of mod, I am trying to determine if this is because last guy could not get it to fit and did this or maybe replaced air box with smaller one and it just does not fit right, it looks right. How wide is stock air box, about, on this bike.

Frank,
The air box is a little wider than the carbs, it sounds like you need to go online and search for oem parts diagram and compare with what you have.
 
Hi Frank.
Let me be the first to welcome you to the forum.
Welcome to the forum.

I am thinking you are missing a few bolts!
These carbs can be a pain to instal.
I have a trick for it, but first lets see if you are missing a few parts.

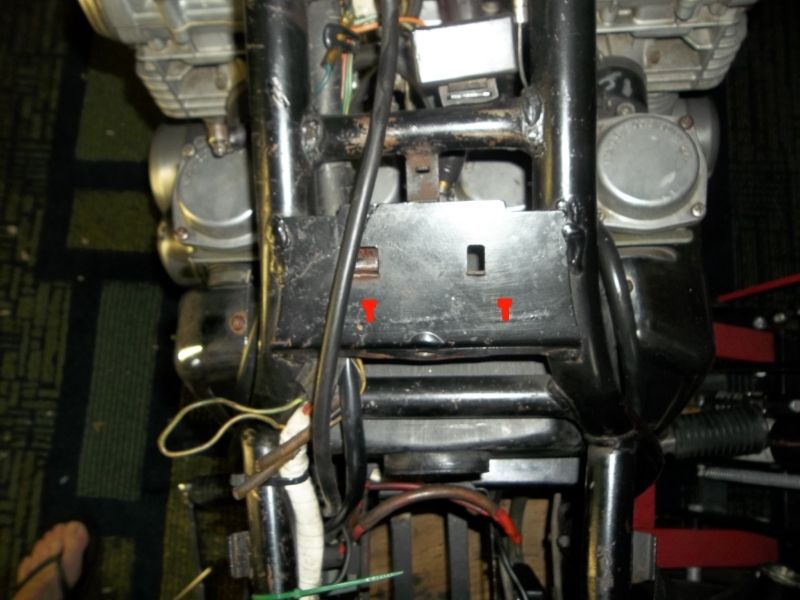
This first picture is from the top of the bike with the tank removed.
The bolts I am questioning will be under the large plate you see and are fitted through a small plate underneath it and into the airbox from there.
I marked the aprox placement in red.

1_zps97c762c9.jpg


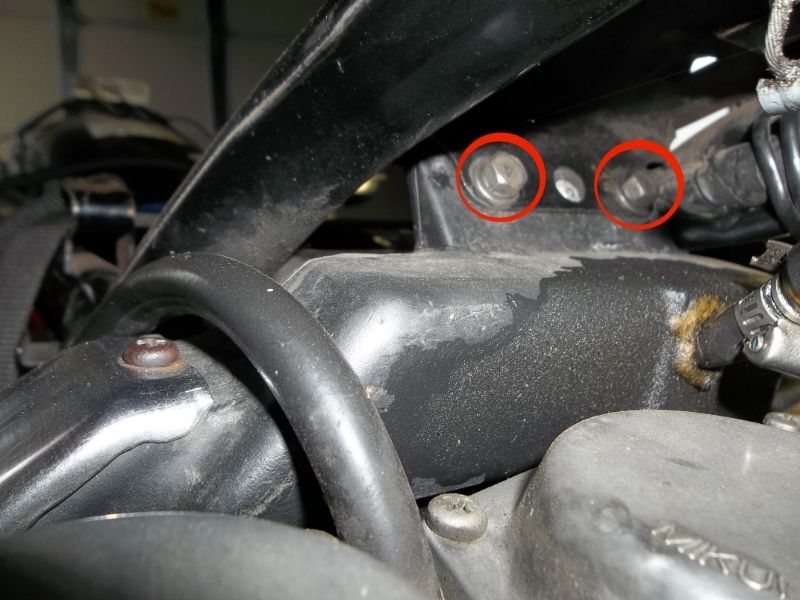
In the next picture I am standing on the left of the bike looking from the front over the carbs, you will see the two bolts in the back.

2_zps52b82d9f.jpg


A link to a parts fiche, this is for the E model but appears to be the same as the L.
You can see one of the bolts above the airbox.

It would be my guess that the previous owner while reinstalling the carbs could not get them to sit right, forgot about the bolts and used the piece of dowel to compensate for the height.

If you are lucky they are screwed into the airbox still but not in the frame.
Chances are that you are not so lucky.
There may be someone on this forum with a set, you could try posting a add in the parts wanted section.

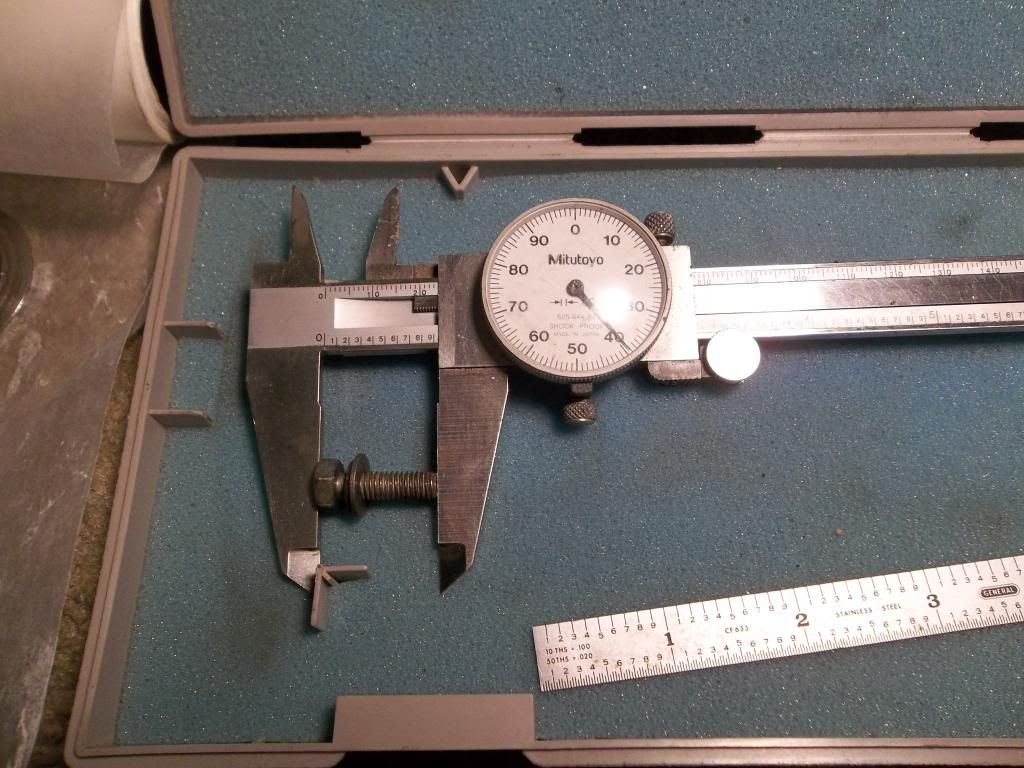
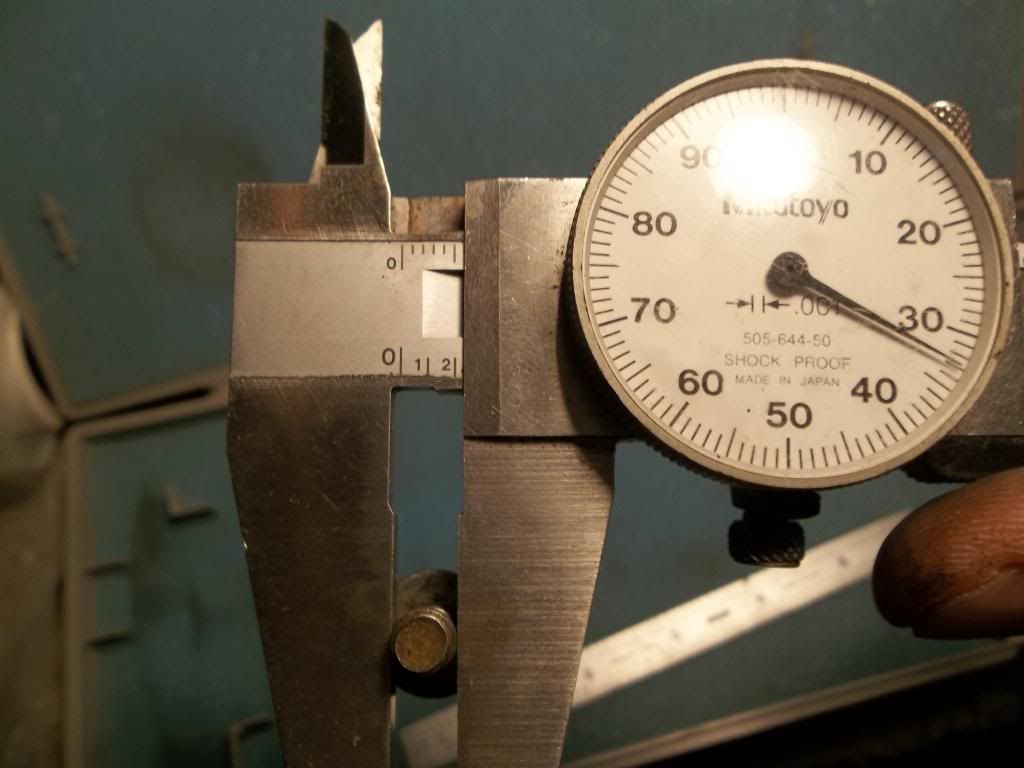
The next couple of pictures are in-case you cannot find them anywhere.
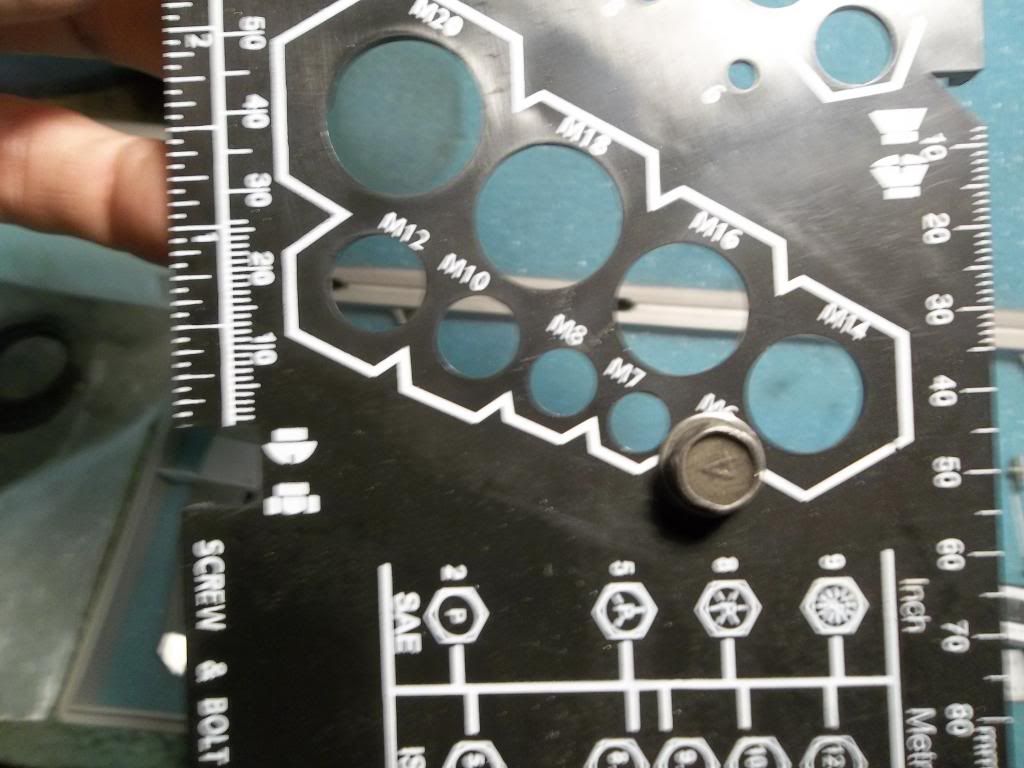
My micrometers are standard and not metric so take that into account if you have to find replacements elsewhere.

3_zps964a4beb.jpg

4_zpsd9bb06e6.jpg


5_zps0f67ee04.jpg
 
I forgot to mention what a pain in the ^$$ those two bolts can be to get in and out.
I used a long extension with a swivel on the socket end.

I wrote this in answer to another person having difficulties in getting his airbox aligned.

He already had the carbs off the bike.

You may need to start from scratch.

You may be able to get away with loosening the clamps on the head to carb boots and twisting them to positions where your airbox will align with your filter housing.

I am doubtful it will be that easy.

Chances are that the carb to airbox boots are not sitting on the carbs flush as they should be.

Take note as to the order of attachment.

What you need to do is attach the airbox to carb boots first.

After that you twist in the head to carb boots.

This is what I do to get the carbs/airbox/filter housing in the correct placement.
Remove the filter housing.
Loosen the airbox to frame bolts to where they will just hold in the airbox. (this will give you a bit of room to slide airbox around without the agrivation of trying to get the bolts back in when everything else is proper and tight)
Use a object to hold the carbs up level to bike for attaching the choke and throttle cables. (the right side works best and you want your carb stand high enough to hold the carbs up with cables attached so you can take a breather without having to hang the carbs off the cables)
Attach the choke and carb cables being sure the carbs will insert into airbox without twisting the cables.
Slide carbs into correct area while insuring the clutch cable is gently positioned into bracket on side of carbs for it. (the clutch cable will hang them up otherwise)
Slide carbs onto airbox boots and tighten clamps while making sure the boots are positioned correctly on carbs.
(I am sure many peoples airboxes are warped around the boot area and after attaching to carbs correctly you can use some heat to let the carbs pull it back into shape)


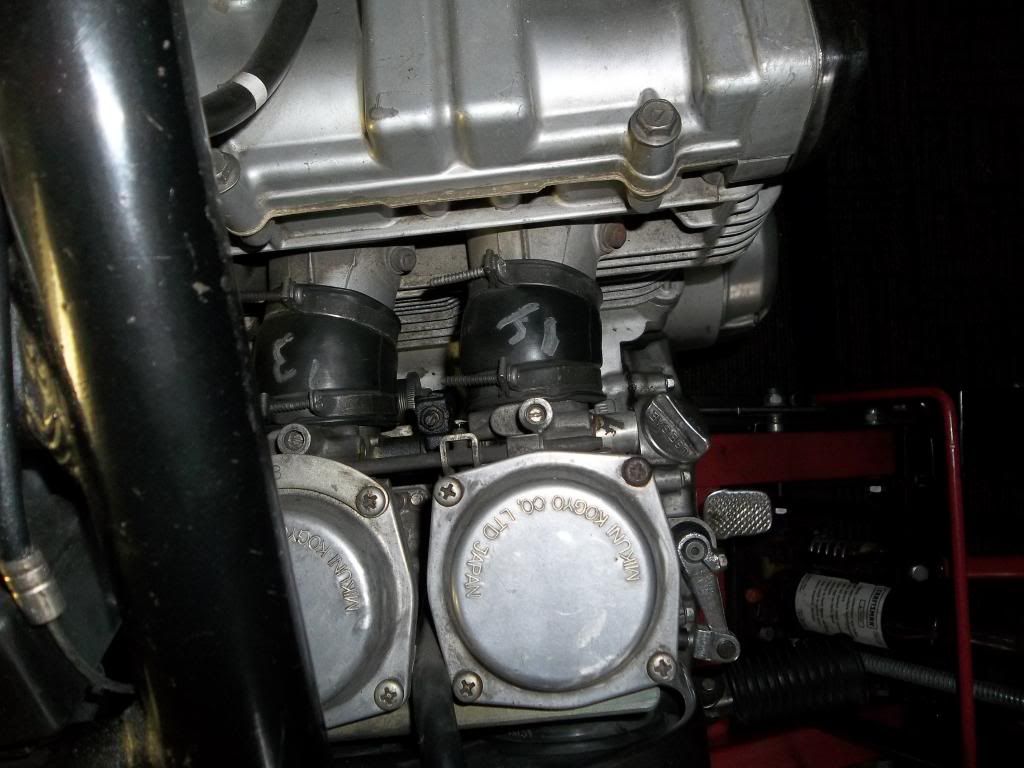
Boots at head.
Start with the two innermost boots and push smallest area of boot into largest gap between carbs and head and twist back and forth to seat them.
Temporarily reattach the filter housing to the airbox and position the two seated boots by twisting them to level out and correctly position the filter housing.
Remove the filter housing again.
Mark the top center on the two boots with a paint marker or a piece of tape.( They will be offset from each other,make sure the area is clean first and the paint drys well before next stage)
Put the two remaining boots on using the same method. (the marks on the other boots are in case you have to move them to get the two outside boots into position)
Make sure the boots are all seated correctly and not causing each other to bind at all.
Tighten clamps. (be sure to position screws on clamps to where they will not interact with the throttle or choke)
Tighten the airbox to frame bolts.

I clean and mark my head to carb boots before I remove them so less trouble the next time.

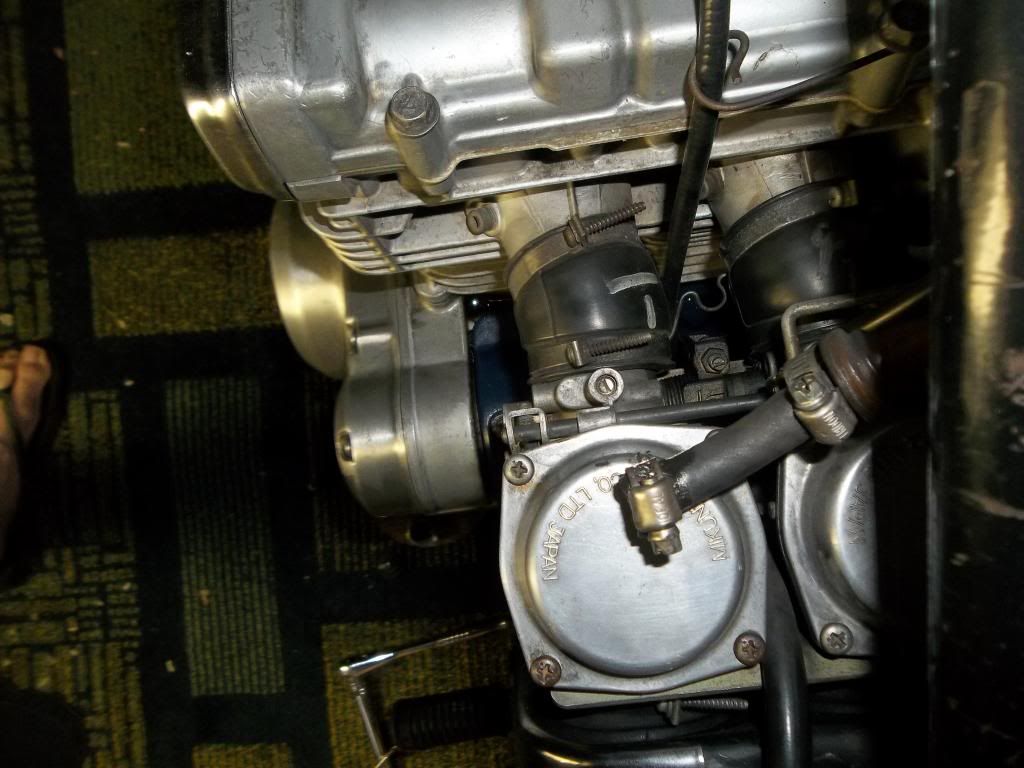
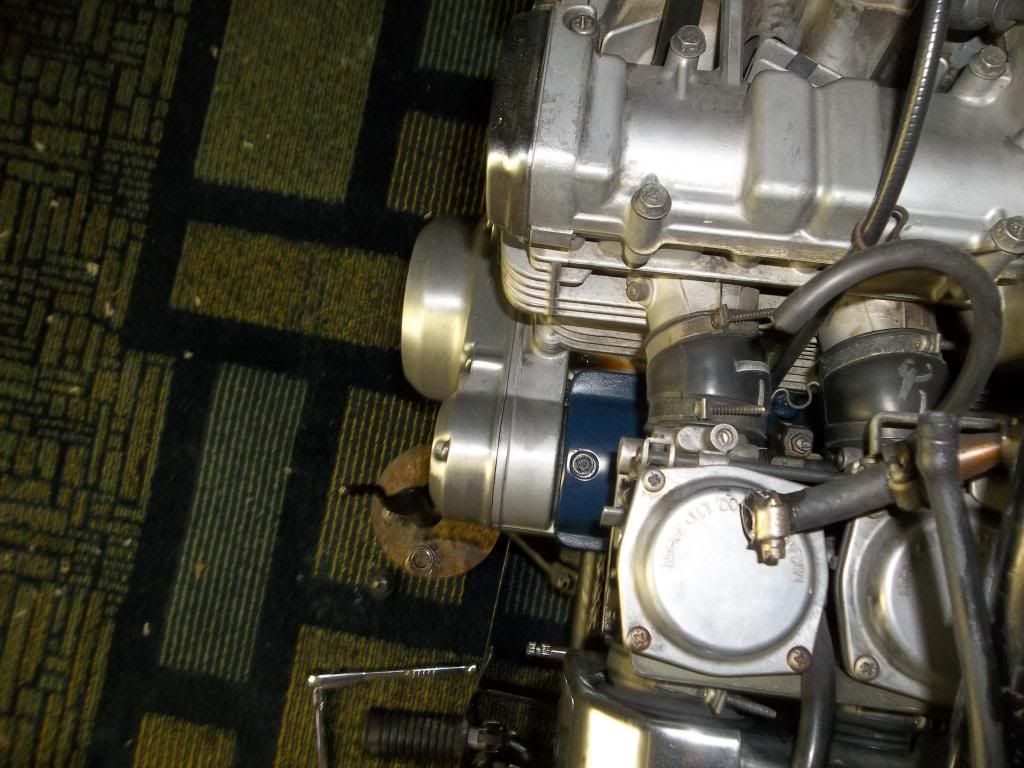
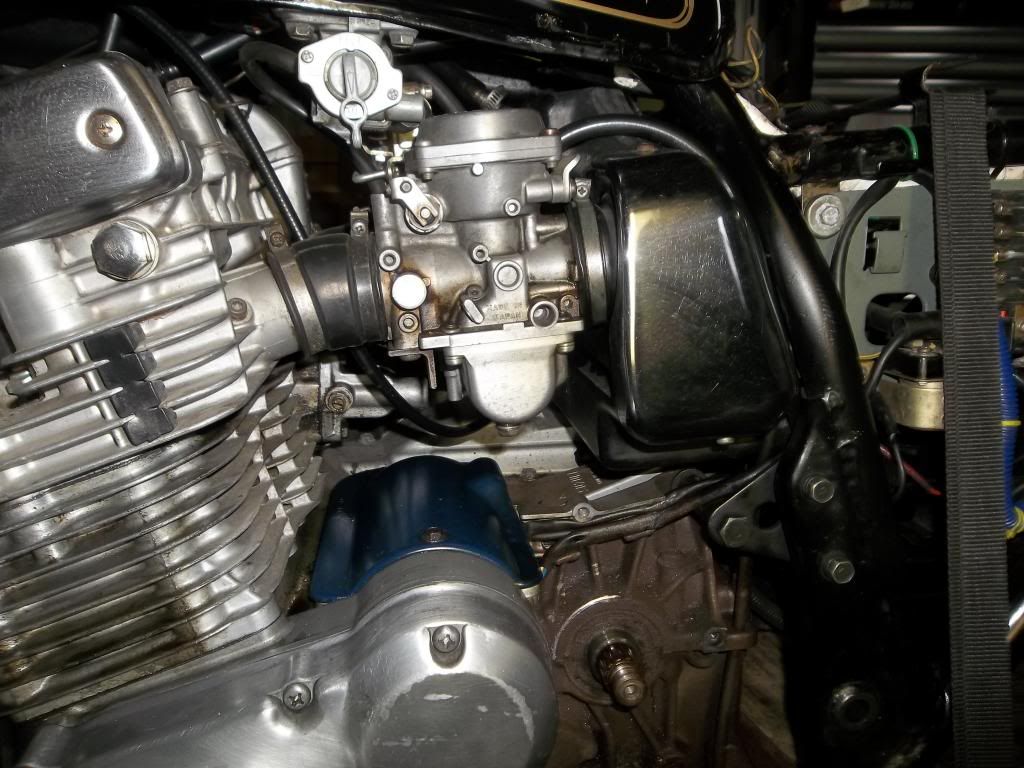
Tried to take a few picts as how my front boots are twisted to give you a idea of how they will look.

You will see that mine are marked with cylinder number and a line at the top to align them. (looks like my mark is off a bit on a couple)

If you get them on correct I would recommend doing this after in case they ever need to be taken off again.

100_0771_zps4eda9d13.jpg


100_0770_zpsb336c169.jpg


100_0769_zps98dbbc34.jpg


This last photo is with my bike on a lift.
I am pretty sure the rear tire is in a raised position (its off so I cannot confirm that)
You may need to print and compare angles with your head to observe the level you will want.

100_0768_zpsdd1c8398.jpg


Hope this helps.
 
Thanks for the quick response and the welcome. Raining real hard right now and I'm working outside, so as soon as it stops I will go through your suggestions. So glad I found this site, the service dept at the local Suzuki dealer called it junk crap and suggested I buy a new bike. I'll let you know how it goes.
 
Back
Top