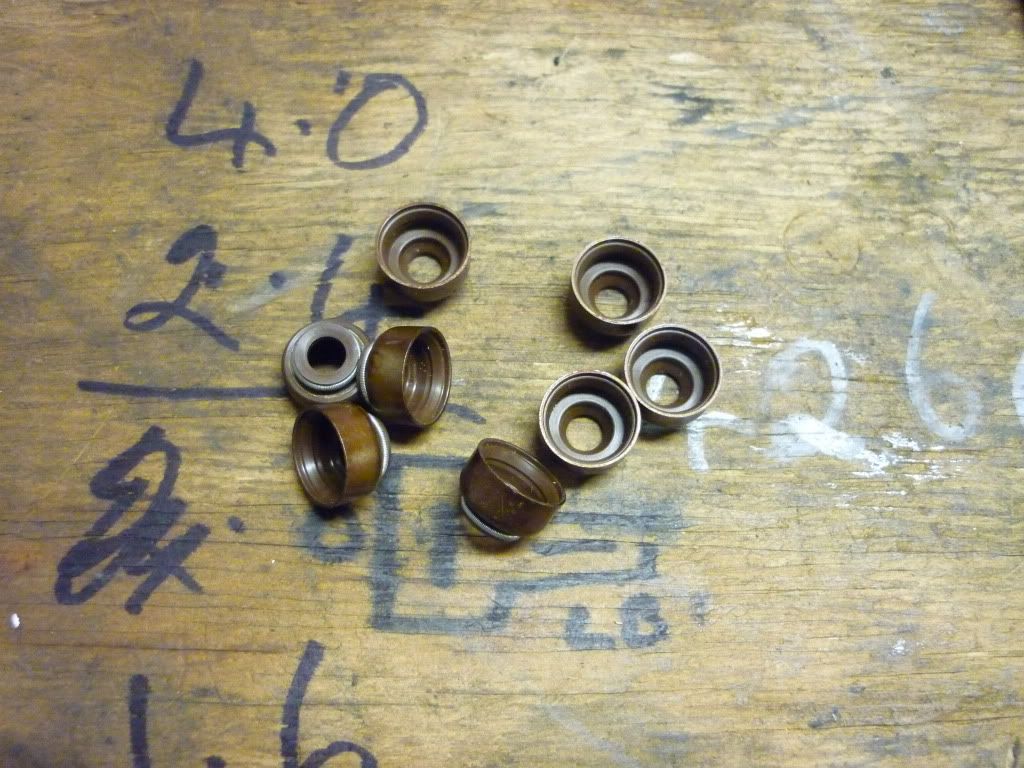
Don, be careful that you don't damage the valve shafts when you lock the chuck on them. You could use a brass shim to protect them, but still not ideal to get an accurate axis.
Might be safer to find a flat surface and lay the valves on it, rotating them with your finger. If they are bent, you will notice the heads wobble off line as they are turning. Also check the condition of the valve seat surfaces, both on the valve and their mating seats. I doubt that you'll find a bent valve, as I would expect a rough idle as a result of that condition.
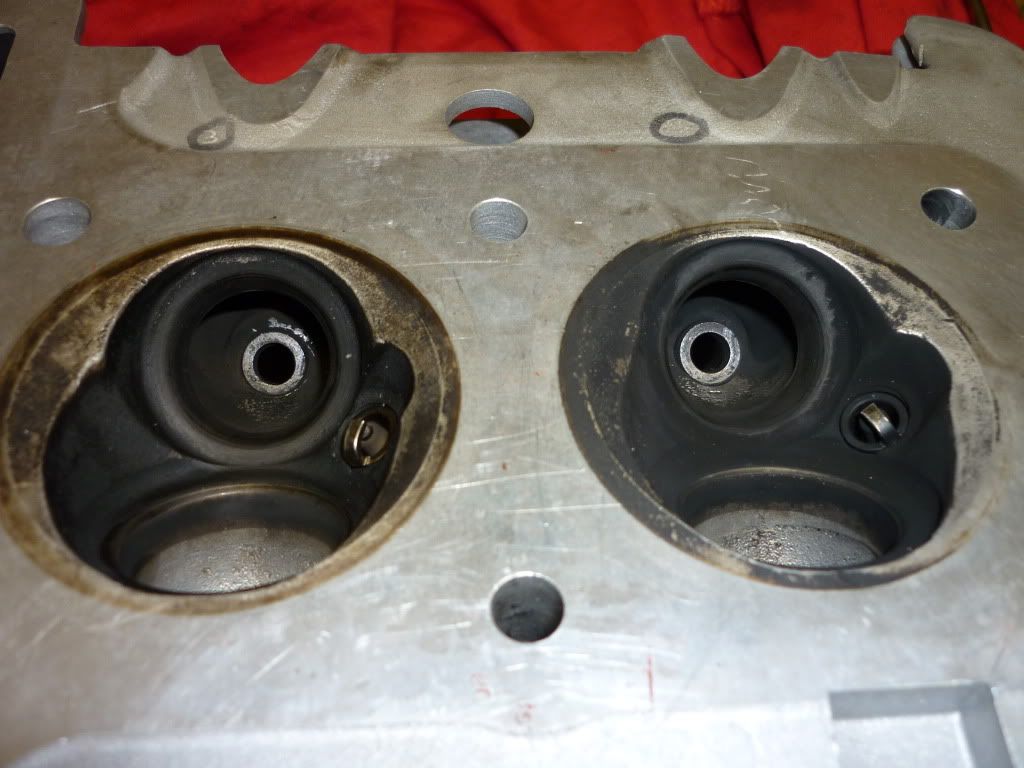
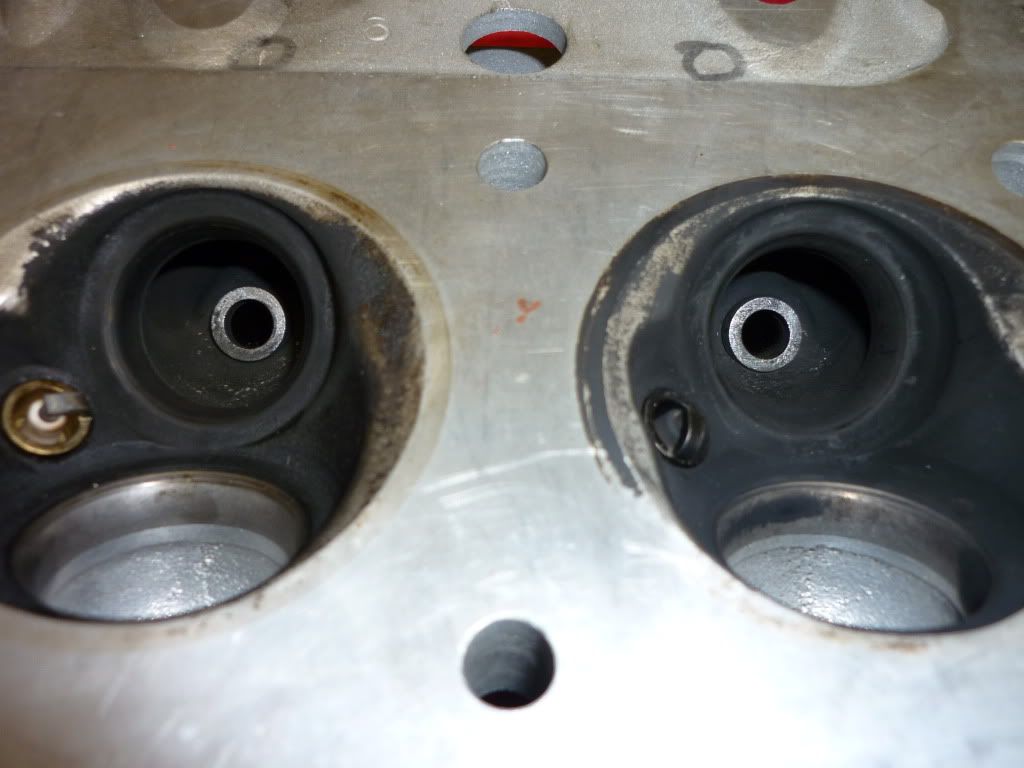
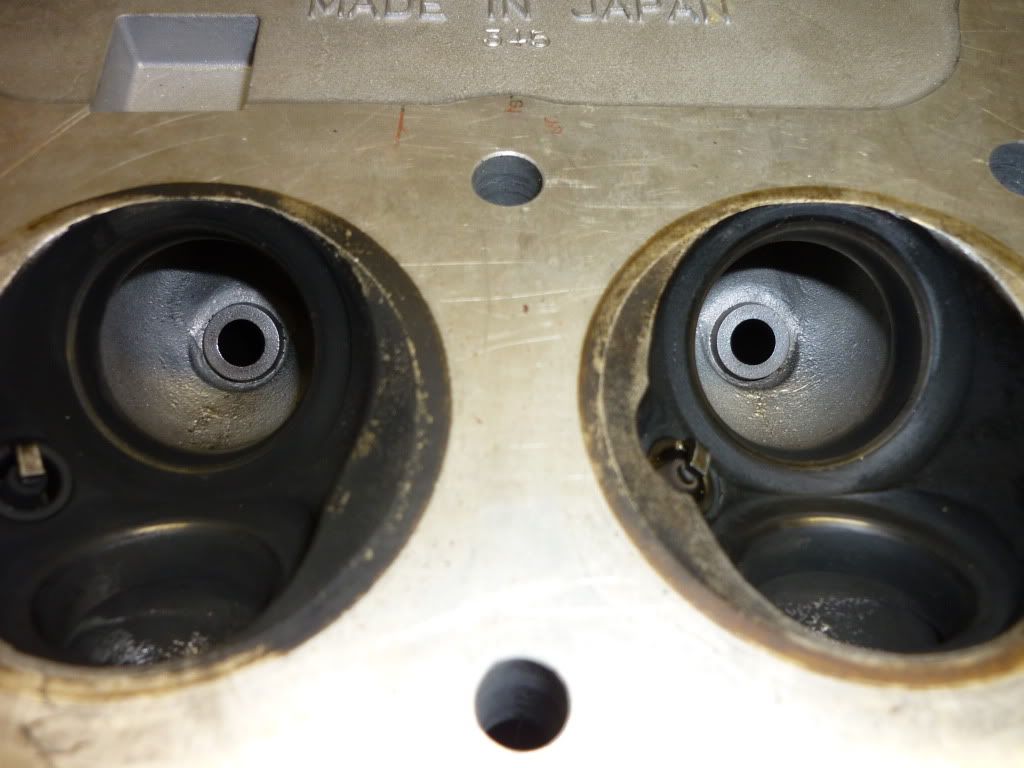
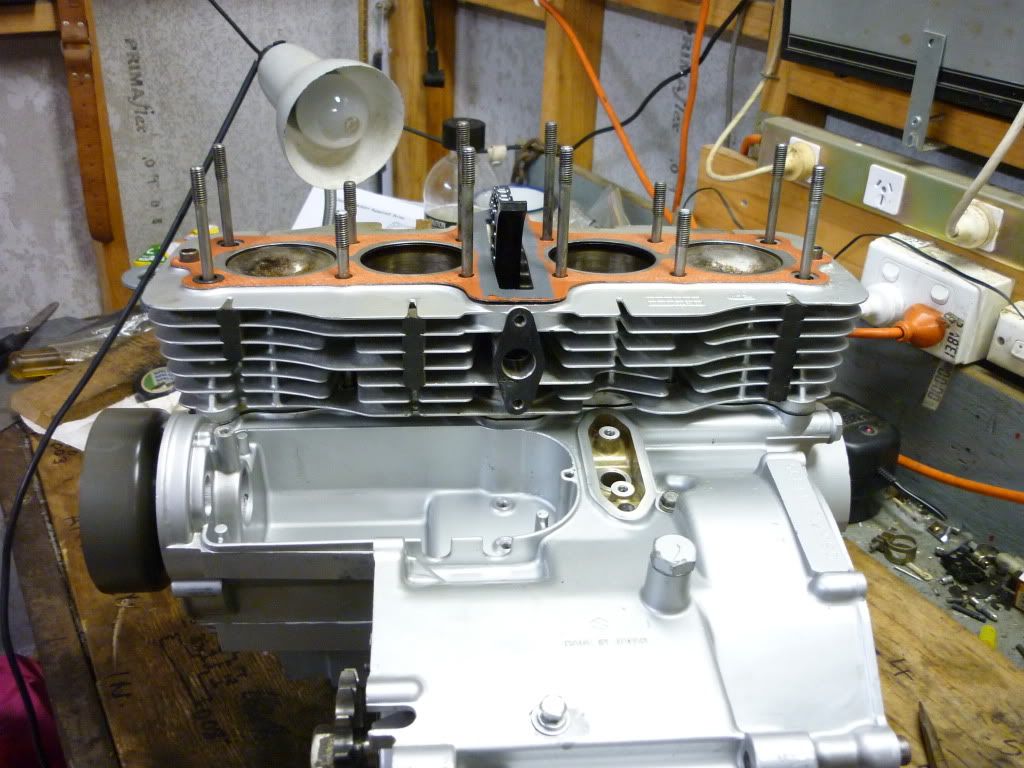
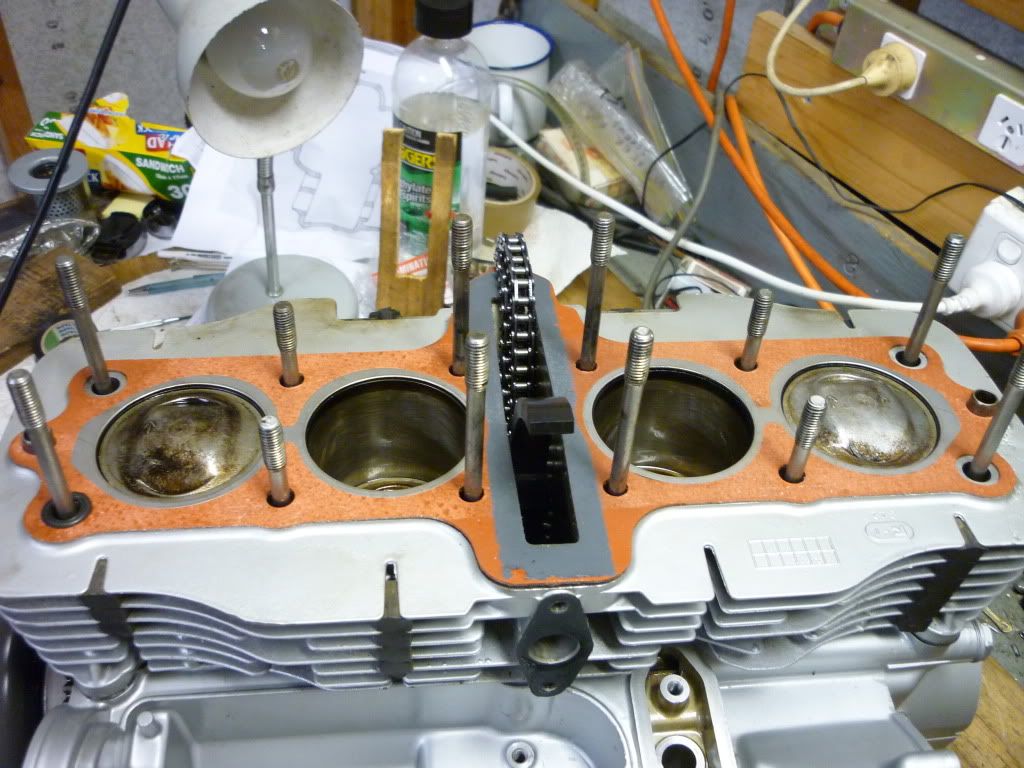
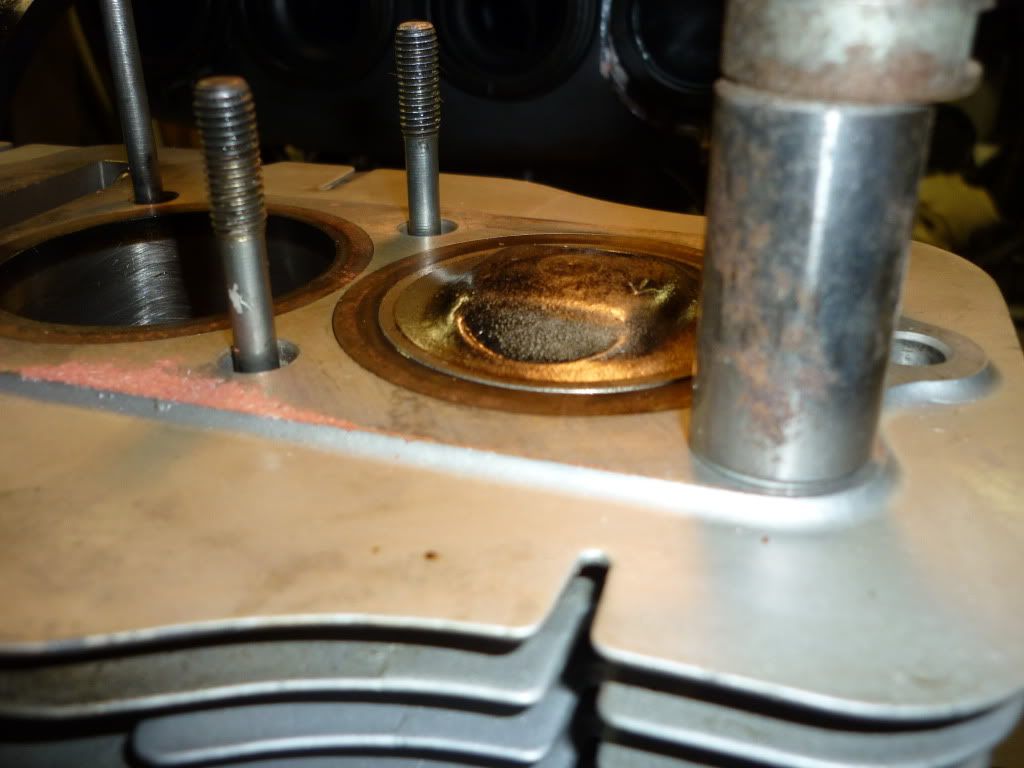
Your chambers and valves are pretty sooty, but probable due to prolonged idling while videoing!! In the second pic, #1 plug is really clean. Was this in the as run condition, or was it fitted after you last ran the engine?
Might be safer to find a flat surface and lay the valves on it, rotating them with your finger. If they are bent, you will notice the heads wobble off line as they are turning. Also check the condition of the valve seat surfaces, both on the valve and their mating seats. I doubt that you'll find a bent valve, as I would expect a rough idle as a result of that condition.
Your chambers and valves are pretty sooty, but probable due to prolonged idling while videoing!! In the second pic, #1 plug is really clean. Was this in the as run condition, or was it fitted after you last ran the engine?

")