T
turkeyroll60
Guest
The carbs are as disassembled as they are gonna get. The long metal thing in the pic is definitely not the jet needle. I just read about boiling carbs in lemon juice. Anyone here ever do that?
Required reading for all forum users!!!
Welcome!
Register to access the full functionality of the GSResources forum. Until you register and activate your account you will not have full forum access, nor will you be able to post or reply to messages.
A note to new registrants...
All new forum registrations must be activated via email before you have full access to the forum.
A Special Note about Email accounts!
DO NOT SIGN UP USING hotmail, outlook, gmx, sbcglobal, att, bellsouth or email.com. They delete our forum signup emails.
A note to old forum members...
I receive numerous requests from people who can no longer log in because their accounts were deleted. As mentioned in the forum FAQ, user accounts are deleted if you haven't logged in for the past 6 months. If you can't log in, then create a new forum account. If you don't get an error message, then check your email account for an activation message. If you get a message stating that the email address is already in use, then your account still exists so follow the instructions in the forum FAQ for resetting your password.
Have you forgotten your password or have a new email address? Then read the forum FAQ for details on how to reset it.
Any email requests for "can't log in anymore" problems or "lost my password" problems will be deleted. Read the forum FAQ and follow the instructions there - that's what we have one for...
If you are a returning visitor who never received your confirmation email, then odds are your email provider is blockinig emails from our server. The only thing that can be done to get around this is you will have to try creating another forum account using an email address from another domain.
If you are a returning visitor to the forum and can't log in using your old forum name and password but used to be able to then chances are your account is deleted. Purges of the databases are done regularly. You will have to create a new forum account and you should be all set.
The carbs are as disassembled as they are gonna get. The long metal thing in the pic is definitely not the jet needle.
What do you mean "carb jet needle"? I have removed the jet needle that is part of the diaphragm assembly if that is what you are referring to. The needle jet was also removed from the carburetor body as well. The part in the pic is not listed in my clymers manual so either I'm stupid or you are using some sort of slang to make me feel stupid. It had no o rings and appeared to me to really need more force to remove it than would safely allow for a safe disassembley of the carb. I respect yours and everyone else's knowledge and that's why I come here but respect is a two way street.
What do you mean "carb jet needle"? I have removed the jet needle that is part of the diaphragm assembly if that is what you are referring to. The needle jet was also removed from the carburetor body as well. The part in the pic is not listed in my clymers manual so either I'm stupid or you are using some sort of slang to make me feel stupid. It had no o rings and appeared to me to really need more force to remove it than would safely allow for a safe disassembley of the carb. I respect yours and everyone else's knowledge and that's why I come here but respect is a two way street.
") ) but be mindful to spray away from your face and wear some eye protection. Some of those ports will come right back around toward your face and carb spray in the eye is indescribably painful.
) but be mindful to spray away from your face and wear some eye protection. Some of those ports will come right back around toward your face and carb spray in the eye is indescribably painful.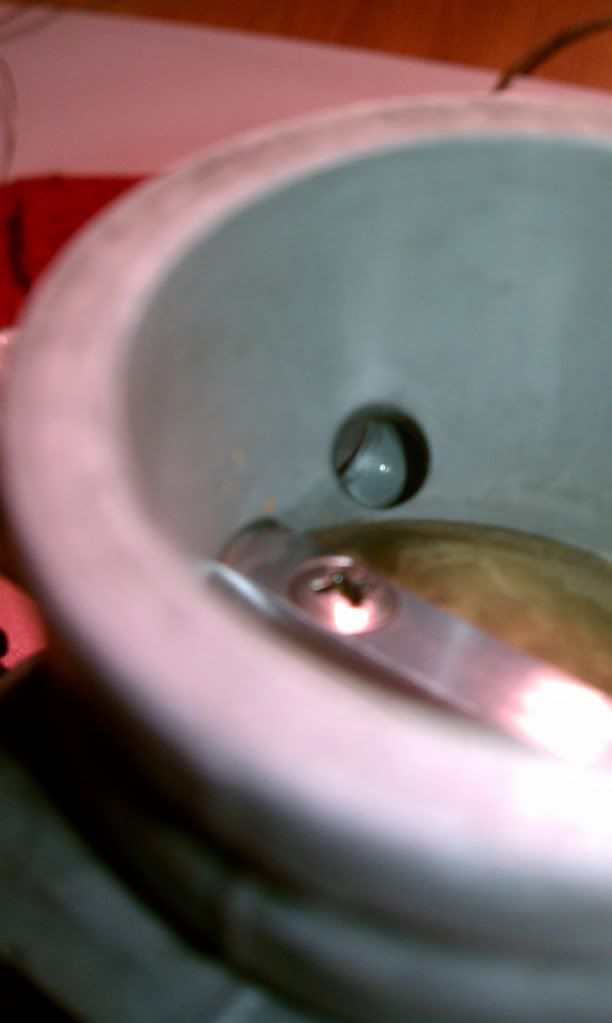
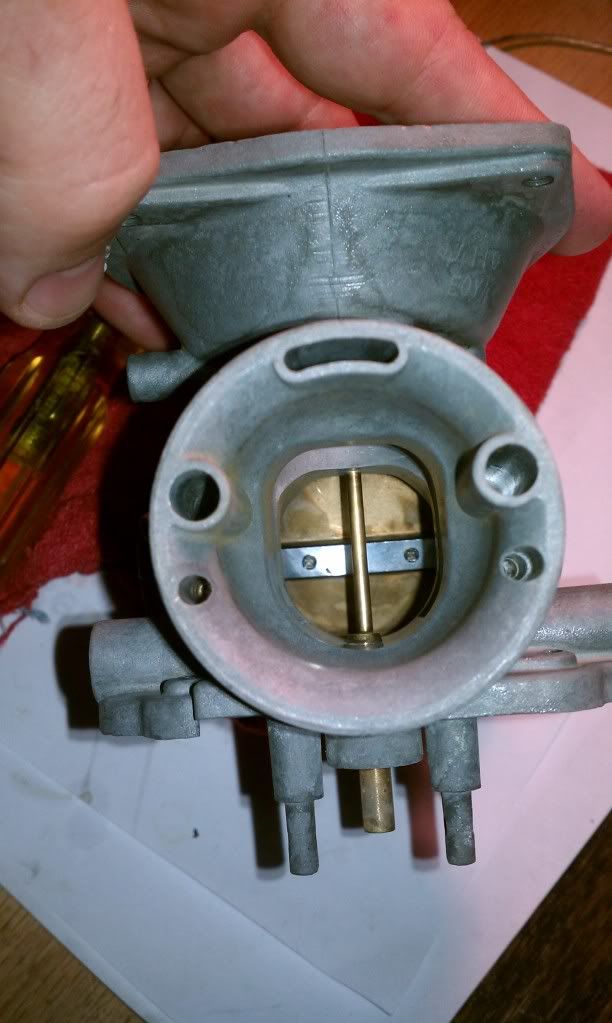
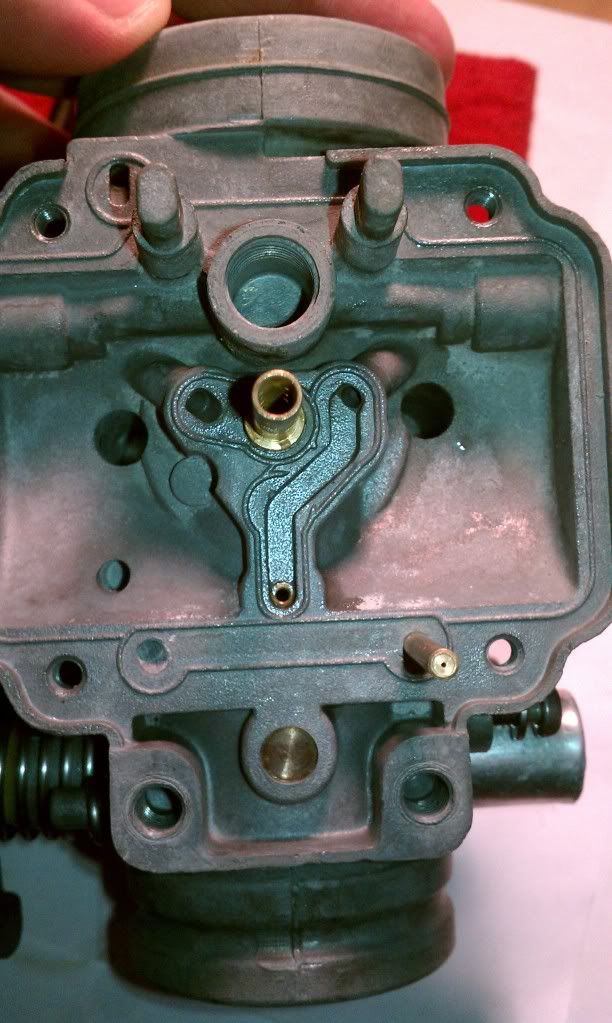
Yes you need to remove that needle jet, when you get it out you will understand why it has to come out to be cleaned . you should be able to take a small brass punch and small hammer and tap it out of the carb body,Ok....first off let me apologize for showing my frustration in my previous post. I worked like a dog at the left carb with spray carb cleaner and qtips and safety glasses. I sprayed and dug so much crap out of the fuel outlet side of the carb. I can't believe such a small hole could hide so much gunk! I would say this carb is at about 90% since I ran out of spray cleaner. The passages shoot a nice straight stream of carb cleaner when I spray into it now. The right carb is apart and soaking in the cleaning pail since 10:30 last night. I am really wanting to try soaking them in boiling lemon juice for about 20 mins. I have read a lot of positive reviews on it but don't want to damage the bodies of the carbs with the citric acid. I humbly open myself up for any constructive criticism you all may have. Here are some pics if an almost clean left carb:
Yes you need to remove that needle jet, when you get it out you will understand why it has to come out to be cleaned . you should be able to take a small brass punch and small hammer and tap it out of the carb body,
I tried to get it out but was afraid of damaging it by pounding on it. That thing is really stuffed in there. Plus i was afraid if I actually got it out I wouldnt get it back in the right way without more pounding. The other set of carbs that were originally on the bike had the needle jets pressed so far into the float bowls they wouldnt budge. I was able to get one out but gouged it in the process. A look down the inside of the tube shows no debris and all the little holes are clean. I picked up a can of valvoline carb and throttle body cleaner today and plan to finish off both carbs tonight.
I tried to get it out but was afraid of damaging it by pounding on it. That thing is really stuffed in there. Plus i was afraid if I actually got it out I wouldnt get it back in the right way without more pounding. The other set of carbs that were originally on the bike had the needle jets pressed so far into the float bowls they wouldnt budge. I was able to get one out but gouged it in the process. A look down the inside of the tube shows no debris and all the little holes are clean. I picked up a can of valvoline carb and throttle body cleaner today and plan to finish off both carbs tonight.