• Required reading for all forum users!!!

    Welcome!
    Register to access the full functionality of the GSResources forum. Until you register and activate your account you will not have full forum access, nor will you be able to post or reply to messages.

    A note to new registrants...
    All new forum registrations must be activated via email before you have full access to the forum.

    A Special Note about Email accounts!
    DO NOT SIGN UP USING hotmail, outlook, gmx, sbcglobal, att, bellsouth or email.com. They delete our forum signup emails.

    A note to old forum members...
    I receive numerous requests from people who can no longer log in because their accounts were deleted. As mentioned in the forum FAQ, user accounts are deleted if you haven't logged in for the past 6 months. If you can't log in, then create a new forum account. If you don't get an error message, then check your email account for an activation message. If you get a message stating that the email address is already in use, then your account still exists so follow the instructions in the forum FAQ for resetting your password.

    Have you forgotten your password or have a new email address? Then read the forum FAQ for details on how to reset it.

    Any email requests for "can't log in anymore" problems or "lost my password" problems will be deleted. Read the forum FAQ and follow the instructions there - that's what we have one for...

  • Returning Visitors

    If you are a returning visitor who never received your confirmation email, then odds are your email provider is blockinig emails from our server. The only thing that can be done to get around this is you will have to try creating another forum account using an email address from another domain.

    If you are a returning visitor to the forum and can't log in using your old forum name and password but used to be able to then chances are your account is deleted. Purges of the databases are done regularly. You will have to create a new forum account and you should be all set.

Cylinder Head preparation

  • Thread starter Thread starter Flaggo60
  • Start date Start date
F

Flaggo60

Guest
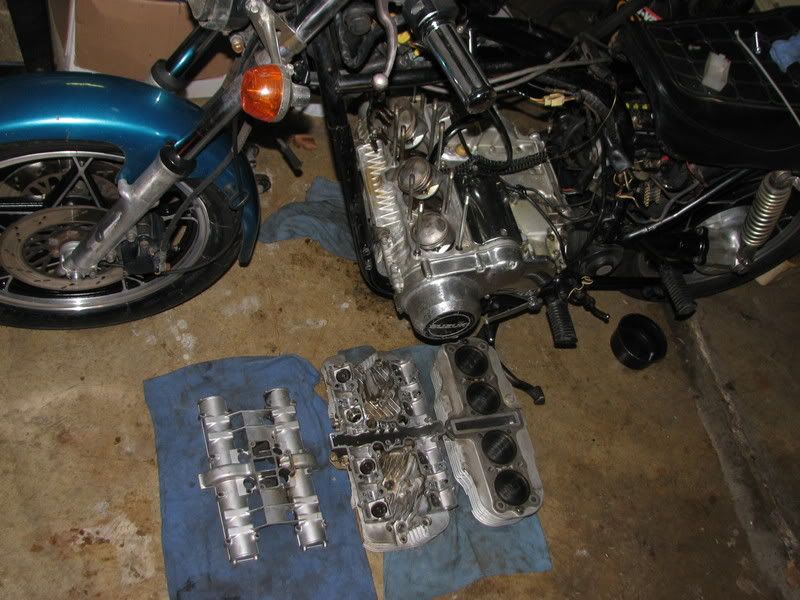
I bought a complete head assembly, including camshafts, on EBay for my 650G. Its a low mileage piece and the valves are almost brand new. I plan to swap the complete head on my '81 (75,000 km/45,600 miles) before next spring-better than a valve job, I figure.

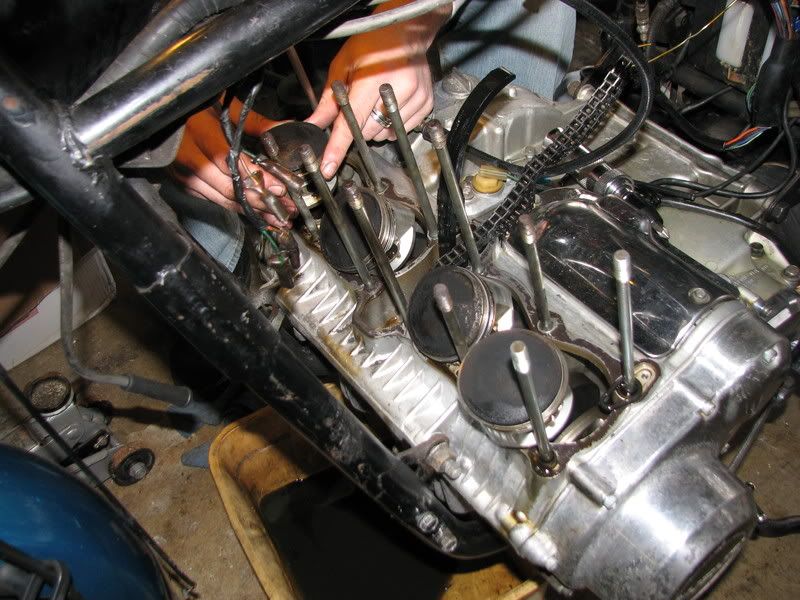
Question-Since it was removed in a shop, sat around with the cylinder head cover removed, and then was packed in paper for shipping, it has picked up a bit of grit (minimal) I can hear when cleaning, oiling and reinstalling the shim buckets. Is there a standard process for cleaning before installing?
 
Are you going to replace the valve stem seals? I strongly recommend that you do. It's much easier to properly clean the head after it's taken apart. Number the valves and buckets so they get installed back where they came from. While you have everything apart, degrease everything using Simple Green, or your favorite flavor. If you are going to lap the valve, do this before cleaning.

Good luck.
 
Are you going to replace the valve stem seals? I strongly recommend that you do. It's much easier to properly clean the head after it's taken apart. Number the valves so they get installed back where they came from. While you have everything apart, degrease everything using Simple Green, or your favorite flavor. If you are going to lap the valve, do this before cleaning.

Good luck.

Nessism, I wasn't planning on doing anything to the assembly, its in such good shape. If its a low mileage piece, shouldn't everything be OK?
 
Nessism, I wasn't planning on doing anything to the assembly, its in such good shape. If its a low mileage piece, shouldn't everything be OK?

Why gamble?

If it were me I'd first remove any carbon in the combustion chamber and ports. Next, take everything apart, inspect, and lap the valves. As I said before, keep track of where the valves and buckets go. Next is to clean everything, and lastly, reassemble with NEW valve stem seals. The amount of work involved is not that much when you consider how far you have gone already. And speaking of that, are you replacing the rings while the head is off? Always a good idea. Needless to say, replace the base and cylinder head gaskets. Some people pulling the head leave the cylinder alone and wind up with base gasket leaks. I say, do the job right and you won't have to worry. Short cuts are long cuts when it comes to old hardware.

Good luck.

Those are good points, thanks. As the work is part of the first overall renovation this machine has had, and its been so good to me up to this point, the additional work is warranted, now that I think about it.

The one thing I don't know, having never done it, is can the work be done with the engine in the frame?
 
I agree with Nessism. Even though it appears to be in good shape, those seals are over 25 years old. Replace them.

If you lap the valves, do so carefully. 2-3 mm of shiny metal is all you need for a good seal. Once you take the valves out, post up some pics to see if you need to lap the valves at all.

And yes, the entire top end of the motor can be changed out with the motor left in the frame.

Do you have a manual and a torque wrench?

It's easy to forget the age of this cylinder head, it looks so new, but yes, you're right, the seals age and should be renewed. I'm glad to hear I can leave the main bulk of the motor in place. Is this the case if the rings are replaced as well?

I have both the Clymer and the factory manual as well as a torque wrench, so my winter project is starting to shape up pretty good. Thanks.
 
Do the valve stem seals, rings and base gasket and ride another 75,000.
 
Yes. You can do the rings and the valves with the crankcases left in the frame. While you are at it, I think it would be a good idea to replace the carbs to cylinder head "O" rings from Robert Barr and give the carbs a good soaking in the "dip" of your choice seeing as they will be off the head anyway.
 
Yes. You can do the rings and the valves with the crankcases left in the frame. While you are at it, I think it would be a good idea to replace the carbs to cylinder head "O" rings from Robert Barr and give the carbs a good soaking in the "dip" of your choice seeing as they will be off the head anyway.

Don, the carbs have been dipped and the O-rings have all been done, as a matter of fact that's what started the whole reno in the first place-now it seems I can't stop!!:D
 
... can the work be done with the engine in the frame?
I know you are talking about a 650, but here are a couple of pictures of an 850 that might answer your question:

IMG_3955.jpg


IMG_3964.jpg
 
I know you are talking about a 650, but here are a couple of pictures of an 850 that might answer your question:

IMG_3955.jpg


IMG_3964.jpg
Thanks, Steve, those are good pictures and definitely show that the work is do-able. Once I get to that point I will definitely be back to the Forum as I've never attempted anything like this before. How did you go about getting the pistons with their new rings back up into the cylinders? It looks like a minimum two person job, am I right?
 
Hello. Hope you don't me cutting in. Grimsby Ontario. My 79 850 looks exactly in the same state as the pictures, except I have rags covering the crank opening.
I will be taking the parts for a high temp chemical dip, then start reassembly. I have yet to measure up the piston and rings per the spec sheets. Probably would be a good idea to replace.
One of the toughest parts of the clean is to remove the base gasket from the lower cylinder head, it is almost fused on.
This is the first overall on this 90000K bike, as I am the original owner.
So far it has been MOSTLY enjoyable.

Looking at the photos it appears that Steve has some work to do on the base gasket remnants as well. Is this the first time you've done this? Still curious as to how you go about compressing the rings to fit up into the cylinders when you lower the cylinder section down over them, it seems to be quite tight and awkward when you leave the engine in the frame....
 
I have been done this road, I have to agree with the others. Don't take shortcuts, make sure everything is spotless before reassembly.

A couple notes, I used the valve seals that came with my complete gasket kit from Vesrah. I used a OEM Suzuki head gasket, had to make my own cam tensioner gasket.

As for the piston installation, two people are great if they know what they are trying to accomplish. The service manual describes a piston holding tool which makes installation easier. Plenty of patience, a fair amount of oil, and a steady hand will get them back in. I used large hose clamps for the ring compressors, again you will need to set them just snug enough to compress rings yet still slide up and down piston.

This repair can be done in frame but I would pull engine out if I was going to do it again. It is a lot easier when you can stand up and wrench on these. This also makes it easier to replace oil pan gasket and clean motor and frame. It is not really all that more involved to get motor out, biggest trouble is weight. The manual says to remove head and all that stuff, if you have a friend, you can get it out without much hassle. I do recommend a wheeled floor jack to assist when lift out of frame. The 650 engine isn't quite as heavy as larger 850 and up motors, I lifted mine up from floor to bench.
 
This is my first time and I do plan on having a friend help with the reinstall of cylinder block, because as you said, it sure is a tight clearance.
Removing in the bike really was not a problem. It was helpful to have the weight of the bike when loosening the various bolts.
The main studs took me 3 days but they finally broke loose. Be careful of the camshaft bearing bolts as I broke 2, and I was being careful. But after 30 years I guess we would all be well seated.
 
Look at Ebay Item 270304033541.
I found one last year and it cost me $300. It was in excellent shape.
Goodluck.
 
How did you go about getting the pistons with their new rings back up into the cylinders? It looks like a minimum two person job, am I right?
Having two people definitely helps, but one knowledgeable person could probabaly do it. I followed a suggestion from one of my manuals (Haynes?) and made a couple of wooden pieces that look like tuning forks without handles. Just barely narrow enough to fit between the cylinder studs, but still hold the piston skirts, and they also have a notch that is just wide enough to straddle the connecting rod, they are about an inch thick, or whatever fits between the skirts and the block when the pistons are at their heighest. Slide the holders under pistons 2&3, use some large hose clamps as ring compressors, slide the cylinders over 2&3, sliding the clamps as you go. When the rings are in the cylinders, remove the clamps. Rotate the crank until you can slide the holders under 1&4, put the clamps on and repeat the process. When all the rings are safely in the cylinders, do whatever it takes to get the cylinder block down to the lower cases.

Looking at the photos it appears that Steve has some work to do on the base gasket remnants as well. ....
Good eye, Flaggo. Yeah, there was still a lot of work to do, but I just had to line up the parts for a picture as I had never had a bike engine that far apart before. :eek:

.
 
.........Yeah, there was still a lot of work to do, but I just had to line up the parts for a picture as I had never had a bike engine that far apart before. :eek:

.

I missed the second picture-it appears the gasket remnants cleaned off fine-was it a huge job removing a 25 year-old base gasket?
 
It wasn't all that bad. TheCafeKid and I used a combination of tools, including a 1/2" wood chisel and other scrapers. You have to be VERY careful that you don't gouge the aluminum cases when using a steel scraper. I don't remember how long it took, but I do remember that we took our time.

The results were worth it, too. that bike is back together and running well. The engine starts easily, carbs appear to be correctly jetted for the stock airbox (with K&N filter) and a pipe. Since #2 son does not yet have his license, he rode behind me on the way to our GoldWing chapter meeting in October. Keep in mind that the two of us total over 500 pounds, then realize that the bike had more than enough power. :dancing: It probably won't be until spring when we find out how the gas mileage is. After he learns to ride it well enough and there is less chance of him dropping it, we will put on the Windjammer fairing and saddlebags so he can join us on our trips. Then, when he can afford it, he wants to paint it.

.
 
Back
Top