• Required reading for all forum users!!!

    Welcome!
    Register to access the full functionality of the GSResources forum. Until you register and activate your account you will not have full forum access, nor will you be able to post or reply to messages.

    A note to new registrants...
    All new forum registrations must be activated via email before you have full access to the forum.

    A Special Note about Email accounts!
    DO NOT SIGN UP USING hotmail, outlook, gmx, sbcglobal, att, bellsouth or email.com. They delete our forum signup emails.

    A note to old forum members...
    I receive numerous requests from people who can no longer log in because their accounts were deleted. As mentioned in the forum FAQ, user accounts are deleted if you haven't logged in for the past 6 months. If you can't log in, then create a new forum account. If you don't get an error message, then check your email account for an activation message. If you get a message stating that the email address is already in use, then your account still exists so follow the instructions in the forum FAQ for resetting your password.

    Have you forgotten your password or have a new email address? Then read the forum FAQ for details on how to reset it.

    Any email requests for "can't log in anymore" problems or "lost my password" problems will be deleted. Read the forum FAQ and follow the instructions there - that's what we have one for...

  • Returning Visitors

    If you are a returning visitor who never received your confirmation email, then odds are your email provider is blockinig emails from our server. The only thing that can be done to get around this is you will have to try creating another forum account using an email address from another domain.

    If you are a returning visitor to the forum and can't log in using your old forum name and password but used to be able to then chances are your account is deleted. Purges of the databases are done regularly. You will have to create a new forum account and you should be all set.

Fork tube tops removal?

Suzuki Mad

Forum Mentor
Past Site Supporter
MY GS1000 has the air ride fork tops, that are unobtainable and I have been scared of trying to put a spanner to them as they have been in the fork tubes for 37 years.

Any tricks on how to get them out without breaking them? There is no nut top like on the GS750 to put a socket on just the air ride shape.

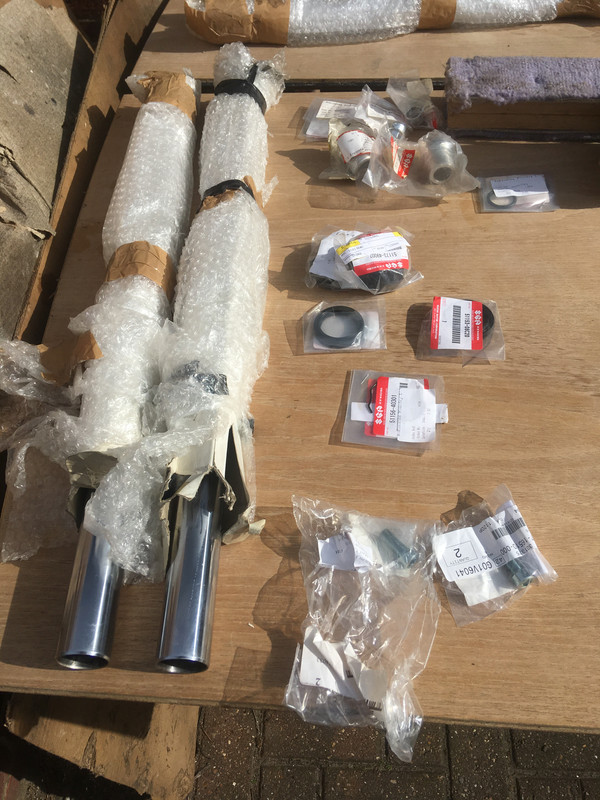
Its taken 3 years but I have managed to source new fork tops, so if they are well and truly stuck in place I have spares.
 
Any tricks on how to get them out without breaking them?
If that is the same top as I have on the 1000G and 850G, the method I use is to loosen the clamps on the fork tube, slide it up a couple of inches, then tighten the clamps again. Now that the fork tube is secure, use an adjustable spanner and twist the top off. It will take 10-12 turns to remove it, be careful as you near the end. There will be a bit of push on the cap, but not enough to send it across the room.

.
 
Yep. Remove the chrome cover to expose the Schrader valve, then adjust your spanner to about 19mm, or whatever it takes to reach across the flats.

.
 
Cheers Steve.

Planning on taking the bars, clocks, headlight and tank off to give me more space so I dont damage anything.
 
Just slide the fork tube high enough so none of that stuff will be in the way.

Let the forks go all the way to the left stop, the bike will be a perfect vice to hold the tube whilst you twist the top off.

.
 
Wheel nuts, mudguard and brace, brakes, speedo are already loose so its only the yokes (triple trees for you guy's) that's holding it all together.
 
Not a problem, leaving the fork tubes clamped in place is a great place to have them while removing the caps.

.
 
Yup what Steve said. I have those same tops on my 78 1000. Easier to take off then my STROM fork tube caps.
 
One word of caution, only loosen the caps and don't fully remove until the bike is supported with the front wheel suspended. Those caps push against the springs to hold up the front end.
 
I was just gonna mention to have the front wheel off the ground to relieve spring tension. And you can place a drain pan on some 4x4 blocks and slid it under the fork end, bleed the air, and remove the drain screw. Then gently stand on the foot pegs and bounce a little to pump the oil out. Do this before lifting the wheel off the ground.
 
I measured a spare cap last night, it's just over 21mm across, so your spanner should be no more than 22mm.

If you use Imperial wrenches, that's just a bit under 7/8".

.
 
Yep, thats how I was going to attack it once the bars are out of the way.


That's all the fork parts, less oil, going back in or to cover if case of stuff getting damaged coming out.
 
All this talk about "front wheel off the ground" had me realize that I usually have the front wheel removed from the forks when removing the cap. (in preperation for removing the fork tubes).
But, yah, if wheel and axle were still in place, that would help with holding the tube from turning when trying to break the cap loose. But having the wheel off and just the triple clamps holding the tube has always been OKay.

Having bars out of the way may help a little bit. I have never don that.
What I have done is have the bike suspended from above by the sterring neck.
Does not need to up high at all. When have the wheel off and axle out, that provides enough room for the tube to slide down and out of the tripple clamps.


I always though the bigger question has "how to get the cap back on". Problem is pushing against the spring while trying to get those fine threads started.
Trick I have learned is to try it without the insert, so is no spring pressure, turn it backwards slowly till can see where the treads start to mate, and then take good notice of where that is. THen put back the insert, and while pushing the cap in position and trying to line up the threads have the cap just a small ways off from the position you know it needs to be to line up with threads.
 
I remember when it was suggested to replace the fork oil and used a standard socket to remove those caps. The handlebar was off which made it easier to get to caps.

I like the look of new OEM parts. Thanks for sharing your work...and of course all the feedback this great GSR crowd provides!


Ed
 
I remember when it was suggested to replace the fork oil and used a standard socket to remove those caps. The handlebar was off which made it easier to get to caps.

I like the look of new OEM parts. Thanks for sharing your work...and of course all the feedback this great GSR crowd provides!


Ed

I remember when we first bought these bikes and were told they wouldn't do more than 20,000 miles before they would blow up and be scrap! How wrong could people be?

I'I just have to stop procrastinating about it and just get on and do the job.
 
I always though the bigger question has "how to get the cap back on". Problem is pushing against the spring while trying to get those fine threads started.
Trick I have learned is to try it without the insert, so is no spring pressure, turn it backwards slowly till can see where the treads start to mate, and then take good notice of where that is. THen put back the insert, and while pushing the cap in position and trying to line up the threads have the cap just a small ways off from the position you know it needs to be to line up with threads.
Pretty much the same tip that I got on the Wing forums. Remove the preload spacer so there is no pressure on the cap. Screw it in a few threads, use a Sharpie to make a mark on one edge. Slowly unscrew it, while pulling on it at the same time. Note the position of the Sharpie mark, put another Sharpie mark on the fork tube at that location. Slide the tube in the triple so the Sharpie mark is aligned with the crack in the clamp and snug it up a bit. Put the preload spacer back in, then turn the cap just a bit counter-clockwise of the mark, push it in and turn, knowing that within 1/4 turn, it will grab the first thread. It's easy after that. :encouragement:

.
 
Pretty much the same tip that I got on the Wing forums. .......
.
Hey! I did not say THEY could use MY idea!

Although my idea is to turn it backwards, with no insert, to see where it drops INTO the threads to start threading it in place.
Okay, so THEY are NOT using MY idea.
 
Last edited:
I took a 6 point 22mm socket and cut out one wall with a cutting wheel in an angle grinder to create an open-ended socket for turning these damn things.

This is very handy when you need to apply pressure to get them threaded in.

Another approach for turning goofy oddball shapes is to take a large cheap socket, fill it with an epoxy putty like JB Weld or mold the putty around the object, and push the socket on to create a custom-molded socket. You'll need to coat or protect the object so it doesn't stick to the putty; I think wax works pretty well.
 
Being a newb to the caps on my 650gl I would have loved to have those screw in style caps. It took me forever to develop a technique to push down the cap while not damaging the air valve in the very center and also get the the circlip out. I hated it the first time I tried to tackle it but after removing them both a couple times I'm a pro at it lol. Getting a non oem o-ring to seal was a real pain in the butt you'd think metric o-rings that look exactly the same as the ones you pull out but new and actually round would seal but they wouldn't. I ended up using 2 smaller o-rings instead of 1. Dust caps don't pop up from air pressure when hitting bumps anymore though and they hold pressure so I can't ask for much more...
 
Back
Top