Q
Qckslvr
Guest
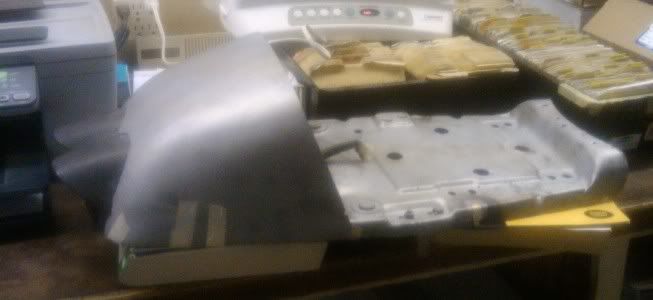
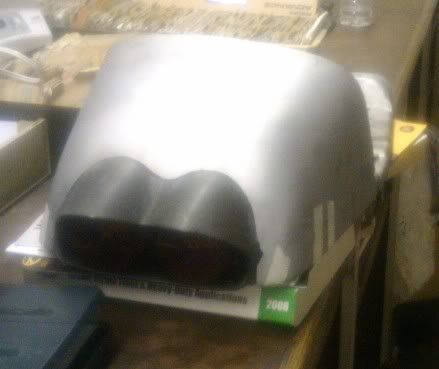
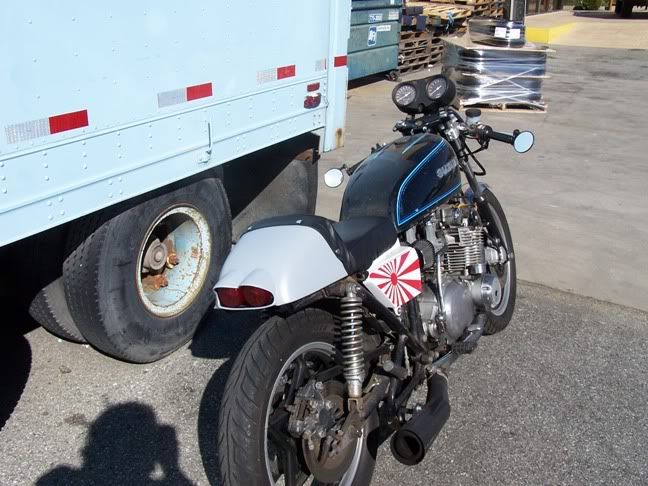
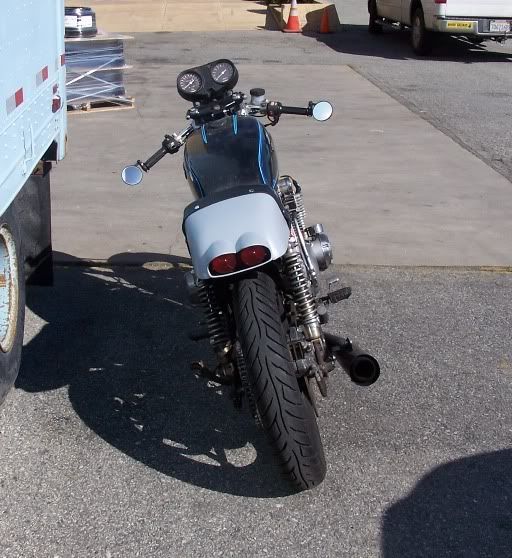
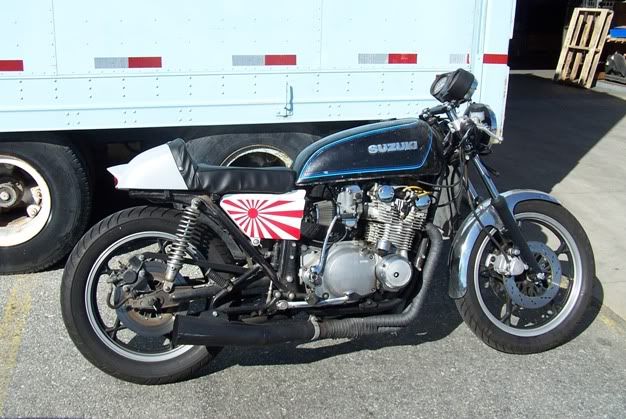
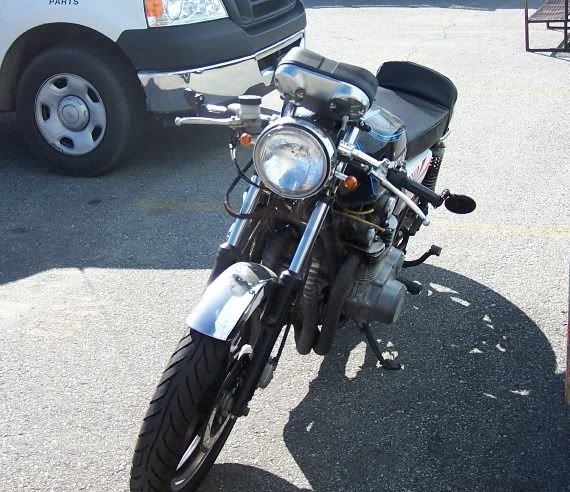
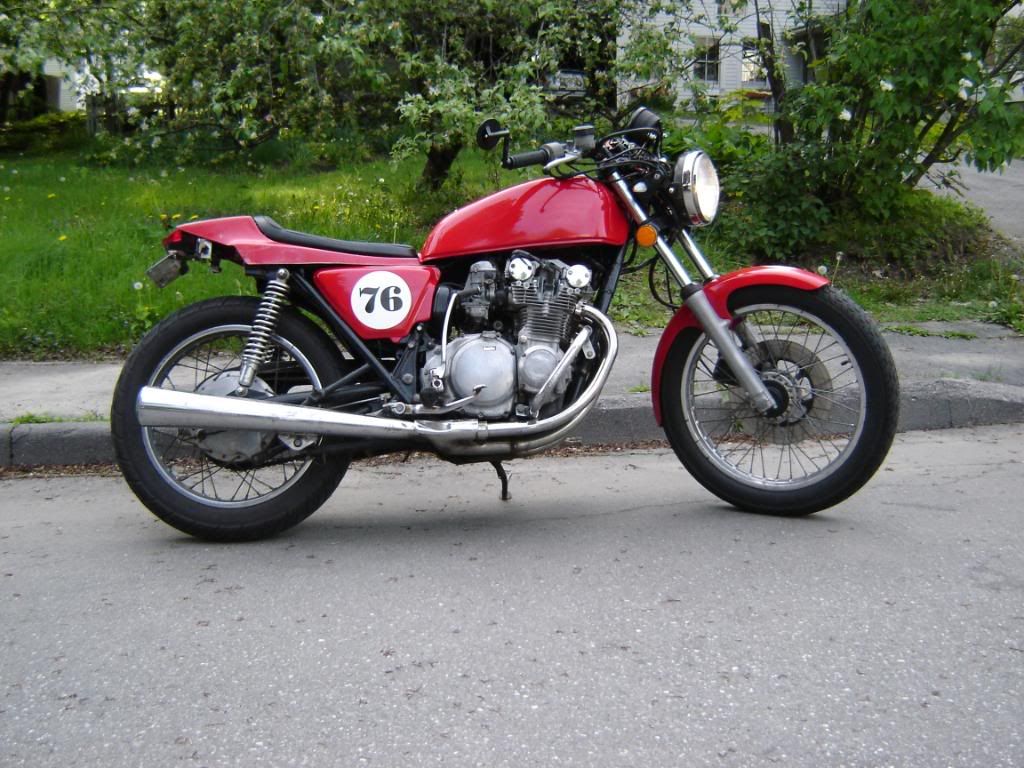
some more pictures, trying to decide if I want to trim it out, or mold in the tail light to the cowl. I am thinking the molding in.
Required reading for all forum users!!!
Welcome!
Register to access the full functionality of the GSResources forum. Until you register and activate your account you will not have full forum access, nor will you be able to post or reply to messages.
A note to new registrants...
All new forum registrations must be activated via email before you have full access to the forum.
A Special Note about Email accounts!
DO NOT SIGN UP USING hotmail, outlook, gmx, sbcglobal, att, bellsouth or email.com. They delete our forum signup emails.
A note to old forum members...
I receive numerous requests from people who can no longer log in because their accounts were deleted. As mentioned in the forum FAQ, user accounts are deleted if you haven't logged in for the past 6 months. If you can't log in, then create a new forum account. If you don't get an error message, then check your email account for an activation message. If you get a message stating that the email address is already in use, then your account still exists so follow the instructions in the forum FAQ for resetting your password.
Have you forgotten your password or have a new email address? Then read the forum FAQ for details on how to reset it.
Any email requests for "can't log in anymore" problems or "lost my password" problems will be deleted. Read the forum FAQ and follow the instructions there - that's what we have one for...
If you are a returning visitor who never received your confirmation email, then odds are your email provider is blockinig emails from our server. The only thing that can be done to get around this is you will have to try creating another forum account using an email address from another domain.
If you are a returning visitor to the forum and can't log in using your old forum name and password but used to be able to then chances are your account is deleted. Purges of the databases are done regularly. You will have to create a new forum account and you should be all set.
I've talked to many folks who've used an electric knife for shaping seat foam. Works like a charm. I saw a show on tv where a guy was using some kind of rasp for the edges and to get a nice smooth surface. Not sure what kind of rasp though.
")
I have been looking at different caf? seat pans for a while now. Actually since I bought the bike pretty much. Then I saw some one post that they took an old fuel tank from there bike, and cut it up making it into a seat cowl. This sparked some ideas, and now I am moving forward. So I am taking my old GS550 tank and I am going to cut the back of it off. I will then shorten the stock seat pan on my bike and graft the tank to it. I picked up an Aprilia RSV tail light assembly on e-bay that I will also graft in to the fuel tank/cowl. This tail light will also be my turn signals as well.
I shall post more pictures next week, when I start cutting and grafting.I need to go buy some brazing rod this weekend. I think my mig will be too hot for this project.


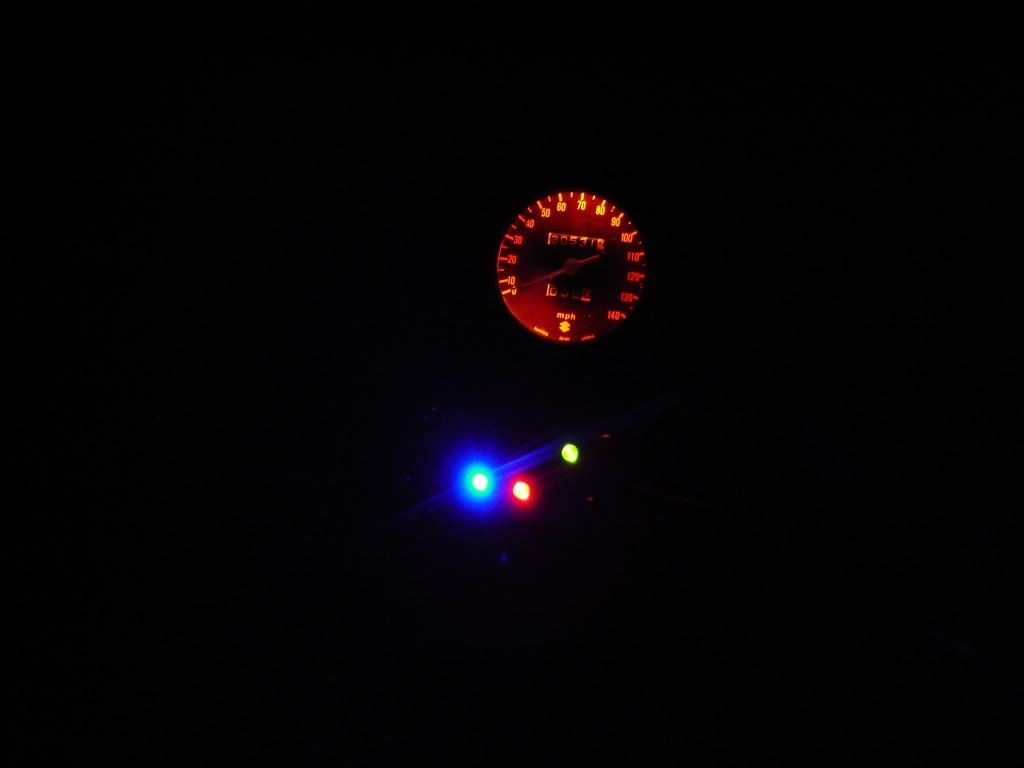
[...]will most likely drop $500 on a Koso cluster with some senders for the head, oil pressure, and temp.
I am saving some cash up, and will most likely drop $500 on a Koso cluster with some senders for the head, oil pressure, and temp.


Is the tail light designed for that? Or is it going to take some creative wiring?
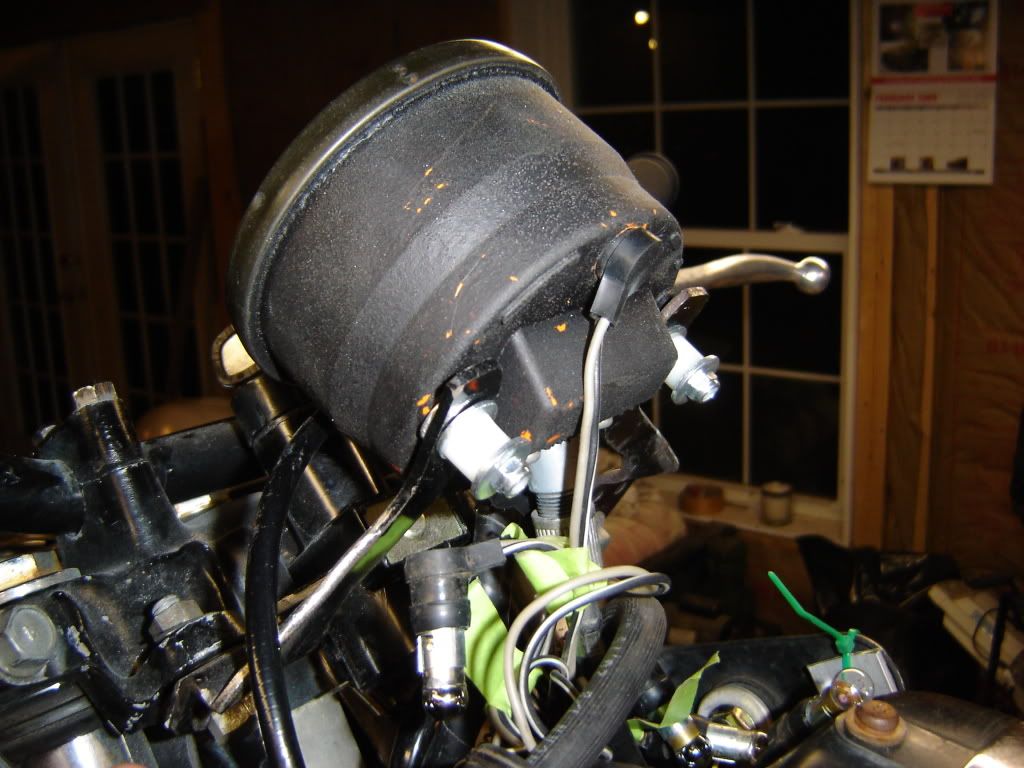
I have thought about getting a Roc City headlight bucket as well, which is designed to house a speedometer in the top of it.

I got one of those ebay moped headlights on my triumph with the speedo hole. Limited on what speedos will fit it readily and finding 4 1/2 inch 12V bulbs is best left to ordering on the internet.
It was a tight squeeze getting it positioned to look decent with an ok angle on the speedo cable.
How wide is that bucket in total? Could you run two side by side as a dual headlight, with a tach in one and a speedo in the other?