B
bexabarr
Guest
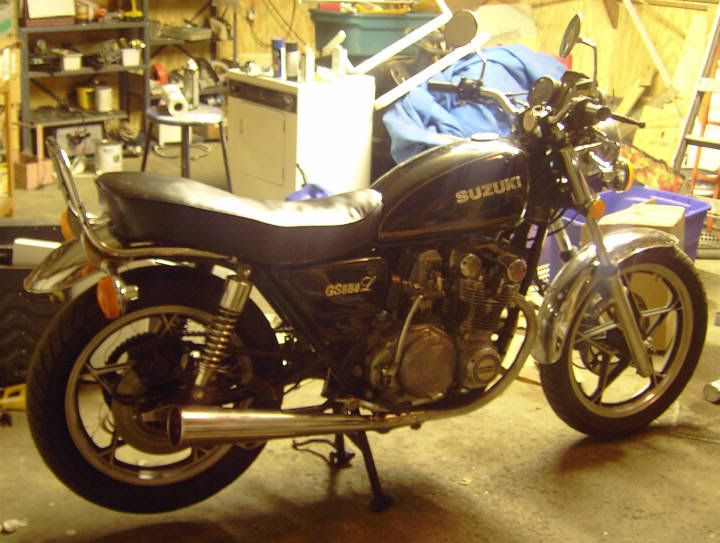
My bike:

well not exactly...
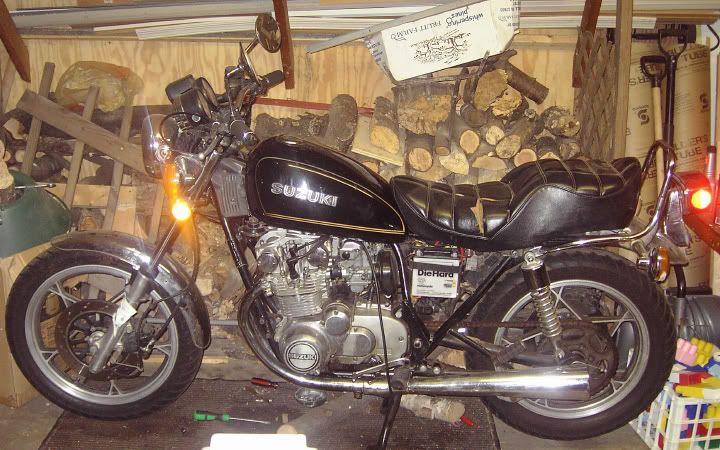
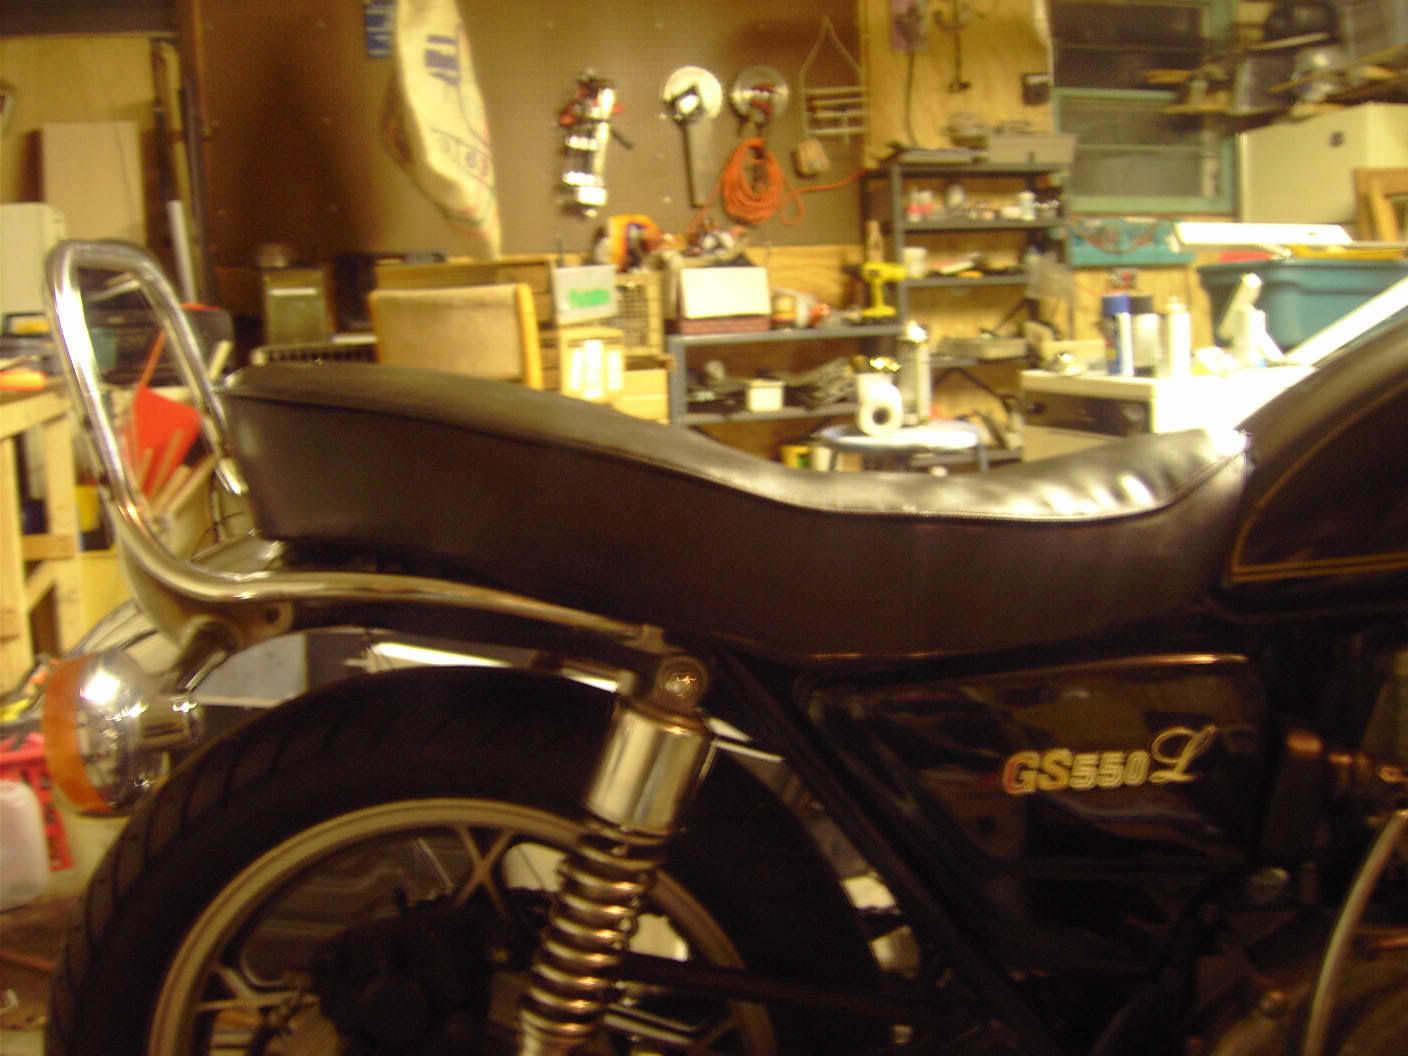
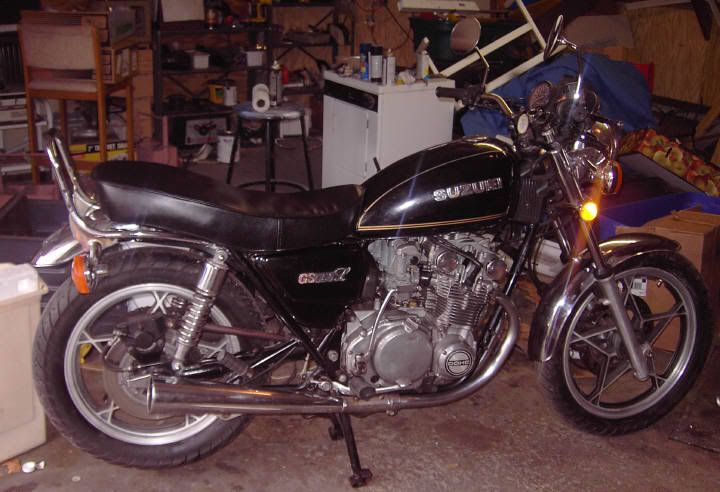
ahh yes!! this is more like it.
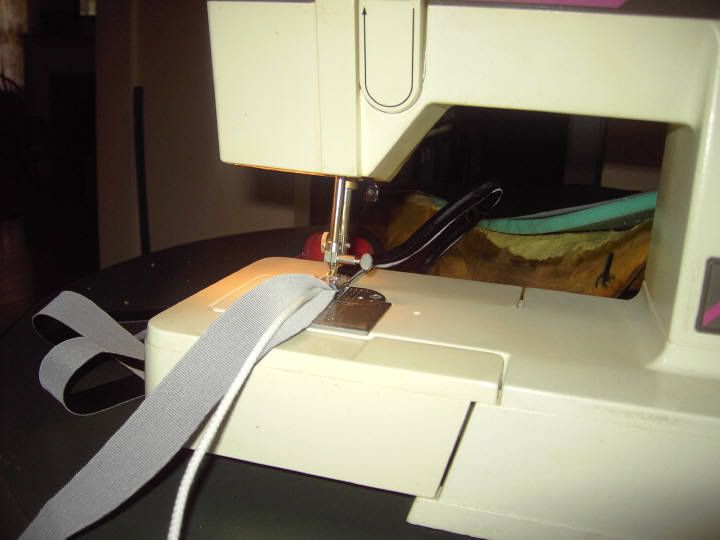
well I was tired of the seat... and being a college student with little $ and perhaps too much time, I decided to make my own seat (ran back home to mom to get some help lol).
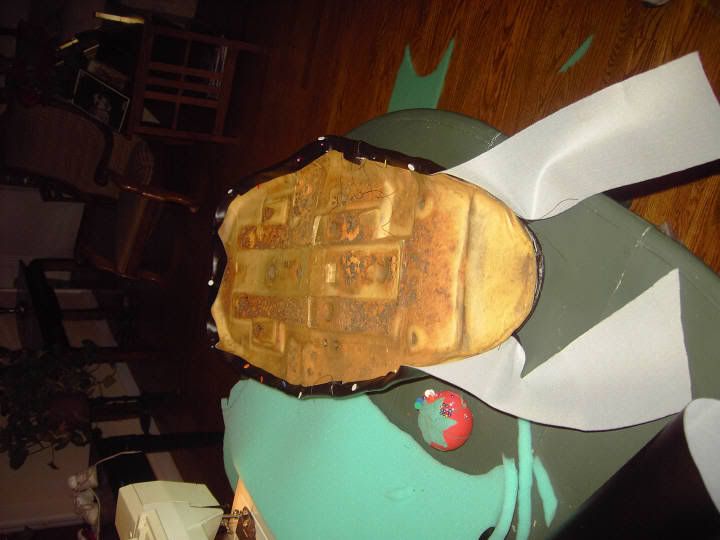
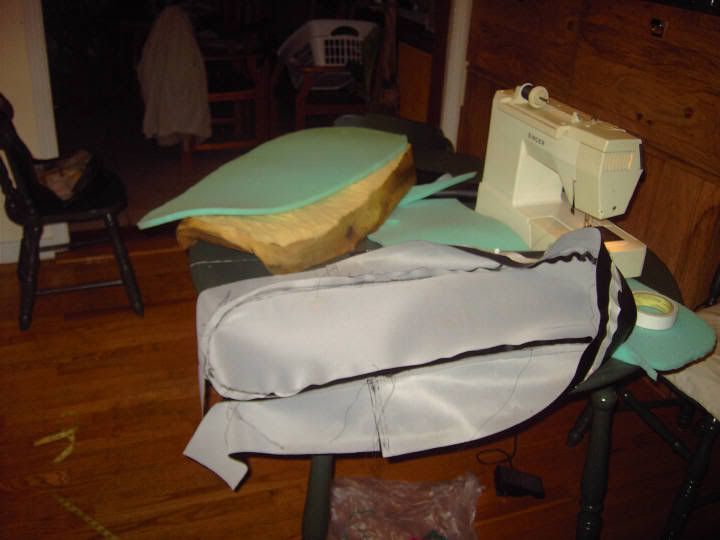
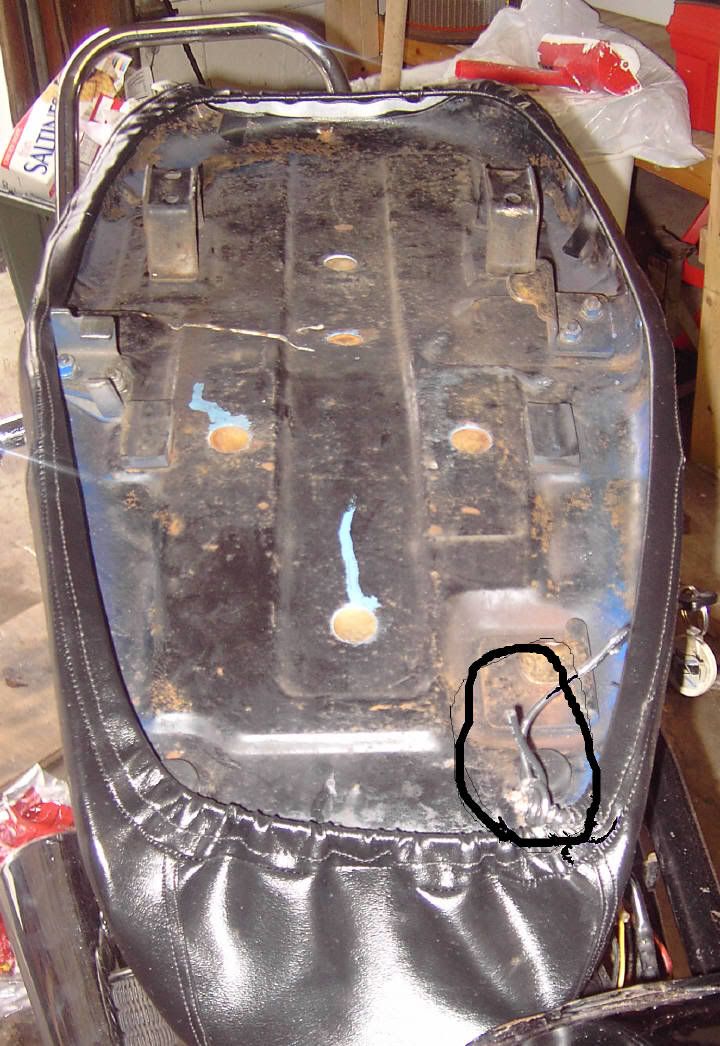
I began cutting the seat foam down...
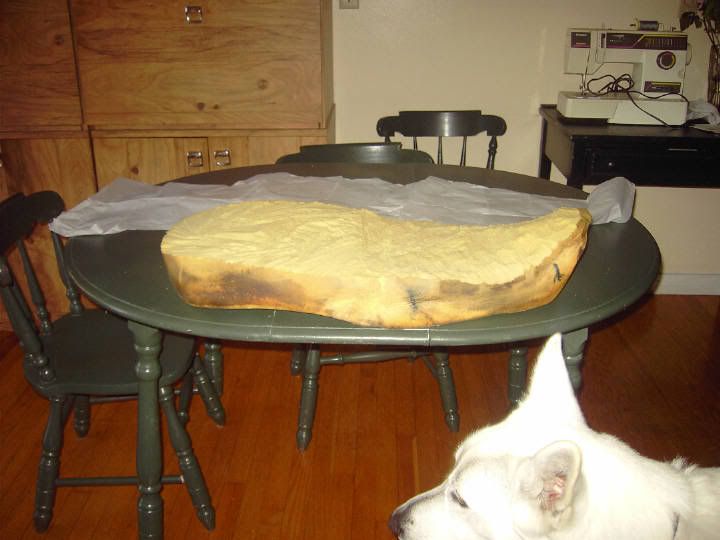
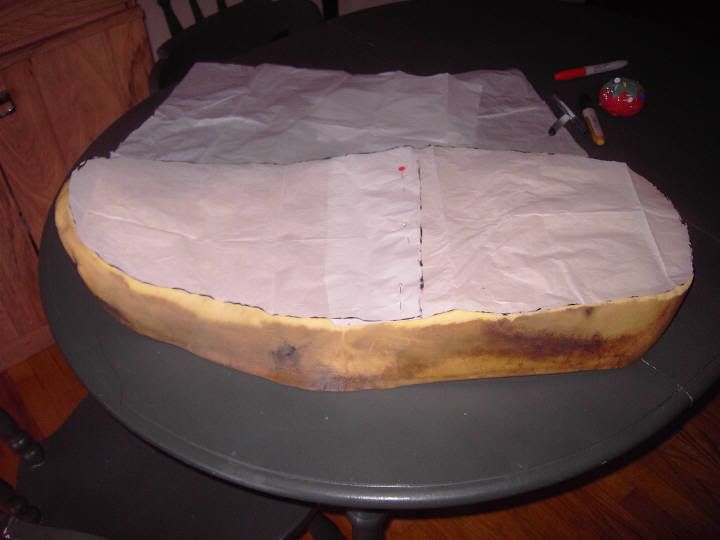
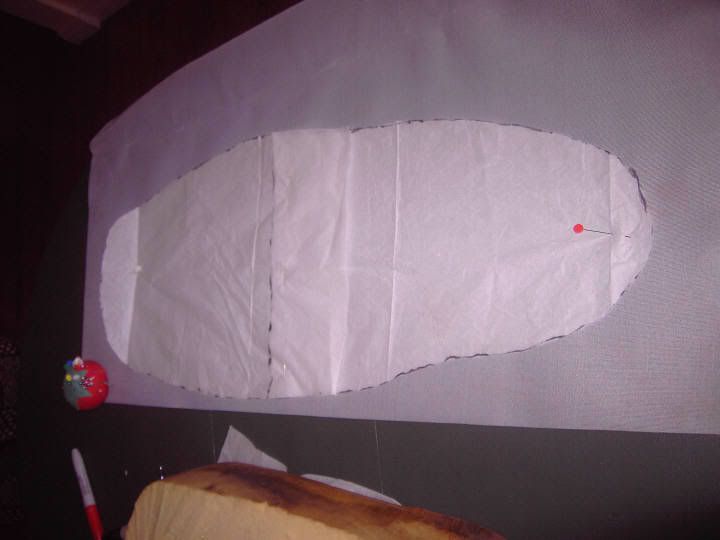
then made a template...
well not exactly...
ahh yes!! this is more like it.
well I was tired of the seat... and being a college student with little $ and perhaps too much time, I decided to make my own seat (ran back home to mom to get some help lol).
I began cutting the seat foam down...
then made a template...
Last edited:
")
")
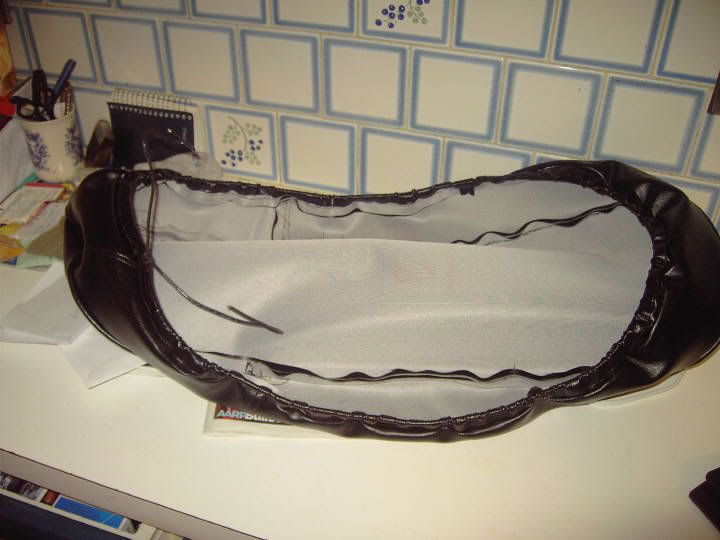
 Just make sure that it ian't stiff before you sit on it.