• Required reading for all forum users!!!

    Welcome!
    Register to access the full functionality of the GSResources forum. Until you register and activate your account you will not have full forum access, nor will you be able to post or reply to messages.

    A note to new registrants...
    All new forum registrations must be activated via email before you have full access to the forum.

    A Special Note about Email accounts!
    DO NOT SIGN UP USING hotmail, outlook, gmx, sbcglobal, att, bellsouth or email.com. They delete our forum signup emails.

    A note to old forum members...
    I receive numerous requests from people who can no longer log in because their accounts were deleted. As mentioned in the forum FAQ, user accounts are deleted if you haven't logged in for the past 6 months. If you can't log in, then create a new forum account. If you don't get an error message, then check your email account for an activation message. If you get a message stating that the email address is already in use, then your account still exists so follow the instructions in the forum FAQ for resetting your password.

    Have you forgotten your password or have a new email address? Then read the forum FAQ for details on how to reset it.

    Any email requests for "can't log in anymore" problems or "lost my password" problems will be deleted. Read the forum FAQ and follow the instructions there - that's what we have one for...

  • Returning Visitors

    If you are a returning visitor who never received your confirmation email, then odds are your email provider is blockinig emails from our server. The only thing that can be done to get around this is you will have to try creating another forum account using an email address from another domain.

    If you are a returning visitor to the forum and can't log in using your old forum name and password but used to be able to then chances are your account is deleted. Purges of the databases are done regularly. You will have to create a new forum account and you should be all set.

GS550L to Cafe Build

  • Thread starter Thread starter Toasty
  • Start date Start date
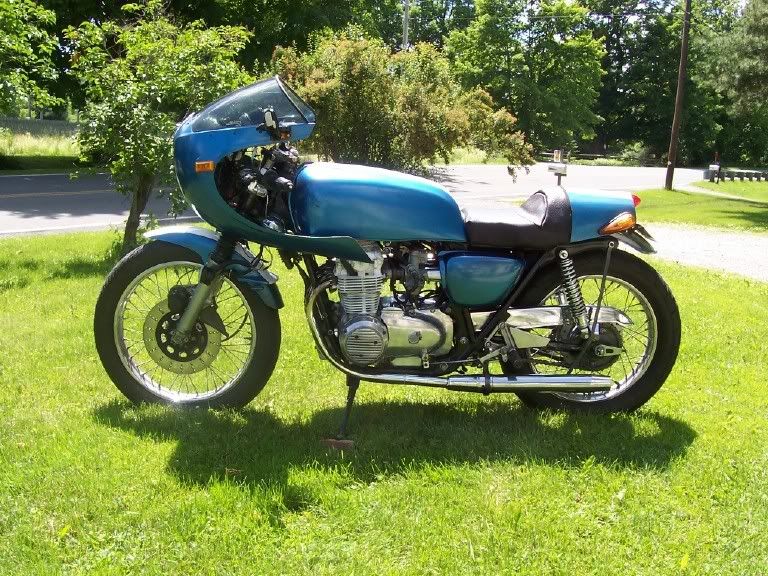
I've been brainstorming ideas for fairing mounts lately. It's difficult because I don't own a welder but I came across this picture online.

fairingmount.jpg


The steel is sold everywhere and while it would take a while to bend, it looks totally do-able. Attaching it to the frame neck will be a little interesting but I may be able to fab something up. I need to find the correct size u-bolt like these and I could make a solid and adjustable mount. Hmm...

Pipe_Clamp_(300)_std.jpg
 
Vetter used hose clamps to mount its Windjammer fairings, and they weighed about 25 lbs, so I guess a U-bolt would work.
 
They really used hose clamps? Huh, weird. I've never seen a picture of the mounts they use. The heaviest part of this fairing setup is going to be the headlight, the GS one weighs quite a bit. The fairing its self is maybe 2lbs at the most, I don't think the windscreen will add much either.
 
The gloomy overcast morning cleared up and so I took the opportunity to get some work done. I got out and sprayed a few engine parts that needed to be painted and then made a trip to the hardware store.


I wanted to reproduce the fairing bracket like the one I posted earlier, that one is steel and I only have a vice to bend the metal. I found some aluminum instead but it was only 3ft long and $9.89 a piece... So I looked around and found aluminum yard sticks that were the same thickness but wider and longer.

imag1493z.jpg

$8.89 each for the yard stick, plus a 15% off coupon they were handing out, score.


imag1496.jpg

The fairing with the headlight mocked up.


I kinda messed up on the first bend, I tried to get a smoother curve and screwed it up a bit. Oh well, I'll either try to straighten it out just cut that part off.


imag1498.jpg

First one!

imag1499.jpg

Second one!


imag1507.jpg


imag1509.jpg

Newly painted parts.


imag1514.jpg

Mount 75% done. It still needs some tweaking and trimming, the back needs to be cut to length but its mostly there. It clamps to the frame and I'll run a bolt through it using one of the existing holes in the frame neck. I had to lower my clip ons though to keep the bars from hitting the inside of the wings.

Its more then sturdy enough to hold up the headlight, and once I tap and die some aluminium rods for the upper and lower wing portions it'll be really solid.
 
Last edited:
The mount needed to be shortened by about four inches so I had to redo the whole rear portion again. It's sort of on there, it needs another bolt on either side of the headlight though.


1359327427963.jpg


1359327433032.jpg


1359327437973.jpg


1359327442909.jpg


If you're looking to get a fairing, honestly I would go with Glass from the Past. My Airtech isn't too bad but I need to do a lot of surface prep and the cuts aren't very smooth (and the headlight cut was done pretty sloppily). GFTP sells theirs with a windscreen too, and from what I've seen the quality is much better. I'll only be saving about $50 once I get the windscreen from Gustaffsons, not really worth it tbh.
 
Last edited:
I finally got a lot of work done today :D. I had a friend stop by in the morning and we scrubbed the hell out of the combustion chambers.

imag1592s.jpg

Shinyy.

The pistons got a light scrubbing after their carb dip bath.
imag1593q.jpg


I was gonna call it a day but decided to just get it over with and put the bottom end back together. It took me a bit to figure out that it needed to be upside down :rolleyes:
imag1595.jpg


The shifter shaft seal was a huge pita to remove but I figured I should replace it while I had the chance.
imag1596s.jpg


Threw the new seal in the freezer
imag1598m.jpg


Good as new
imag1599.jpg


Cleaning the crankcase bolts. One got thrown into a pile of junk, thankfully in found it.
imag1601c.jpg


Victory! I got to borrow a really nice Snap On digital torque wrench. I really need to buy myself one, its amazing.
imag1603.jpg
 
Kick start mockup :D
imag1604p.jpg


650 ignition advance. The 650 has a weird red bung that I think is a ground... Its a green/yellow wire? Its just hanging loose here for now.
imag1606t.jpg


End of day mockup.
imag1610.jpg


Tomorrow I may put on the rings... I'll see if I feel up to it, I gotta read up more. The valve stem seals need replacing too though.
 
I didn't get too much accomplished today, I needed to get the cylinders painted before I can install the pistons though.


After one last scrub, and sanding all the flaking paint and clear coat I could get to.
imag1614s.jpg


Primer
imag1616.jpg


Paint! I went with a semigloss black, hopefully it'll be easier to clean then gloss.
imag1622v.jpg


imag1624.jpg
 
I did a few things after I got home today, mostly putting the clutch back together. The basket had some pretty bad grooves and I know you're not supposed to, but I filed them a little. Not to the point where they were totally gone, I just wanted to knock the edges off and smooth them out.

It was only bad on one half of it actually, which makes sense now. When I first took it apart and measured the springs, half of them were within spec and half were way under. I didn't make much sense at the time, but now I can see how one side could be more compressed...
imag1633.jpg


imag1646q.jpg


A little better, still there but much smoother.
imag1648n.jpg


New OEM springs :)
imag1651.jpg


The difference between old and worn out, and brand new
imag1654d.jpg


Mostly installed. Im typing this now, and remind me before I start the bike, the big nut under the clutch basket is not torqued down yet. I know I'm gonna forget if I don't put it down here lol.
imag1655s.jpg
 
I had a little energy left, so I tested out doing a brushed finish on my ignition cover. Here it is before, I had sanded off the clearcoat earlier but never got farther then that.
imag1658.jpg


After a little bit of time on the wire wheel
imag1665z.jpg


Done. I think it looks fine, and it should be easier to maintain then polished. Plus I just don't want to put in all the work to polish it out, to be honest.
imag1669.jpg


Note to self: Sand off clearcoat first... Once it's bare aluminum it only needs a light touch with the wheel. Once I sand this, it should be uniform.
imag1671.jpg


Enough for one night
imag1673.jpg
 
I can't finish putting the top end together until I get the heads machined, do I was poking around looking for other stuff to do.


The Mac crane rear sets finally got modified to fit the R6 master. The holes were pretty close but needed reaming. I need to find better hardware for bolting it on though.
imag1707z.jpg


The hacksaw saw some action today, goodbye bent frame ends. Good thing L's don't feel pain ;)
imag1710.jpg


When I got the spokes I just kinda threw them on there, but the rim was sitting off center in the swingarm. Apparently the sprocket hub is longer for spoked rims.

imag1714.jpg

The L hub I put had on there on the left, the 78 550E hub on the right.


Cleaned up.
imag1715.jpg


Wire wheel and some sanding.
imag1716.jpg


Looks clean against the black.
imag1722.jpg


imag1724.jpg


Before I called it a night, I sprayed some paint on the bare metal on the frame to keep it from rusting.


Edit: For some reason when I tighten the axel nut down it sticks out about 1/8th of an inch too far... I think I'm either missing a washer somewhere or one of my L spacers isn't long enough.
 
Last edited:
Oh, and that ebay link I posted with the fairing that was for sale... I threw out an offer to the guy... and he took it :o
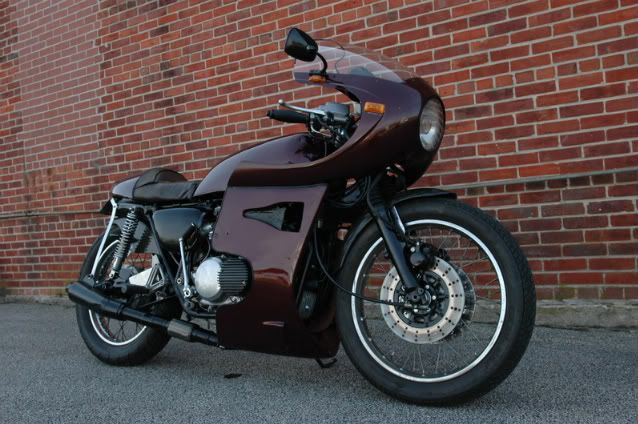
. I wasn't really expecting him to take it but hey, it cost less then the price of a Gustaffson windscreen (plus I was failing hard at making my own). The quality looks nice, and it comes complete.


I'll post my own pics when I get it.
t2ec16jyme9s5qf22fbrgpy.jpg


kgrhqrkwfeqyjpy1brgpypy.jpg


It looks a lot like an old Churchgate or Read-Titan (the top half of the full fairing), except without the bubble over the headlight. It looks kind of like a Rickman too, they both have the wheel cutout on the bottom of the fairing. The front is more bullet shaped then both of them though (and has that line as well from the windscreen). The side profile is a little different as well, more Ducati 900ss'like, but sharp at the ends.
 
Last edited:
I got my other fairing in yesterday, it's nice! Very sturdy, has a little dashboard and a solid windscreen.

imag1742.jpg


imag1741.jpg


After doing a little research, I found it's a Pacifico Pathfinder from the 70's. There's a few pics on the web on other bikes.

100_0916.jpg

He later turned it into a full fairing.

HondaGallery035-1.jpg


6568455335c5769e9a9b.jpg


It's a little guppy-like, but I like it.
 
For s**ts and giggles, last night I balanced it on the existing mount with some wood.


imag1797.jpg


imag1798k.jpg


Not bad. I'm not selling my 900SS fairing though, it'll go on later once I get a screen for it.
 
My original plan for this weekend was to just sand down the rough parts of the paint and do a rattle can job to make it look more presentable. My friend came over to help out, we got paint and he let me ride his GSXR750 (damn modern bikes are QUICK). We got back to the house and stripped the bike down to the frame, it only took a few minutes to get the forks and swingarm off.


Dirty and ready for prep
imag0078j.jpg


Cleaning off the thick layers of grime
imag0086ib.jpg


So we started sanding and he mentioned that since it's already down the frame, we might as well do some extra and de-tab it. I thought about it for a minute and said "Screw it, why not?".


Bike in the trunk, heading to where the beer is at :D
imag0087os.jpg


Better
imag0092r.jpg


The Dremel worked well but it takes a while
imag0101va.jpg


Ran out of beer, but had backup.
imag0097k.jpg


MMmmmm
imag0098y.jpg


Getting there. Btw, the Suzuki workers were not messing around when they welded on these tabs... These things could be load bearing :eek: , heavy gauge steel and 100% penetration on stuff like the side cover mounts.
imag0103tc.jpg
 
Me doing some cutting
20130302223353.jpg


The aftermath, we killed a handle and a ton of old mounts.
imag0104h.jpg


Here she is now, ready for filing and finishing. I kept a few things on there, the mounts for the airbox, some electrical, inner fender and helmet mount (I like it).
imag0106qx.jpg
 
I got a great deal on new automotive grade wiring on Do the Ton, so I'm going to do a total rewire. I also ended up buying the components needed on eBay to add in a keyless ignition system (that I saw posted there as well).


Going off of his lead and what he posted I started trying to wrap my head around how he set it up. It took some research but I ended up with this basic diagram.

imag0136w.jpg


I changed a few things and then made a computer mock up of the possible undertail layout.

undertailwiringdiagram.jpg


I don't have the parts yet but going off the manuals online that's what I've figured out so far. And it's amazing how cheap technology is... The RFID part with the key fobs cost less then $10.
 
Last edited:
Back
Top