• Required reading for all forum users!!!

    Welcome!
    Register to access the full functionality of the GSResources forum. Until you register and activate your account you will not have full forum access, nor will you be able to post or reply to messages.

    A note to new registrants...
    All new forum registrations must be activated via email before you have full access to the forum.

    A Special Note about Email accounts!
    DO NOT SIGN UP USING hotmail, outlook, gmx, sbcglobal, att, bellsouth or email.com. They delete our forum signup emails.

    A note to old forum members...
    I receive numerous requests from people who can no longer log in because their accounts were deleted. As mentioned in the forum FAQ, user accounts are deleted if you haven't logged in for the past 6 months. If you can't log in, then create a new forum account. If you don't get an error message, then check your email account for an activation message. If you get a message stating that the email address is already in use, then your account still exists so follow the instructions in the forum FAQ for resetting your password.

    Have you forgotten your password or have a new email address? Then read the forum FAQ for details on how to reset it.

    Any email requests for "can't log in anymore" problems or "lost my password" problems will be deleted. Read the forum FAQ and follow the instructions there - that's what we have one for...

  • Returning Visitors

    If you are a returning visitor who never received your confirmation email, then odds are your email provider is blockinig emails from our server. The only thing that can be done to get around this is you will have to try creating another forum account using an email address from another domain.

    If you are a returning visitor to the forum and can't log in using your old forum name and password but used to be able to then chances are your account is deleted. Purges of the databases are done regularly. You will have to create a new forum account and you should be all set.

here i go again.. project: 'too late to go back now'

  • Thread starter Thread starter 08rangerdan
  • Start date Start date
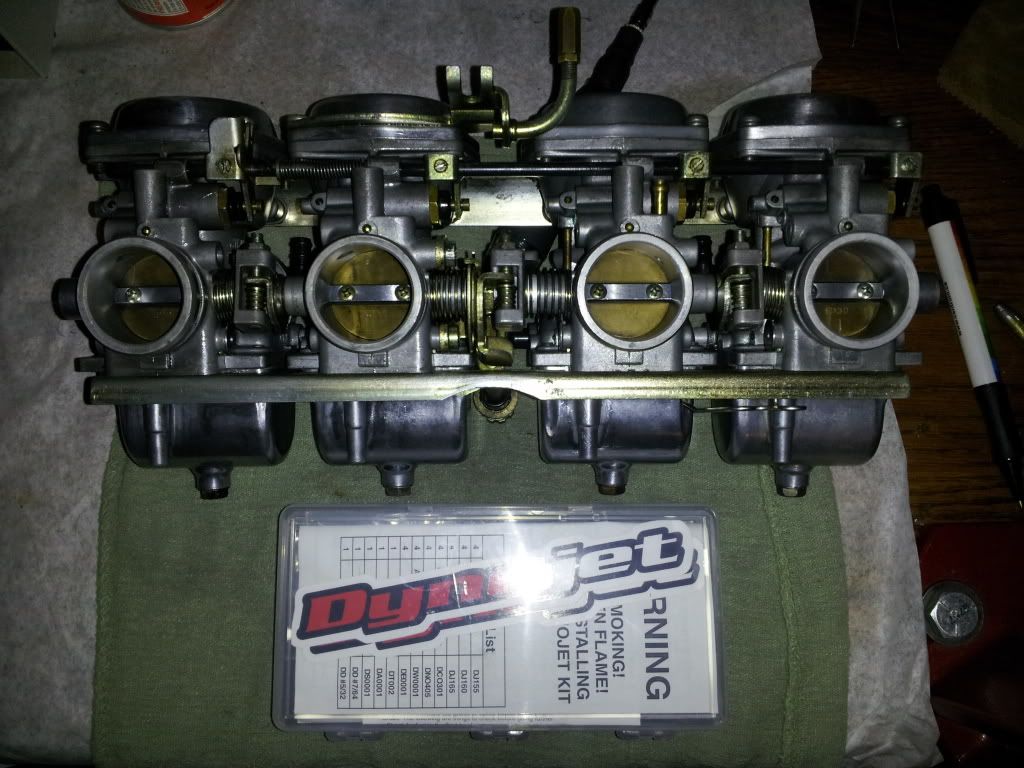
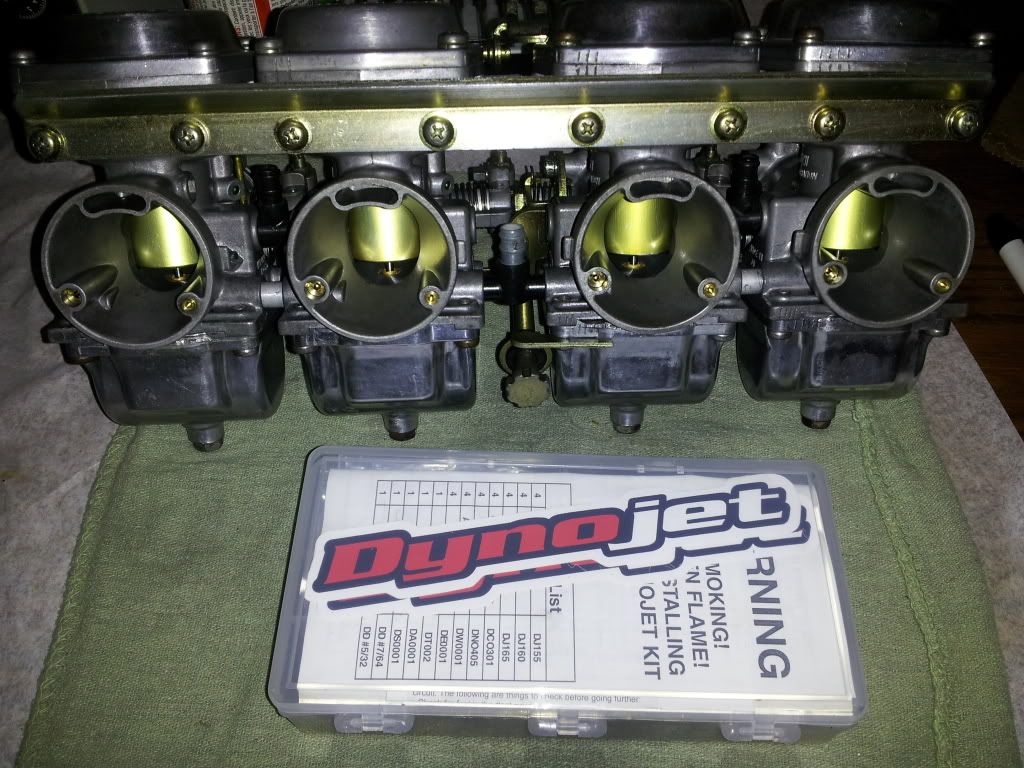
Lucky me that the o ring sets showed up Friday evening! I was able to finish up the dynojet stage 3 and reassembled the carb set. Overall the dynojet kit was easy to install but took me a little while to determine the instructions. After you understand and know what and where the few new components go, things come together just fine.. Im hoping for positive results.

20130713_223936_zps294c1a6a.jpg


20130713_224009_zpsc744f69a.jpg


20130713_224132_zps479f023a.jpg

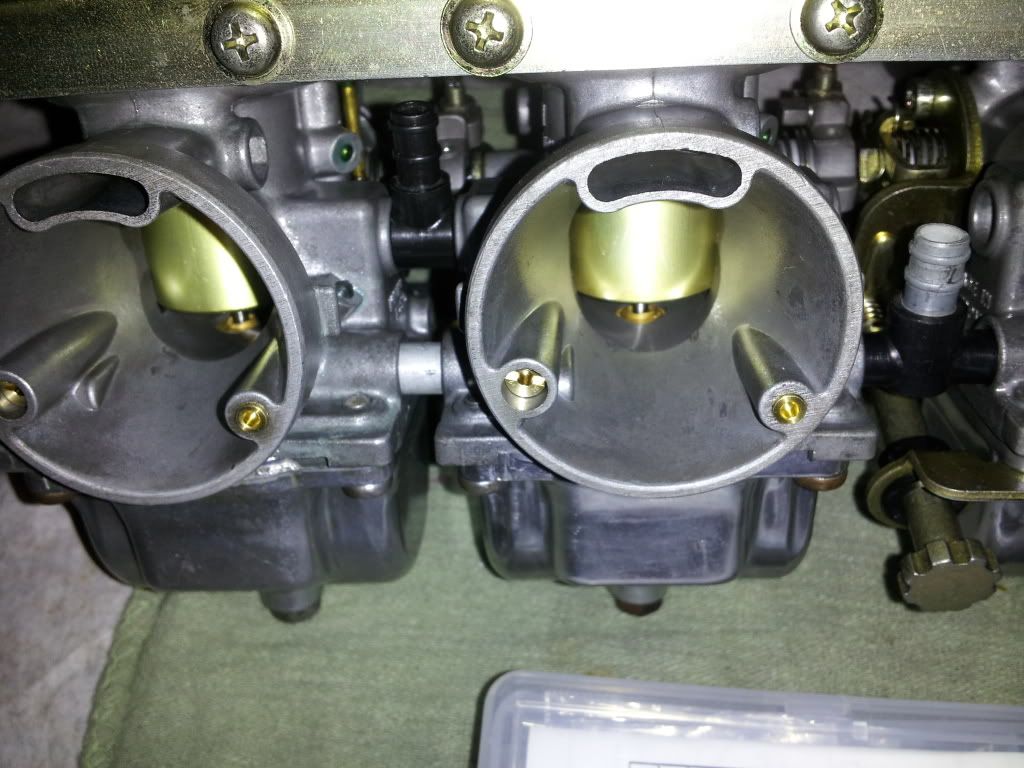
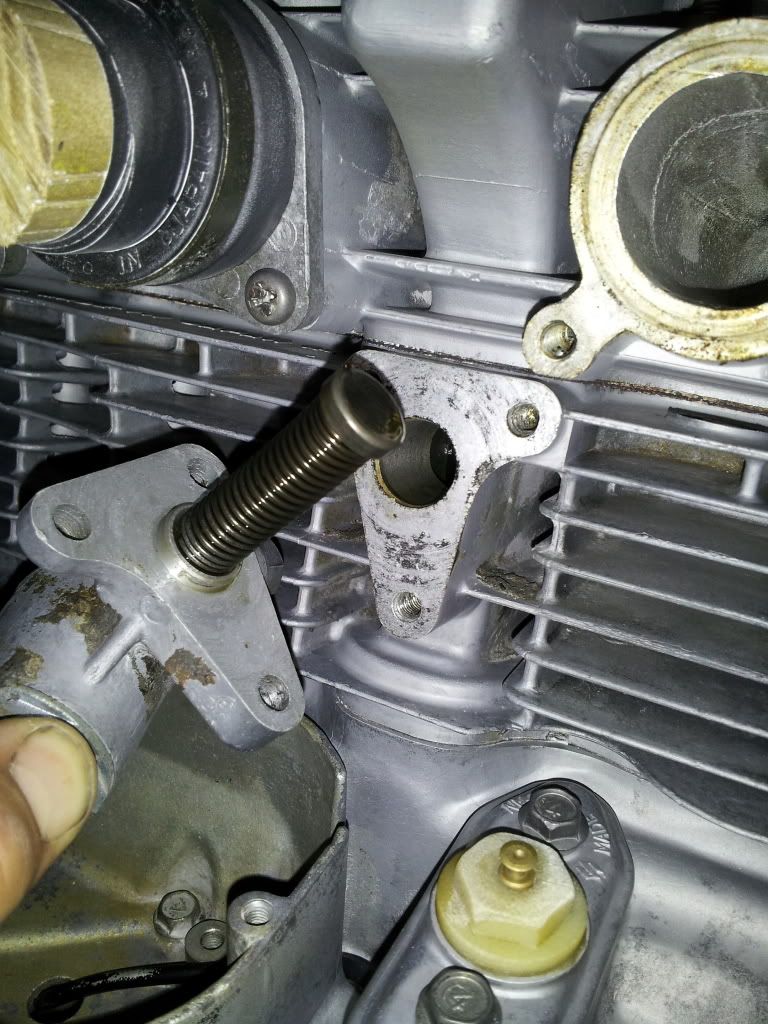
Above: you can see the air correction plug on the right side, simply glued into the port and gently tapped to seat. Left side is my new main air jet.. Bike came with a 200 size jet! My rebuild kits came with 2 options; 180 or 190.. No 200?! I decided to install the 190 size and go from there


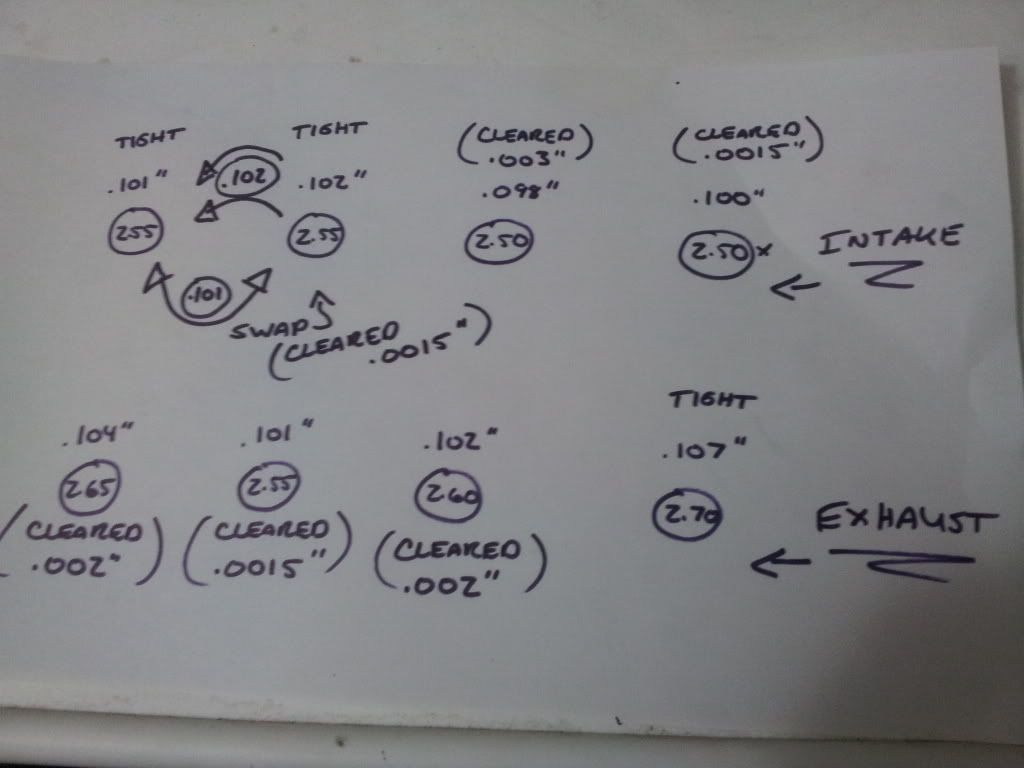
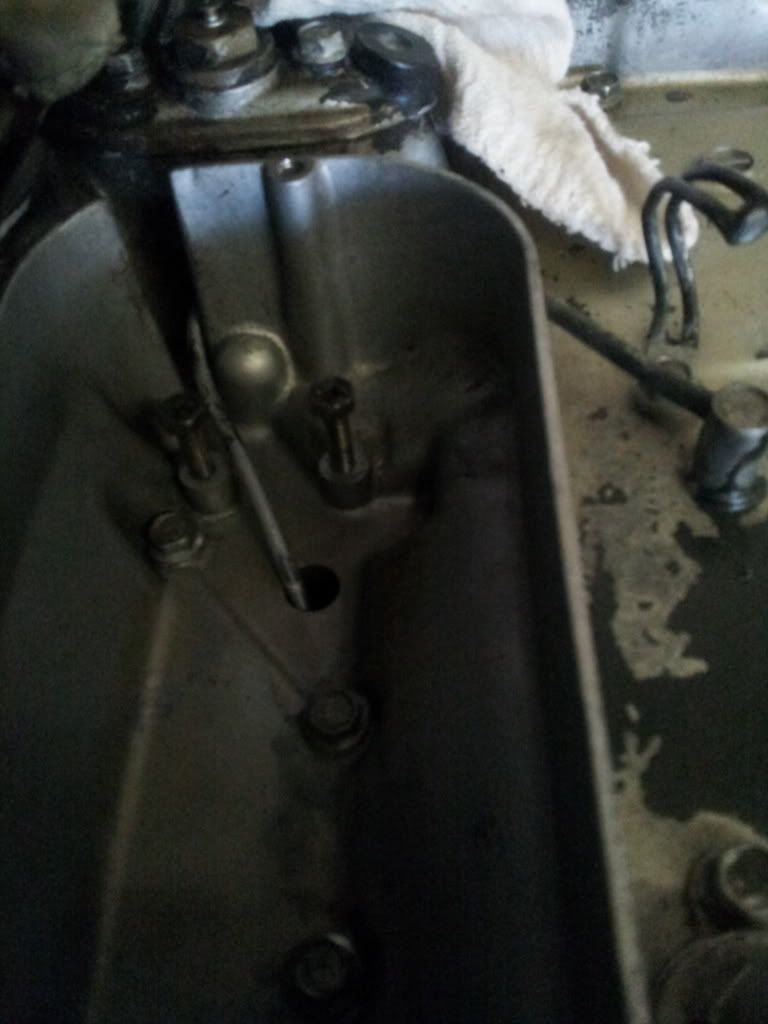
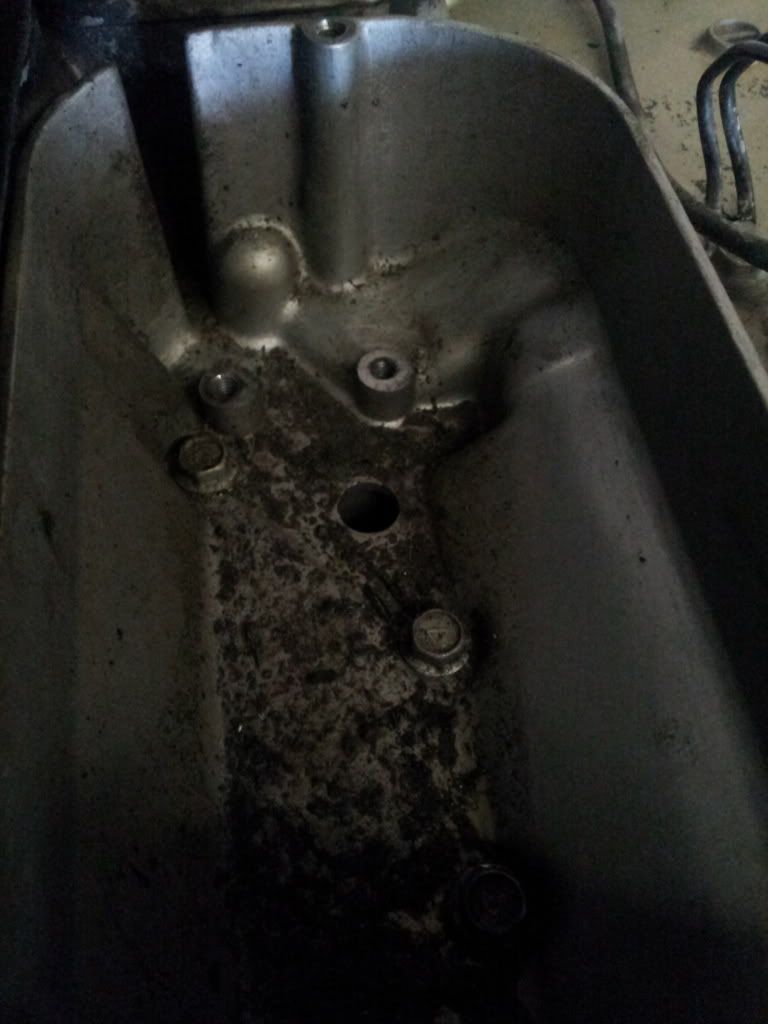
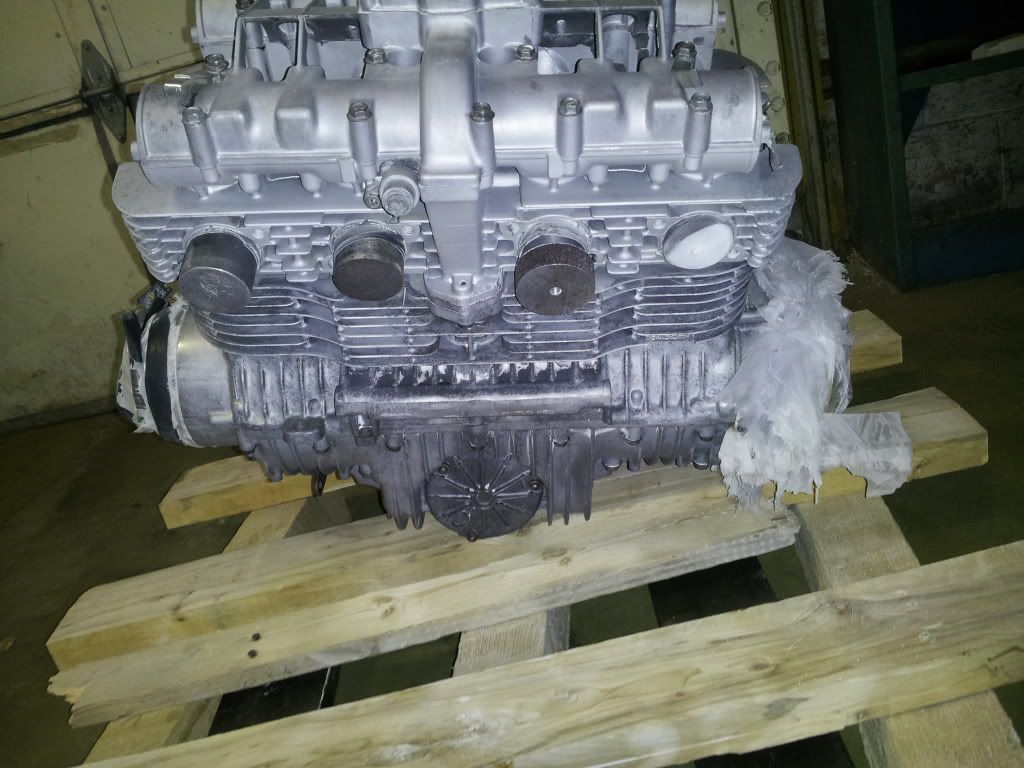
I began looking at the motor on Friday morning and removed the valve cover to prepare it. Ill be getting into the valves soon.. Taking a quick glance into the exhaust ports and glancing at the plugs for a first time, i noticed cylinder 4 was a wet plug and exhaust was wetter then i would have liked. I also noticed the number 4 carb had some carbon build up in it but very little. . 1,2 & 3, were all in good condition but looking a little grey on the electrodes.. Possibly a little lean?? I quickly checked the intake valve clearance on number 4,, from a bunch of angles but my thinest shim would not go.. Maybe intake was stuck open a hair?? Ill check more into this Monday.. i pulled one of the intake boots from the motor to see the o ring was cracked and needing replace. Luckily i got those with my o rings on the Friday order also! I feel the rest will suffer similar results
 
Last edited:
Got my seat mounted.. Made some tabs and mounted them as seen. Nothing fancy but functional.

20130714_230459_zps88008914.jpg


20130714_231914_zps12c25599.jpg


20130714_231920_zps31d6da99.jpg
 
I spent some down time today playing with my engines valve clearances.. First of all take a look at this diagram below to see my results as i describe my situation..
20130715_215135_zps49171427.jpg


The stamped given metric equivalent of each shim is noted in the pictured diagram above. 8 circles above indicate each valve shim, intake on top and exhaust at the bottom.. I also decided to reference each shim with an actual imperial measurement.. The given metric stamps varied from the actual size,, maybe due to wear?

First and second intake were shimmed with a similar stamped shim but differed by .001".. Because i couldn't achieve the clearance i wanted on the first 2 intake valves, i saw an opportunity to swap intake 1 and 2 shims. Doing so gave me .0015" clearance on the second intake but first intake remained tight.. Actually tighter then before..

The remainder of the valves were relatively between the specs of a minimum .001" and max .003" clearance, except for the last bottom right exhaust valve which still remains tight until i can acquire the thinner shim for the 2 remainders.. But i may just end up grinding the shim down to a useful size if i fail to turn up an inexpensive replacement.
 
Call me lazy or call me crazy, but i found it really easy and convenient to simply grind material off of the original valve shims. Hit them on the de-mag to make sure they don't pick up anything in the motor for the cams to eat

Tip: take your valve shims measurement with the cam lobe as close to 180 degrees away from the shim seat.. None of this cam lobe 90 degree to seat or on any angle nonsense unless the cams are absolutely new

20130719_091611_zps43038aaf.jpg


20130719_104408_zpsc6652706.jpg
 
Last edited:
Call me lazy or call me crazy, but i found it really easy and convenient to simply grind material off of the original valve shims. Hit them on the de-mag to make sure they don't pick up anything in the motor for the cams to eat

Nothing lazy or crazy about this part. If I had a surface grinder, I'd do the same thing. And maybe keep track of thicknesses so I can plot a trend and predict when to do the next check instead of at the spec'd interval of 4,000 miles.

Tip: take your valve shims measurement with the cam lobe as close to 180 degrees away from the shim seat.. None of this cam lobe 90 degree to seat or on any angle nonsense unless the cams are absolutely new

It's true that the lowest part of the cam is 180? from the lobe, but the clearance spec was written to be checked as described in the service manual. That is, with the lobes parallel to the gasket face, intake and exhaust pointing away from each other. If you apply the same clearance spec opposite the lobe, your valves will open a little early and close a little late, with just small openings until you get up on the cam lobe proper. This leakage could do Bad Things. If you want to do it your way, you'll need to figure out what proper clearance is at that position by measuring at both positions and adding the difference to the factory spec.

New or old cams won't matter, as long as they're not destroyed. The cams don't wear significantly unless they get damaged, so there's no functional difference on any cam you're willing to use in an 850.

BTW, the carbs look great. The anodized parts look freshly anodized.
 
Fact is the cam is sized as a half sphere with the lobe and tapers on the one half. Even in the manual a diagram clearly shows the specs of the lobe. And the other side of the lobe is a true diameter with no variance.. If i measure at these angles I've been told and read about, i get my clearance but, as i bring the lobe to tdc the gap is tightest. And your true measurement is only found in that spot of the cam lobe. as the cam makes its rotation past tdc the gap opens again before the lobe contacts the shim again.. I believe its just be wear. Only .001 difference at tdc but id rather measure large then have a valve contact when its not supposed to. If i adjusted for minimum specs the valve would open slightly then close just after tdc. I can't make sense of the valve timing you state. It just sounds like lost compression to me

I only think they tell you to check them the way they say because you can spec 2 valves in that position.. Which may save time for that flat rate mechanic who likely wrote that procedure lol
 
Last edited:
I finished up grinding my valve shims and swapping a few around for the best tolerances. I'm happy with the end results! This afternoon i put some bottom end gaskets on order from eBay and decided to continue my inspections of the clutch.. I pulled the side cover and checked all the friction plates and the overall clutch condition. Everything was within spec and looks relatively fresh! Heres a pic of my reassembly minus the clutch spring bolts.. I soaked the pack in some of the motor oil after i cleaned them off for reassembly

20130723_143154_zps827f65a0.jpg


And here is my stripped down clutch cover. I figure i will polish it up good and clear coat eventually.. But i gotta go get some real buffing wheels for the grinder first and some compounds

20130723_150235_zpsc53f85fb.jpg
 
Last edited:
Question:

****EDIT solved my own problem... Tucked back in from under the motor i found the tail end of the breather cavity. Looks to be a smaller internal seperate cavity with a hole top and bottom.. I managed to get a small light from the bottom to get a visual

Im on to the generator side of the motor and i decide to pull out the starter motor to clean out the pot it sits in.. Underneath the motor is a hole where i assume a breather line from the gear box runs into.. Im sure there is some debris in this hole.

Should i be concerned? And what cavity does this hole belong to? Can i get to it from the oil pan? Should there be any kind of plug?

Pics

Cleaned
20130724_144358_zpsecbc35fc.jpg


dirty
20130724_143822_zps821f7283.jpg
 
Last edited:
Headed out to media blasting later today.. Im likely to go with a very fine glass bead finish,, almost as fine as soda or flour. We dont have a local soda blasting facility here so im sol.. I even attempted my own soda blasting but results were just too tedious and time consuming... Not to mention the mess.. Ill be calling a couple other places to see if i can find a soda blast option by this afternoon

Ive prepared both exhaust and intakes with plugs using electrical tape to make up the tolerances to make a press fit into the bores.. Then tapped them in. Side covers are a mix of industrial skid wrap wound around each part and packing tape to add some support. I used electrical tape up top for a temporary valve cover gasket, sandwiching it between the cover.

Hope my creativity withstands the abuse

20130726_071056_zpsa8c7aa53.jpg


20130726_071120_zps75c3741a.jpg
 
Last edited:
I only think they tell you to check them the way they say because you can spec 2 valves in that position.. Which may save time for that flat rate mechanic who likely wrote that procedure lol
No, the real reason they have you check with the cam lobes in those specific positions is to ensure that the cam remains centered in the bearing for more-consistant results. If you check EX1 with the lobe away from the valve, EX2 is still pushing on its valve, possibly moving the cam in the bearing. When you rotate the engine to check EX2 in the same position, EX1 is no longer pushing on its valve and the cam will be centered in the bearing.

Yes, we are talking about very small movements here, but the clearance is also very small, so any unpredictable movement should be avoided or at least minimized.


Question:

Underneath the motor is a hole where i assume a breather line from the gear box runs into.. Im sure there is some debris in this hole.

Should i be concerned? And what cavity does this hole belong to? Can i get to it from the oil pan? Should there be any kind of plug?
Congratulations, you have found the "Mystery Hole". :clap: :clap:

Its only function (that I know of) is to provide a drain for the starter cavity. There might be a model I don't know about that has a vent that exits in the hole, but I have not seen one (yet).

.
 
Well instead of picking a specific spot to take my clearance from, i gauged from different spots of every lobe to make sure none were pinching at different positions. The cams are either engaged or not at some point, and a couple of them would pinch up at exactly the wrong time. I feel better knowing they cant anymore. All in all, i got some good averages on the valves. But going for the larger spec wont hurt. Im keeping .0015" at the minimum clearance of all valves and a couple are .003" max clearance. But most are .002 -.0025" max
 
Last edited:
Ohh ahhh motor finally came back a bit cleaner. Will need some painting but nice and smooth now.. What to paint with??? In thinking a good quality single stage aluminum would look and work nice .. Opinions?

20130804_140213_zps32c47db0.jpg


20130804_140148_zpsdec471cf.jpg


20130804_140156_zps058193ff.jpg


20130804_140205_zps431c49b9.jpg
 
I like the single stage aluminum. Nice build, I'll be following!
 
And here is my stripped down clutch cover. I figure i will polish it up good and clear coat eventually.. But i gotta go get some real buffing wheels for the grinder first and some compounds

20130723_150235_zpsc53f85fb.jpg

I would suggest you don't put on any type of clear coat, generally they just yellow up and then you have to sand and polish all over again....

Just buff to high shine, and maintain the lok with some polishing compound, takes only a few minutes every couple of weeks or so, and the finish will look much better longer......

here is a pic of my bike close to 8 months after my rebuild, and it still looks good

P1110415.jpg


.
 
Last edited:
good tip thanks. i will probably do that.. ive been reading up on sealers for polished surfaces and find that may be a better option. if i did go with a clear coat, i would be using 'glisten pc' a product from por15. i hear great things about it and no fade said to happen.

next on the chopping block is to get the motor oil tight again..

repair/rebuild the tensioner;

i found all the o rings and gasket for it on ebay but im still sourcing the difficult to find seal (09284-10006) not one showing up active on ebay.. being in canada if i order through a supplier i get the seal for $3 but im stuck paying $25 in shipping.. i cant handle that..

if anyone can help me out here please contact me!

20130805_082048_zps2417159f.jpg

20130805_082738_zps4efc9f0b.jpg


next...

replace o ring on secondary drive gear bearing carrier.

i noticed a wetness in this area where the rubber plugs on the gear selector side are located.. more or less focused on the bearing support for the side gear. i pulled the carrier and found some wetness under the shims.. so im replacing the flattened 2.4" o ring in that area from ebay. i dont suspect the plugs to have any flaws,, so i leave those for now.

then...

replace o ring under oil pressure sending plate

if anyone can help me locate one or send one of these to me without a rediculous shipping fee i would be very happy.. let me know please! ebay turns up to be clueless for this request also.

finally..

replace all main gaskets

valve cover, breather cover, side covers, and pan gaskets are all sitting on my bench ready for this step. new o rings for the intake boots also sit with my carbs ready to go onto the bike when time comes


after all the oil is retained ill finish up degreasing and prep for paint. im looking into Eastwoods engine paints.. very good products from what i see and decently priced. once its painted the project will move along nicely and i can start enjoying the beginning of the build up.
 
Last edited:
You're just about to go through what I'm planning for my GS850G - a full gasket replacement. My bike leaks oil at a steady rate under hard throttle and definitely needs a new sump gasket. While I was at it I ordered the entire rebuild kit and figure I'll go through it with a fine-toothed comb haha :D

You can always take the old O-ring to a plumbing supply place and ask for one, they'll most likely have something that'll match. Tell them it's for fluid transfer so needs to withstand oil and elevated temperatures. Most likely they'll give you a vitron replacement or similar.

The gasket for the camchain tensioner could most likely be cut from gasket paper if you're in a bind.

Cheers - boingk
 
Its a funny shaped o ring under the pressure sender. Its specific to suzuki.. And its not the gasket i need, its the rubber seal. I need for the tensioner. Everything else i have coming.. But that seal is kinda rare over ebay.

What i need is someone with those parts or someone willing to order them and send them to me through post,, u.s. Side . Flat rate $30-40 shipping is rediculous for a couple seals
 
Last edited:
One our former members has this response for you.....

He is trying to find a gasket for his cam chain tensioner.I don't use them myself. I use Permatex Ultra Black and forget about it.
Emoji_1F60F.png

They do not leak and fit wonderfully.


Eric
 
One our former members has this response for you.....


Where did i say im having troubles finding gaskets ?????????? Its the oil seal i cant get.. Cant make one of those out of permatex

I HAVE all of the gaskets
 
Last edited:
Back
Top