• Required reading for all forum users!!!

    Welcome!
    Register to access the full functionality of the GSResources forum. Until you register and activate your account you will not have full forum access, nor will you be able to post or reply to messages.

    A note to new registrants...
    All new forum registrations must be activated via email before you have full access to the forum.

    A Special Note about Email accounts!
    DO NOT SIGN UP USING hotmail, outlook, gmx, sbcglobal, att, bellsouth or email.com. They delete our forum signup emails.

    A note to old forum members...
    I receive numerous requests from people who can no longer log in because their accounts were deleted. As mentioned in the forum FAQ, user accounts are deleted if you haven't logged in for the past 6 months. If you can't log in, then create a new forum account. If you don't get an error message, then check your email account for an activation message. If you get a message stating that the email address is already in use, then your account still exists so follow the instructions in the forum FAQ for resetting your password.

    Have you forgotten your password or have a new email address? Then read the forum FAQ for details on how to reset it.

    Any email requests for "can't log in anymore" problems or "lost my password" problems will be deleted. Read the forum FAQ and follow the instructions there - that's what we have one for...

  • Returning Visitors

    If you are a returning visitor who never received your confirmation email, then odds are your email provider is blockinig emails from our server. The only thing that can be done to get around this is you will have to try creating another forum account using an email address from another domain.

    If you are a returning visitor to the forum and can't log in using your old forum name and password but used to be able to then chances are your account is deleted. Purges of the databases are done regularly. You will have to create a new forum account and you should be all set.

Joe G's 1100 project

  • Thread starter Thread starter Joe Garfield
  • Start date Start date
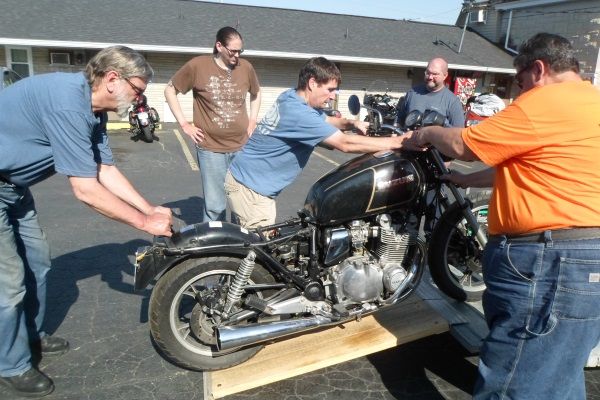
I am realizing I need to get better at taking 'before' pics!

The major work: carbs removed, disassembled and soaked, and reinstalled, valves adjusted, and carbs synchronized. I utilized one of the advertised services in the Classifieds section which turned out to be an amazing experience :)

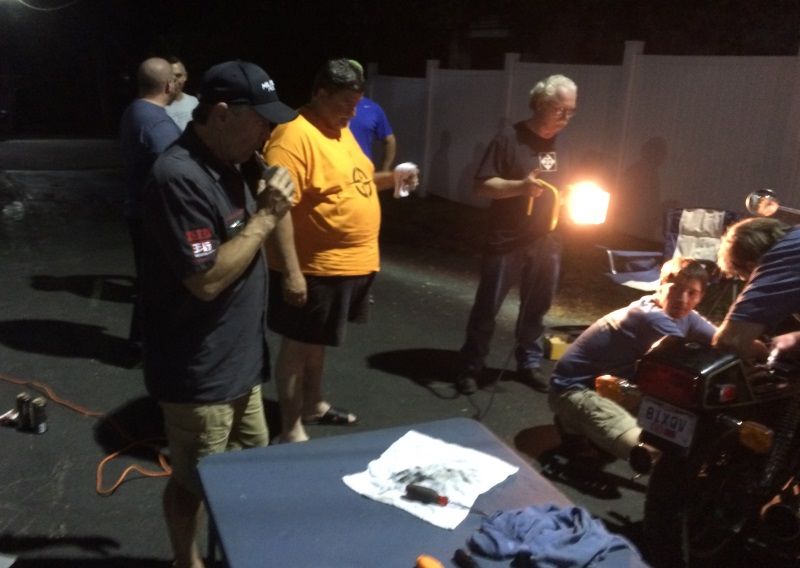
The bike still pops at high RPM on the stand. Between that, having had 3 of 4 header pipes change color, and just my general curiosity, I performed a late night investigation of the ignition coils. I got nothing across the boots for nos. 1 and 4, and with the boots removed and wires cut back 1/4" I only got 11.x kOhms as opposed to the 29.9 kOhms across 2 and 3. I am open to thoughts or suggestions. Considering these coils and wires are 32 years old it seems like I should just change them out, but maybe I'm a little hesitant since I haven't had the bike running/riding right yet.

Anyway...
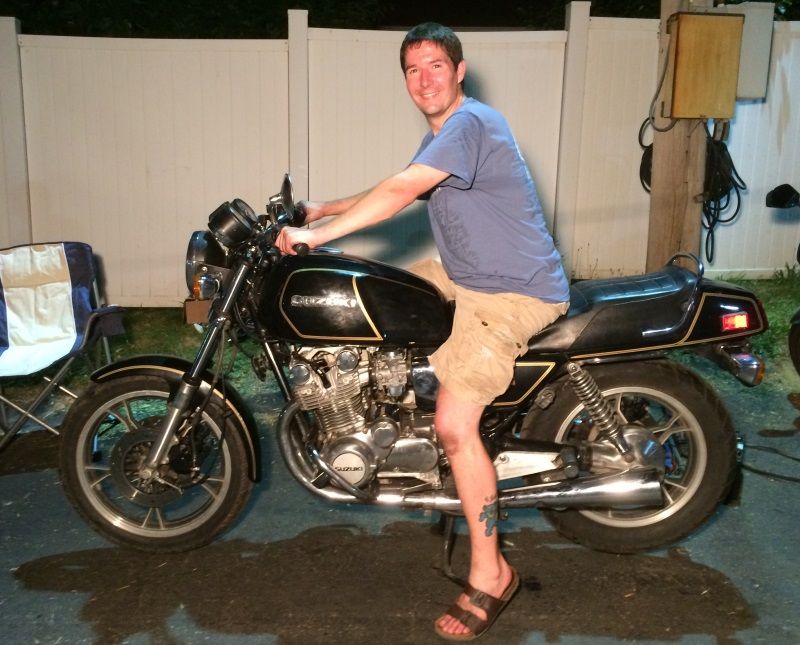
I played around a little with Meguiar's Ultimate Black and am amazed at the results. This was really just a prelim test to see how well it worked, but most things that got a first coat don't need much more. The top of the headlight bucket was really bad and needed 4+ coats, so still working that but everything looks so much newer and nicer. We will see how long it lasts...

I found some melting wires/connectors behind the headlight (a bare hot wire, plus the loop for stator/RR circuit) and repaired them with stock style connectors and pins from Z1, and just did a basic cleaning off= the wiring and contacts. I still need to re-route some wires and cables.

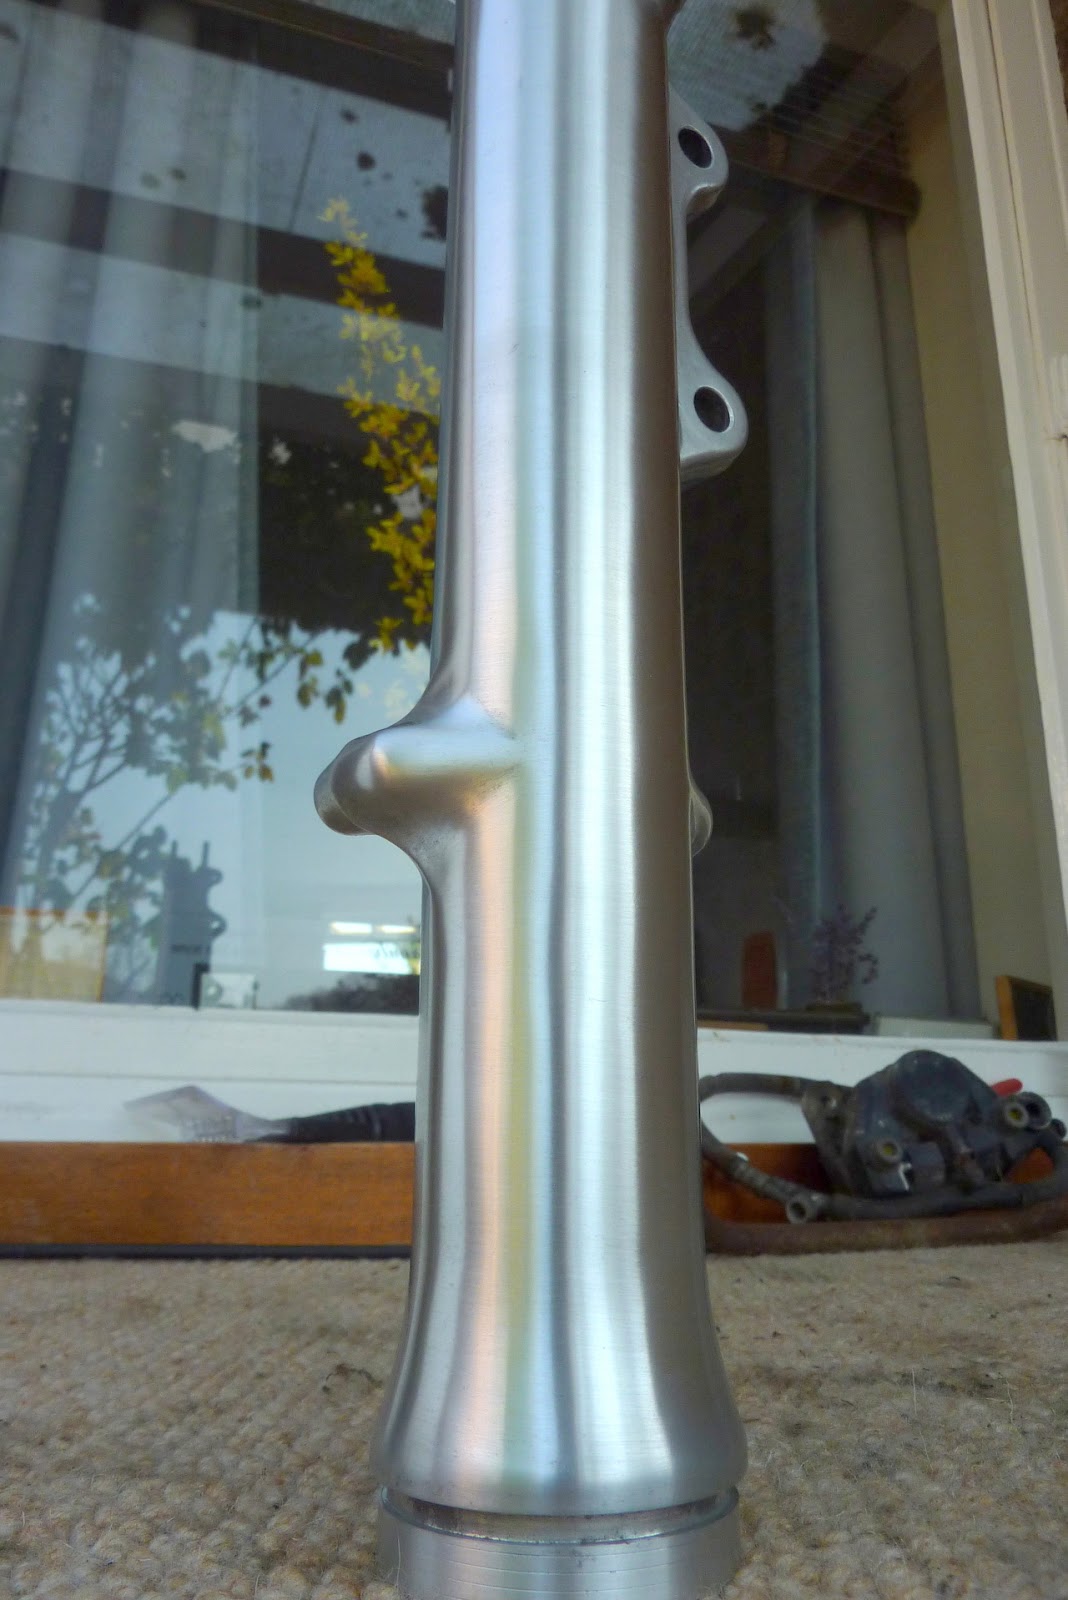
I played with a Scotchbrite pad on one of the forks and am pretty happy with the results. The green pad is enough to scrub away the yellowing and peeling clearcoat, but is not overly abrasive. A few quick oriented swipes puts a nice machine-like satin finish on them. I just did a small spot so there is plenty to do before taking pics.

I ordered Sonic springs and new fork seals, so one of the next projects is a fork overhaul. I need to remove and re-bend the bracket for the gauges and straighten out the front fender.

I'll get some pics posted in a day or two, but nothing is really complete at the moment.
 
Last edited:
Scotchbrite is the way to go for those fork lowers. I was able to go from this:

P1070134.jpg


with a lot of elbow grease but you are better off stripping the varnish first:

P1070138.jpg


eventually it will look like this (keep doing the scotchbrite horizontally):

P1070119-001a.jpg


P1070127-001.jpg


When they are in this state they are very susceptible to being marked; even by fingers and they will retain any grease and dull over time. My solution was some 2 K clear laquer.

I don't know anything about coils so I am following your progress on this. Make sure you put in all the extra ground loops from rectifier to battery and from battery holder (where the black and white wire is attached) back to the battery terminal.

Did you get a vacuum gauge to do the sync? Makes a huge difference.

This is what mine sounded like before synching. It could also be valve adjustment if it is only happening on one cylinder:


Greetings
 
The major work: carbs removed, disassembled and soaked, and reinstalled, valves adjusted, and carbs synchronized. I utilized one of the advertised services in the Classifieds section and got a lot more than I bargained for. Which is the biggest understatement of 2014. :)
If that is a complaint, I can see that the 'bargain' is adjusted. :-k


Did you get a vacuum gauge to do the sync? Makes a huge difference.
Yep, genuine mercury 'sticks' were used. :encouragement:

.
 
Scotchbrite is the way to go for those fork lowers.

When they are in this state they are very susceptible to being marked; even by fingers and they will retain any grease and dull over time. My solution was some 2 K clear laquer.

I don't know anything about coils so I am following your progress on this. Make sure you put in all the extra ground loops from rectifier to battery and from battery holder (where the black and white wire is attached) back to the battery terminal.

Greetings

Thanks, your forks look beautiful! I think I ran across one of your posts before and remember the thing about a final coat of some sorts. I don't know what I'll use yet, maybe wax, maybe clear coat.

I have a thread in the electrical section for the coils - there is some good feedback there. I know one of the plug caps is bad and am thinking the heat may have gotten to one of the coils. I will update when I get it figured out and have some pics of some progress.
 
Well the excitement continues:

The front wheel is not straight, off to the right by quite a bit (which was constant as I rotated the wheel around). My initial thought is that the top clamp is twisted but I won't know for sure until I get to removing that. The speedometer is totally smashed and was held together with electrical tape, and the mounting bracket for the gauges is FUBARR (recognition and repair).

I don't see any indication of a bent frame, and none of the forks just yet. The forks legs are on different angles - the right fork does not reach as far forward which is causing the wheel to be angled to the right. It seems to be constant with the top clamp being twisted (in the direction of someone pulling the left fork out/up). The front fender was pretty banged up so I couldn't really see the wheel misalignment until it came off.

I was excited when I went to buy this bike, and also inexperienced and alone in the dark and rain. I don't have any regrets or anything, mostly thanks to all the help available from this forum, although if I had known any better I'd have paid less for the bike and not spend so much money on stupid stuff like shiny bolts and fresh rubber pads, at least until the bike is safe and running right.

But really, no worries, just more stuff to fix :) Hopefully I will have enough time and money to get it done before the beginning of riding season. Which I think I will.
 
Last edited:
I made a small amount of progress on the front end and also took some pics.

First, the carbs have been overhauled and reinstalled. This is largely due to the work of Steve. Fortunately or unfortunately Steve must have a lot of trip hazards in his shop. I don't know how many times he tripped into the polishing wheel but there are shiny things in places one might not expect :)

After the carbs the next project is the forks. I got new bars and want to do some brake work so a complete removal of the front end seemed appropriate. It all went quickly and smoothly barring the roller bearings and races which I won't tackle until I know what my plans are for the steering stem.

I learned the steering stem (lower) is the bent culprit, despite no visible indication of any damage. The steering head is fine - I checked both independently with the forks and confirmed with a bench test. I have line of site to a replacement, and also a some spare parts for the smashed speedometer. Between the speedo, bent steering stem, and likely the replacement forks that are on this bike, I hope whatever accident it was wasn't a loss of life :/

Some good news: the dust boots on the forks look relatively new, and since there hasn't been any sign of fork seal leakage I believe the forks were serviced when they were installed on this bike after the wreck. I think I'm going to leave them alone for now - I did buy new seals but realized I really don't need to completely overhaul everything right this minute :) . That being said, they will get cleaned well, new springs, etc.

Londonboards was spot-on with the raw aluminum finish. The forks looked great (the spot I cleaned) for a few days but between my oily hands and the aluminum oxidation, the look is fading. I'll have to figure out what to use for a top coat pretty soon.

Also good news: the front calipers are in good shape. A touch of surface rust on one piston but I think it will be no problem removing it, maybe with a little vinegar and elbow grease (although I will double check the material of the piston and see if its compatible with the acids in vinegar). The boots are all in decent shape, the only thing that I need is one spring and one guide pad. I'm still debating what to do for the hoses; I would like to replace them - some days I want rubber and some days stainless braided, yet other days I think I should just keep the stock ones. I know what they say about old hoses, but, they seem pretty decent.

I need to learn about cleaning brakes. My initial plan was a complete tear down and soak, and likely a paint job afterward. But being that things are in as good of shape as they are, I don't know if I want to pull the main seals and risk damaging them, however I imagine the cleaner isn't the best thing for the rubber. So a little research is needed before I get started on that.

The other thing I have to work on is a new stator cover gasket. The PO hacked in a new stator but made an RTV mess of the gasket (also the secondary drive oil). I got a new gasket from Z1 and would like to get that fixed, so I can drain and re-fill the oil with the right amount (overfilled likely due to the PO's oil troubles). Of course, pulling that cover means removing the engine guard which means supporting the engine, so that is likely a post-Christmas repair.

Here are some pics:


Last edited:
Here is a preview of what the forks looked like, and what might happen with a scotch bright pad. I hit this fork a second time with a 'no scratch' pad, but of course it left some scratches. On my first pass I was good about the direction I was working in and it looked really good. I will fix it. And, the front calipers are below.


Last edited:
Here are the beat up front end parts. The speedo face looks great so hopefully I will get a new housing and bracket and all will be well. This bracket is sad. Below is my bench test of the steering stem. I have straight edges mounted on the fork braces. You can see that the straight edges are on different planes in the picture of the lower stem. The two planes are very close on the upper stem. I believe I will be getting a whole 'new' steering stem from the same member with the speedo gauge and I am excited about all that :)


Last edited:
And finally for today: shots of the oil mess. In addition to the engine cases, the RTV tube I mean tach seal was leaking all over everything. After my first real ride on this bike I came home with oil everywhere and the whole bike smoking. I thought I was in for a disappointment, but that one little seal seems to have fixed a lot. You can see the mess it made of the ignition coils. Which, by the way I tested out and got significant differences between the coils and found bad plug caps. A GSR member was kind enough to send me a replacement set of coils, and I bought some new caps which I may hang on to for the moment.


Last edited:
Thats such a shame!! Sorry to see your problem here! When I started work on my restoration, this looked like it happened to my bike with the previous owner...im still trying to get the oil off myself! I hope you fix that seal soon and it all works out.
 
Dang Joe. Sorry to hear about your misfortune with the bike. Glad to see some positive progress is being made. Hang in there buddy.
 
It is a shame that people let things like this happen, but I am grateful to have such a cool bike and to be the one doing the rescue. The biggest challenges for me are prioritizing and staying focused on a small number of projects at once. These recent findings are a good reminder that I need to focus on getting the bike to run and ride right before concentrating on smaller details.

I bought my first house 2 years ago this month - it was a foreclosure and I have been doing the major renovations mostly by myself. It was only recently that I have been able to make time and space in the garage to start wrenching on things, so right now I am deeply enjoying the opportunity to use it.
 
These came in the mail yesterday :) I was a little surprised to see the difference in length, but I quickly realized how soft the old springs by how much I could squeeze them down before getting any substantial resistance. The new springs are 1.0 kg/mm (56 lb/in) and feel (by hand) like I would imagine a new suspension component should feel like, as opposed to the old springs which feel like a piece of Skyline spaghetti :rolleyes: I don't know if the old springs are stock or replacements - they are not constant rate springs but they were too soft for my liking.

 
Last edited:
Well, I am starting to find some time to get working on the bike again. I've got a lot of house projects going on, and lately my truck was needing way too many repairs and consuming all of my free time. I just bought a brand new truck so that should be the end of that.

I got my steering stem components out on the bench last night and had a tough time getting the races out of the frame (lower) and off the stem itself. I used a little heat on the steering stem, though I didn't get the race red hot, but either way it didn't come off. That was with a 20oz hammer and some nail punches. Today I will try a 4lb hammer and a cold chisel.

The lower race in the frame is tough to access. One idea for a tool was to use a long socket extension, but I am open to better ideas that don't cost a lot of money. I did post a new thread on this topic - I don't have a lot of free time and thought that would get me the most amount of replies in the shortest amount of time.

This past January I started working with some new budget tools given to me by a friend. As such, my focus has been shifted largely to getting out of debt and not buying lots of new parts or other toys for my bike. 'Luckily' I bought most of that crap before then :) I will buy what I need but I also want to make due with what I have wherever it makes sense. So this is going to be a repair/overhaul thread rather than the restoration it was turning into. That will happen some day, but not until a few more debts are paid off.
 
So, this poor bike sat in my garage untouched for way too long. I have a few too many projects going on due to buying a foreclosure in much worse shape than the bike, LOL. After making some good progress on my home, I'm back to working on the bike:

I've got new steering bearings installed - I may have been over-thinking the lower race (I over-think everything) as I didn't like how it seated, but with things relatively reassembled, the front wheel turns very smoothly with no perceivable play. I've looked at a skeleton of a bike in my garage for over a year, so now walking in and seeing something with a front end that resembles a motorcycle is exciting!

With the front end apart, I installed the new Sonic springs (100lb, 15wt oil). I didn't go all the way to the seals as there were no signs of leakage and all the boots and seals looked to be in almost new condition. My focus right now is just to get the bike running reliably, and I want to break up the full refurbishment into separate smaller projects. The point being that I know I'll disassemble the front end again at some point and can address the fork seals at that time. Doing only the front end is not a huge project, but trying to rebuild and clean up an entire bike is a bit much :)

The front calipers have new seals, but I forgot to order a dust boot so that project is on hold. I did blast and repaint the calipers while they were apart, but unfortunately I started rushing as it was getting dark and starting to rain, so we'll see how the paint holds up.

Putting together the front end meant starting to route the electrical. I can't help but to think about the Capital One commercials: "What's behind your headlight?!" LOL. Geez! I've got a few loose ends in there that I need to find the mating ends to - which is where I'm starting today. I'd have to look again but I think there's a double brown bullet connector that I can't find the ends to, and also the B/W leads from the turn signals (there was another single B/W set of connectors?) I have to look again and will take pics if I get stuck. I started following the rest of the electrical system around, and with the help of the manuals and diagrams believe I was able to figure everything out. I got hung up on the R/R wiring which had been butchered by a PO, but once I found that W/G connects to W/R, I remembered something about recommended changes, and came to the conclusion that all that gets bypassed with a new R/R (which has 3 yellow wires going straight to the magneto, and a red wire to the ignition circuit). As it sits, the stock magneto leads (W/G, W/Bl, Y) were spliced and cut near the bottom of the tank, and the R/R leads (W/R, W/Bl, Y) have aftermarket connectors and are hanging loose along the upper frame under the seat. I believe both of these sets of wires can remain disconnected...?

I can't thank the members of this forum enough - from BikeCliff and BWringer (for manuals and diagrams) to Steve (for priceless help and camaraderie) and everyone else. Working on these classic bikes is a lot of fun, and it's amazing what we can do with a little maintenance and a lot of blood, sweat and tears. I found this site last night which is incredibly inspiring - I think I ended up with the coolest bike there is! (Thanks to a visit with Steve for showing me the 1000G - I was dangerously close to buying another L! :rolleyes:) http://www.bikesrestored.com/10424/suzuki-gs1100g-1982/

An image from the above link for inspiration, since this post is next to worthless w/o pics:
1100g Inspiration2.jpg
 
A little summary of where I'm at:
I heard there was a rally coming up about 2 weeks prior, so I scrambled to get the bike roadworthy in that time. I fell a little short but didn't want that to stop me from going, so I rented a trailer and packed my bike and parts:
SAM_2661_w600_zpsk11c9dpw.jpg

IMG_4813c_w800_zpszv8y2dw4.jpg

IMG_4819c_w800_zpspy6w037z.jpg

SAM_2677_w800_zpsbvmdkakm.jpg

SAM_2672_W800_zps8y0xmfyi.jpg

Mine is the one nearest the camera.

Just as the bike was ready for a test ride, the starter went out. I was able to bump it and go for a ride, and now have a loaner starter in there while I wait for parts to rebuild mine.

So I had my first ride at the rally with Redman (who was generous enough to change plans leaving the rally to make sure I got a ride in), and I was on the bike to and from work yesterday (8 miles to work, 25 to get home :) ) It was such an awesome evening for a ride, and I'm really happy to be back on 2 wheels. This bike was the right choice and I love it. The engine is an animal! I LOVE the power band - this bike can cruise around quietly all day in 5th gear, or launch me out of my seat in 3rd. It starts easily and idles perfectly, and just about everything on the bike is working. There are a few remaining near-term needs:

*The forks are not parallel - I don't know what happened but that was the point of buying a new (used) set of clamps. I'll try to see if I can loosen things up and adjust it out, but I have the feeling I'll end up taking the forks out again and checking these clamps more closely. I thought it was just the top one that was bent so I'll have to see what the bottom one looks like.

*Starter needs a rebuild kit.
*Carbs need a sync - this was done when the bike was running on 2 cylinders, but should be done again. There is a little popping when I slow down in gear, I'm not sure if the carb sync will help or not. There's also some vibration in the bars which I believe could be related.
*Rear brake froze yesterday - I haven't taken it apart yet, so that apparently needs to be done.
*New cables and upper brake hose to work with lower bars.
*Seat cover
*Repair or replace right side mirror

I'm finding out that it's really hard for me to stop fixing things. My goal is to get to a point where I can be comfortable in whatever condition it's in and save further projects for when I have some down time.
 
Back
Top