E
ExcelDominus
Guest
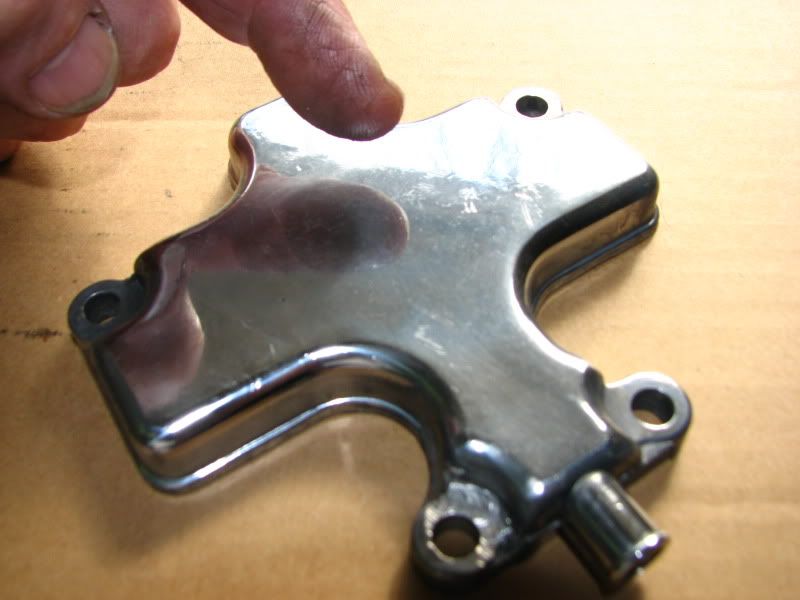
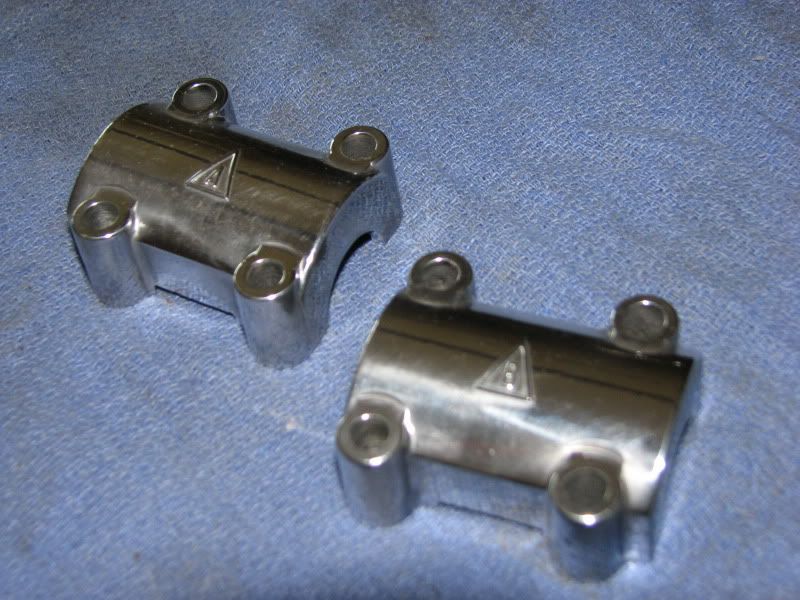
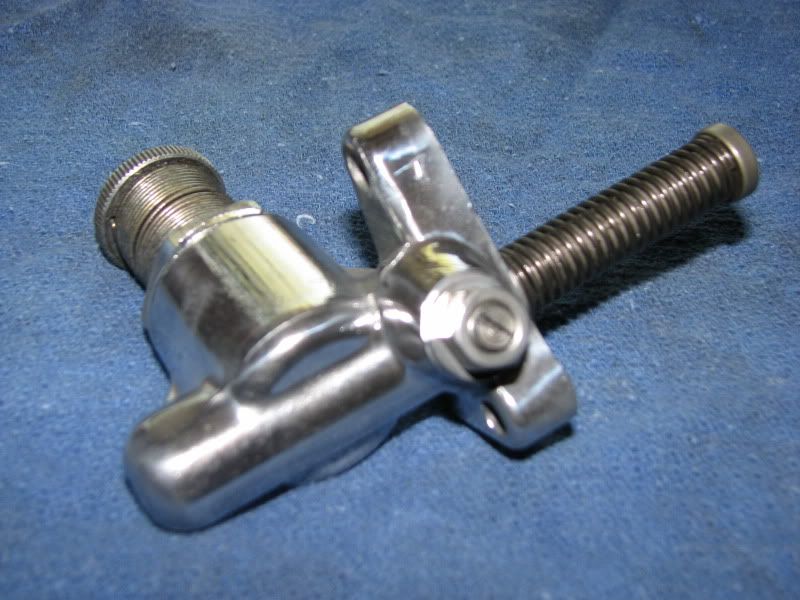
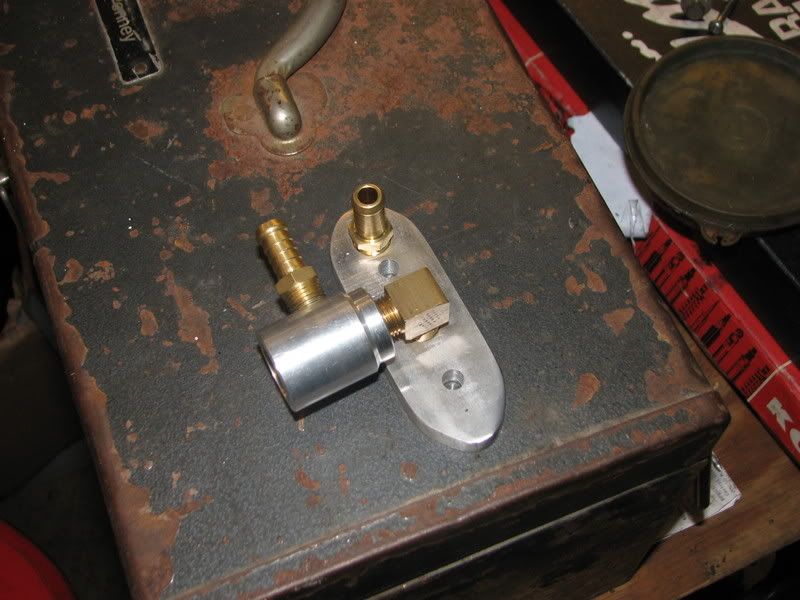
So since I'm on spring break and I can't my tires replaced for like two damn weeks and since I sold my Shadow on Friday i felt i need to be productive in some measure. So naturally the wifes part bike became my test subject. I've never polished aluminum and decided to give it a try. After stopping by Harbor Fright and picking up some cheap wheels and grey and white compound i went to town. How much compound should I use and how do I tell once a wheel is used up? They turn straight black right off the bat and I have no idea what a used up one looks like... Does anyone have any suggestions on how to get the fins relatively easily without breaking out the tiny as brushes? I'm thinking maybe my dremmel? Also, those damn spark plug areas...?That seems hardcore OCD to me though. I'm planning to keep the bike long term so it's going to be slowly overhauled. Next winter I'm planning on tearing it down for painting and redo the wiring.