• Required reading for all forum users!!!

    Welcome!
    Register to access the full functionality of the GSResources forum. Until you register and activate your account you will not have full forum access, nor will you be able to post or reply to messages.

    A note to new registrants...
    All new forum registrations must be activated via email before you have full access to the forum.

    A Special Note about Email accounts!
    DO NOT SIGN UP USING hotmail, outlook, gmx, sbcglobal, att, bellsouth or email.com. They delete our forum signup emails.

    A note to old forum members...
    I receive numerous requests from people who can no longer log in because their accounts were deleted. As mentioned in the forum FAQ, user accounts are deleted if you haven't logged in for the past 6 months. If you can't log in, then create a new forum account. If you don't get an error message, then check your email account for an activation message. If you get a message stating that the email address is already in use, then your account still exists so follow the instructions in the forum FAQ for resetting your password.

    Have you forgotten your password or have a new email address? Then read the forum FAQ for details on how to reset it.

    Any email requests for "can't log in anymore" problems or "lost my password" problems will be deleted. Read the forum FAQ and follow the instructions there - that's what we have one for...

  • Returning Visitors

    If you are a returning visitor who never received your confirmation email, then odds are your email provider is blockinig emails from our server. The only thing that can be done to get around this is you will have to try creating another forum account using an email address from another domain.

    If you are a returning visitor to the forum and can't log in using your old forum name and password but used to be able to then chances are your account is deleted. Purges of the databases are done regularly. You will have to create a new forum account and you should be all set.

Saying hello and sharing my 1980 GS750 Project

  • Thread starter Thread starter ccsdesign
  • Start date Start date
C

ccsdesign

Guest
Hello to all,

I have been browsing the forum for some time now and have been extremely impressed with the wealth of knowledge shared by community members. First of all, thank you all for providing this fantastic resource!

My name is Chase, I live in Colorado and am working on a 1980 gs750 that was given to me by my step father. The bike had been sitting in our yard back home for some years.

Project snapshot:

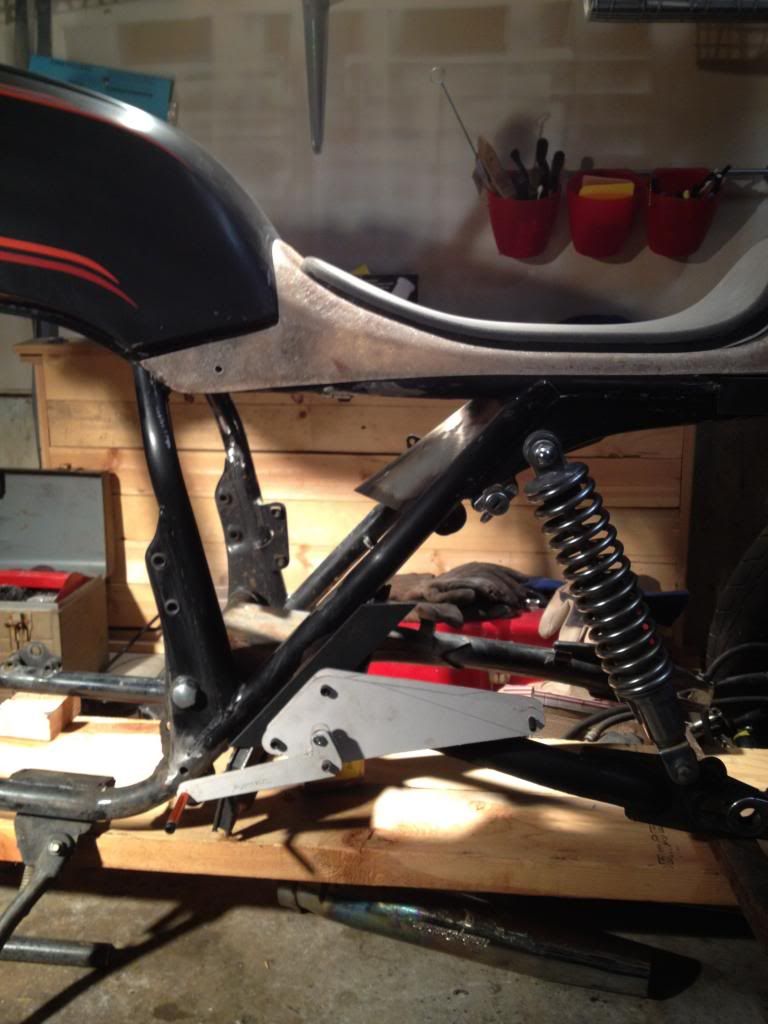
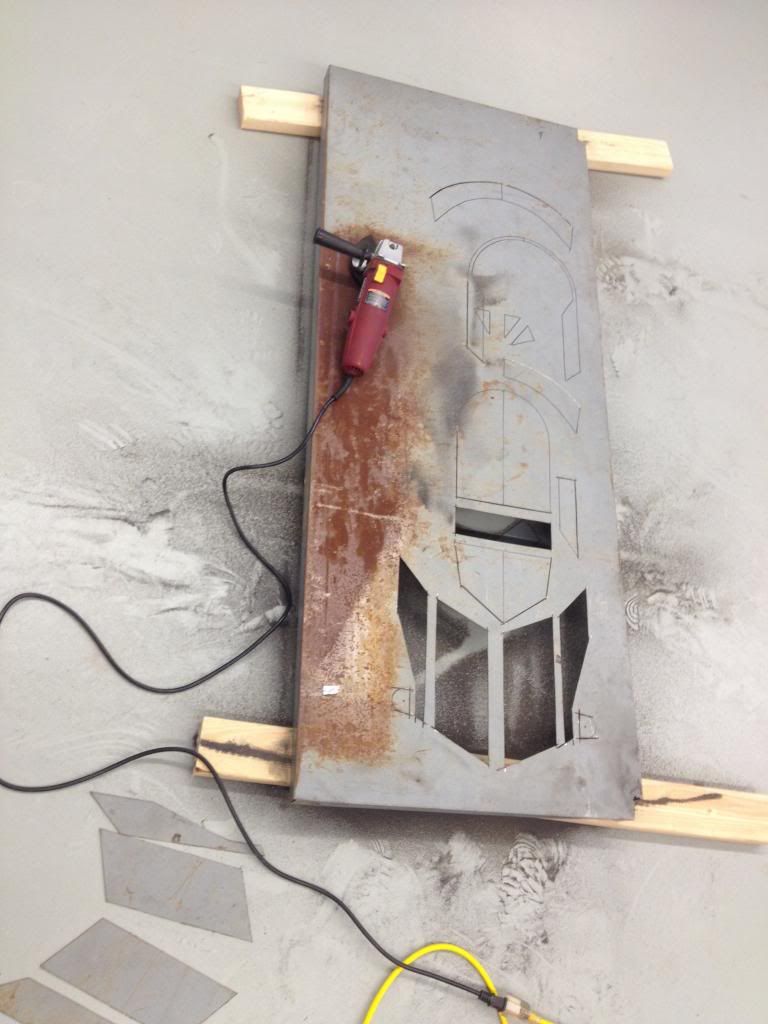
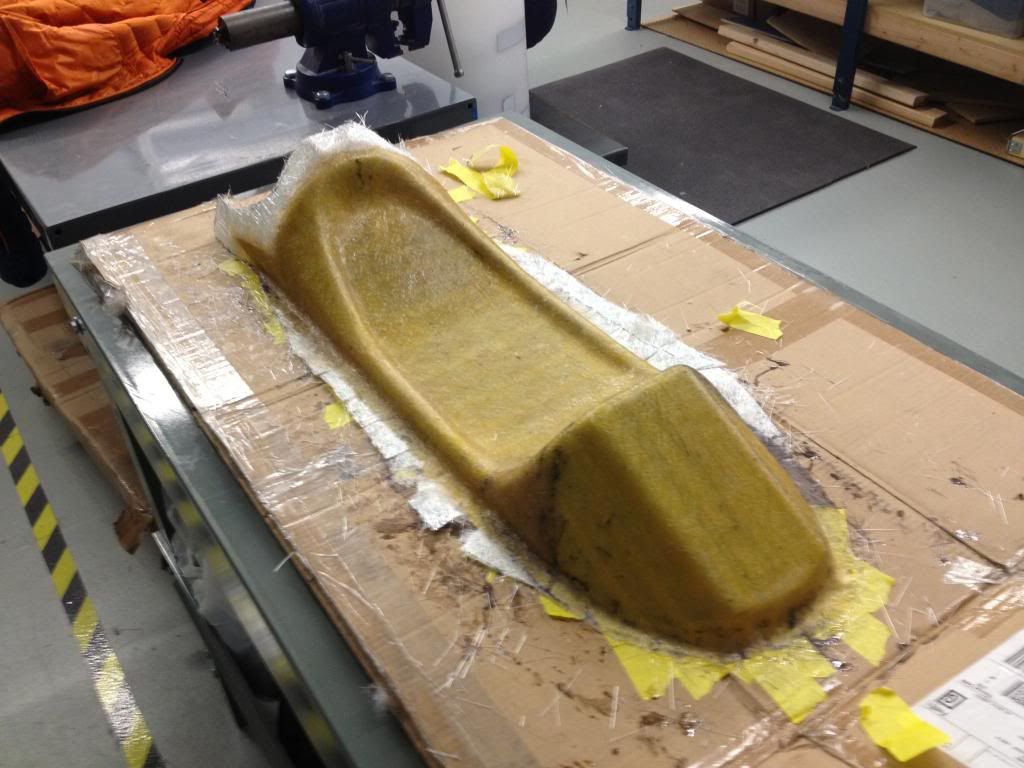
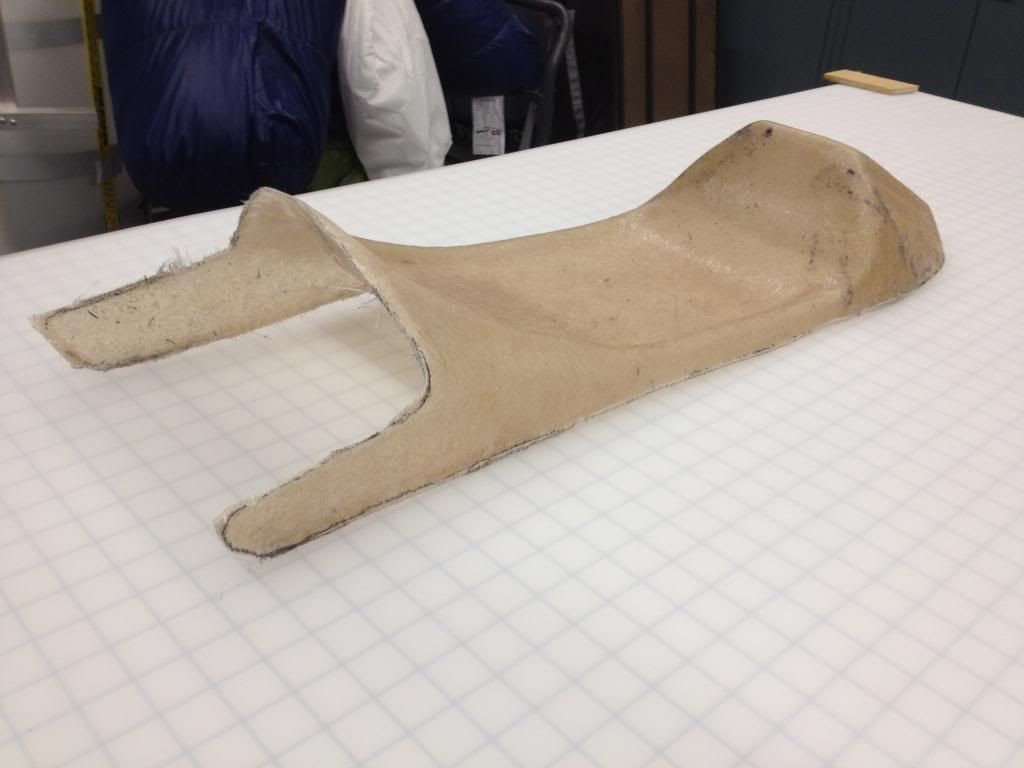
I am making a fiberglass seat pan/rear cowl

Fitted a tank off of a 1980 cb750 super sport

I will be shortening lines and cables
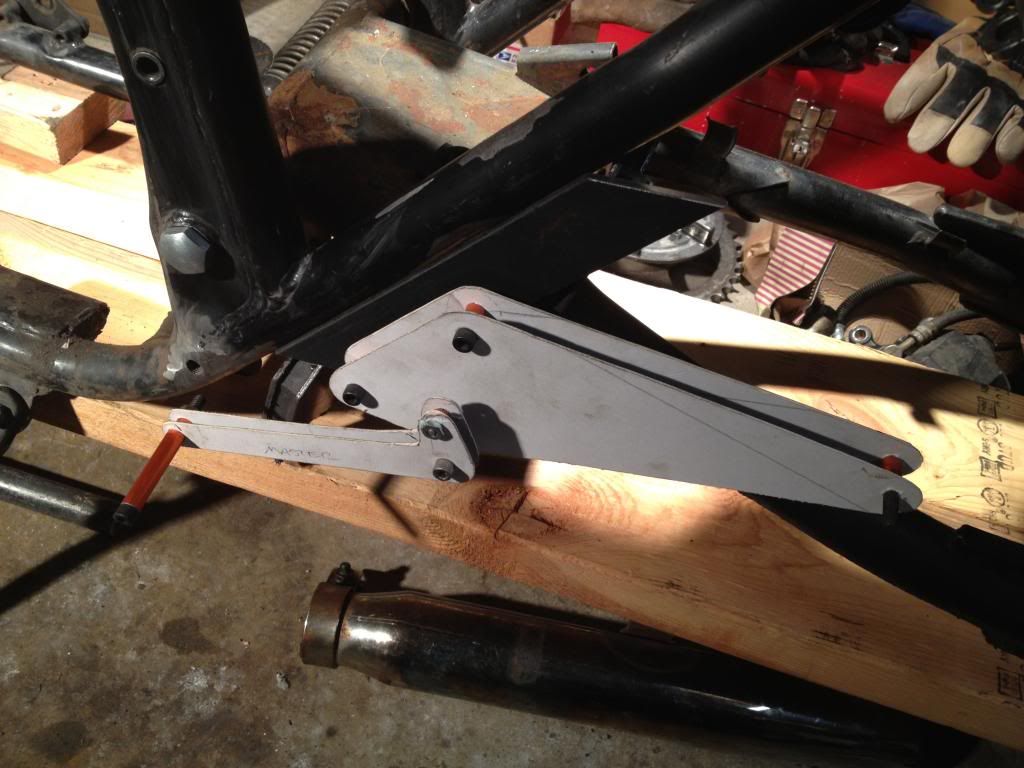
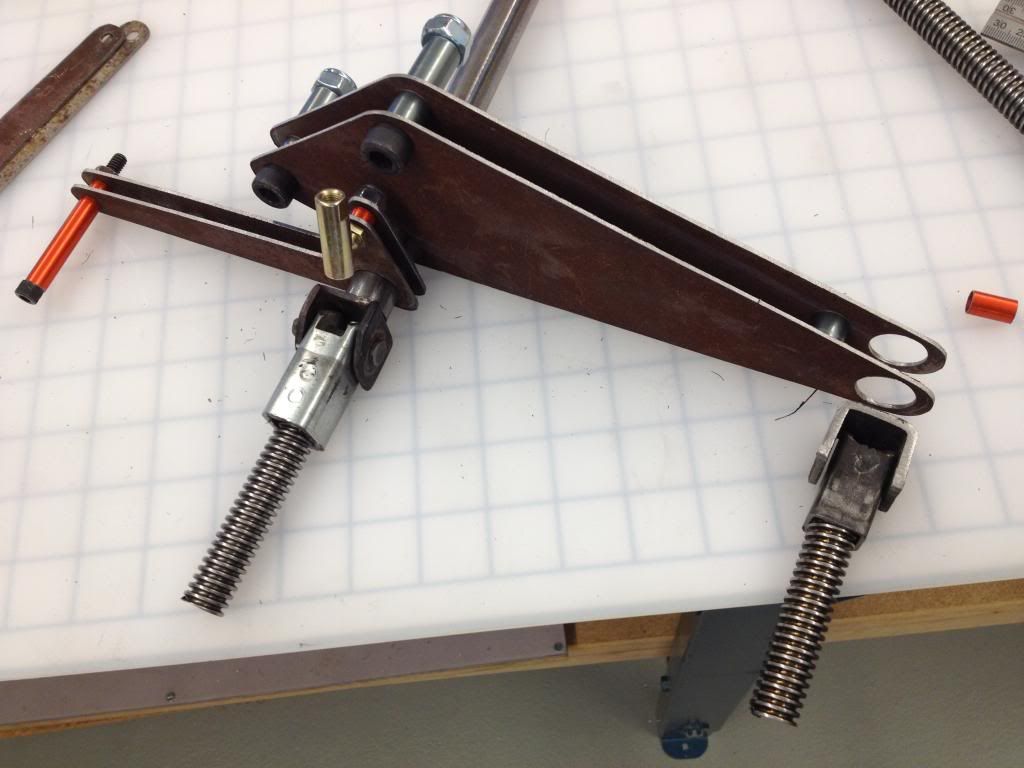
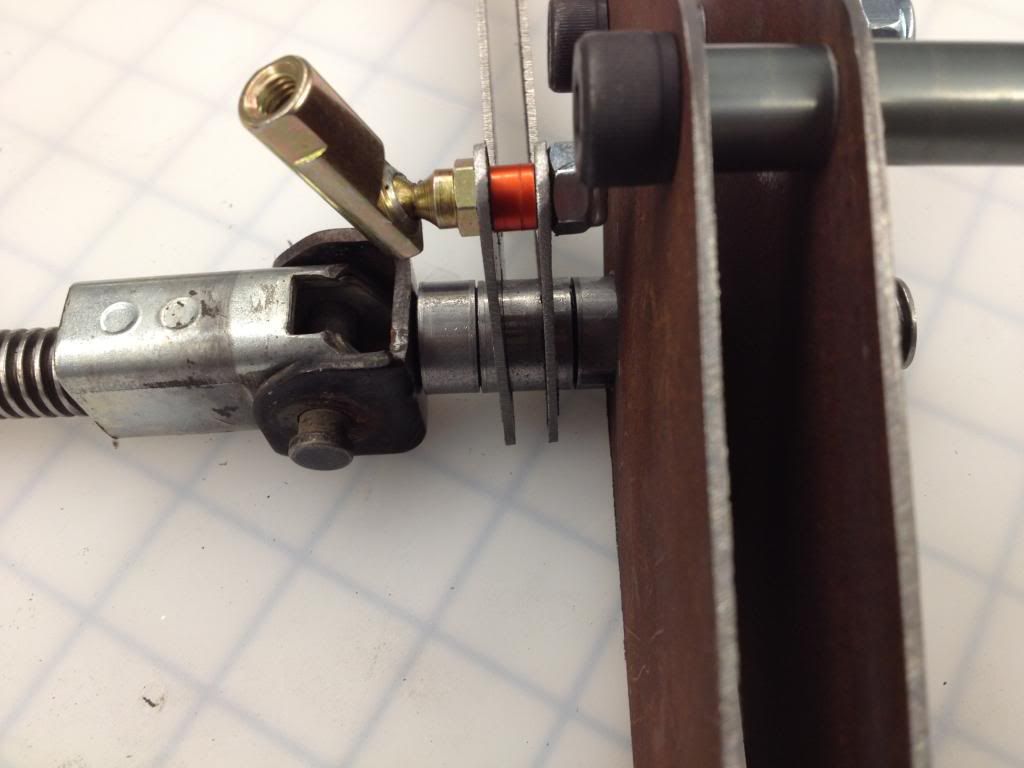
making rear sets

Blending the frame

Painting

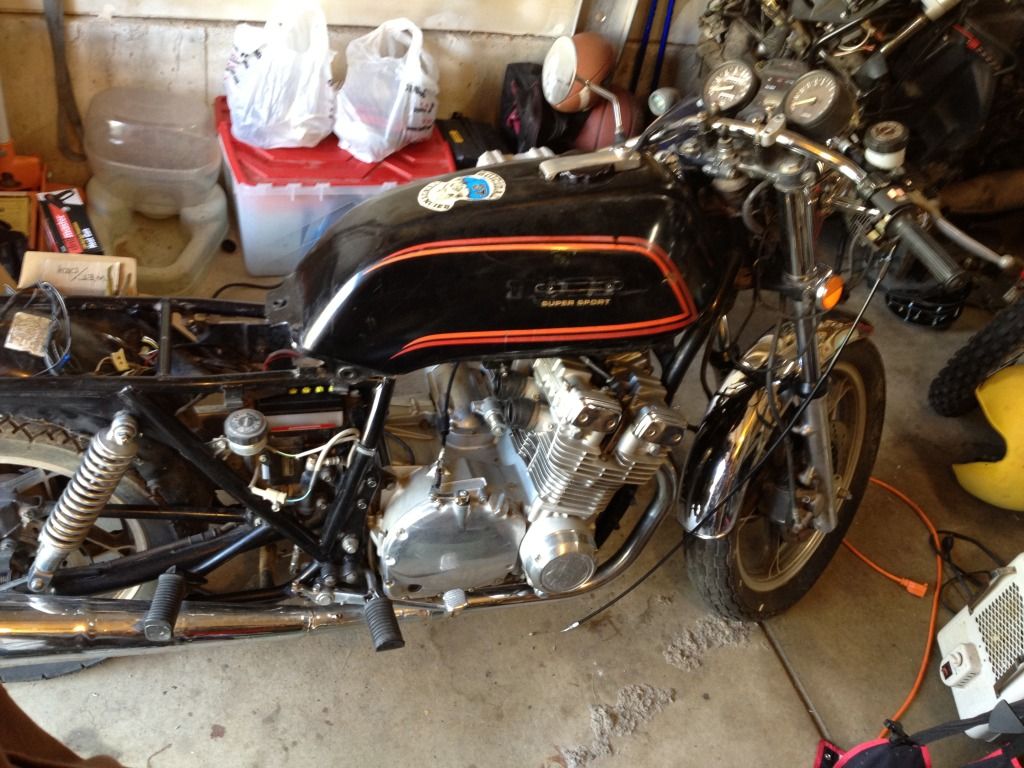
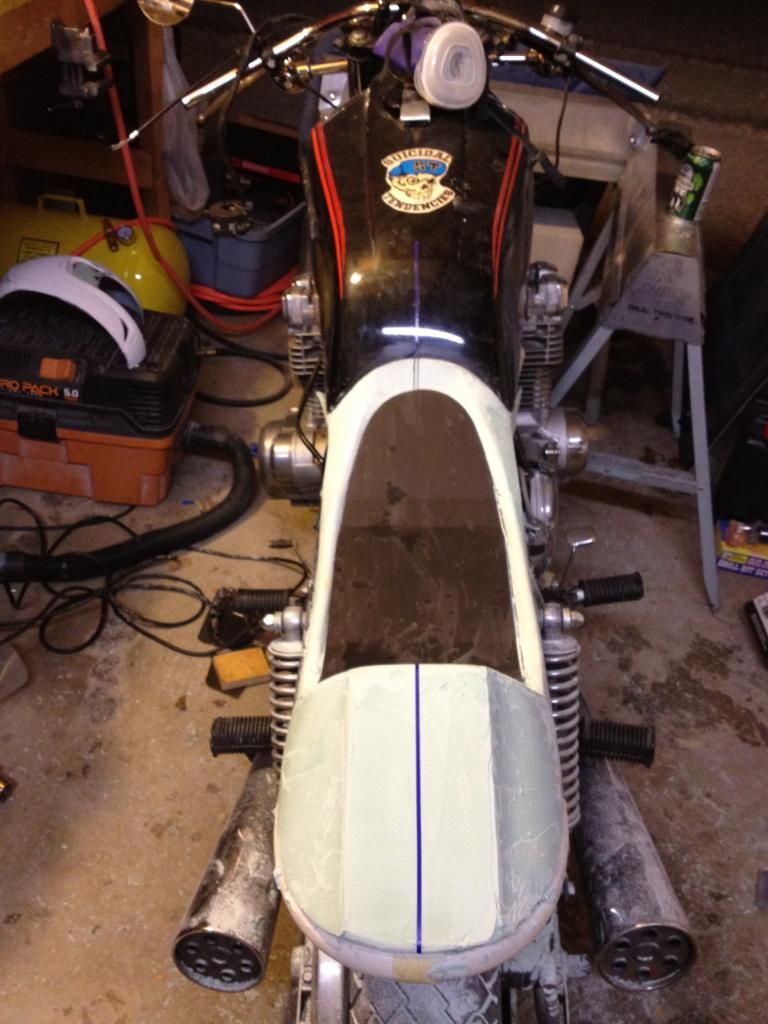
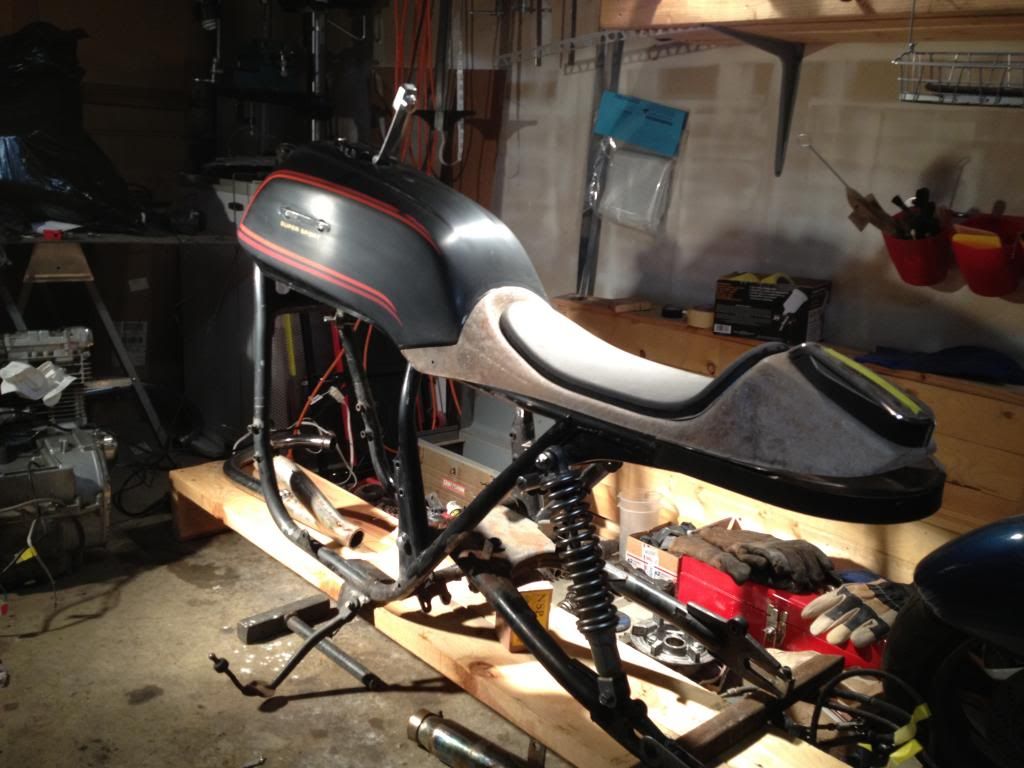
Shot of the bike after getting things sorted out

IMG_0789_zps986d68d4.jpg


CB750 Tank Fitted

IMG_0956_zps09e56f38.jpg


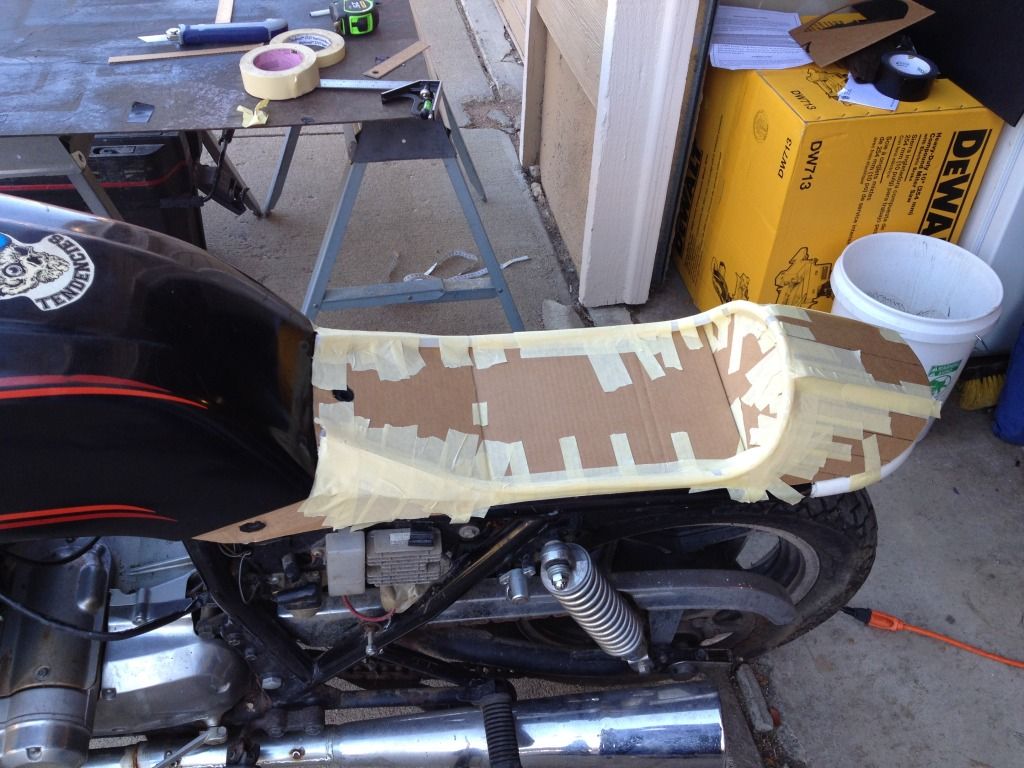
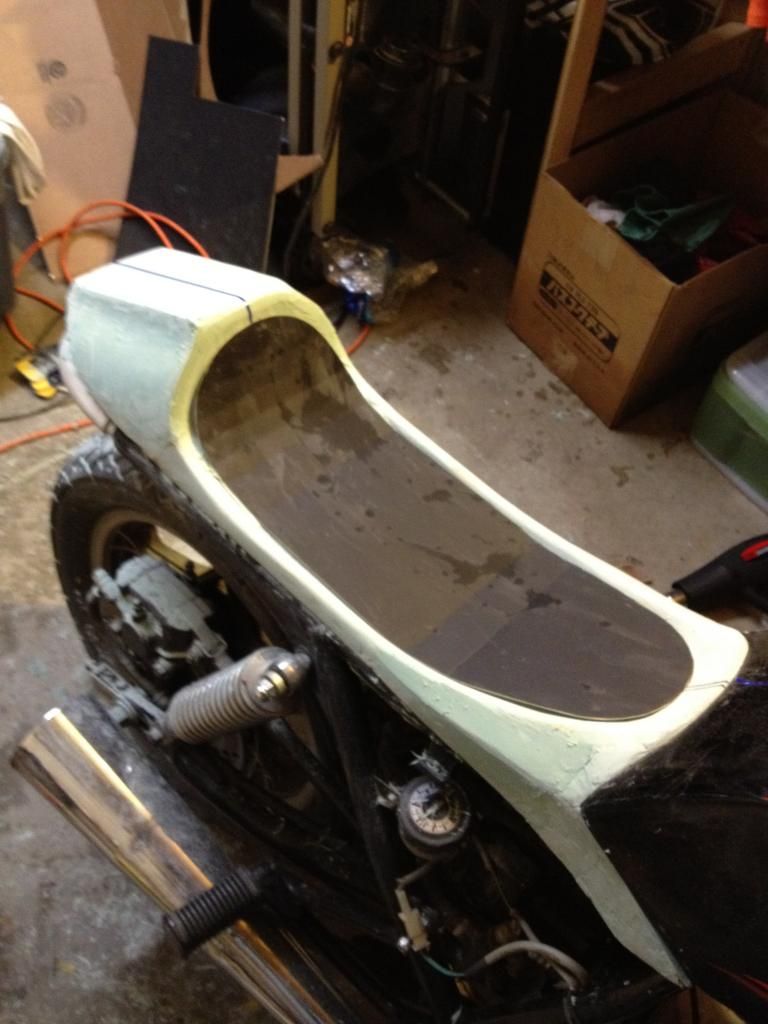
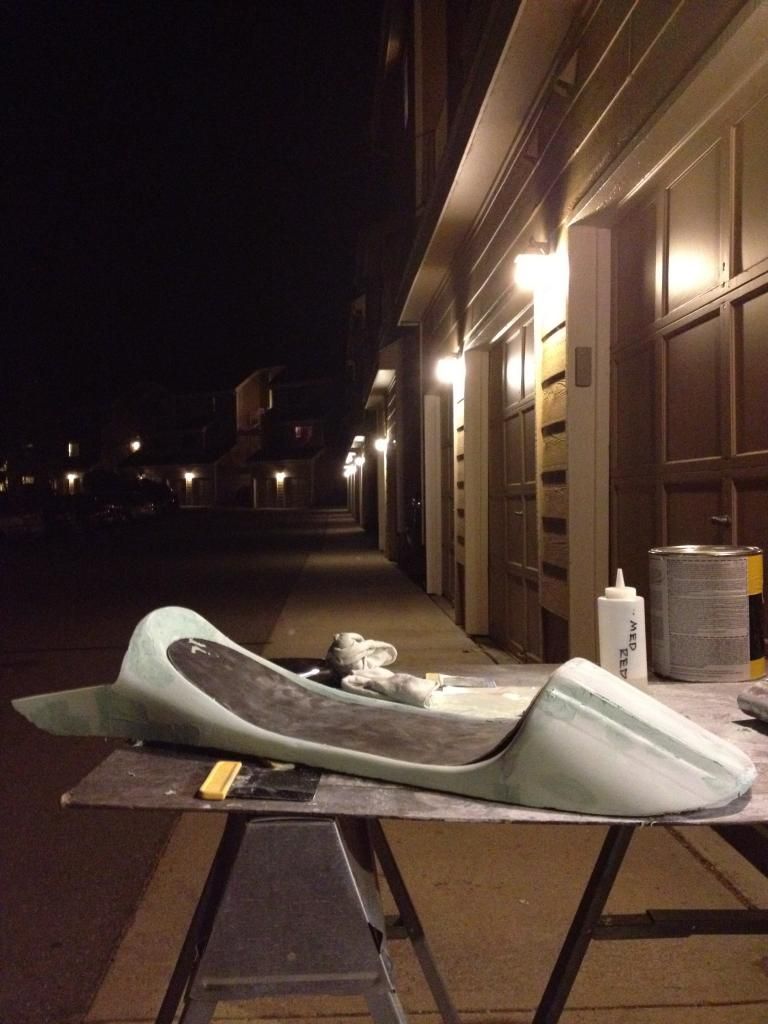
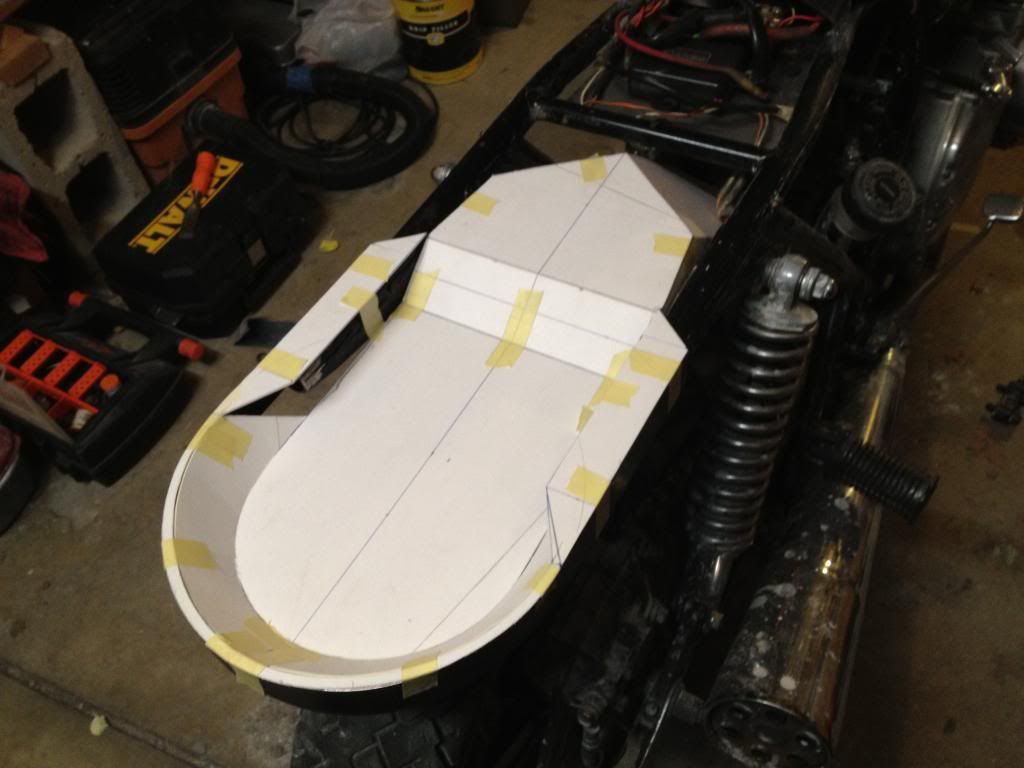
Mockup of the rear cowl

IMG_0972_zpsaaf1038d.jpg


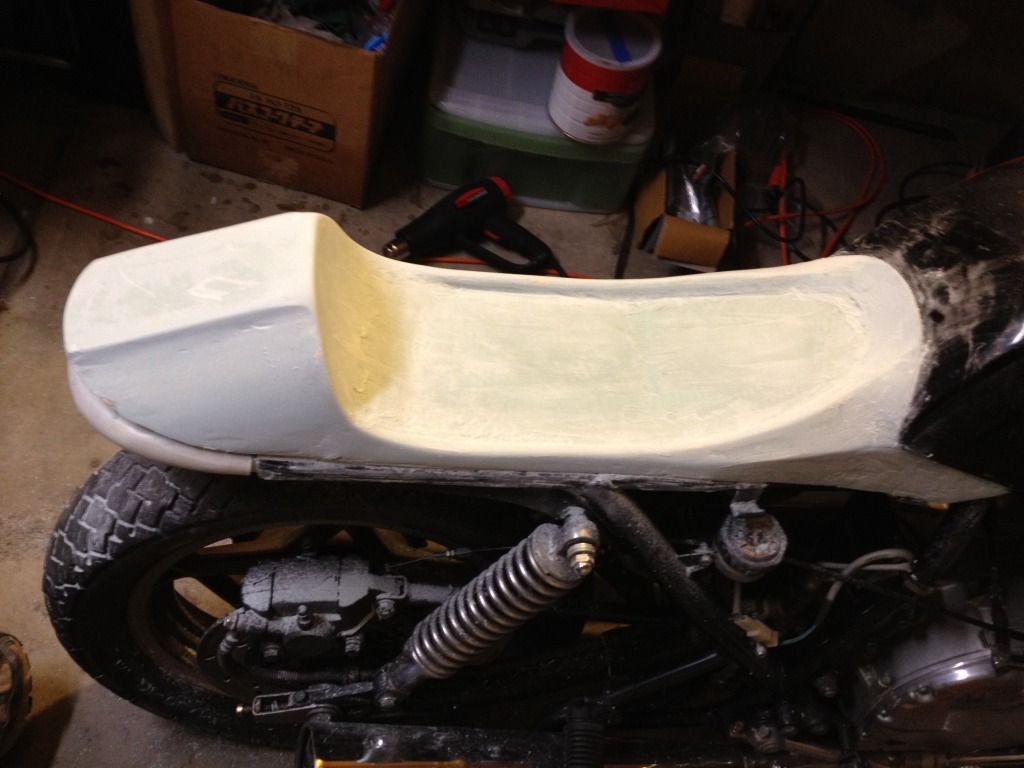
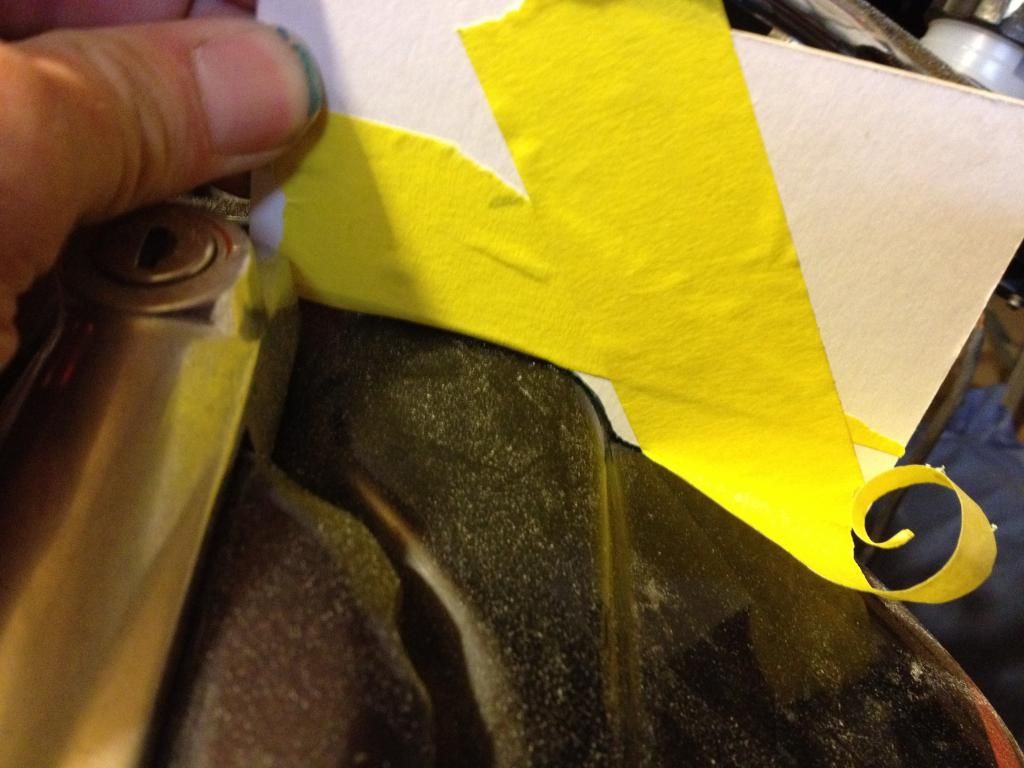
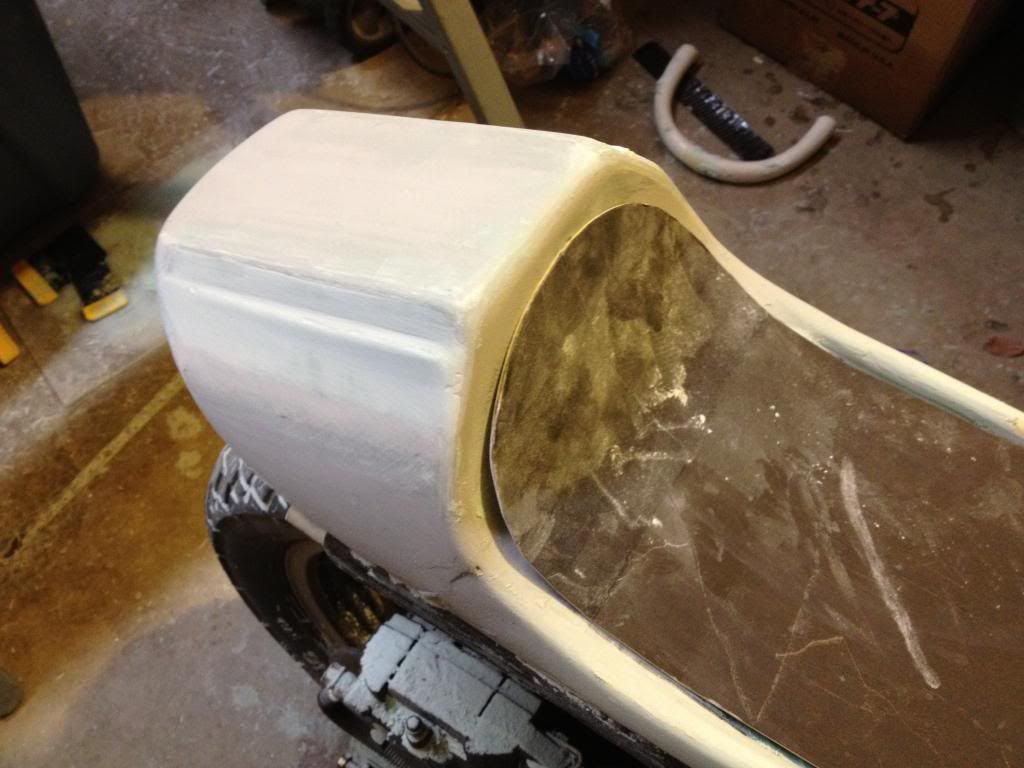
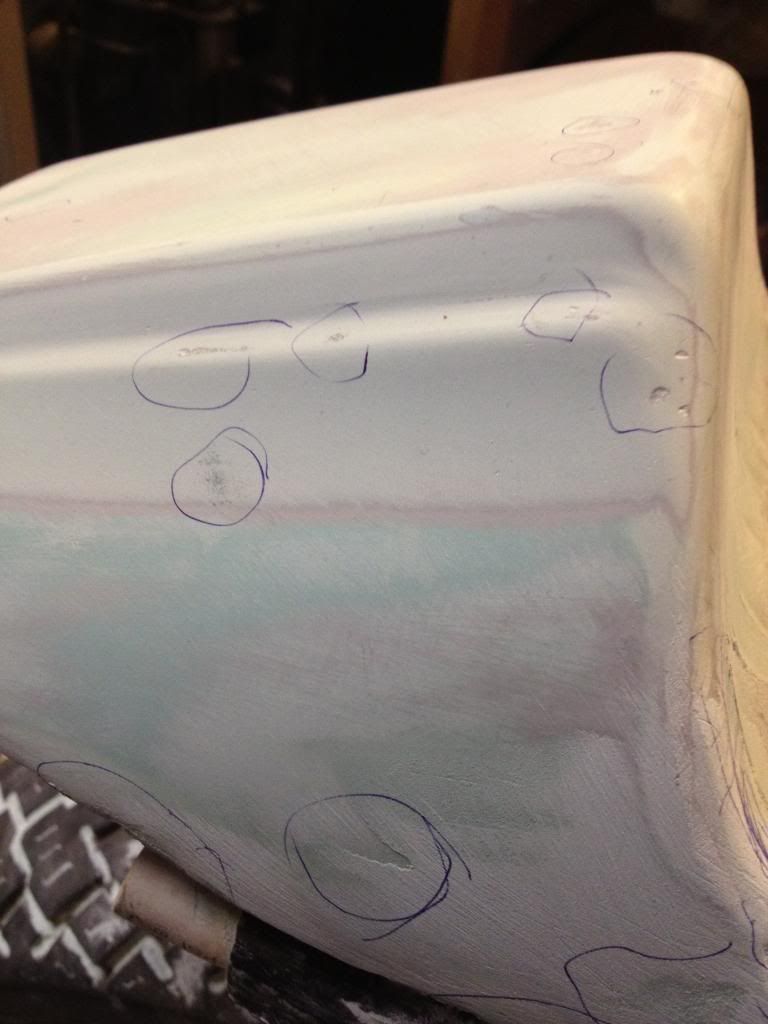
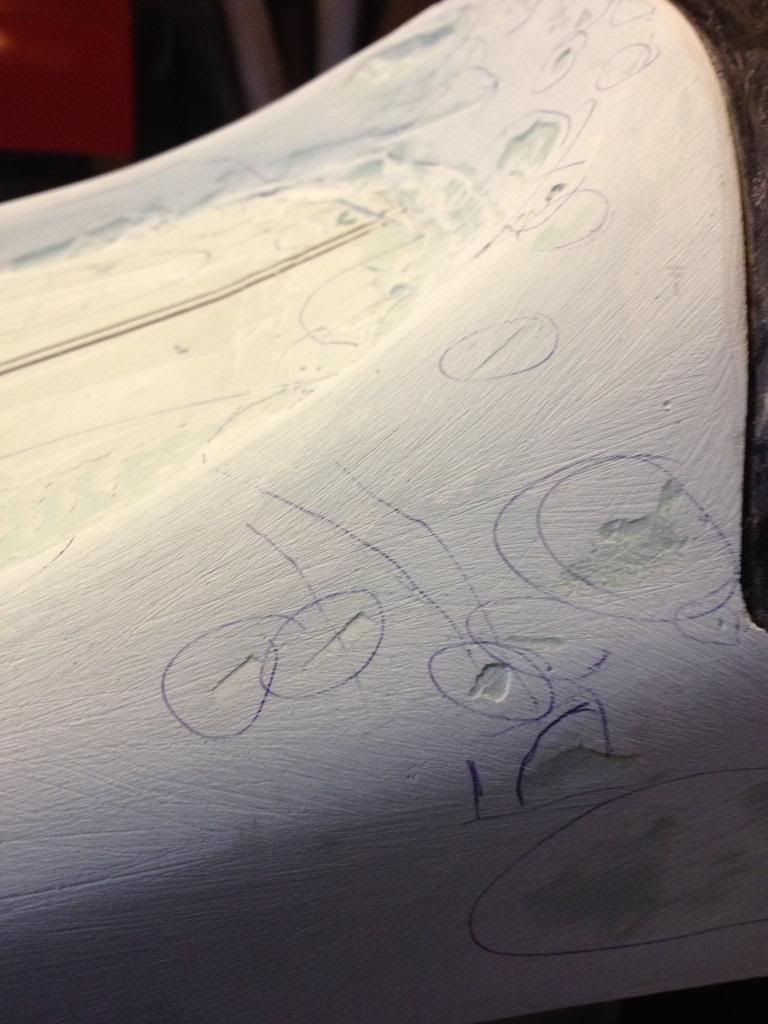
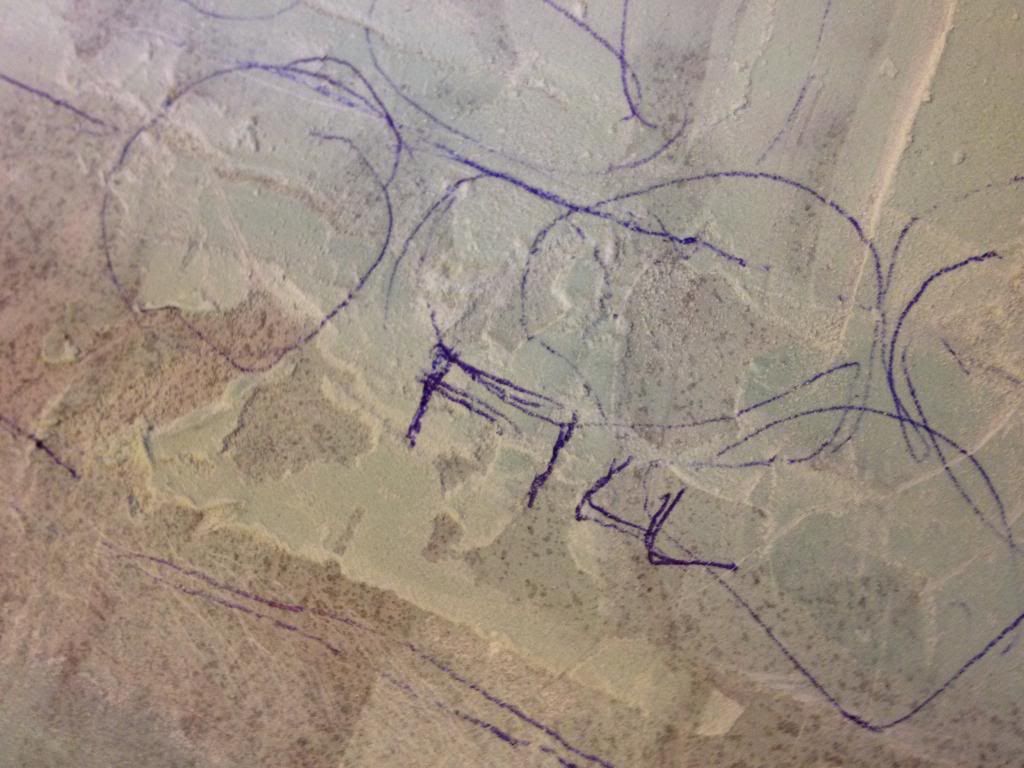
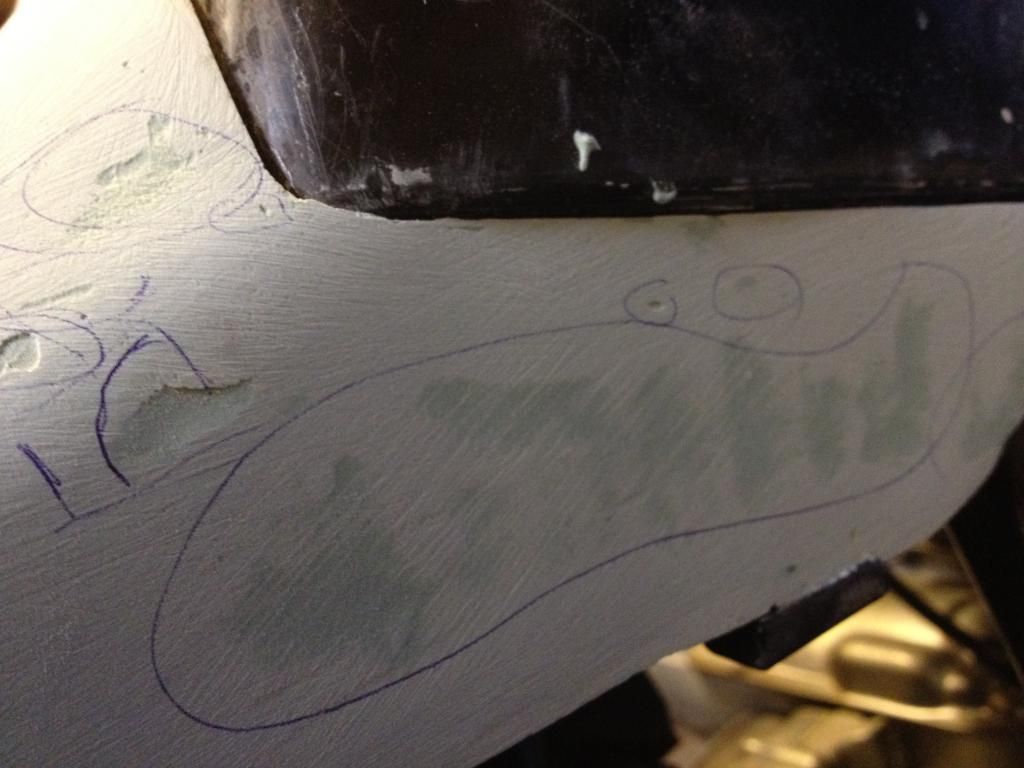
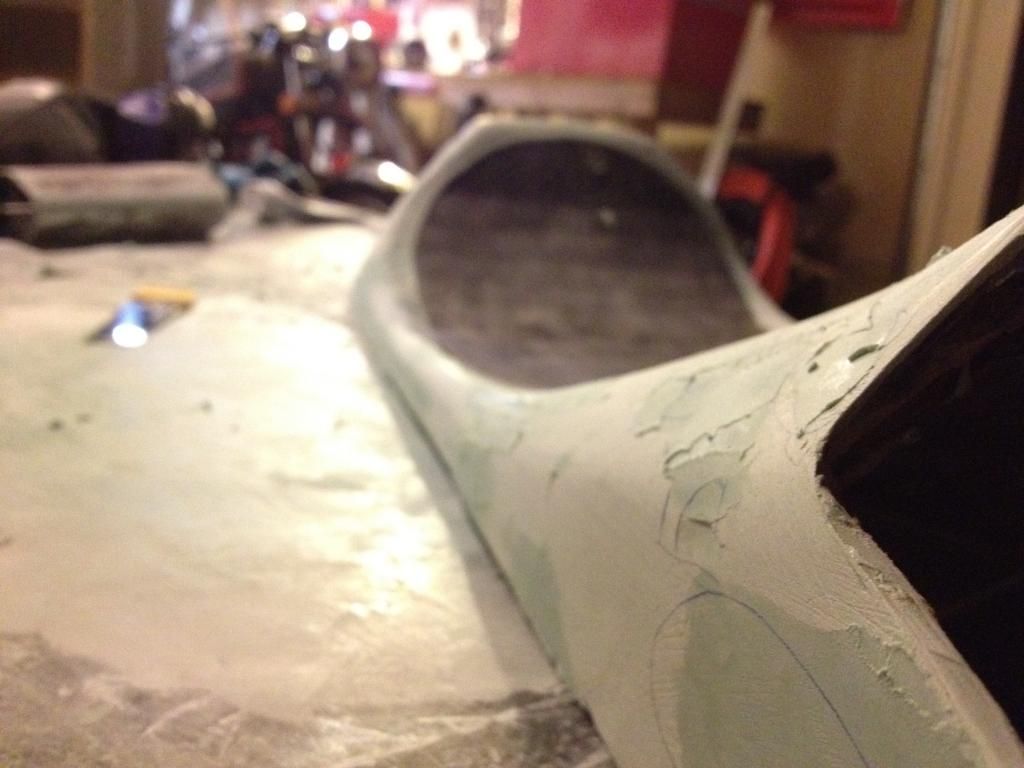
Building up the plug surface

IMG_0984_zps25683467.jpg


I hope to add pictures to the thread as the project progresses and would love to get feedback/comments. more importantly, I'm looking forward to getting to know all you guys!

Regards,

Chase
 
I'm lovin' it. Are there to be any form of side panels or is it open?
 
Thanks!

My thought is to open up the sides, get all the electronic components under the cowl and seat pan.

Hoping to highlight the lines of the frame by deleting all the mounting tabs and unnecessary brackets. Then get all the welds blended in with some nice radiuses.

Cheers!
 
Welcome to the nut house, pull up a floor board and make yourself at home.
Looks good and seems like you sure know your way around fibreglass work.
Following with interest, keep the updates coming.
 
Thanks for the comments, I'll be sure to keep updating.

Seems like i'll be working on that cowl for a while, it's proving to be pretty labor intensive. Should be worth it if I can stay motivated haha.
 
I'm doing a similar project right now and about to start to fiberglass work. I may hit you up for some tips! I'm machining some custom rearsets and if you want a pair let me know. The more I make the cheaper it is. My design will pretty much be bolt on for you since your bike is almost the same as mine (mine is a 79' GS750). My main focus is to build them low profile and have the stock kickstart lever clear them. PM me if you want me to send you design etc. Good work and I hope your build moves along quicker than mine!
 
Fiberglass Seat Update

Fiberglass Seat Update

Hey guys,

I've been busy on my fiberglass seat plug and wanted to share some photos for those of you who are interested!

Started this stage by working on the symmetry of the rear cowl section.

My centerline is pulled from the tank to help work the surfaces from side to side.

This is a tedious process of building up the surface, sanding it down, measuring, and cutting templates.

I try to work with the seat on the bike as much as possible so that I have a reference for surface transitions, highlight lines and edge detail.

IMG_0997.jpg


IMG_0995.jpg


After Guide coating and sanding the surface I laid down a coat of high build surfacing primer so the whole thing could be block sanded. this gets me to a stage where the surface contains less and less defect.

I chose to work from tail to tank on this piece so I could work in sections.
This was important because it allows you to establish consistencies in your surface and start visualizing how to create transitions. (fillets, Highlights and surface blending)

Here you can see a paper template that was cut to match a specific radius used on the body line of the tank.

This template was then cut out of acrylic so it could be used as a sweep for creating the same detail on the rear cowl section.

IMG_1008.jpg


Here is the result of that process.

IMG_1006.jpg


So at this point there has been a lot of labor into the part.

I wanted to share some close ups of what the surface looks like at this stage so you can see just how rough it is.

I marked all the surface defects simply to provide a map of where I will need to lay down my next skim coat.

I try to include quick notes on what the surfaces are doing so I know whether or not to fill, build, cut, and or blend a specific area.

IMG_1021.jpg


IMG_1022.jpg


IMG_1025.jpg


IMG_1023.jpg


There is still some shape building going on so I'm not to worried about these defects. the will be resolved in the next set of skim coats and sanding.

My goal here is to build up the surface quality a little bit at a time so I don't end up erasing that work with a potentially large surface change.

IMG_1043.jpg


IMG_1029.jpg


Anyway, I'm getting closer. next steps will be to finalize my surfaces, do a final fit to the frame and tank, trim and add edge details, then start building up flanges that will allow me to lay up the mold.

I'll share some photos of a dilemma that I have regarding draft angles on the two ears that mount to the lower section of the tank. hopefully I'll find a solution that doesn't require cutting them off haha.

Cheers fellas!

CCS
 
Lookin' good. What did the process of fitting the CB tank to your frame look like?
 
Thanks!

The cb tank is surprisingly close in tunnel geometry to the original gs tank. It will take trimming the bushing pins back to provide a little more clearance between the bushing and the mounting cup on the tank. Then I will need to fabricate a mounting bracket that will be welded to the frame for the rear of the tank. I have it shimmed up right now where I want it but I haven't gotten any further on the fabrication side. The tank is quite a bit longer and I have some gaps that I will need to address before I move on... I think.

Appreciate the comment!

CCS
 
Project Update

Project Update

Hey Everyone,

Just wanted to share some progress I have made on the project.

Here is a shot of the fiberglass seat on the mold.

IMG_1375_zpsabcfb41a.jpg


Rough trim

IMG_1387_zpsd006bc04.jpg


Seat pad and fiberglass fitted to the tank and mounted

IMG_1845_zpsb89f6ccd.jpg


Here is the mock up of the battery tray and rear fender assembly.

IMG_1480_zpsb1274729.jpg


Rear sets: These things have been far more thought consuming than I had expected :)

IMG_1851_zps520559ff.jpg


IMG_1854_zpsea4d88a7.jpg


Cheers!

-ccs
 
Building Rearsets

Building Rearsets

I'm so close to getting these rearsets finished up.

I just need to cut some spacers and tack it all together.

I used and old steel shelf as a donor for the material and I'm going to try to keep the rusted patina. We will see how that works out :lol:

IMG_1497_zps2fbebc6e.jpg


I'm using ACME Rod for the pegs and as a bearing surface and I was able to salvage the bracketry from the original pegs to keep them folding. I still need to adjust the peg length but this should give you an idea of how it's coming together.

IMG_1874_zpsa551c926.jpg


IMG_1876_zps84a8282d.jpg


-ccs
 
just noticed, love the suicidal tendencies sticker on the tank. saw them in houston.
 
How much fiberglass resin did you use when you made your tail section?
 
I had my doubts about the CB tank, but man it looks great. The seat/cowl section is excellent. Nice work.
 
Never saw this thread until now. Nice work, where in CO are you? I'd like to come check it out some time.

How is it going with getting the kick starter to work with the rearsets?

I have been thinking about this on a 550, but I haven't got it thunk out all the way yet.
 
How much fiberglass resin did you use when you made your tail section?

It really didn't take much resin to do the tail section. I believe I used just shy of a quart. Some of it was wasted in the cup and some was used for other projects I was working on. I used a Polyester resin made by a company called Plasticare. Impact resin I believe.
 
Never saw this thread until now. Nice work, where in CO are you? I'd like to come check it out some time.

How is it going with getting the kick starter to work with the rearsets?

I have been thinking about this on a 550, but I haven't got it thunk out all the way yet.

Hey tkent, I'm currently in the Boulder area. Love to have you if your ever in town.

The 750 I have has a starter. Not sure how this design would work for your 550 but I would be happy to help you figure something out if you wanted to give it a shot.
 
Back
Top