• Required reading for all forum users!!!

    Welcome!
    Register to access the full functionality of the GSResources forum. Until you register and activate your account you will not have full forum access, nor will you be able to post or reply to messages.

    A note to new registrants...
    All new forum registrations must be activated via email before you have full access to the forum.

    A Special Note about Email accounts!
    DO NOT SIGN UP USING hotmail, outlook, gmx, sbcglobal, att, bellsouth or email.com. They delete our forum signup emails.

    A note to old forum members...
    I receive numerous requests from people who can no longer log in because their accounts were deleted. As mentioned in the forum FAQ, user accounts are deleted if you haven't logged in for the past 6 months. If you can't log in, then create a new forum account. If you don't get an error message, then check your email account for an activation message. If you get a message stating that the email address is already in use, then your account still exists so follow the instructions in the forum FAQ for resetting your password.

    Have you forgotten your password or have a new email address? Then read the forum FAQ for details on how to reset it.

    Any email requests for "can't log in anymore" problems or "lost my password" problems will be deleted. Read the forum FAQ and follow the instructions there - that's what we have one for...

  • Returning Visitors

    If you are a returning visitor who never received your confirmation email, then odds are your email provider is blockinig emails from our server. The only thing that can be done to get around this is you will have to try creating another forum account using an email address from another domain.

    If you are a returning visitor to the forum and can't log in using your old forum name and password but used to be able to then chances are your account is deleted. Purges of the databases are done regularly. You will have to create a new forum account and you should be all set.

Smokin's 82 Kat Restorification project

  • Thread starter Thread starter Smokinapankake
  • Start date Start date
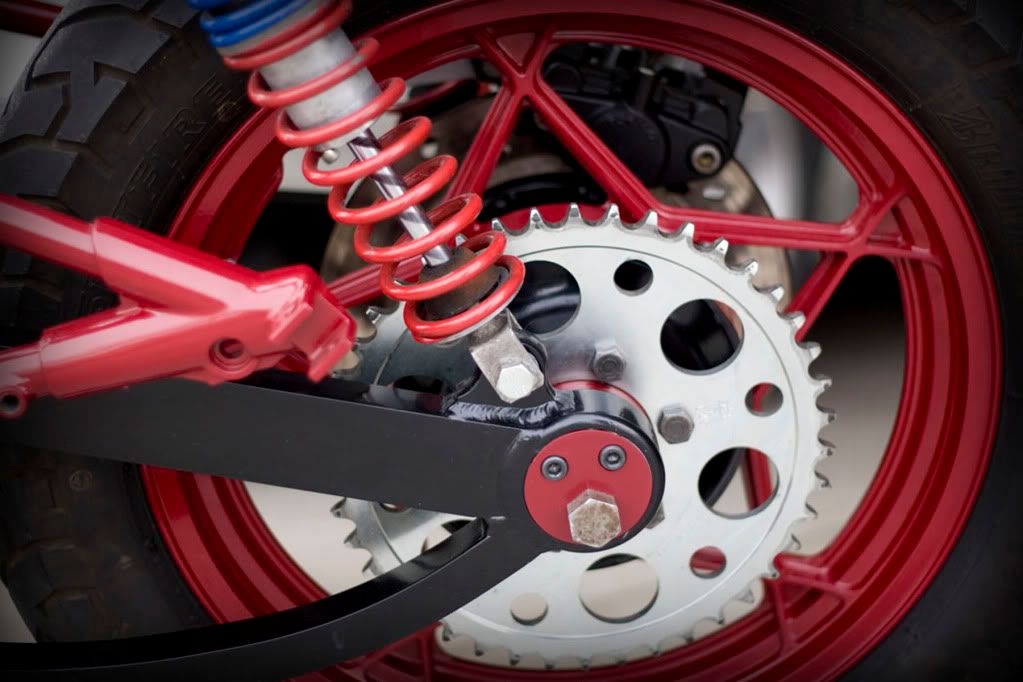
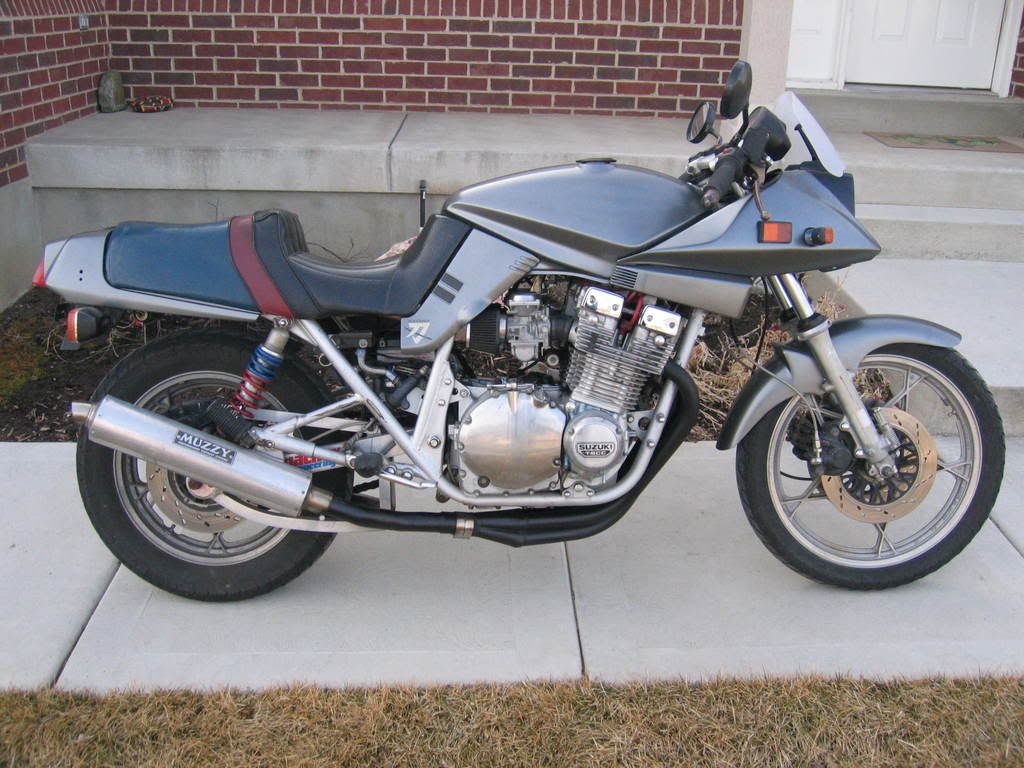
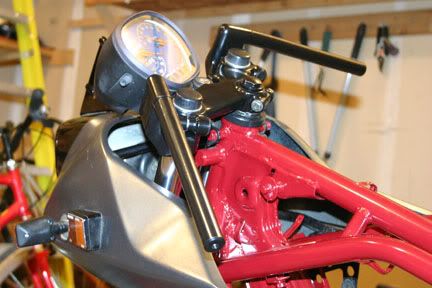
Some progress: swinger installed
IMG_1756.jpg


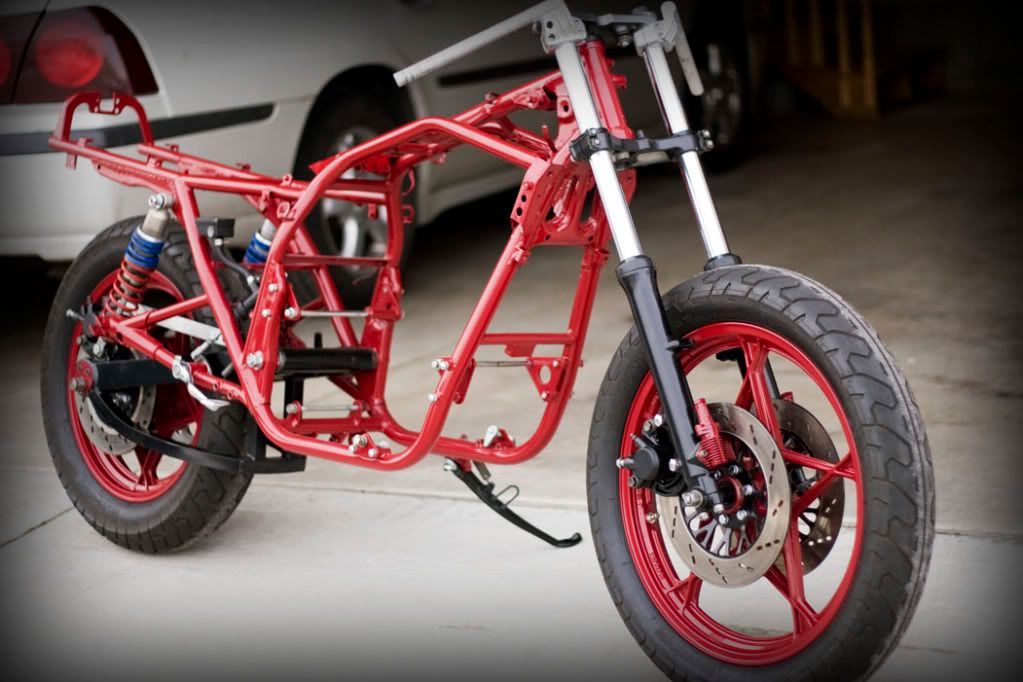
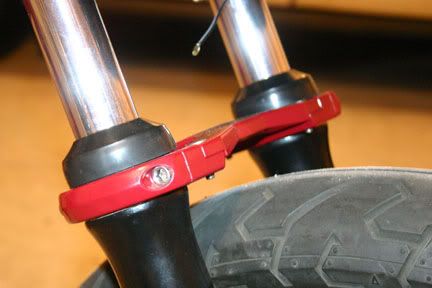
Does the kickstand look like it sits way far out from the frame or is it just me? Yeah, yeah - the lower triple is the original painted color. In the interest of money, it stays that color because it is hidden under the bodywork anyway.
IMG_1753.jpg

IMG_1759.jpg


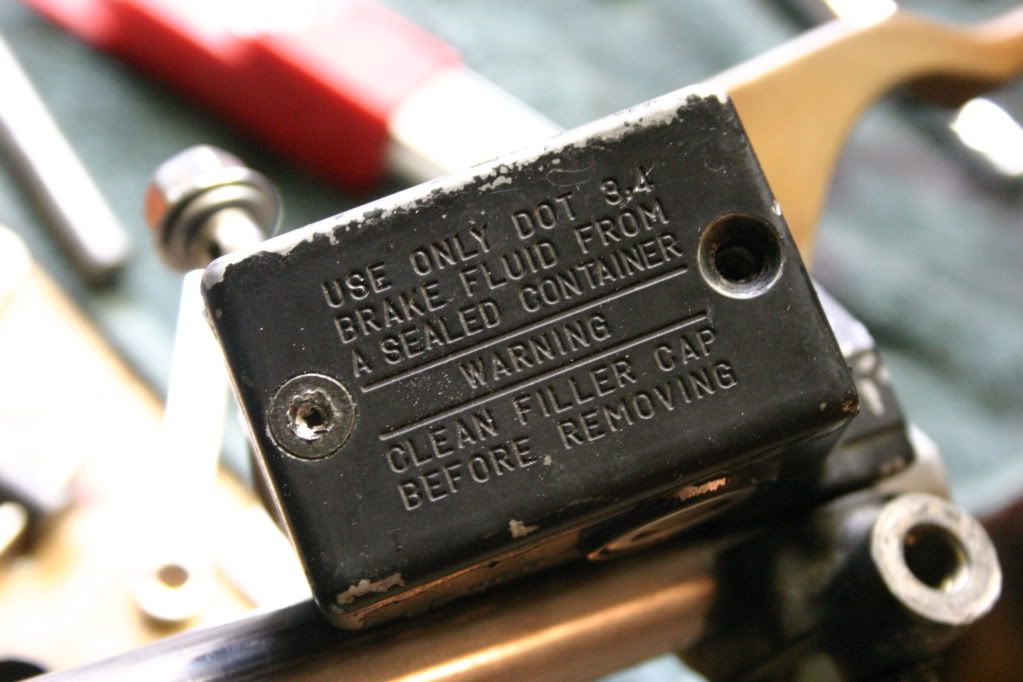
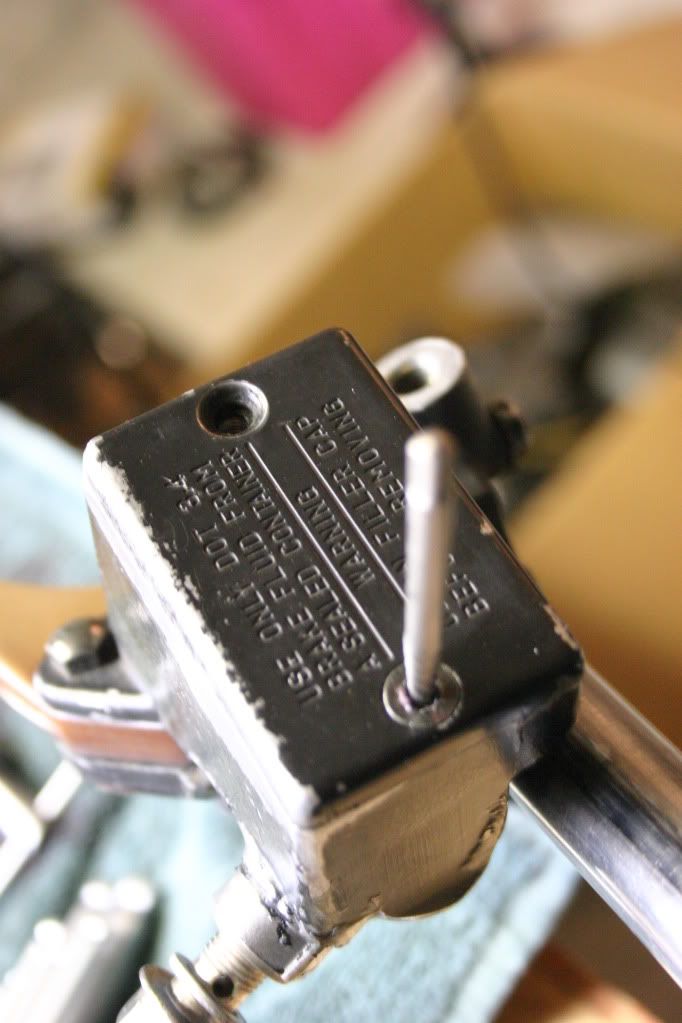
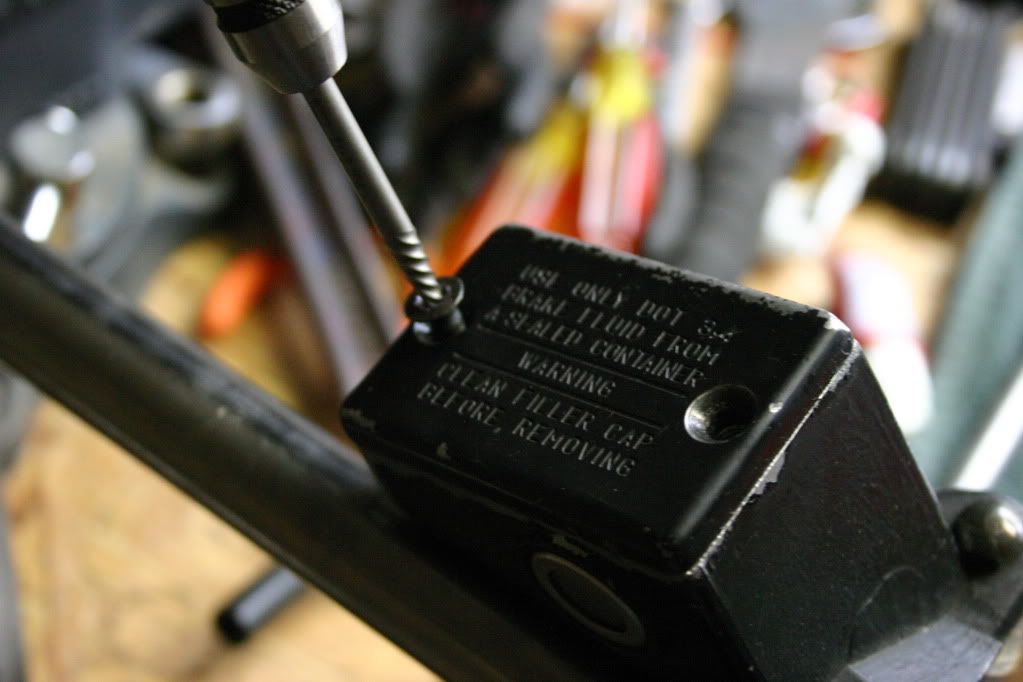
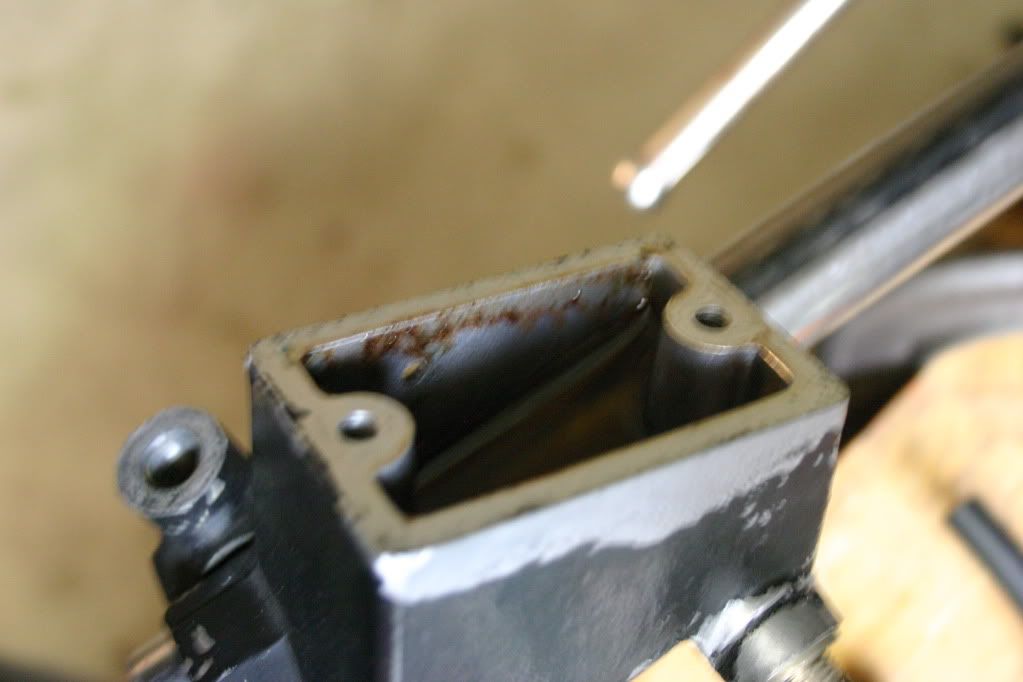
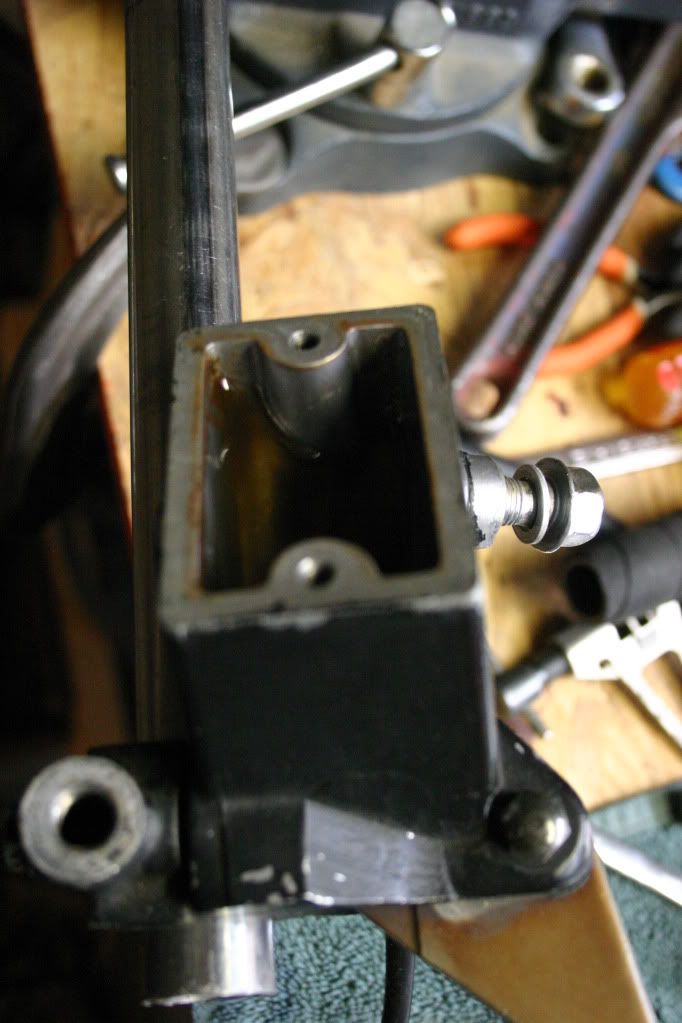
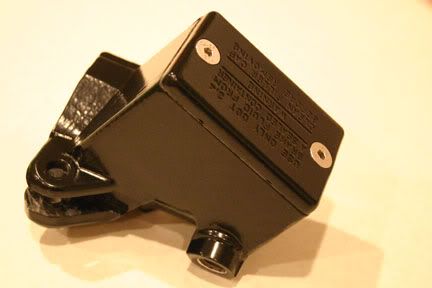
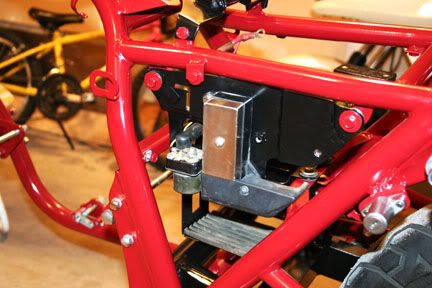
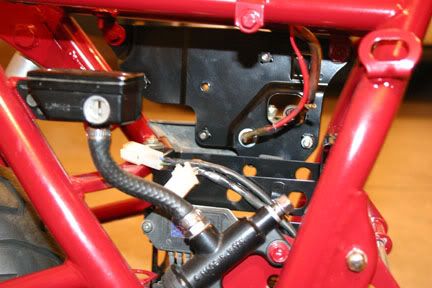
Rear master cylinder installed:
IMG_1757.jpg

Hi Smokin', the quality of your Kat project pics are amazing!!! In answer to your sidestand question, it looks fine to me. When retracted my sidestand gap, measured in a straight line at 90 degrees from the outside of the frame tube to the outside edge of the sidestand foot is 138mm. Keep up the great work, cheers.

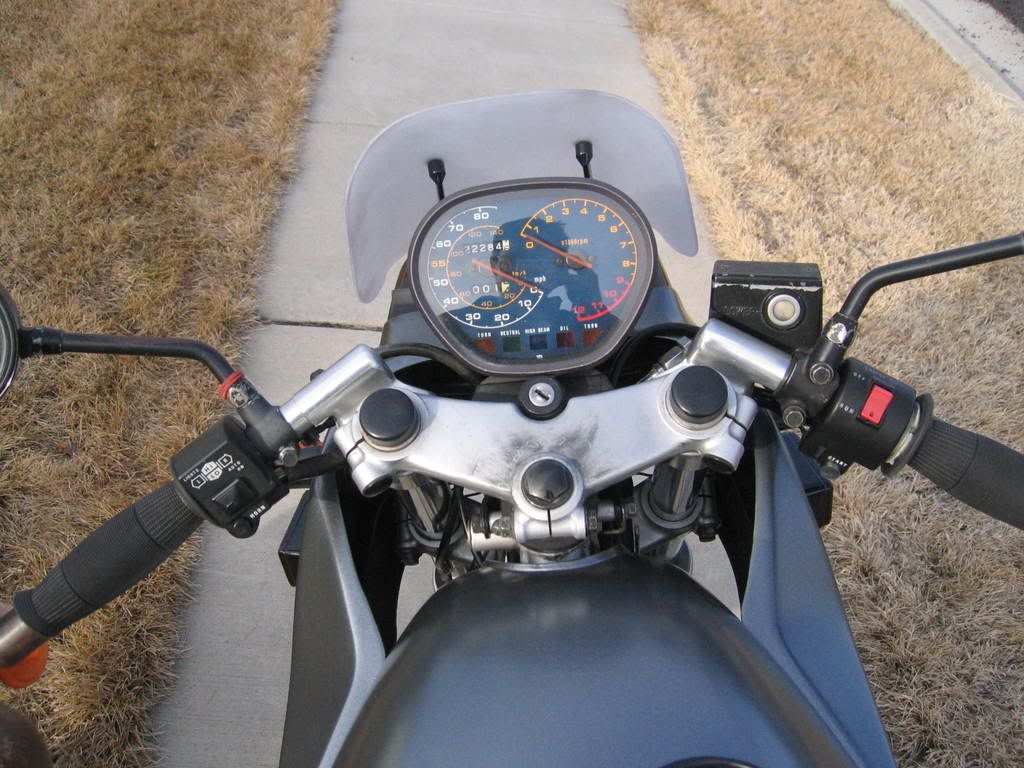
P.S. Looking at your down view pic of your sidestand I just noticed after measuring the gap on mine, the sidestands are mounted in a different postion. Your pic shows the foot of the stand going past the centre line of the gear selector shaft. On my Kat the sidestand foot ends before the gear selector shaft. I know mine has not been modified so perhaps for some reason the stand is mounted forward on the E24 compared to the position of your model? Stand length should be the same, gear selector rods should be the same length so the only thing left to explain the different postion of the stand when retracted would be the mounting position of the sidestand.

Measured from the rear of the left side engine mount plate welded to the frame tube to the front edge of the sidestand mounting plate welded to the frame on mine is 55mm. No earth shattering revelation here really, just something I found interesting and when it involves our Kats I like to know why! Cheers.
 
Last edited:
Fox....you had asked earlier.:)
http://www.thegsresources.com/_forum/showthread.php?t=137611&highlight=fox+street+shocks

Thor Lawson is the guy for Fox parts/rebuilds....comes highly recommended even by the Fox factory, though they have no affiliation. By all accounts, he does top-top notch work, and I can tell you personally, he is a super-nice guy.
Tony.

Thanks Tony, I remember the thread but didn't remember you had given a more definitive answer than everyone else's guesses.

Thanks for that info Shin, this thing came from a yard sale several years back and if I had taken before shots you'd know it's seen a hard life. So with that being said, the kickstand could have come off anything. Did you mention how long your kick is (measured from pivot bolt to bottom, along the backside, please)?
 
Hi Smokin', your sidestand is the OEM Suzuki item I didn't mean to imply it was anything else, sorry if it came accross that way. My sidestand from the centre of the pivot bolt to the tip of the sidestand is 322mm, measured in a straight line from point to point with a straight edge ruler on the outside of the stand. Using a flexi tape and following the stand contour the stand is 293mm from the centre of the pivot bolt to the bottom of the leg where it meets the base of the footplate,(this doesn't include the actual footplate, only the leg to where it meets the plate), this is the back or inside of the sidestand.
 
Last edited:
Hey Shin, thanks for the info, I'll go measure mine and see how it looks.

I was just saying that it could be anything on there, I don't know if its original or not. How would I know? Is there some marking on it somewhere or do you know the length it should be?

BTW, I'd love to see some pics of yours sometime. I love those wire wheel Kats. And thanks for the compliments on the pics, I just use my wife's camera and about the only adjustment I know to make is the flash on or off....
 
So lots of progress, and I've moved the pictures into a specified album on Photobucket so all my previous pictures display as moved or deleted.

Anywhoo, got some glass for the rear brake reservoir cut at a local stained glass shop, total 5 bux. Was looking at watch crystals which were really reasonable but shipping turned out to be a travesty. Epoxied (JB weld, actually) in the glass and all looks good. Stainless socket head cap screws. Sorry no pictures.

Then decided to get the tires mounted so I could put it on two wheels in the garage and out of the basement, but the shop installed the tires backwards (D'oh! - another 2 days to get them back). While the wheels/tires were out I decided to attack the brakes.

Stripped the calipers apart and found clean pistons. Installed new seals, reused the old dustboots because they were still soft n supple, but the rear caliper was missing one dustboot so that is on order. Fresh high temp grease on the pins for the front caliper, sanded, primed and painted the calipers with Dupli-color low gloss black engine paint, and the results speak for themselves:
4x6.jpg


On to the forks. New seals and fresh O-rings on the anti-dive units. New Silkolene 15 wt. oil. My manual calls for 227 ml of oil, if anyone is curious. Overhauled the anti-dive units; even though they are blocked off with no brake fluid coming into them as on stock, I wanted everything clean both inside and out. Primered and painted to match the wheels/frame:
4x6we.jpg


The lower triple clamp got me feeling guilty so I painted it as well. I posted previously that it would stay factory finish, but it looked so out of place I couldn't rest easy without "fixing" it:
3x5.jpg


Rear wheel was a bit interesting; namely the sprocket carrier bolts. My stockers were in rough shape, but I didn't want to spend the money on shipping some new ones. Also, I don't like the look of those washer/plate things that connect two bolts together, so down to the local bolt 'n nut supplier for something better. Ended up with some grade 8.8 hex head cap screws (M10 x 1.25, 40 mm long) that screw into a nut on the inside of the sprocket carrier, blue loc-tited for security. Looks cleaner to my eye, and I like the black oxide finish on those bolts. If anyone sees any problem with this please let me know as I'd rather err on the side of caution etc... I know, I haven't gotten around to those rear shox yet, but they come off with relatively little hassle.
4x6w.jpg


Sorry for the low picture count, I was too busy putting stuff together with greasy hands to mess with delicate electronics. I have a set of clip-ons off an XN-85 that are about 1 inch higher rise that need to go to powdercoat, along with top triple clamp, an ATK brand fork brace, front seat mount bracket, electrics panel and battery box. Then, on to wiring harness! My front master cylinder will also see some reworking as the screw heads are stripped out and the sight glass window will get the glass treatment as well.

I've been upgrading to stainless bolts and screws where practical and aesthetically pleasing, I plan to go with a full stainless socket head cap screw set for the engine when the time comes....

Lots of small stuff, but I think I'm on the downhill slide...
 
Very nice chassis there. :)

This deep in a project, I know exactly what you mean when you say "but it looked so out of place I couldn't rest easy without "fixing" it. "


Nice work.

Eric
 
Just for some frame of reference, this is how it looked before rehab:
070_1.jpg


147_1.jpg


152_1.jpg


151_1.jpg


153_1.jpg


The pictures make it look better than it really did, and I felt that being the absolute porn star of the motorcycle world, it deserved a better fate.

Hopefully by the time I'm done it will be respectable and presentable again:cool:
 
Some more progress:

My front master cylinder cap screws were difficult to remove. I chronicled the process better than I did for the rear reservoir.

Here we have a very unwilling recipient of my persuasions:
432.jpg


Here we have a little more ardent courting:
433.jpg


Here we see the chastity belt being unlocked - success!
434.jpg


Its all downhill from here:
436.jpg

435.jpg

438.jpg


How on earth do I press out the sight glass window? There is no access from behind other than the two holes:
439.jpg


I don't really want to pry on the stainless retaining ring/bezel:
440.jpg


Any help/suggestions are readily welcomed.

Thanks for your interest!
 
I don't recommend...

I don't recommend...

I was once shown "The best way" to get the glass out by a hack-job MC mechanic.

Step one is to make up an adapter to go from the metric thread for the lines to an airline fitting.

Step two is to apply 180 psi to the master, and watch as the whole thing explodes into 14 and a half pieces.

Step three is to say it must have been faulty, and order a new master.

I do not recommend this procedure for anyone, anywhere, anytime.

I have only replaced sight glasses that were cracked, and they came out with a little light prying and minimal clean-up. I suppose once you strip out all of the internals from the master, you could heat the part to expand the metal, then pop the glass out with a push from behind with an allen key.

Hope this helps,
 
Love the suggestion Mac, I'll get right on that one:-s.

Good news tho, i got over my fear and, using a piece of piano wire bent at about a 45 degree angle, pushed on the back of the sight glass and viola! it popped right out.

Since I was at work, I went down to the maintenance guys and enlisted their help in making a replacement. Lo and behold, they returned with two pieces of plastic, of approximate diameter, to be finish sanded by me.

Pics to follow....
 
As promised, pics of the front master cylinder....

As stated previously, my maintenance guys at work made a new sight glass window for me. Problem we realized was that the material was too thick, and once pressed in, would not allow any room behind the window for brake fluid to flow, thereby showing the level. So, I had them mill a groove between the upper and lower holes:
jodyjan2010036.jpg

Upon looking more at the overall pucture, I think I'll have them make me a new window out of thinner material.

I dropped off the last bits and pieces to the powdercoaters today. This includes the clip-ons, upper triple clamp, master cylinder, fork brace, battery box, and electrical panel. Photos to come when I get them back sometime next week.

With all that done, I turned to the wiring harness. Knowing I have an issue with the ignition switch, this was the logical starting point, problem being that the PO or someone with no brains at all cut off the connector that clips into the back of the ignition switch. So my wiring harness needs to find a viable, reliable, obtainable solution. I can't find a connector anywhere:
jodyjan2010034.jpg

jodyjan2010035.jpg

Any help anyone can offer is super appreciated.

And lastly for this week; My ignition switch was keyed (by me, a few years ago) to utilize a key I got off ebay along with a replacement gas cap and rear seat lock. Problem was that the seat lock was broken, so I ended up getting another seat lock with a non matching key. So, long story short, I decided to attempt to re key the seat lock to match my ignition switch. While I was at it I wanted to replace the face of the switch because the original one looked terrible:
jodyjan2010037.jpg


After some fiddling and some drilling (there is a roll pin inserted through the side of the seat lock body into the drum, thereby securing the drum from being pulled out), I was able to pull the drum which contains all the tumblers and move the individual tumblers around to match my key. In summary, I was able to key the seat lock to match the ignition switch and gas cap, and replace the ignition switch face with one that is nicer:
jodyjan2010033.jpg


Thats it for this week, stay tuned for more tedious fun!
 
The last of the powdercoat has arrived!

The last of the powdercoat has arrived!

Finally, all the powdercoat is complete:

ATK Fork brace complete with new stainless hardware:
febmotorcycle007copy.jpg

febmotorcycle006copy.jpg


Clip ons from an XN-85 Turbo; these provide approx. 1" higher rise than stock (which I also have). Also note the upper triple clamp is now PC'd, as well:
febmotorcycle005copy.jpg


Front master cylinder is now complete with new glass sight glass!

febmotorcycle010copy.jpg

febmotorcycle011copy.jpg


Electrics panel and battery box (also note the rear reservoir with new glass sight glass):
febmotorcycle004copy.jpg

febmotorcycle008copy.jpg


I just had to put the fairing on to see how the gray will look with all that red:
febmotorcycle009copy.jpg

The body work will be done by a professional in a shade similar to what is shown here.
And yes, that is a pop up headlight Katana in the background - I am a lucky man!
I guess the next thing to get after is the wiring harness, then engine reassembly, then carbs and hopefully fire it up!
Thats all for this week folks!
 
Very nice project so far.

Just a little tip, imageShack will keep your images much longer than chumbucket.
 
No worries, I have them all on my harddrive should I ever need...
 
Looking good! Just wondered if you had the shocks rebuilt by Thor, or not?
Tony.
 
No Tony, I have not contacted Thor yet. That is still on my to do list....
 
Hi Smokin', she's looking good, love the black powdercoat! Looking forward to seeing the pics later this week, cheers.
 
WARNING! Perfectionist at work!

WARNING! Perfectionist at work!

Dude, you have way too much time on your hands. :lol:

I am continually impressed with the high degree of quality you are putting into this build!
Lovin' the fork brace, ATK does put out some sharp looking braces.
I can't wait to see the next set of pictures!
 
Back
Top