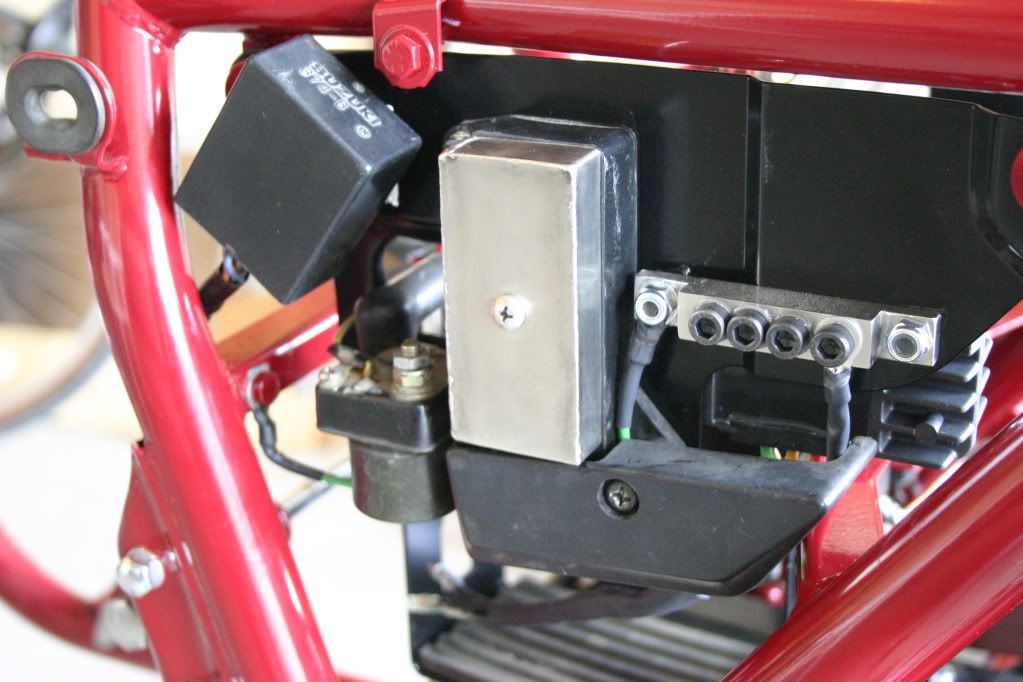
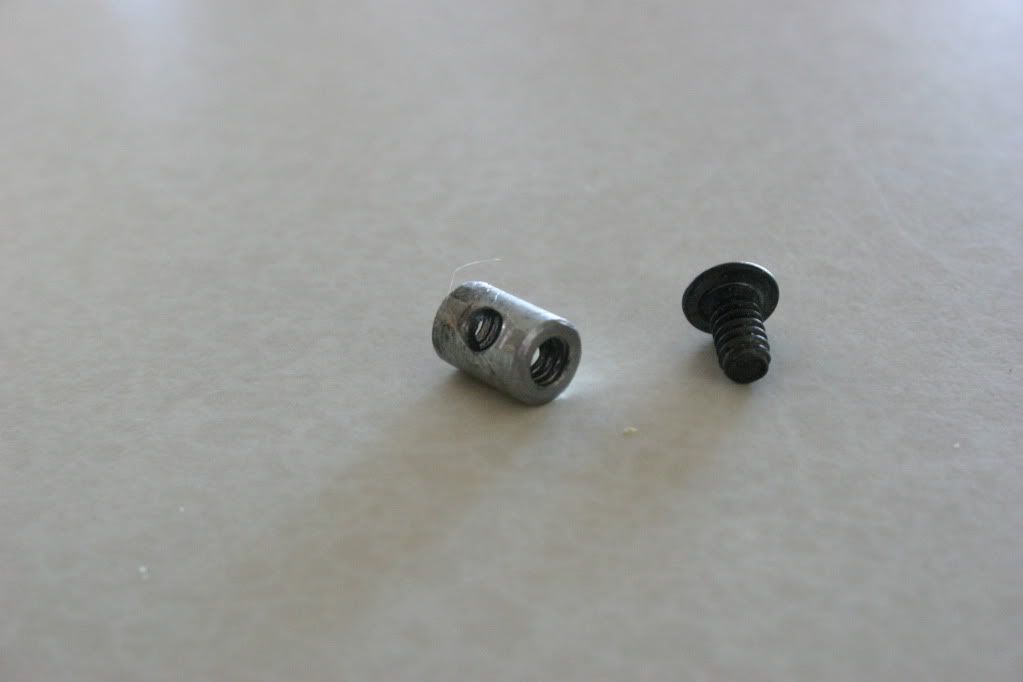
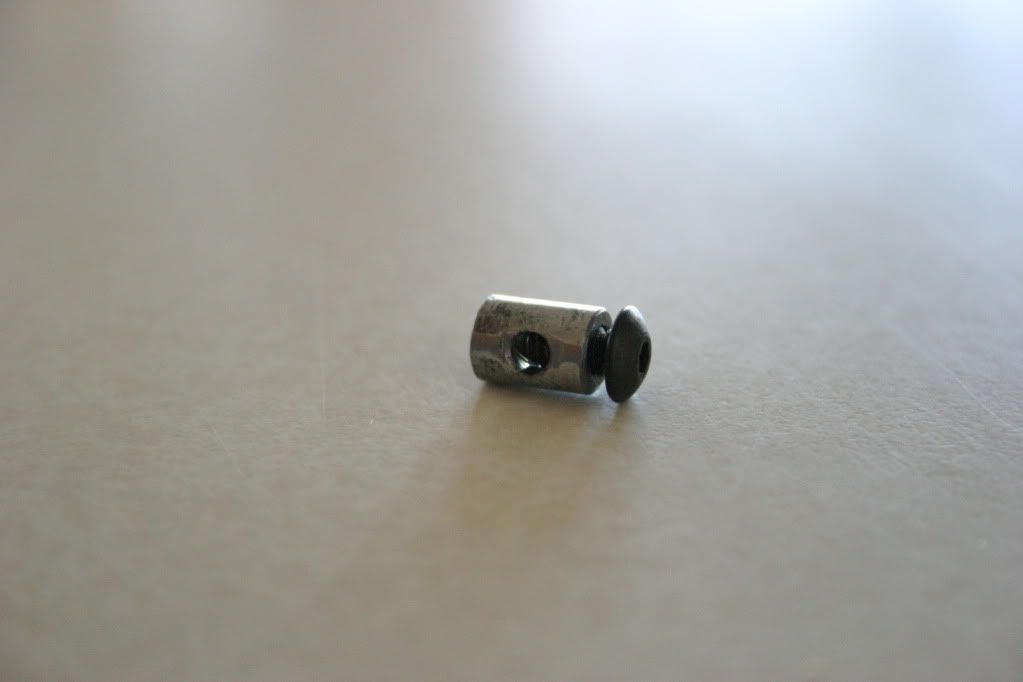
Thanks Pos for posting that picture; very informative. Basically what I'm considering with the bus bar is the same thing, just mounted on the back side with multiple mounting points. This would make future servicing easier as I don't have to line up 3 or 4 different connections on one bolt...
Your heatsink idea is great; I may take it and run with it if you don't mind.
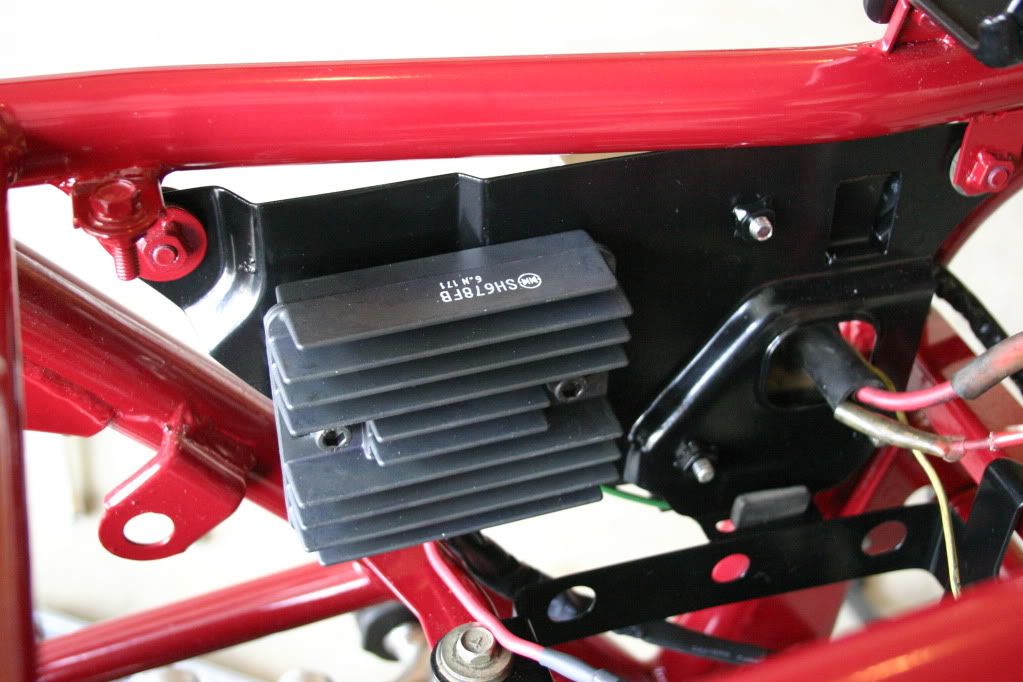
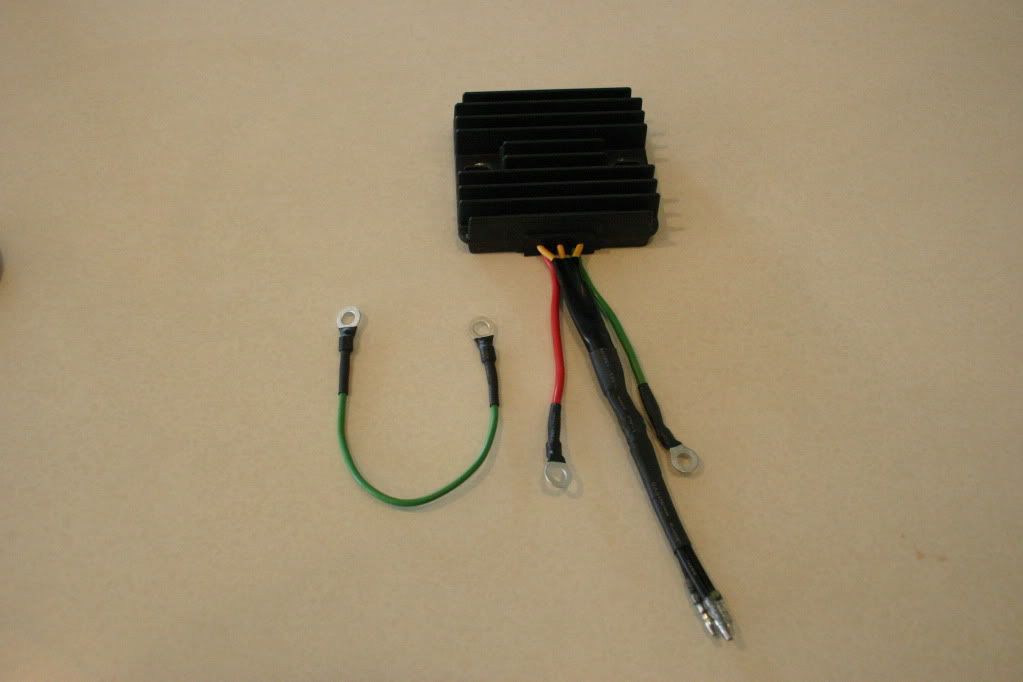
Also, I'm bidding on this reg/rec, according to a list I found somewhere on this site it should work:
http://cgi.ebay.com/ebaymotors/ws/eBayISAPI.dll?ViewItem&item=260549013317&viewitem=&sspagename=STRK%3AMEWAX%3AIT
Any thoughts?
I would only buy a FET based on and that doesnt look like it. See Matchless's link and search for FA012AA
All the FET based ones start with the FA part number and have a specific shrouded connector with male spades built into the R/R there is no pigtail.
http://www.thegsresources.com/_forum/showthread.php?t=134690


")
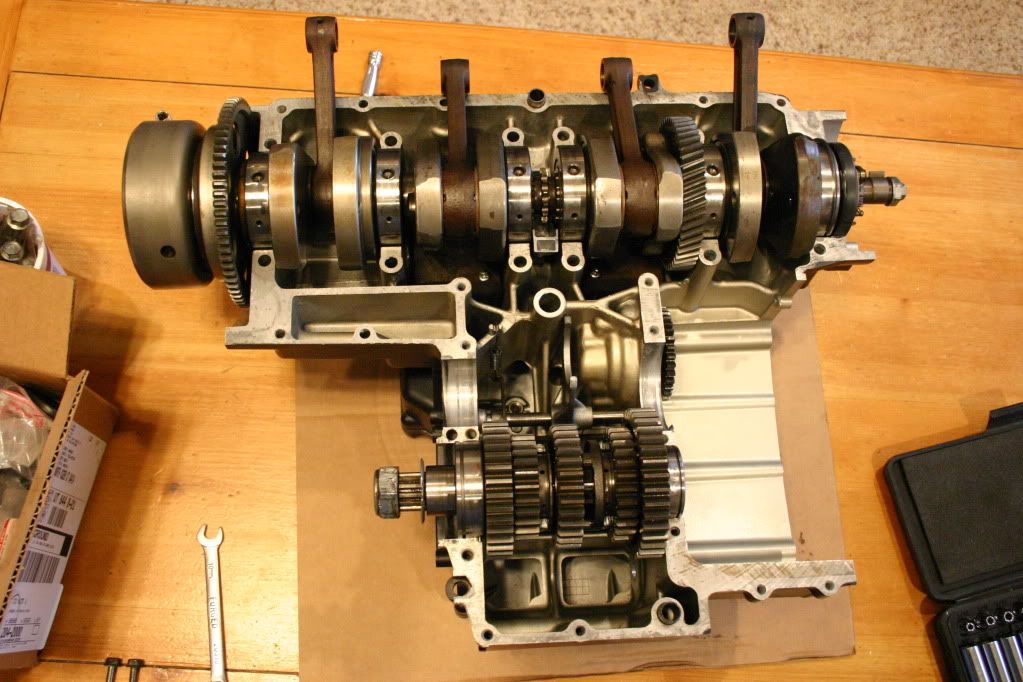
") I sincerely admire your work, and your pics and descriptions are fantastic. I have to get after my Kat and this thread is inspiring, now all I need is 9" less snow and some time.........
I sincerely admire your work, and your pics and descriptions are fantastic. I have to get after my Kat and this thread is inspiring, now all I need is 9" less snow and some time.........
 ...
...