S
Skateguy50
Guest
Hey all, had a big list of projects going on this weekend.
New tread on the rear tire
Replace rear spline
Replace rear shocks
New Stainless Steel back brake line
New rear blinkers, mounted on license plate
Brackets for saddle bags
New saddle bags
New rack and sissy bar
New seat foam and cover, king/queen (remove rust on pan & fix mounts)
Front / Engine stuff
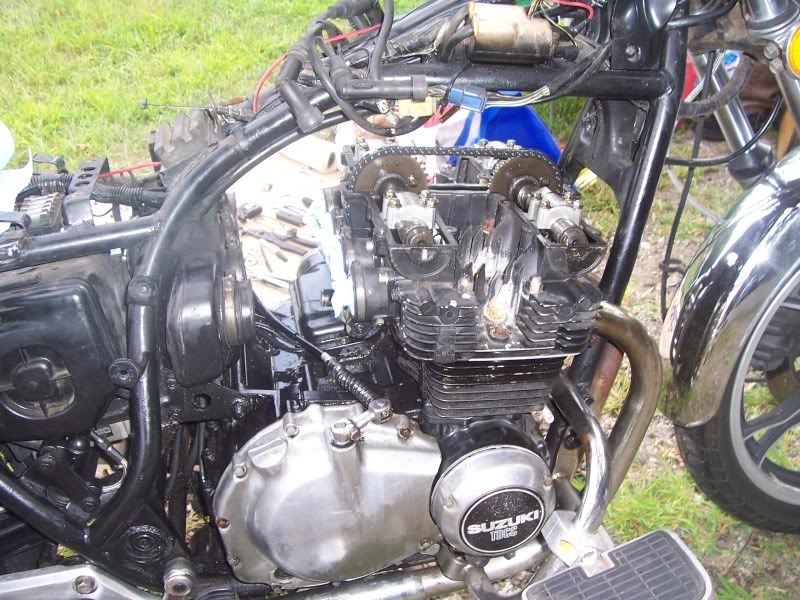
Check valve shims
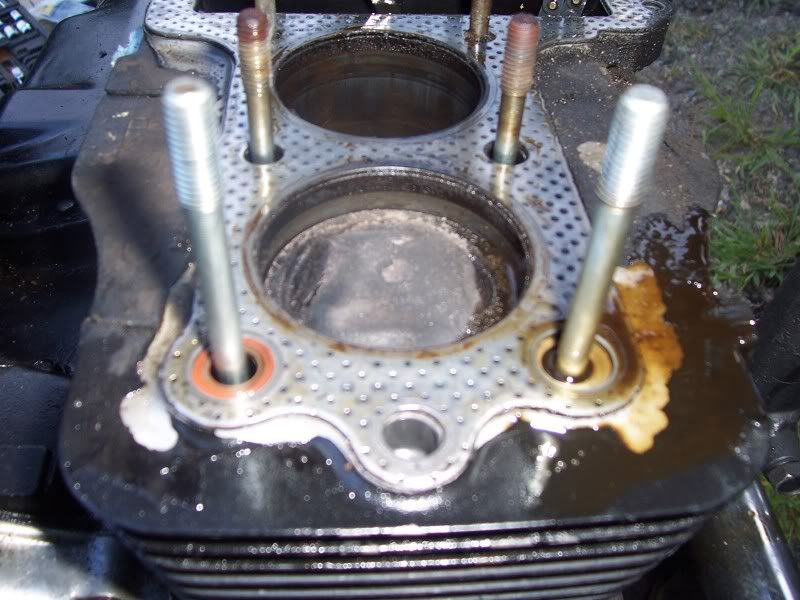
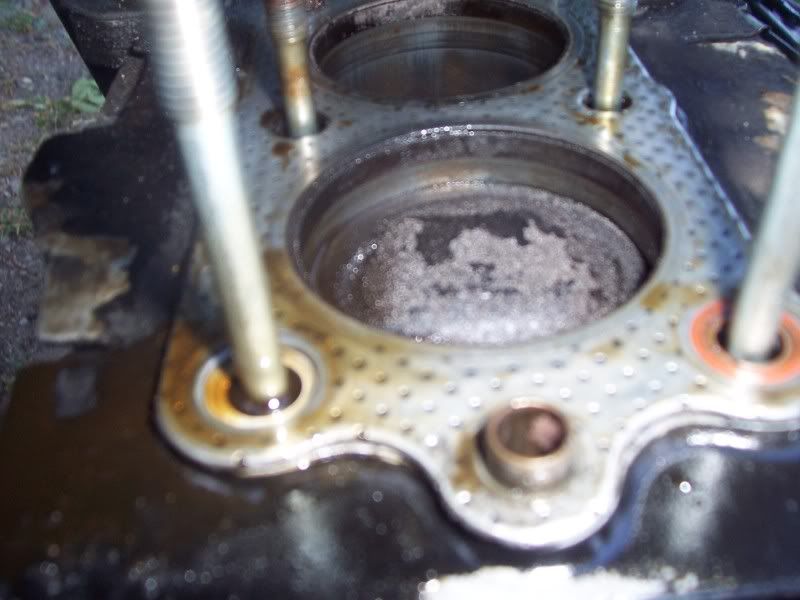
Top end rebuild with new base & head gasket (added new valve cover gasket... need to order)
New clutch springs
So far got the valve shims swapped out and measured, was 13k miles since last but all where in spec but on low end, now all are .08-.05 range
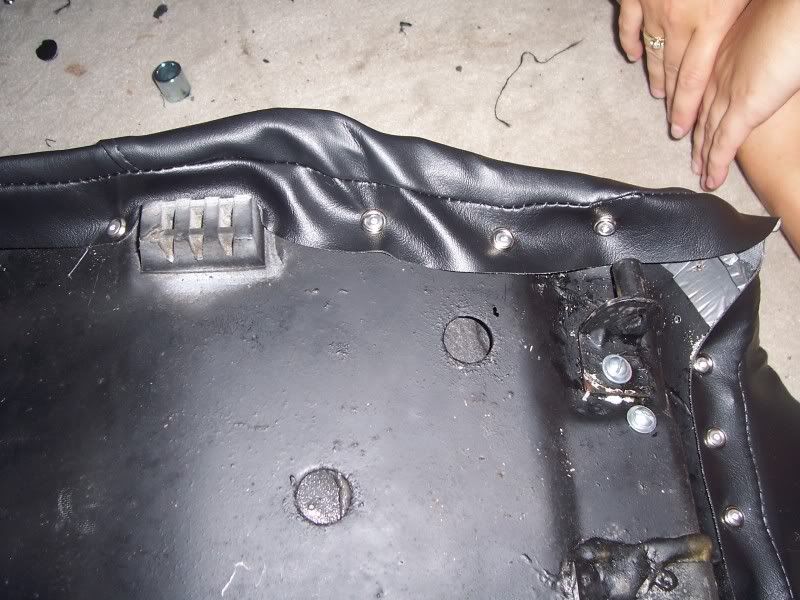
Got most the back end work done but seat pan will take a bit longer to do right, got rust cut off, sanded down and paint with rust inhibitor spray.
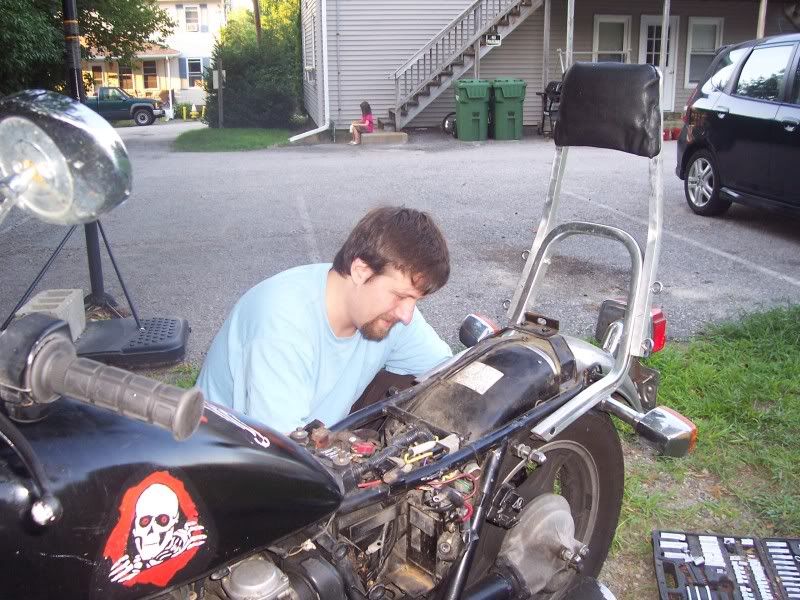
A big help was fellow GS member "machinest" came over to lend a hand or two at times.
Here are some pics, no real order... Daughter did most the pic taking and she did all the math on the shims and turned the engine for me. Sorry Steve no need for the excel spreadsheet with a 5th grader ready to do the math. (I did check them after but she got them all right)
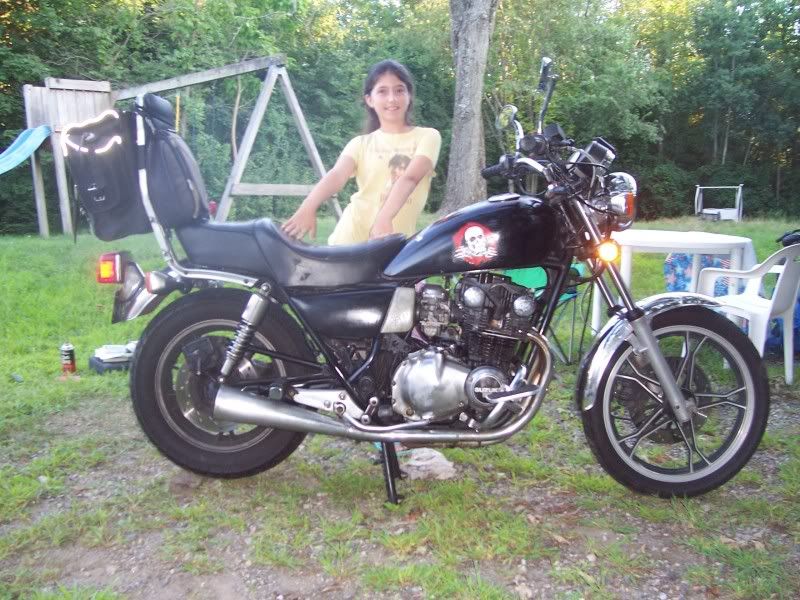
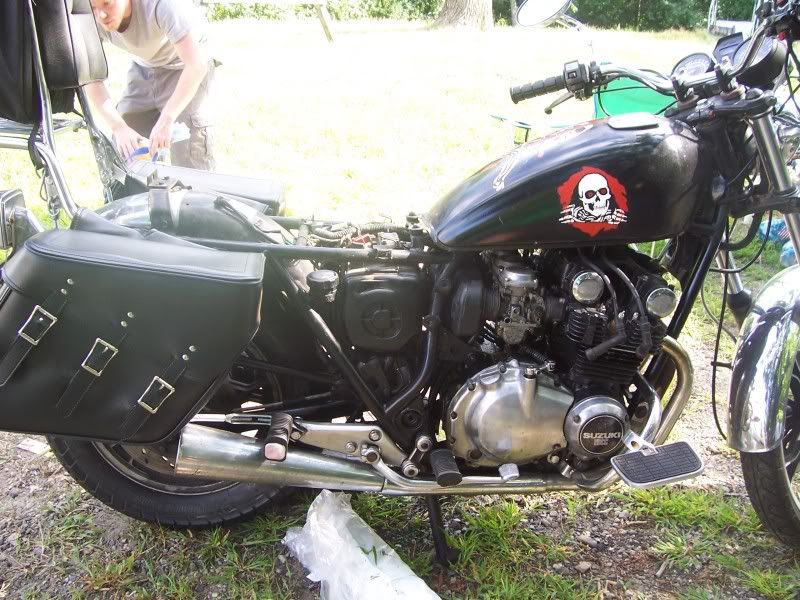
Before:
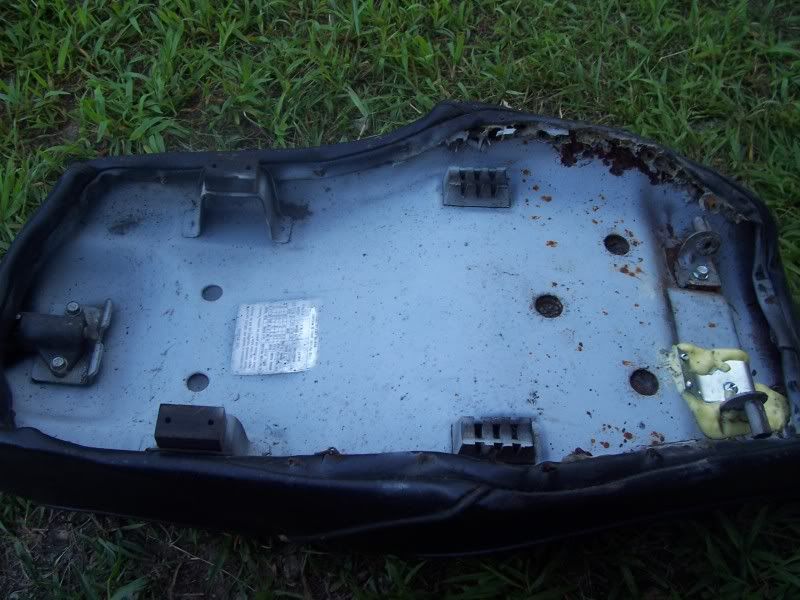
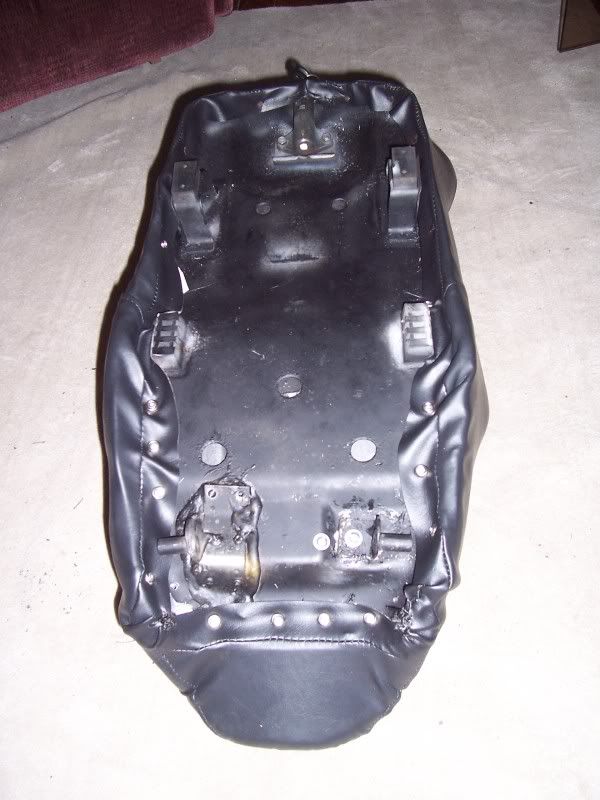
seat pan:
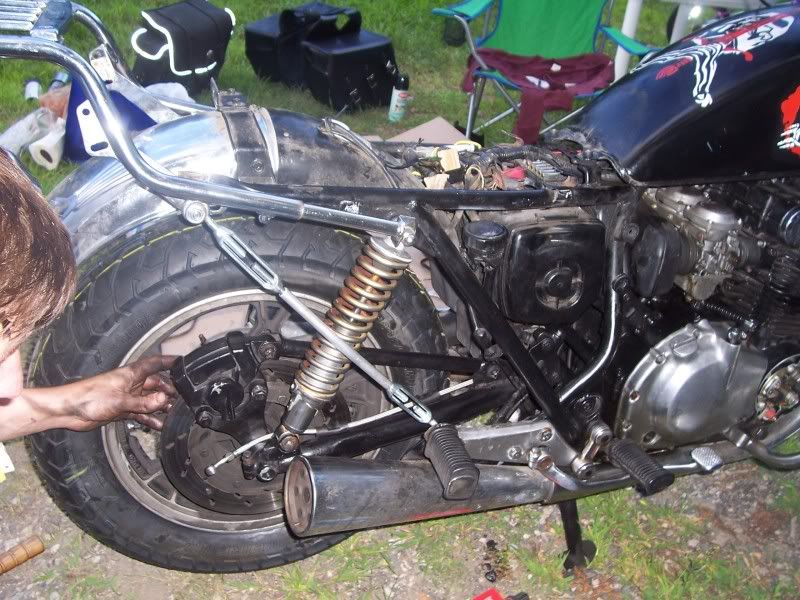
taking back wheel off:
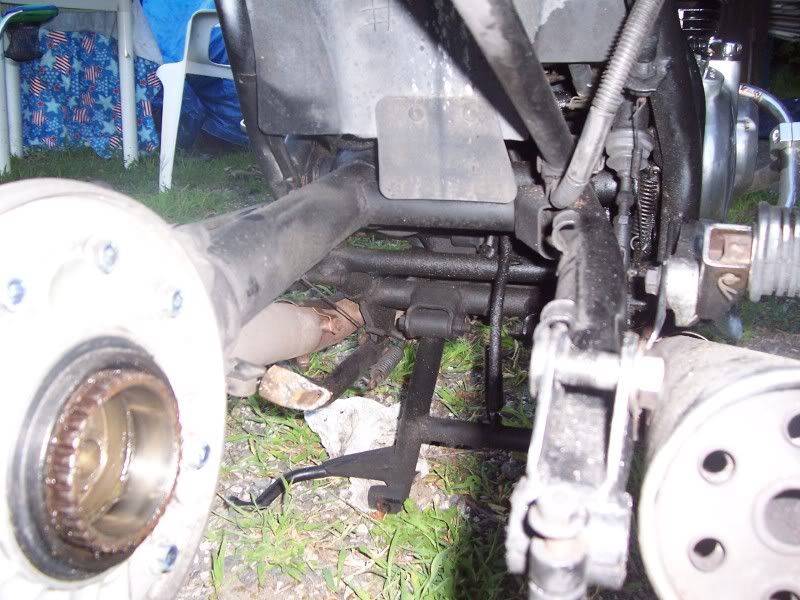
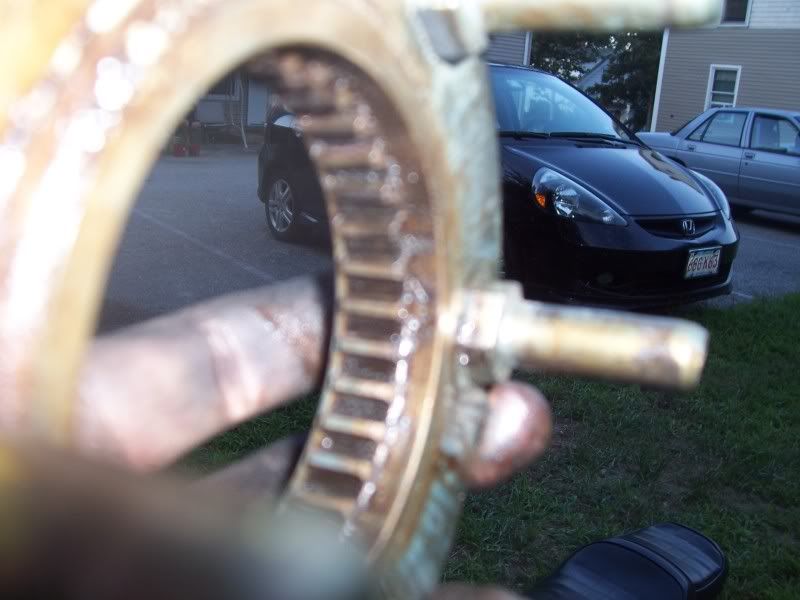
Spline after 31k miles (actually very good shape but had the black one already)
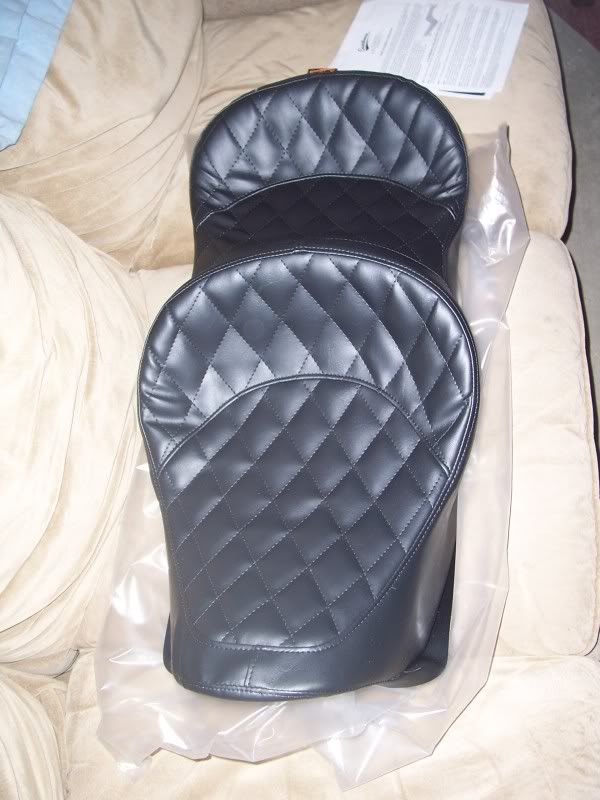
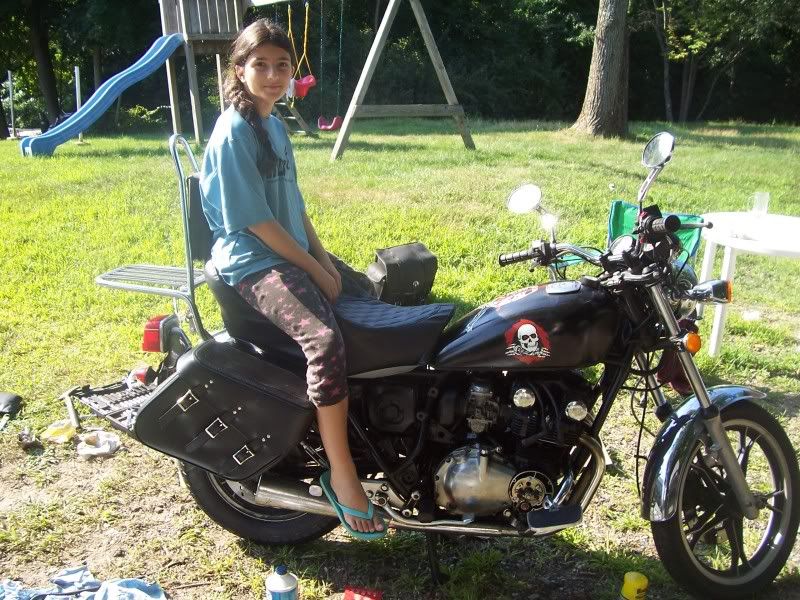
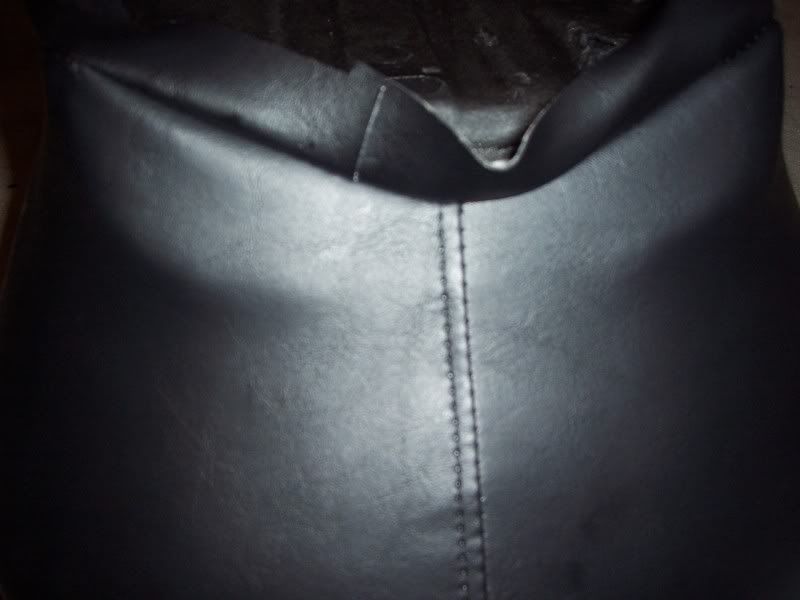
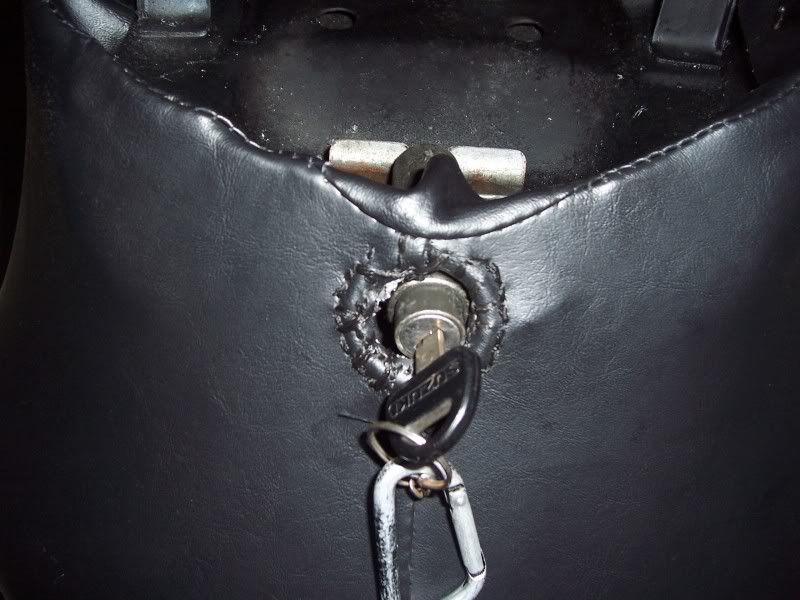
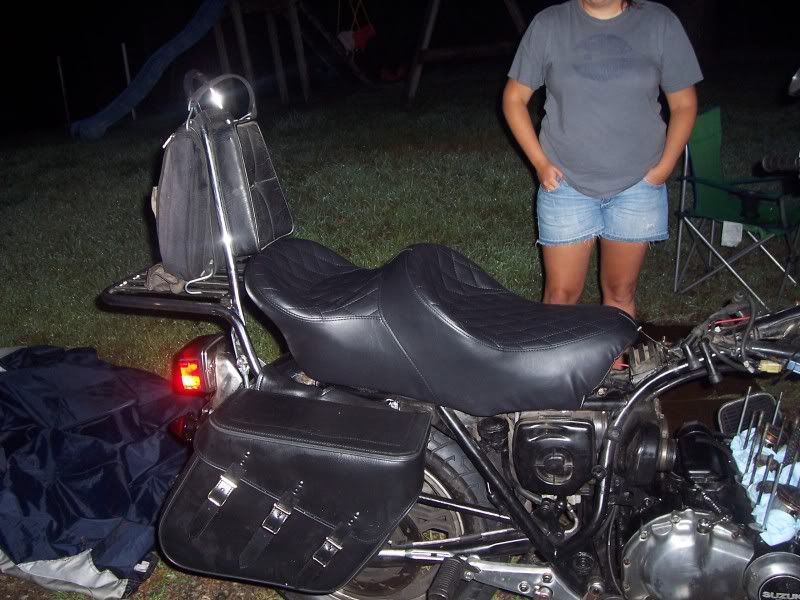
New seat:
bottom of pan:

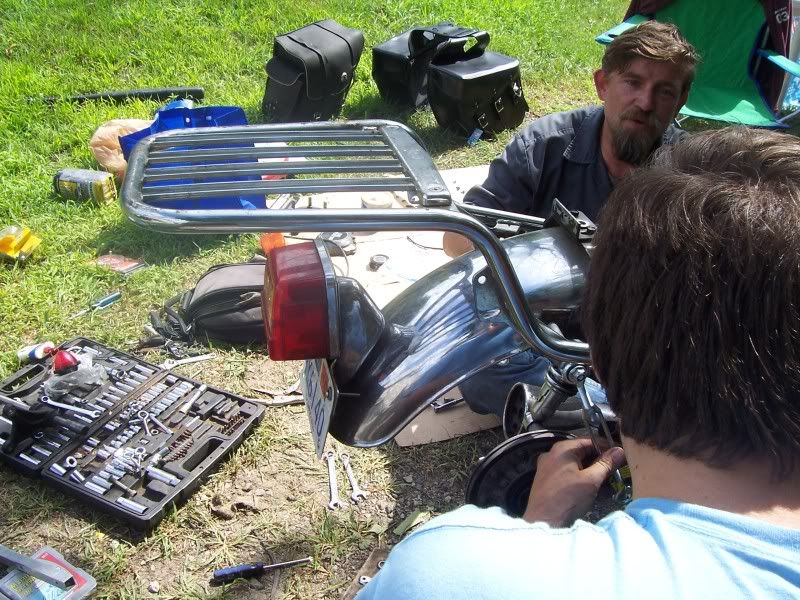
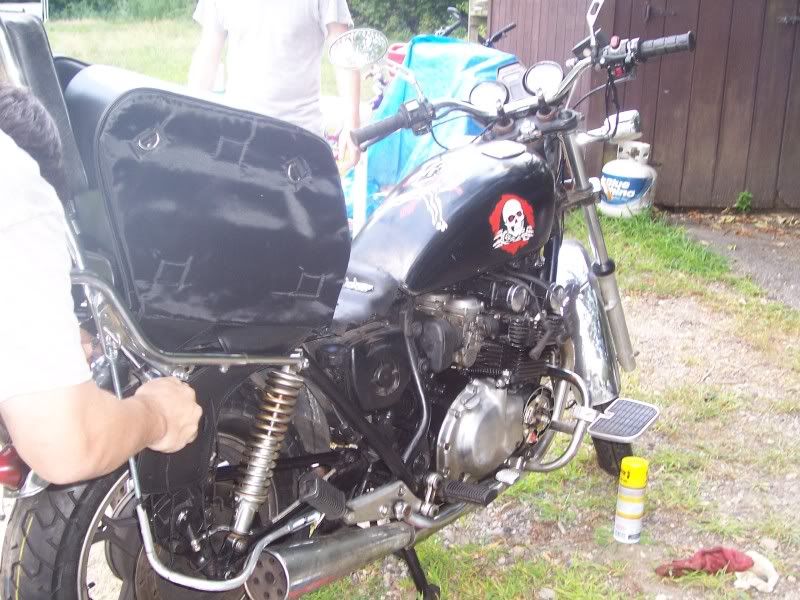
Rack getting fit up:
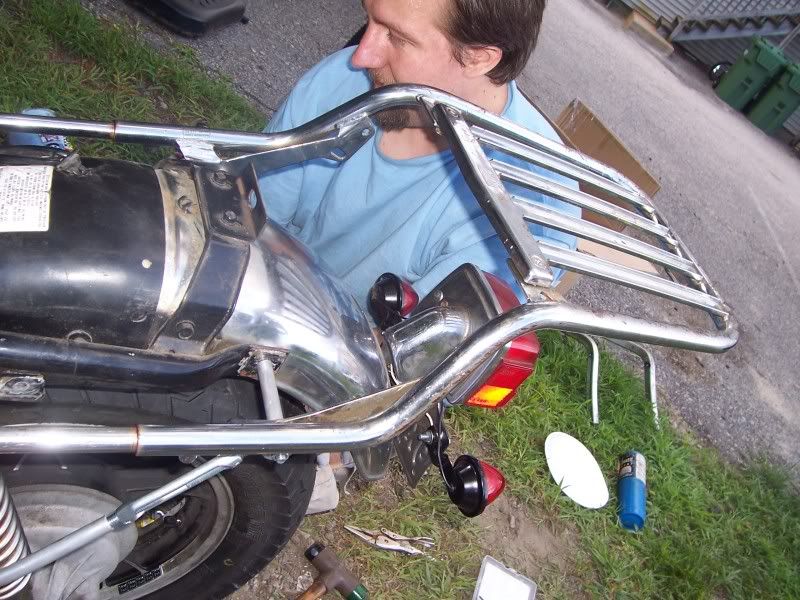
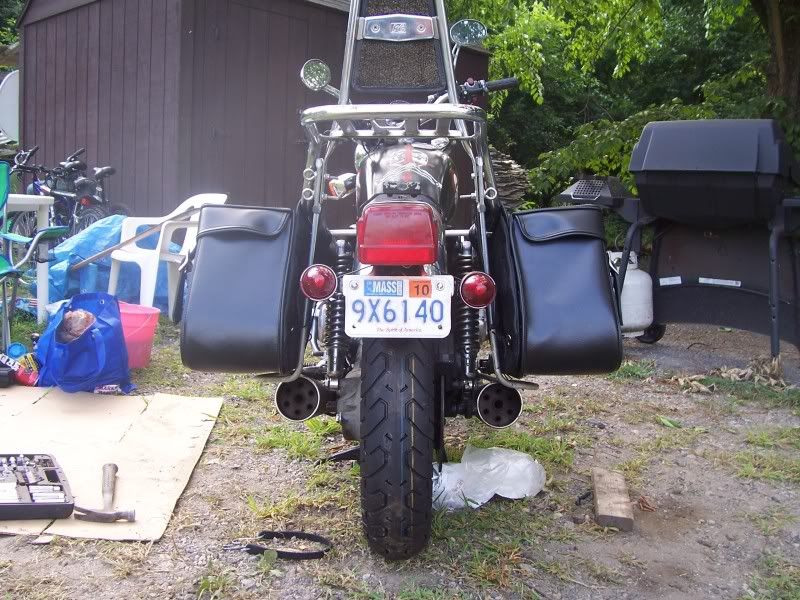
Relocated blinker and brace to keep bags away from shocks:
Stainless steel lines going on back (did front earlier in year)
The bracket is not holding the rack, just to keep the saddle bags out. Oh and it is mounted at the bottom to the foot peg bolt, it almost looks like its on the swingarm in that view.
New tread on the rear tire
Replace rear spline
Replace rear shocks
New Stainless Steel back brake line
New rear blinkers, mounted on license plate
Brackets for saddle bags
New saddle bags
New rack and sissy bar
New seat foam and cover, king/queen (remove rust on pan & fix mounts)
Front / Engine stuff
Check valve shims
Top end rebuild with new base & head gasket (added new valve cover gasket... need to order)
New clutch springs
So far got the valve shims swapped out and measured, was 13k miles since last but all where in spec but on low end, now all are .08-.05 range
Got most the back end work done but seat pan will take a bit longer to do right, got rust cut off, sanded down and paint with rust inhibitor spray.
A big help was fellow GS member "machinest" came over to lend a hand or two at times.
Here are some pics, no real order... Daughter did most the pic taking and she did all the math on the shims and turned the engine for me. Sorry Steve no need for the excel spreadsheet with a 5th grader ready to do the math. (I did check them after but she got them all right)
Before:
seat pan:
taking back wheel off:
Spline after 31k miles (actually very good shape but had the black one already)
New seat:
bottom of pan:
Rack getting fit up:
Relocated blinker and brace to keep bags away from shocks:
Stainless steel lines going on back (did front earlier in year)
The bracket is not holding the rack, just to keep the saddle bags out. Oh and it is mounted at the bottom to the foot peg bolt, it almost looks like its on the swingarm in that view.
Last edited:


 .
.