• Required reading for all forum users!!!

    Welcome!
    Register to access the full functionality of the GSResources forum. Until you register and activate your account you will not have full forum access, nor will you be able to post or reply to messages.

    A note to new registrants...
    All new forum registrations must be activated via email before you have full access to the forum.

    A Special Note about Email accounts!
    DO NOT SIGN UP USING hotmail, outlook, gmx, sbcglobal, att, bellsouth or email.com. They delete our forum signup emails.

    A note to old forum members...
    I receive numerous requests from people who can no longer log in because their accounts were deleted. As mentioned in the forum FAQ, user accounts are deleted if you haven't logged in for the past 6 months. If you can't log in, then create a new forum account. If you don't get an error message, then check your email account for an activation message. If you get a message stating that the email address is already in use, then your account still exists so follow the instructions in the forum FAQ for resetting your password.

    Have you forgotten your password or have a new email address? Then read the forum FAQ for details on how to reset it.

    Any email requests for "can't log in anymore" problems or "lost my password" problems will be deleted. Read the forum FAQ and follow the instructions there - that's what we have one for...

  • Returning Visitors

    If you are a returning visitor who never received your confirmation email, then odds are your email provider is blockinig emails from our server. The only thing that can be done to get around this is you will have to try creating another forum account using an email address from another domain.

    If you are a returning visitor to the forum and can't log in using your old forum name and password but used to be able to then chances are your account is deleted. Purges of the databases are done regularly. You will have to create a new forum account and you should be all set.

Testarossa's 1980 GS750L Project

  • Thread starter Thread starter Testarossa
  • Start date Start date
T

Testarossa

Guest
P1000894.jpg


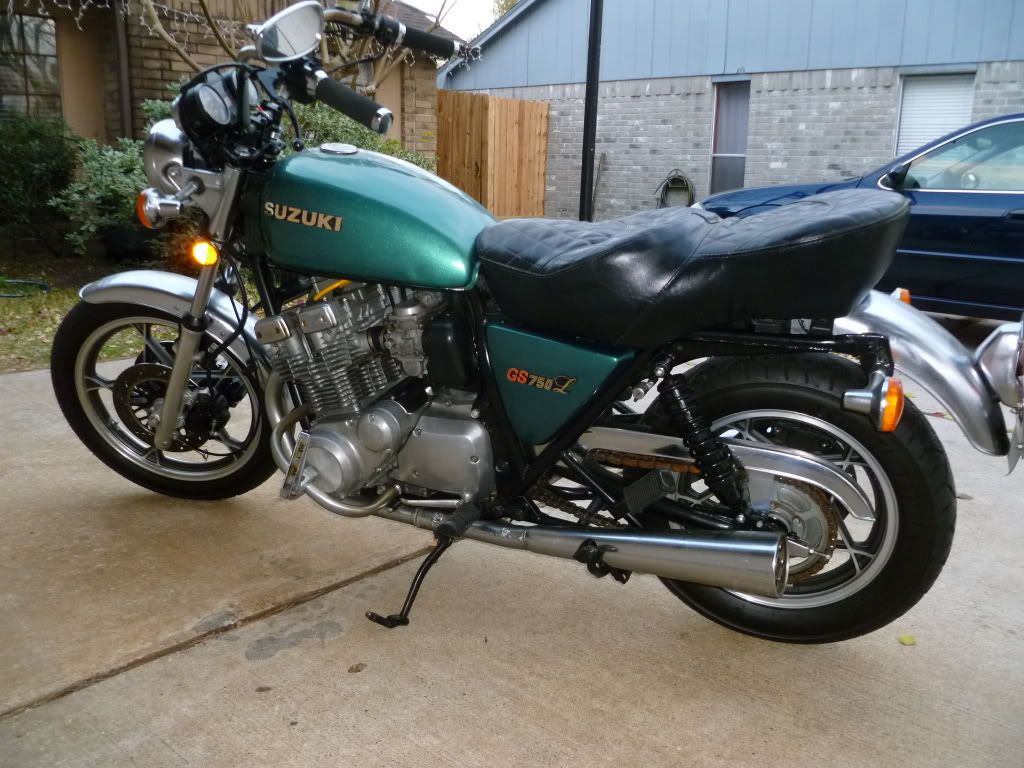
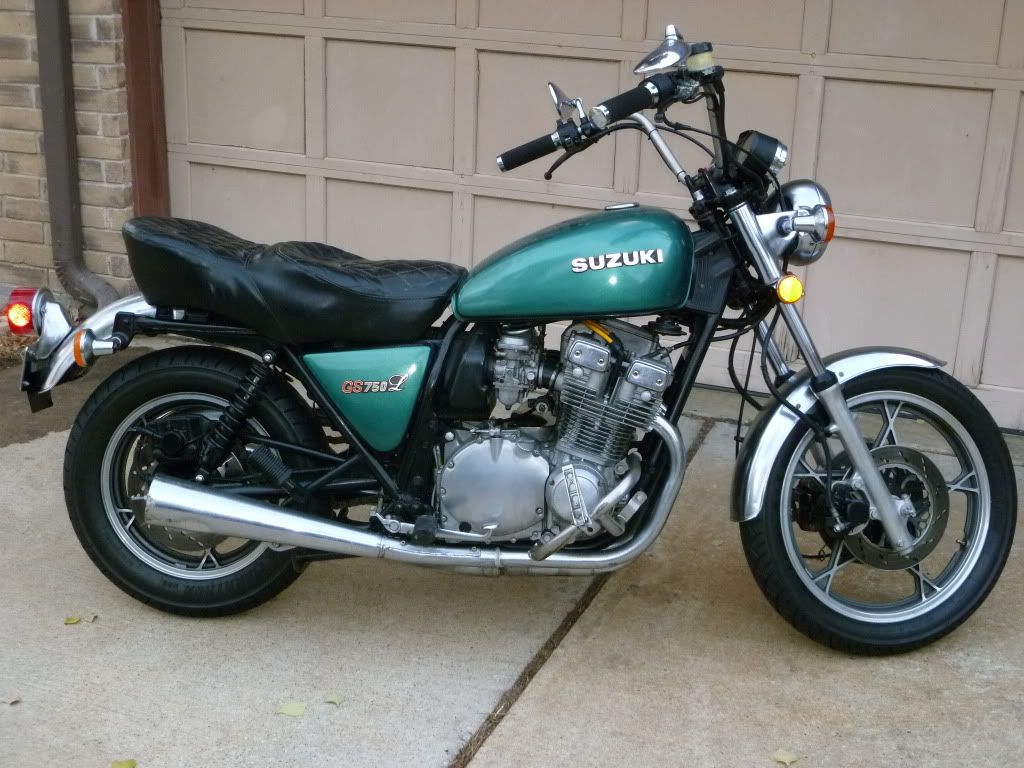
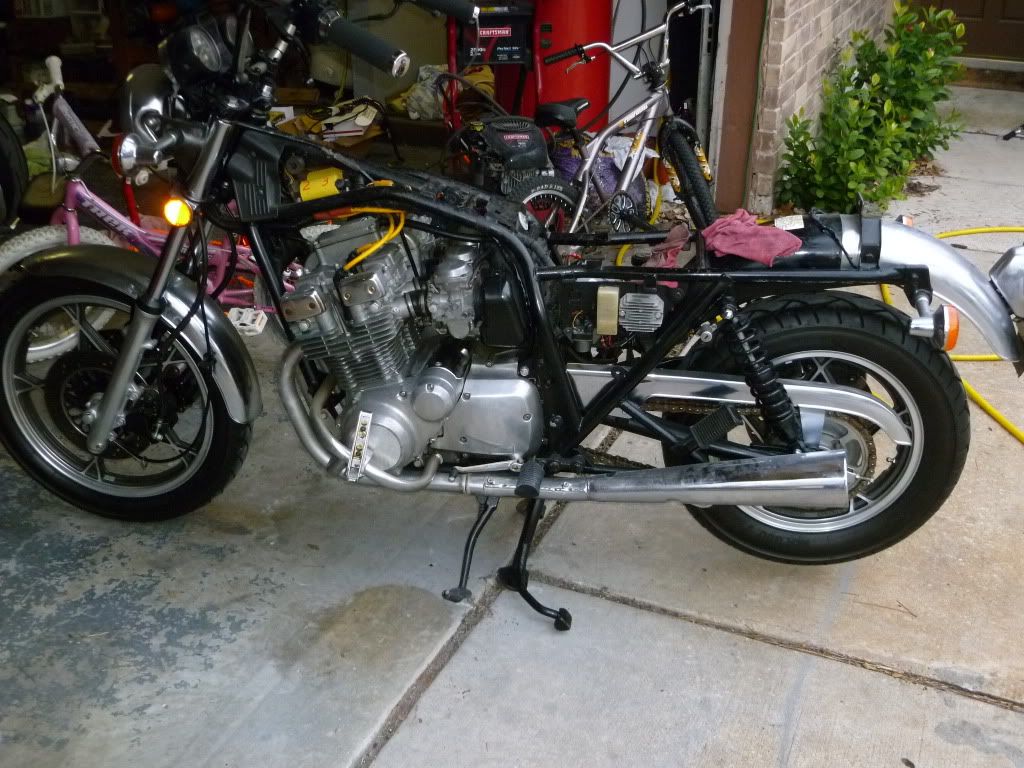
It was suggested that I start a project thread about my GS750L. So, no time like the present. As some of you may remember from my intro thread, this is the bike that I purchased from a neighbor for the princely sum of $300. So after pushing the bike half a block down the street to my house, it's time to get my hands dirty.

My first test was to check out the electrics. I had to jump this bike to another battery. The one in the GS is stone dead. Happily, all the lights, horn, indicators, and ignition are working properly.

Next on the list was to see if the the plugs fire and if the bike seems to have compression. I pulled the plugs and then re-attached to the leads. Then I laid them on the head and tried to start the bike. All plugs are making a fat blue spark. Apparently, the previous owner has installed a Dyna S and Accel coils and wires. Obviously, I can see the wires and coils, but cannot verify the presence of the Dyna. I have not yet removed the ignition cover.

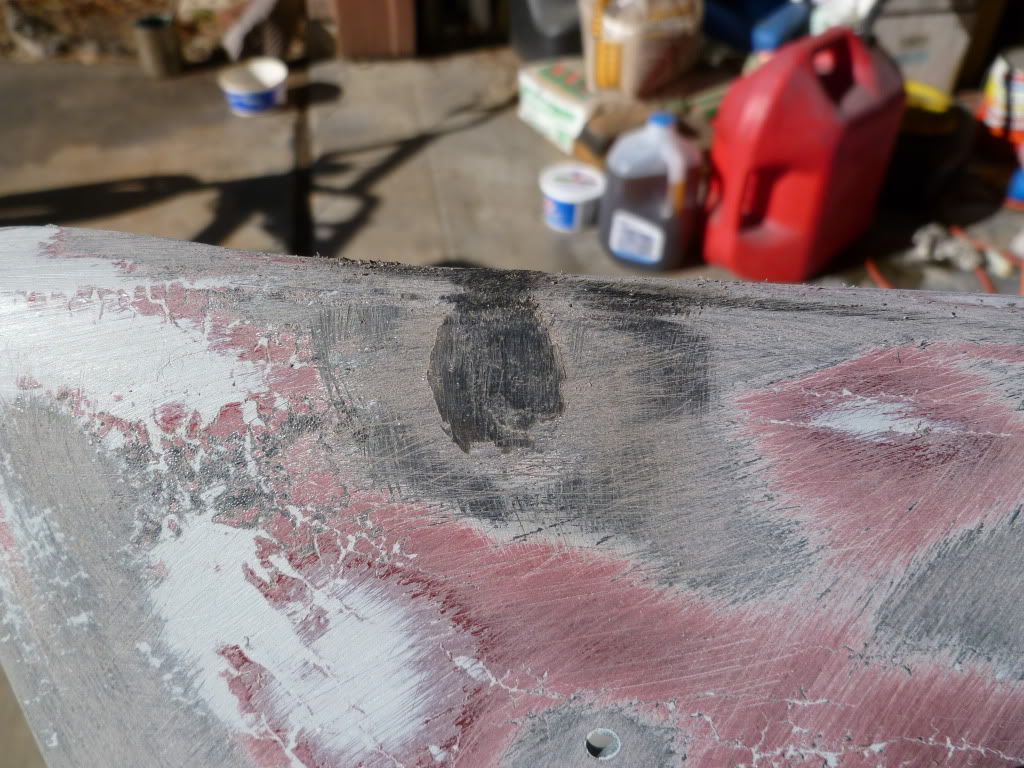
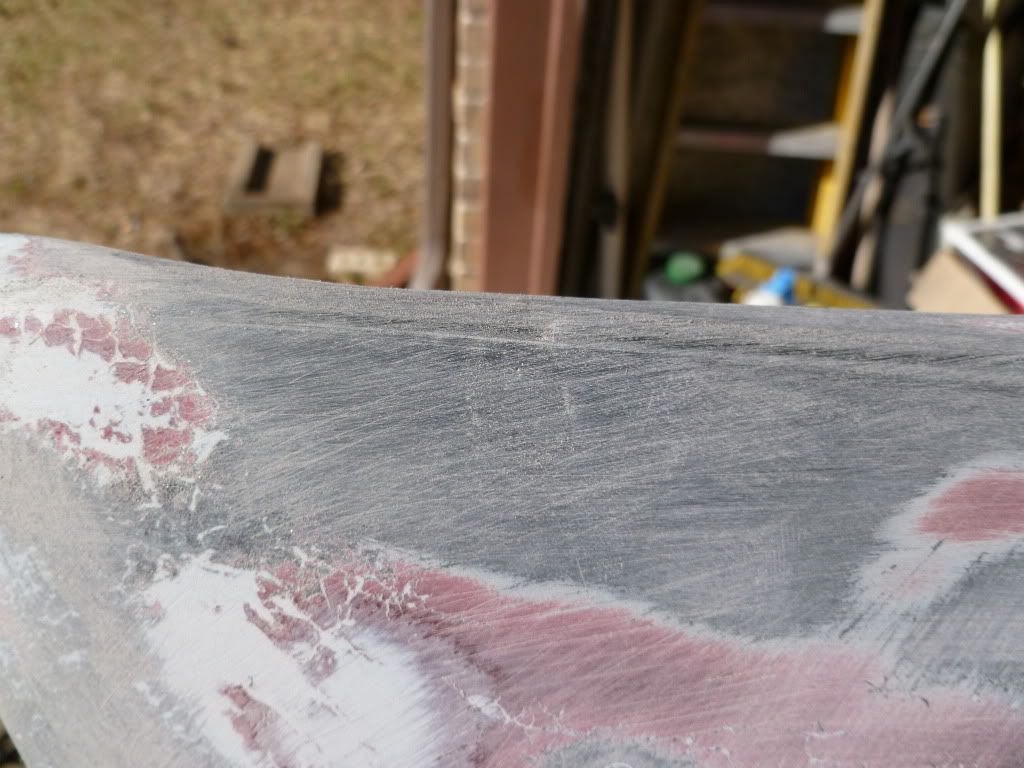
As for a compression test, I have opted not to find out how bad it really is yet. I do own a compression tester, but I don't want to find out at the moment that I'm making only 100 lbs on each cylinder. (The bike does have 55,000 miles.) So I just simply plug the hole with a finger and hit the starter. Not scientific, but I can verify that the bike does make plenty of compression to start.

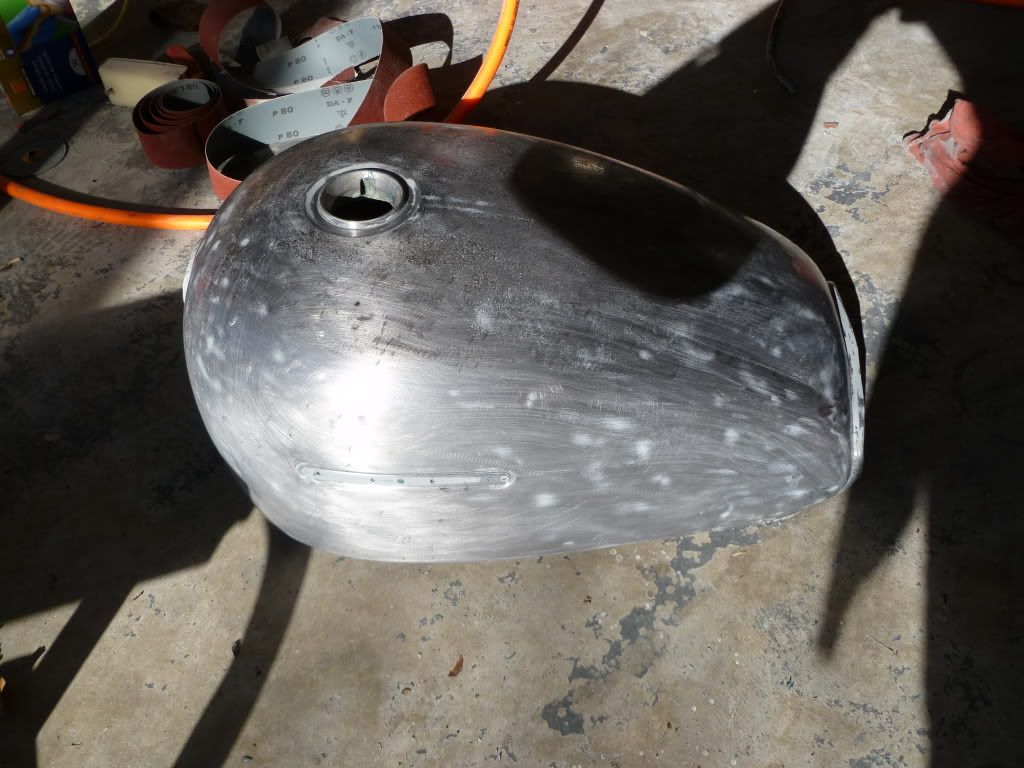
Now on to trying to start the bike. I can verify that the previous owner has Kreemed the tank, but left fuel in there while parked. This fuel smells rancid, so I removed the tank, and replaced it with a lawnmower tank that I use for carb syncing. Of course, the o-rings on all of the fuel crossover pipes are dry and broken. Major fuel leak. Soooo, I separated the carbs and replaced the o-rings. Carbs back on and I try to start the bike to no avail. I decided to pull a drain screw, and the float bowls are dry.

Well, I removed the carbs and discovered that the needle and seats are totally stuck. I tried to quickly clean everything out without doing my usual extended soak in the parts cleaner. Unfortunately, I was un-successful at removing the seats. The varnish is rather tenacious in these carbs. I was hoping that the basic cleaning that I did would be clean enough to start, so back to the bike.

It tries to start, but acts as if it's not getting enough fuel yet. I was able to make it run on starter fluid, but as soon as the starter fluid runs out, it dies.

continued on next post....
 
Last edited:
P1000888.jpg


Now, I also have a set of BS 34 carbs from another project, and decided to pull them apart and see how the seats are supposed to come out. I re-read the carburetor rebuild info in my Mega Welcome, and tore the 34's apart completely. I must say that that document is an in-valuable resource. Just being able to verify how to dis-assemble something when you are unsure helps a ton.

When I am able to find time, I'll pull the 32's off the GS and clean em out properly. Somewhere along the line, a previous owner has installed different sized pilot jets. It has a combination of 40 and 42.5 jets. Could anyone verify what all the factory jet sizes would be? Currently, I have 180 air jets, 40 and 42.5 pilots, and 117.5 main jets. The bike has a UNI foam air filter and the PO says that he drilled out the baffles. I guess that these mods may require slightly richer jets. I would like to start from stock and at least get it running on gasoline, and then adjust jet sizes from there.

Also, one of the pilot jets in the BS 34 set is well stuck. Someone was fooling around with these carbs before I got hold of them. I found one main jet in the float bowl, and the particular pilot jet has the screwdriver slot rounded off. Anyone have a suggestion for removing this jet without doing damage to the carb? I suppose I could drag the carb to work and drill it out (I'm a machinist.) However, there is a risk of ruining the carb body if I go that route. Anyone tried to heat em up a bit before removal? This rack has been dry from gas for at least a year, so I shouldn't have to worry about burning.
 
Last edited:
Sounds like a good project so far. If you're looking for any carbs specs, they are all in the first post on the "carb/fuel/exhaust" section

http://www.thegsresources.com/_forum/showthread.php?t=73723

don't have much to offer with the stuck screws other than soak the heck out of them. I sure wouldn't try drilling them but you're the specialist in that department.
 
Awesome, thanks for the link. I'm working on shedding my newbieness. As for drilling out the jet, that's last resort. I would put the carburetor on one of our Bridgeport Mills and indicate the hole to find centerline. Then carefully drill it out, but even that makes me nervous. I'd sure like to get it out by conventional means.
 
Well, I made a small amount of progress this evening. I dis-assembled the carbs again, and allowed them to soak in the parts washer for 24 hrs. I was finally able to remove the needle and seats this time. Now with a proper cleaning the bike actually starts and runs on gasoline. Next step, I'll get a new battery and the stuff to change the oil. Bear with me as, this will take a little while. I'm really pushing to finish up my KZ1000 project. I'd already be done if I could paint worth a damn.
 
I just got done ordering some superbike bars, oil change stuff, valve cover gasket, and two pilot jets from Z1 Enterprises. Love Z1E! They always have what I need for my addiction.

So the plan is to change the oil, check valve clearances, adjust and sync the carbs, and get all the same jet sizes in all carbs. Love previous owners, they always do stuff to keep you on your toes. This one had 2 different sized pilot jets.

This should be fun. I'm so happy to not have to start with a total basketcase.
 
I hit a little snag on my other bike project yesterday, so I decided to start doing some maintenance on the GS today. First I wanted to lube and adjust the chain.
P1000972.jpg


Of course, I discovered the reason why the bike has become difficult to push around. The rear brake caliper was stuck. I decided to see if I could get the piston moving again. I pulled the caliper apart to have a look.
P1000974.jpg


Here's what I found:
P1000975.jpg

P1000976.jpg


This seems typical of any bike I have worked one that has sat for a while. There is a white powdery residue on the outside of the seal, and a resinous buildup around and behind the seal.
P1000979.jpg


Once the caliper was cleaned and re-assembled, I bled the brakes and all is well. Got the chain lubed, and adjusted.

Then I decided to check out the front brakes. Of course those calipers were stuck as well. After I cleaned them up and bled the front, I discovered a leak around the base of the front reservoir. I'll have to replace that o-ring, and see if that seals the leak.
 
Congrats!!!
Bet your neighbor is thrilled.

Hahahahah! I must have rode past his house 10 times, and he never came out an looked. I know he was happy since I put some much needed cash in his hand before Christmas. We have a deal going. When I get the GS street legal I'm going to let him have one last ride, and he'll let me go for a spin on his Vulcan 2000. Potato-potato-potato. :)

I love it when I get one to the point that I can go for a spin. That's pure joy for me. Now I have to wait for parts.

Looks like this one might get painted soon. I had to dump out 1.5 gal of rancid gas from the tank. I tried the petcock first. No joy. It was plugged full of varnish. So I decided to dump it out through the filler neck. That wrecked his Rustoleum paint job. I'm needing to shoot a few more coats of clear on my KZ, so I may just shoot the GS at the same time.
 
I dont know if you got the pilots out yet, but I was able to remove buggered pilots by drilling a little, and using a small easy out. People try to use mal-fitting screwdrivers on these and just mess them up, not that they are so tight.
My 750 had 60k km on it, had 140 psi on all four when I got it. There was a TON of dirt/silt in the oil pan, might want to think about dropping it and cleaning, all that gunk goes through the oil pump unfiltered:eek:
 
Thanks gearhead13, that stuck jet was in another set of carbs. I probably wasn't too clear on that. Anyway, all my jets are nice and clean now. I learned about the jet screwdriver before on my boat. Since then I ground an old screwdriver that fits these jets tightly now. I have also used a left hand twist drill to remove broken, stuck screws before, but I'm not sure if I have one small enough. I'll cross that bridge later.

Is it possible to get the oil pan out while the motor is in the frame?

That black clutch dust really builds up in the bottom of these bike motors. One of the pleasures of running a wet clutch.
 
Is it possible to get the oil pan out while the motor is in the frame?

That black clutch dust really builds up in the bottom of these bike motors. One of the pleasures of running a wet clutch.
Should just have to pull the exhaust, and drop the pan:cool:
 
A wise man said "Any 15 minute job is just one broken bolt away from an engine removal".
 
A wise man said "Any 15 minute job is just one broken bolt away from an engine removal".

So true. I have a good buddy over at the KZ forum who had a running 78 KZ1000 that he purchased for $400. He was doing a valve adjustment like a good boy, when his bucket tool slipped out. It bounced off the top tube of the frame and down in the valley for the cam chain. Wouldn't fall into the pan, so he wound up tearing the whole motor apart. Now he's in the process of installing a single sided swingarm from a speed triple, and a solid year into the project. Funny the path that life leads you down some times.
 
One quick update tonight. I took inventory of my painting supplies, and it appears that I have enough left over from my last paint job to shoot the GS. So on the way home today I stopped off at the paint store and picked up a pint of color. Needless to say the green is long gone. I got all the rattle can junk stripped off today. Yuck! Hopefully I can generate something worthy of some pictures this weekend.
 
I managed some progress today. First, I discovered the issue with my fuel tank sending unit. There is a should be a wire connecting the rheostat to the insulated connector. I guess this would be the "+" wire. It was very corroded and fell apart as soon as I touched it. Also the corrosion affected all the electrical contacts, so I cleaned all that stuff off. Now that it makes solid contact, it ranges from almost no impedance to about 200 ohms. Does this seem right? I need to get a short piece of small fuel line to insulate the new wire that I will solder in place.

I got the bodywork all sanded and primed today. I shot two coats of PPG epoxy primer and four coats of PPG High build. Unfortunately I doubt that the weather will cooperate for further painting for a little while. We have a cold front rolling in tomorrow.

P1000986.jpg


Here's the tank in epoxy prime. I know it's hard to see. Last pic that I got before I lost the camera battery. I'll try and shoot some better pics tomorrow.

P1000990.jpg
 
I also got one of my parts orders in today. This one had grips, all the fuel tank seals, and the o-ring for the base of the front master cylinder. My other parts should be here Tuesday.

Now for some more body work pictures. I had a small stress crack in one side cover.

P1000985.jpg


I repaired it by welding it back together with my soldering gun using a spade tip. I then added in a little additional ABS from a scrap KZ750 tail piece. This was done to fill in gaps and hopefully cover any marks from the soldering gun.

P1000987.jpg


File off the excess:

P1000988.jpg


Then block sand it level with 80 grit:

P1000989.jpg


I did the same thing on the back side in hopes of making a strong repair. Any remaining evidence of my repair should be hidden under the high build primer.
 
Back
Top