I was a professional coater for many years...started off in industrial applications and then found my passion doing custom motorcycles and auto parts.
There are a lot of different powders for many different applications. Each one has different characteristics.The best overall is polyester...it has good flexibility,uv protection,and chemical resistance. Urethane is a little more brittle I guess you could say but is a lot nicer finish,smoother but does seem to scratch easier. Epoxy has the highest chemical protection but the lowest uv rating it chalks in the sun.
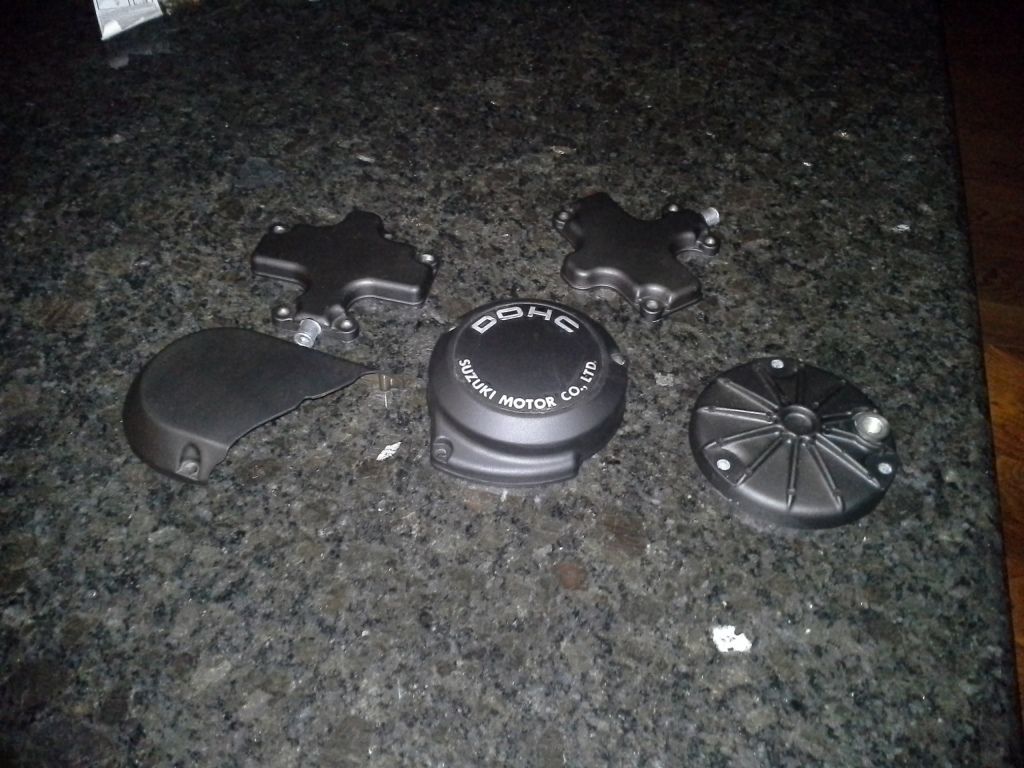
The cleaning is important.we use to have 50 percent of the parts sand blasted and the rest we use to hand scuff then use a Phosphate wash or bath. It's not an etch it actually puts a fine layer of phosphate on the part to help adhesion. Used all types of blast media including glass bead.
Precooking the part is not a science it all depends on the material. Cast is the worst as far as gassing out also the age of the piece, the older the metal the more problems we seem to have with pin holing and gas out
The one thing I don't see in a lot of DIY applications is the explanation that the part has to get to cure temp. and remain for the recommended time period.
For example :The powders recommended temp is 400 degrees for 20 mins. If you have a 1/4" piece of steel and put it in for only 20 mins it will not cure properly. The likelihood of failure is higher.
Powder is great and they have made a lot of improvements in the manufacture of it.
Less orange peel than in the past.
But Thicker is not better. It will lose the flexibility the thicker it is. Recommended mil thickness for most powders is 1.5 to 3.5 mils thick.
Well I've rambled on long enough

I hope this helps some out there.
") Just need to find space to park it in the garage now..
Just need to find space to park it in the garage now..