Announcement

Collapse
No announcement yet.

what did you wrench on today??

Collapse
X
 
  • Filter
  • Time
  • Show
Clear All
new posts

    Originally posted by MisterCinders View Post
    Trying to envision the shape of the remaining plug, but wouldn't a larger lefty bit be enough to grip the inside of the plug remains and turn it out? I once had a brass intake vacuum port tube break like this, but could back it out by hand with a suitably sized lefty bit.
    In theory this would work yes. However because of the forward lean of the engine, and the frame being in the way, there is no way a drill would fit in there. Also have concerns about dropping metal shavings into his cylinder .

    The remaining plug is simply the threaded part. The electrode is removed, and it's just the threads. Only about 3/4 inch long, 1/4 inch diameter. With maybe 1/8 inch hollow cylinder (where the electrode was) through the plug. Take that and bury it 6 inches down a 1 inch diameter shaft, and you have a better idea of the situation

    Comment


      Originally posted by Tim Tom View Post
      In theory this would work yes. However because of the forward lean of the engine, and the frame being in the way, there is no way a drill would fit in there. Also have concerns about dropping metal shavings into his cylinder .

      The remaining plug is simply the threaded part. The electrode is removed, and it's just the threads. Only about 3/4 inch long, 1/4 inch diameter. With maybe 1/8 inch hollow cylinder (where the electrode was) through the plug. Take that and bury it 6 inches down a 1 inch diameter shaft, and you have a better idea of the situation
      Are the threads fused or stuck in the head? If not, you could use a lefty bit that is slightly larger than 1/8" and use it just to grab the inner walls, then turn it by hand to back it out. You won't drop metal into the block, because you aren't actually cutting or drilling, just using the bit to grab the walls. You also don't need to fit a drill in there, just the bit and your fingers or maybe some pliers to get more reach from the bit.

      Of course this only works if the threads aren't gummed, fused, or otherwise stuck. It's exactly how I got that broken vacuum port tube out.

      Comment


        Originally posted by MisterCinders View Post
        Are the threads fused or stuck in the head? If not, you could use a lefty bit that is slightly larger than 1/8" and use it just to grab the inner walls, then turn it by hand to back it out. You won't drop metal into the block, because you aren't actually cutting or drilling, just using the bit to grab the walls. You also don't need to fit a drill in there, just the bit and your fingers or maybe some pliers to get more reach from the bit.

        Of course this only works if the threads aren't gummed, fused, or otherwise stuck. It's exactly how I got that broken vacuum port tube out.
        The threads are in there pretty good. He must have over torqued them when first putting it in. We tried something similar to this using a coarse round file, but it would not grab the walls enough to break the threads free. The most success we had with it was using a long flat head to push against the 'hook' part of the spark plug, but even this could not break the thread free.

        I appreciate the suggestions, would love to find a solution not involving removing the head

        Comment


          Originally posted by rustybronco View Post
          Not really wrenched on anything per say, but I did remove a 3 inch long bolt from my rear tyre, which caused it to go flat on the way into work this morning. drove out to where I left it this morning and put two plugs into the hole so I can get home tonight.

          Sorry Stan, your GK is going to have to wait until I can get back at it again; I've a tire to remove tonight.
          Ah, no rush, it must wait, no problem, I figure your Berries should owe you a tire by now.

          Comment


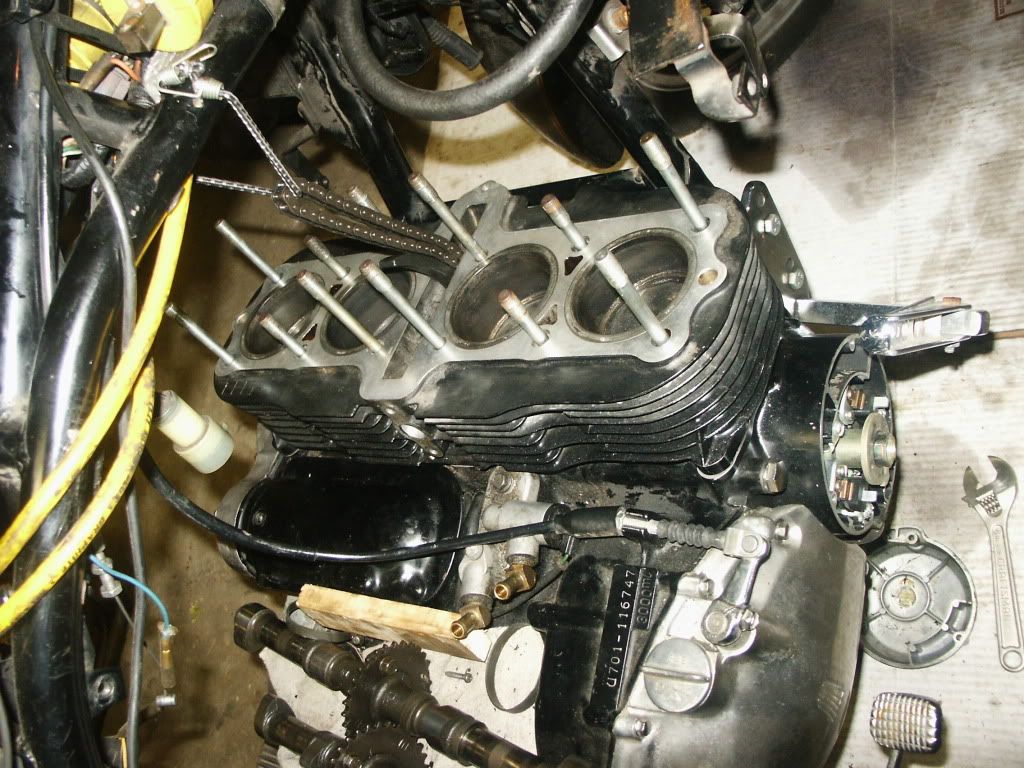
            I reinstalled the cylinders back on Nancy...


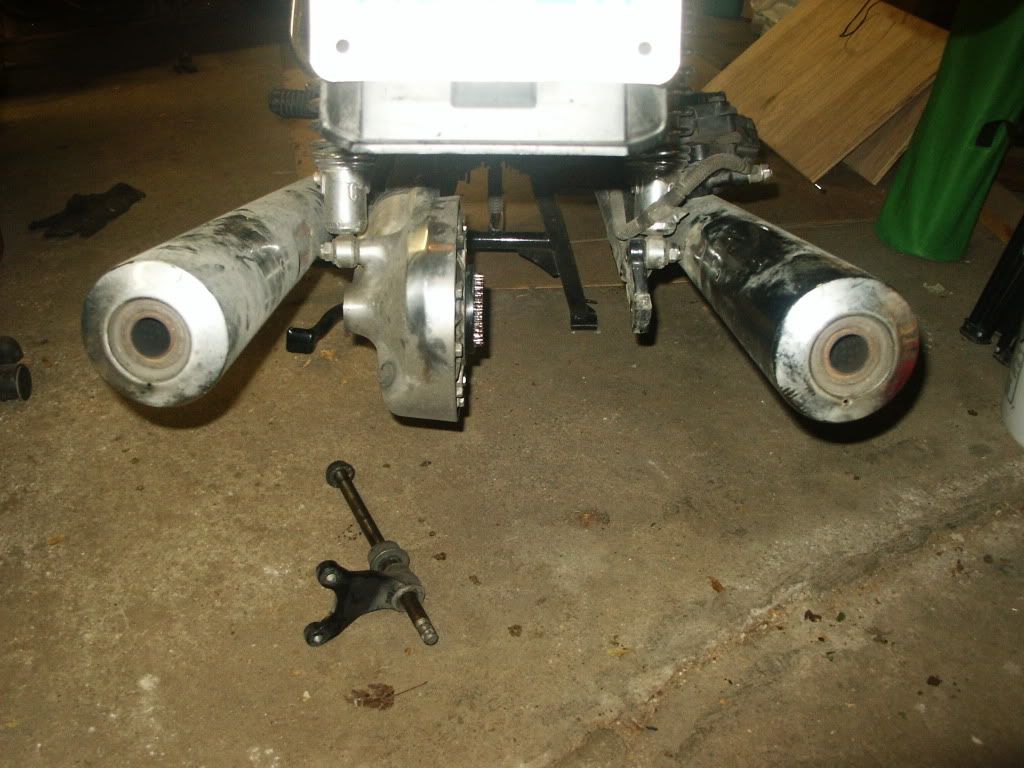
            And pulled the rear wheel off my 80 850G because the tire had gotten impaled by a bolt.

            Last edited by rustybronco; 09-13-2012, 09:11 PM.
            De-stinking Penelope http://thegsresources.com/_forum/sho...d.php?t=179245

            http://www.thegsresources.com/_forum...35#post1625535

            Comment


              Originally posted by MisterCinders View Post
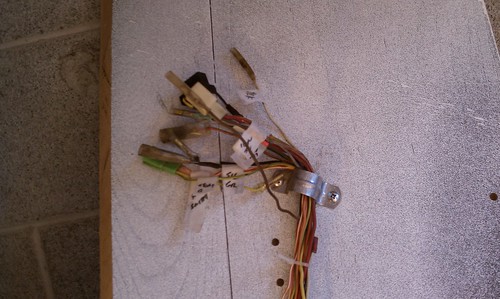
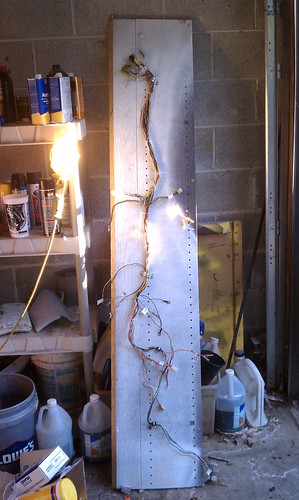
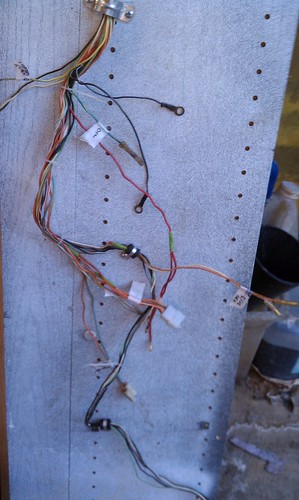
              I cleaned up my new wire harness (Thanks Witttom!) and prepped it and the bike for new wires and coils. Also mapped out the different connectors and tagged them.


              [

              The harness was only a bit grimy, but the connectors cleaned up easily. For some reason there were a bunch of slice connectors on the wires for the gauges, lights etc. up front. No idea why.

              Also, the new harness is designed for a fuse block, so decided to pick one up and upgrade from the "One Fuse to Rule Them All, and in the Darkness Bind Them" system of 1978. I'll also dump that stupid stator leg and run it to the R/R like God intended.
              So this turned out to be way more difficult than I thought. Managed to make the following upgrades along the way:

              New coils and plug wires.

              Wired the stator straight into the Rectifier. Ran a stronger ground from the RR to the negative post.

              Changed from the solo fuse to a fuse block.

              All went great until I went to start the bike. Push starter, nothing. Spent hours chasing connectivity gaps. All connections checked out. Shorted solenoid, starter spun. What the hell?

              Turned out my ground changes didn't ground the starter relay. Wired that up good to go.

              Comment


                With Steve's help, today we/he...

                Adjusted the valves and replaced the gasket.
                Replaced a faulty stator with a Rick's and replaced the gasket.
                Replaced the stock R/R with a Compufire unit.
                Gapped and installed new plugs.

                Oh, and I learned the "ridiculously easy" way to bike my bike on the center stand.
                Last edited by Guest; 09-16-2012, 10:53 PM.

                Comment


                  Week off this week to "wrench" on the house.

                  Six concrete pillars out the back to strip the peeling paint and re-paint.

                  Rust around the bottom of a couple of door frames to deal with.

                  A couple of rusty bits of metal in the concrete balcony that have caused a couple of minor (non structural) cracks to deal with.

                  Heat gun carked it yesterday avo with the last pillar half peeled off... house mate is off now buying a new one.
                  1982 GS450E - The Wee Beastie
                  1984 GSX750S Katana 7/11 - Kit Kat - BOTM May 2020

                  sigpic

                  450 Refresh thread: https://www.thegsresources.com/_foru...-GS450-Refresh

                  Katana 7/11 thread: http://www.thegsresources.com/_forum...84-Katana-7-11

                  Comment


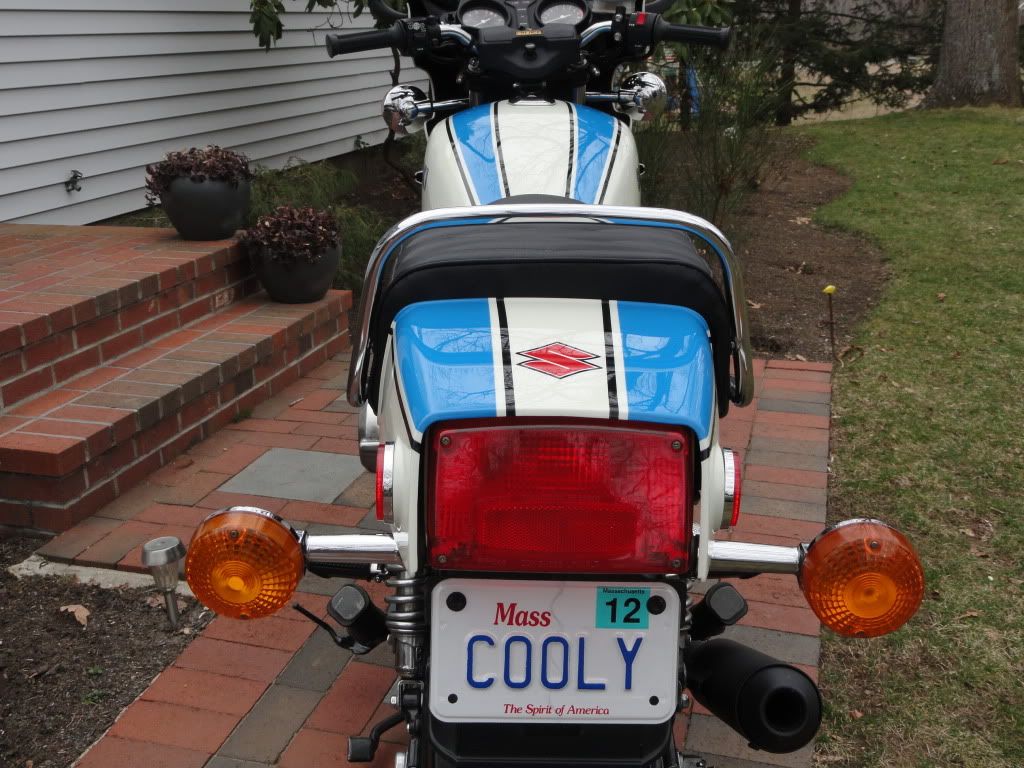
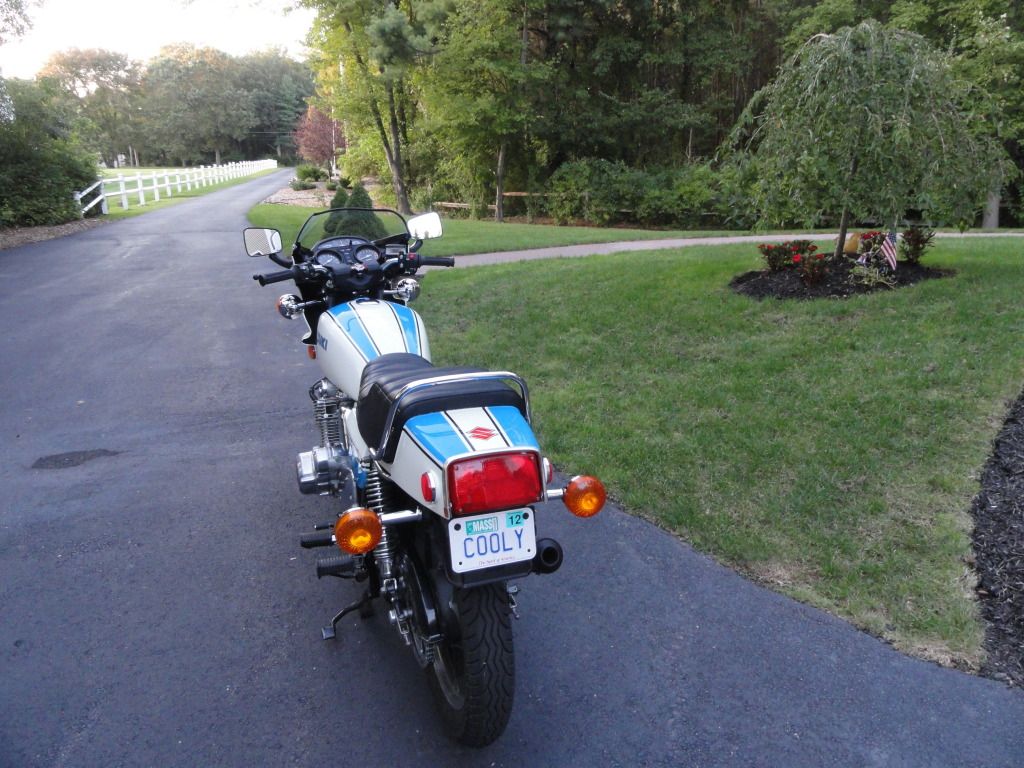
                    Nothing too exciting... and I only needed a pair of pliers. I installed the plastic/chrome tail trim piece.

                    I liked it for a while without it. But it definately looks more complete with it in place.

                    Without:


                    With:

                    Comment


                      Broke in my ba-rand new feeler guage (SGP #09900-20806), much nicer than the original spec piece, has extra blades for the thinner ones, .03-.09, successfully loosened without breaking the easier-to-reach outer exhaust pipe bolts, just a little heat from a torch, tackle the rest shortly. (edit)-cracked the rest of 'em-whew!!
                      Last edited by recycled64; 09-17-2012, 10:55 PM.
                      sigpicSome of the totally committed probably should be.
                      '58 + '63 Vespa 150's' (London, GB/RI, US)
                      '67 X6 T20 ('67 Long Beach, Ca.- misty-eyed)
                      '71 Kaw. A1-ugh ('71 SF, CA- worked @ Kaw dlr)
                      '66 Yam. YL1('72 SF-commuter beater)
                      '73 Kaw. S2A-2Xugh ('73 SF-still parts slave)
                      '78 GS 750C ('77 SF-old faithful-killed by son)
                      '81 KZ 750E ('81 SF-back to Kaw. dlr)
                      '81 GS 650G ('08 back to NE&ME- (project)
                      '82 GS '82 (2) GS650GZ, L, Middlebury, G current

                      Comment


                        Replaced the o-rings on the inside front cylinder nuts on my 82 Kat. She's been leaking for a while now but once my clutch cable broke I figured it'd be a good time to do it as well.... Oh and the o-rings were hard as a rock! I can't imagine I didn't replace them when I rebuilt the thing a few years ago but must have missed them.....

                        Sorry no pics.

                        Comment


                          Actually, I worked on a friend of bwringer's car. Connected the car's computer, hooked up the wideband, went for a ride, took some data, diagnosed a bad catalytic converter with a possible bad rear O2 sensor.

                          This was AFTER I had to go on a Frustration Ride. Got so frustrated with the day's events that I suited up, blasted off, and took it out on the folk that had to hear the Kerker in full song. Felt good, that.

                          Then worked on the car.

                          Comment


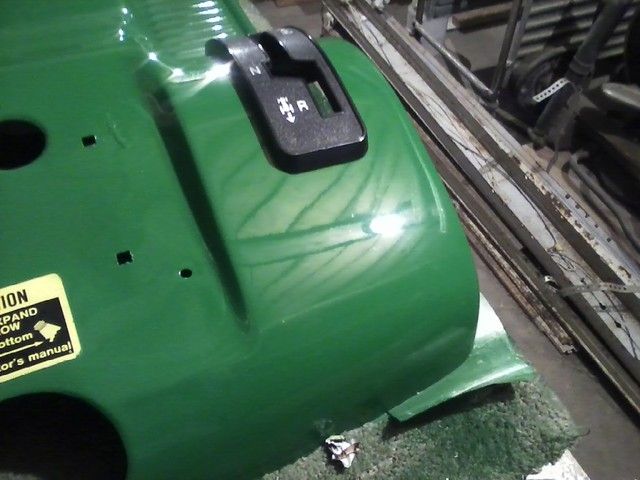
                            Finished the fender pan and dash tower on my little 116H JD.

                            Comment


                              I went for a ride on my go-to-meeting bike, then carried on tinkering with my parts bike . Today, I commenced "practising" on two lumps of chalky metal tethered by a stiff black piece of hose . They used to be a disc brake. I have a strange notion they might be again.... because last week,on a whim, I disassembled the hard-varnished, encrusted carbs with oven cleaner and (yikes) got the motor to run not too badly at all, really.. I guess the original idea was to see what is actually working well enough to USE as parts, but I grow afraid that I may have to collect another parts bike for the parts bike!

                              Comment


                                Lmao

                                I guess the original idea was to see what is actually working well enough to USE as parts, but I grow afraid that I may have to collect another parts bike for the parts bike! Bet your not the first person that`s happened too!
                                Originally posted by Gorminrider View Post
                                I went for a ride on my go-to-meeting bike, then carried on tinkering with my parts bike . Today, I commenced "practising" on two lumps of chalky metal tethered by a stiff black piece of hose . They used to be a disc brake. I have a strange notion they might be again.... because last week,on a whim, I disassembled the hard-varnished, encrusted carbs with oven cleaner and (yikes) got the motor to run not too badly at all, really.. I guess the original idea was to see what is actually working well enough to USE as parts, but I grow afraid that I may have to collect another parts bike for the parts bike!
                                sigpic1981 gs1000G Black
                                1969 Honda Dream Apart and someday will be painted!

                                To steal ideas from one person is plagiarism. To steal from many is research.

                                Comment

                                Working...
                                X