• Required reading for all forum users!!!

    Welcome!
    Register to access the full functionality of the GSResources forum. Until you register and activate your account you will not have full forum access, nor will you be able to post or reply to messages.

    A note to new registrants...
    All new forum registrations must be activated via email before you have full access to the forum.

    A Special Note about Email accounts!
    DO NOT SIGN UP USING hotmail, outlook, gmx, sbcglobal, att, bellsouth or email.com. They delete our forum signup emails.

    A note to old forum members...
    I receive numerous requests from people who can no longer log in because their accounts were deleted. As mentioned in the forum FAQ, user accounts are deleted if you haven't logged in for the past 6 months. If you can't log in, then create a new forum account. If you don't get an error message, then check your email account for an activation message. If you get a message stating that the email address is already in use, then your account still exists so follow the instructions in the forum FAQ for resetting your password.

    Have you forgotten your password or have a new email address? Then read the forum FAQ for details on how to reset it.

    Any email requests for "can't log in anymore" problems or "lost my password" problems will be deleted. Read the forum FAQ and follow the instructions there - that's what we have one for...

  • Returning Visitors

    If you are a returning visitor who never received your confirmation email, then odds are your email provider is blockinig emails from our server. The only thing that can be done to get around this is you will have to try creating another forum account using an email address from another domain.

    If you are a returning visitor to the forum and can't log in using your old forum name and password but used to be able to then chances are your account is deleted. Purges of the databases are done regularly. You will have to create a new forum account and you should be all set.

what did you wrench on today??

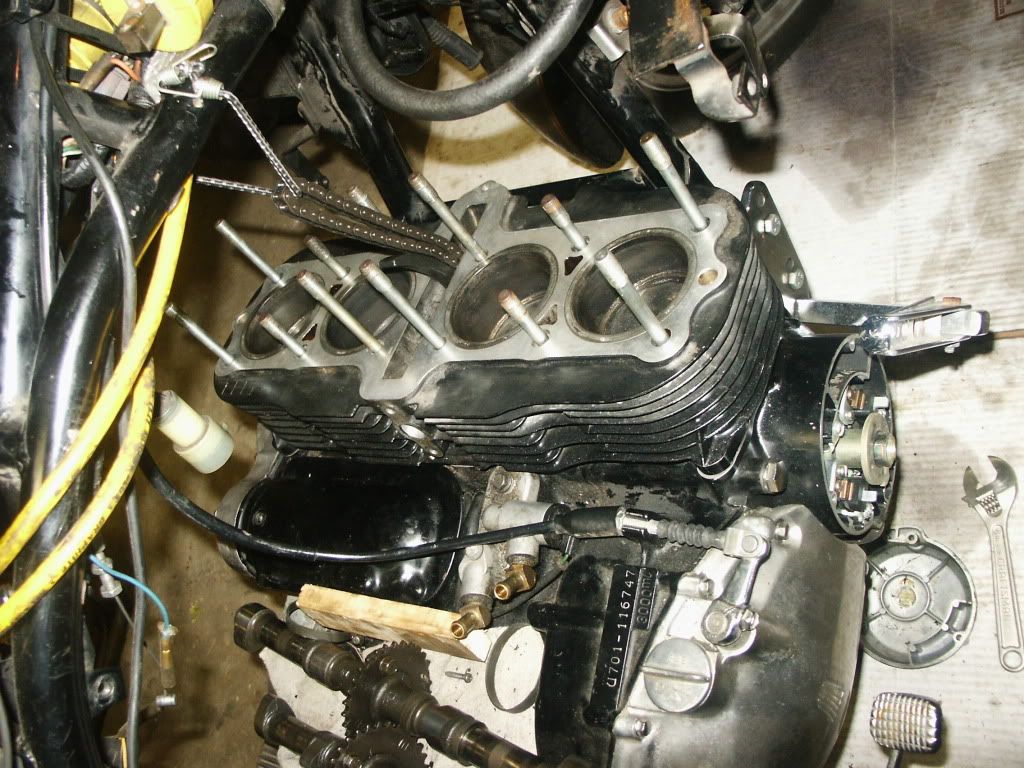
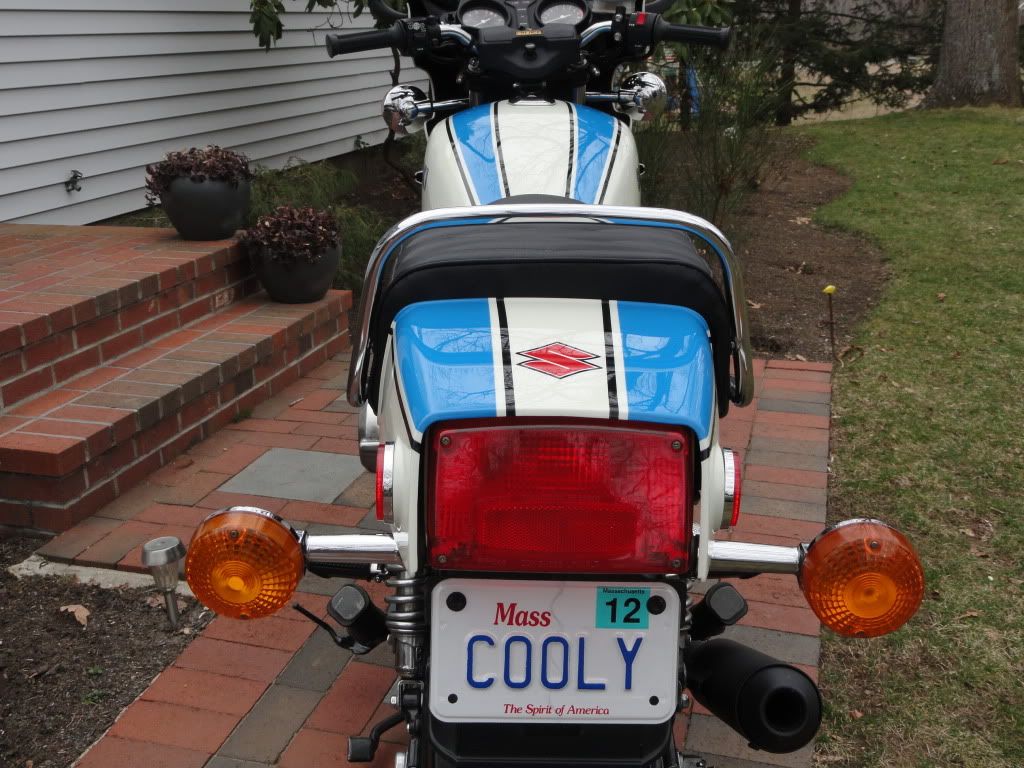
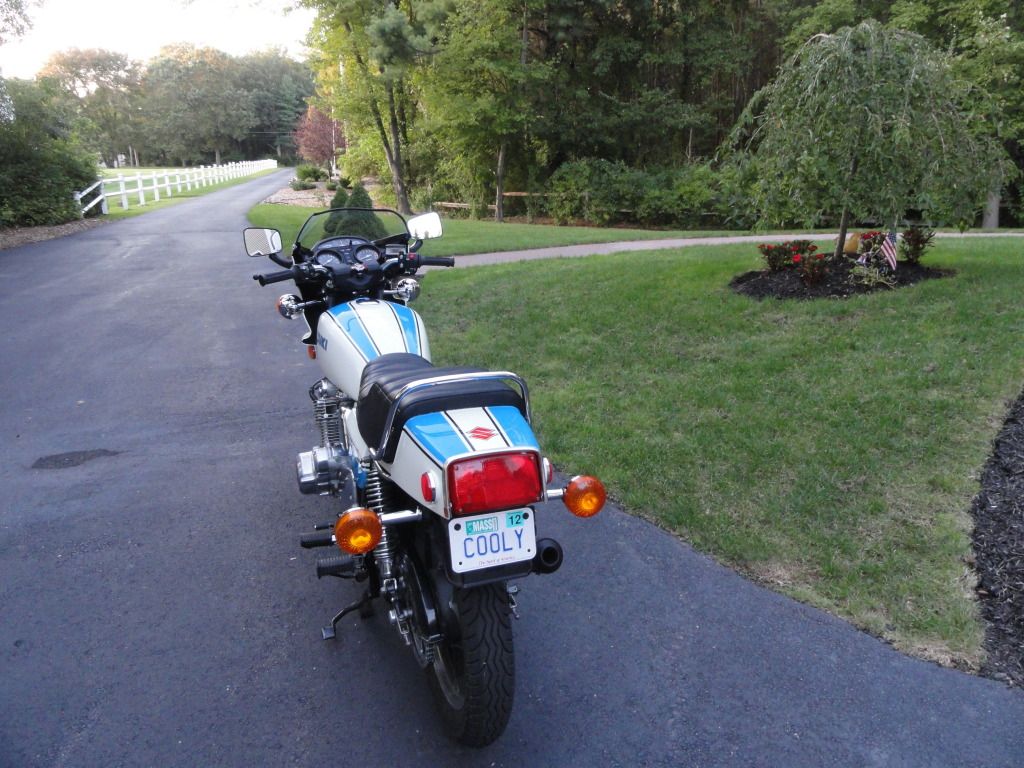
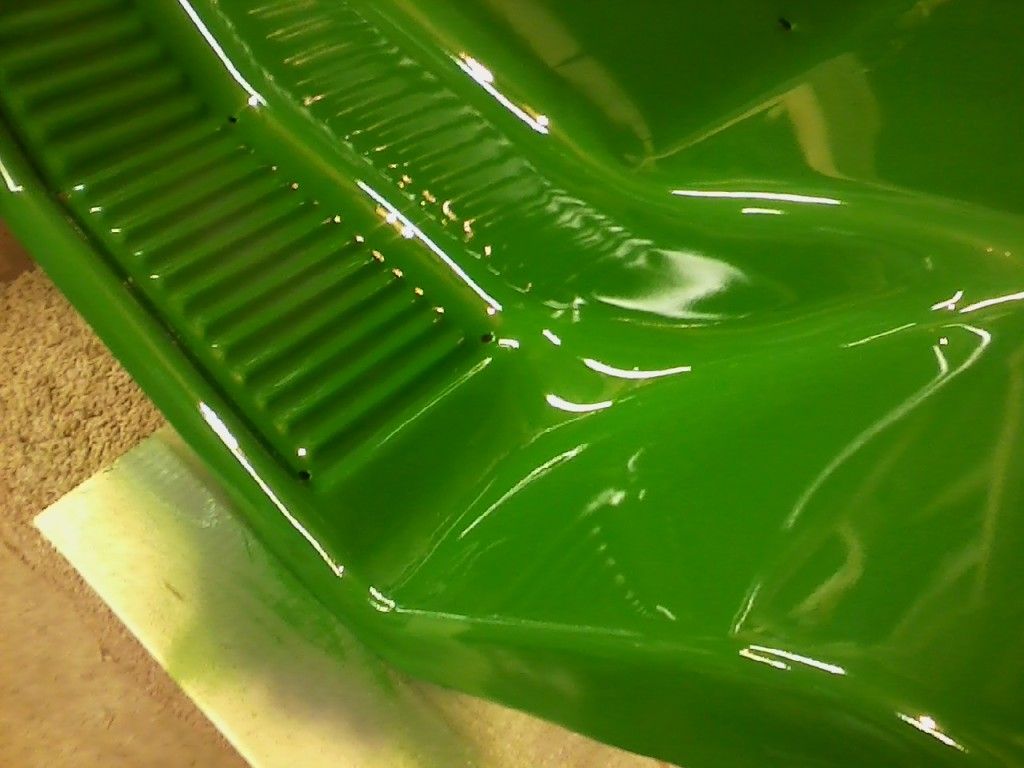
Yesterday I got the oil changed, put a new rattle can paint job on the tank and tail fairing (Ford "Cayman green"), got the headers painted and then later wrapped in black (actually it looks dark gray) fabric wrap, dug out the old exhaust gaskets and installed new ones, plus mounted the headers and new chrome side-cut slip-on with some studs. The rattle job isn't the greatest, but it looks good from 10' or so and is still an improvement on what it did look like. Oh, and that crap Vetter fairing thing is gone! :)

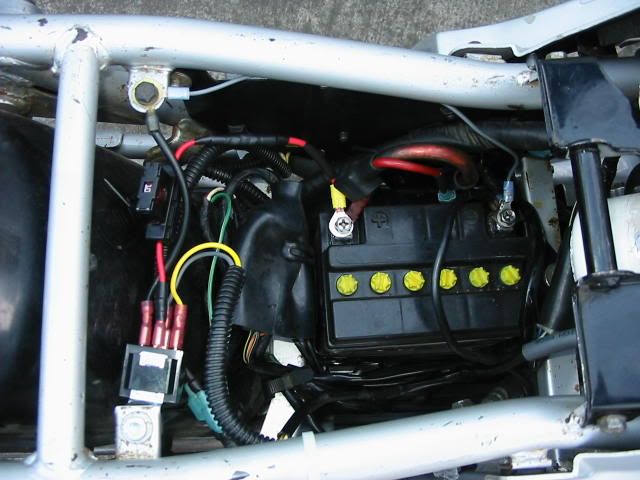
Still need to get the carbs dipped, rejetted, and new o rings installed. Also have a Compufire to put on and a new Rick's stator. Should have a decent baseline from that point. Not being able to ride is beginning to drive me nuts!!
 
Reinstalled rebuilt 'Fox Factory Shox' (by Evolution Suspension, San Jose)
Cranked out the coil relay mod (see photo)
Before this, there was a slight stumble under acceleration 4-5k rpm
So first I raised all needles one notch ie lowered circlip one notch (from middle position) ... not good.
Then I lowered needles two positions (one above middle position) ... better but still a definite stumble.
So went back to middle position ... and with the coils now losing only 0.2-0.3 volts (vs the 2 volts before mod!) it sure is running great, but it's not perfect under acceleration. (And there's quite a violent deceleration when you let off, fwiw). This is beyond me. (135 mains) Guess I'll read about the plug chop method and see if I can get closer.

IMG_0004-2.jpg
 
Last edited:
Not bike related, but yesterday I went outside to put new pads on the rear of our Armada. I had done the fronts a couple of weeks ago and at the time saw the rear were getting near the squealers so I decided it was time for them too. The wheel I started with was one that had been removed and put back on by a tire shop. I had to really bear down on the lug wrench to break them loose. I got to the locking nut and not only the the key break but so did the nut. I ran to Northern Tools to see if they had the emergency removers and they didn't. I ran to Sears because they showed a two piece set for about $15 which they didn't have. So I came home and picked up the vehicle and off to a tire shop I went. 10 minutes later and $20 and they were all off so I wouldn't have to buy a new key and one nut. I got a new set of locking nuts and the old nuts removed for less than the factory stuff that failed would have cost.
 
Wow, Pete! What mess. Will avoid "dodgy aftermarket gaskets" if I can avoid that.

Yep, only a bit over 6000km's on the gasket and it was already brittle.

The genuine ones appear to be sort of soft I guess, maybe even a little porous maybe... so when they go in they actually get moist with oil and then seal.

This Athena one was more like rubber and it just never sealed, always weeped... same happened with the valve cover gasket which I replaced after 1000km's before realising the breather cover gasket was just as bad.

So far this week to work and back she's all oil tight and no new weeps... I like it :D

I don't know. I prefer the look of a new gasket peaking out from under a part or two. ;)

Must agree Dave, I haven't even trimmed the gasket around the right side cover that pokes out about 1mm all the way 'round... I sorta like seeing them so I know if they look perished or not...
 
I removed the engine in the RF900 and will start taking it apart today. Going to be replacing the transmission.
 
Speaking of going green... I helped my friend do some work on his '08 Kawasaki ZX6R last night...

I get a call asking for advice on how to remove a broken SPARK PLUG :eek:. So I hopped on my GS, and headed down to his place to see what I could do. I've had experience with broken bolts on the GS before, so I had a fairly good idea of what had to be done.

First of all, I have NO IDEA how he sheared a NEW spark plug going in, but he did. And unlike the GS, where everything is right in front of you, and lovely to work on, the ZX6R plugs are sunk in a good 6 inches into the engine, and accessed through a tube no more than an inch across. In fact, to even get to the plugs, you have to remove the seat, tank, airbox (which requires special tools), and the coil sticks (which fit over the spark plugs). It''s an outrageous job for something so simple.

So with very little room to work around I investigate the problem. Sure enough the plug had sheared right at the top of the threads. There was about 3/4 inch of threads still in the engine buried WAYY down there. We tried everything we could think of, but nothing could grip the plug and spin it out. We simply did not have the tools. After about two hours, we finally threw in the towel, and he is gonna have to take it to the shop and have them try.

Ideally we need a tool having three thin rods, that have a 90 degree turn at the bottom, and a pointed end. These need to have a way to expand around a center rod, and bit into the plug, gripping it by the inside, and backing it out. However we did not have such a tool, and no way to make one. Hopefully the shop does.

Holy Crap.

On the plus side I have a new found appreciation for how easy out GS's are to work on, and it was a good excuse to go for a ride and treat my 850 to the nice crisp cold air that it loves so much. :cool:


EDIT: Anyone have any ideas on how to get the plug out in a crappy situation like this?
 
Not really wrenched on anything per say, but I did remove a 3 inch long bolt from my rear tyre, which caused it to go flat on the way into work this morning. drove out to where I left it this morning and put two plugs into the hole so I can get home tonight.

Sorry Stan, your GK is going to have to wait until I can get back at it again; I've a tire to remove tonight.
 
Trying to envision the shape of the remaining plug, but wouldn't a larger lefty bit be enough to grip the inside of the plug remains and turn it out? I once had a brass intake vacuum port tube break like this, but could back it out by hand with a suitably sized lefty bit.
 
I cleaned up my new wire harness (Thanks Witttom!) and prepped it and the bike for new wires and coils. Also mapped out the different connectors and tagged them.

7980420560_c2ab2a7fff.jpg


7980420402_2ea524ea38.jpg


7980420267_6df4bd28f9.jpg


7980420063_9ddbfdb53d.jpg
[

The harness was only a bit grimy, but the connectors cleaned up easily. For some reason there were a bunch of slice connectors on the wires for the gauges, lights etc. up front. No idea why.

Also, the new harness is designed for a fuse block, so decided to pick one up and upgrade from the "One Fuse to Rule Them All, and in the Darkness Bind Them" system of 1978. I'll also dump that stupid stator leg and run it to the R/R like God intended.
 
Trying to envision the shape of the remaining plug, but wouldn't a larger lefty bit be enough to grip the inside of the plug remains and turn it out? I once had a brass intake vacuum port tube break like this, but could back it out by hand with a suitably sized lefty bit.

In theory this would work yes. However because of the forward lean of the engine, and the frame being in the way, there is no way a drill would fit in there. Also have concerns about dropping metal shavings into his cylinder :eek:.

The remaining plug is simply the threaded part. The electrode is removed, and it's just the threads. Only about 3/4 inch long, 1/4 inch diameter. With maybe 1/8 inch hollow cylinder (where the electrode was) through the plug. Take that and bury it 6 inches down a 1 inch diameter shaft, and you have a better idea of the situation :o

Are the threads fused or stuck in the head? If not, you could use a lefty bit that is slightly larger than 1/8" and use it just to grab the inner walls, then turn it by hand to back it out. You won't drop metal into the block, because you aren't actually cutting or drilling, just using the bit to grab the walls. You also don't need to fit a drill in there, just the bit and your fingers or maybe some pliers to get more reach from the bit.

Of course this only works if the threads aren't gummed, fused, or otherwise stuck. It's exactly how I got that broken vacuum port tube out.

The threads are in there pretty good. He must have over torqued them when first putting it in. We tried something similar to this using a coarse round file, but it would not grab the walls enough to break the threads free. The most success we had with it was using a long flat head to push against the 'hook' part of the spark plug, but even this could not break the thread free. :mad:

I appreciate the suggestions, would love to find a solution not involving removing the head :cool:
 
Not really wrenched on anything per say, but I did remove a 3 inch long bolt from my rear tyre, which caused it to go flat on the way into work this morning. drove out to where I left it this morning and put two plugs into the hole so I can get home tonight.

Sorry Stan, your GK is going to have to wait until I can get back at it again; I've a tire to remove tonight.

Ah, no rush, it must wait, no problem, I figure your Berries should owe you a tire by now.
 
I reinstalled the cylinders back on Nancy...

PICT3683.jpg


And pulled the rear wheel off my 80 850G because the tire had gotten impaled by a bolt.

PICT3684.jpg
 
Last edited:
I cleaned up my new wire harness (Thanks Witttom!) and prepped it and the bike for new wires and coils. Also mapped out the different connectors and tagged them.

7980420560_c2ab2a7fff.jpg


7980420402_2ea524ea38.jpg


7980420267_6df4bd28f9.jpg


7980420063_9ddbfdb53d.jpg
[

The harness was only a bit grimy, but the connectors cleaned up easily. For some reason there were a bunch of slice connectors on the wires for the gauges, lights etc. up front. No idea why.

Also, the new harness is designed for a fuse block, so decided to pick one up and upgrade from the "One Fuse to Rule Them All, and in the Darkness Bind Them" system of 1978. I'll also dump that stupid stator leg and run it to the R/R like God intended.

So this turned out to be way more difficult than I thought. Managed to make the following upgrades along the way:

New coils and plug wires.

Wired the stator straight into the Rectifier. Ran a stronger ground from the RR to the negative post.

Changed from the solo fuse to a fuse block.

All went great until I went to start the bike. Push starter, nothing. Spent hours chasing connectivity gaps. All connections checked out. Shorted solenoid, starter spun. What the hell?

Turned out my ground changes didn't ground the starter relay. Wired that up good to go.
 
With Steve's help, today we/he...

Adjusted the valves and replaced the gasket.
Replaced a faulty stator with a Rick's and replaced the gasket.
Replaced the stock R/R with a Compufire unit.
Gapped and installed new plugs.

Oh, and I learned the "ridiculously easy" way to bike my bike on the center stand.
 
Last edited:
Week off this week to "wrench" on the house.

Six concrete pillars out the back to strip the peeling paint and re-paint.

Rust around the bottom of a couple of door frames to deal with.

A couple of rusty bits of metal in the concrete balcony that have caused a couple of minor (non structural) cracks to deal with.

Heat gun carked it yesterday avo with the last pillar half peeled off... house mate is off now buying a new one.
 
Nothing too exciting... and I only needed a pair of pliers. I installed the plastic/chrome tail trim piece.

I liked it for a while without it. But it definately looks more complete with it in place.

Without:
DSC02175.jpg


With:
DSC03249.jpg
 
Broke in my ba-rand new feeler guage (SGP #09900-20806), much nicer than the original spec piece, has extra blades for the thinner ones, .03-.09, successfully loosened without breaking the easier-to-reach outer exhaust pipe bolts, just a little heat from a torch, tackle the rest shortly. (edit)-cracked the rest of 'em-whew!!
 
Last edited:
Back
Top