Announcement
Collapse
No announcement yet.
Seat for 1978 gs1000e
Collapse
X
-
It looks like the same base and foam as the '79 seat. Thanks for the photo. Now I'm wondering what seat I have. It's flat and has the other pattern like the '79. I had ordered it from Pitt Replica as a GS1000 seat cover, I don't remember if it was listed an E model. I had a friend order it for me. He is from England, so maybe they got something different and that's what he remembered as it looking like.Last edited by OldVet66; 08-25-2011, 09:36 AM.http://www.thegsresources.com/_forum...ine=1440711157'78 GS1000E, Dyna-S ignition, Dyna Green Coils, K&N pods, Delkevic SS 4-1 exhaust, Dynojet Stage 3 jet kit, Russell SS Brake Lines, Progressive suspension, Compu-Fire series Regulator 55402 and Advmonster cree LED headlight conversion.
Comment
-
 SVSooke
Comment
-
The E is stepped, the C is flat for both years. Not sure about the 80 models. The pattern for the 78 has the larger squares for the E and the C.Originally posted by OldVet66 View PostIt looks like the same base and foam as the '79 seat. Thanks for the photo. Now I'm wondering what seat I have. It's flat and has the other pattern like the '79. I had ordered it from Pitt Replica as a GS1000 seat cover, I don't remember if it was listed an E model. I had a friend order it for me. He is from England, so maybe they got something different and that's what he remembered as it looking like.
I'm using a 78 C pattern and foam for my E.sigpic
82 GS850
78 GS1000
04 HD Fatboy
...............................____
.................________-|___\____
..;.;;.:;:;.,;.|__(O)___|____/_(O)|
Comment
-
Well that explains it, I have a C seat with I guess a '79 cover. To tell the truth, I think I like it better. The '79 E seat I have with a lousy B&H cover in the '78 style is huge by comparison, but worth getting a Pit Replica cover for it.http://www.thegsresources.com/_forum...ine=1440711157'78 GS1000E, Dyna-S ignition, Dyna Green Coils, K&N pods, Delkevic SS 4-1 exhaust, Dynojet Stage 3 jet kit, Russell SS Brake Lines, Progressive suspension, Compu-Fire series Regulator 55402 and Advmonster cree LED headlight conversion.
Comment
-
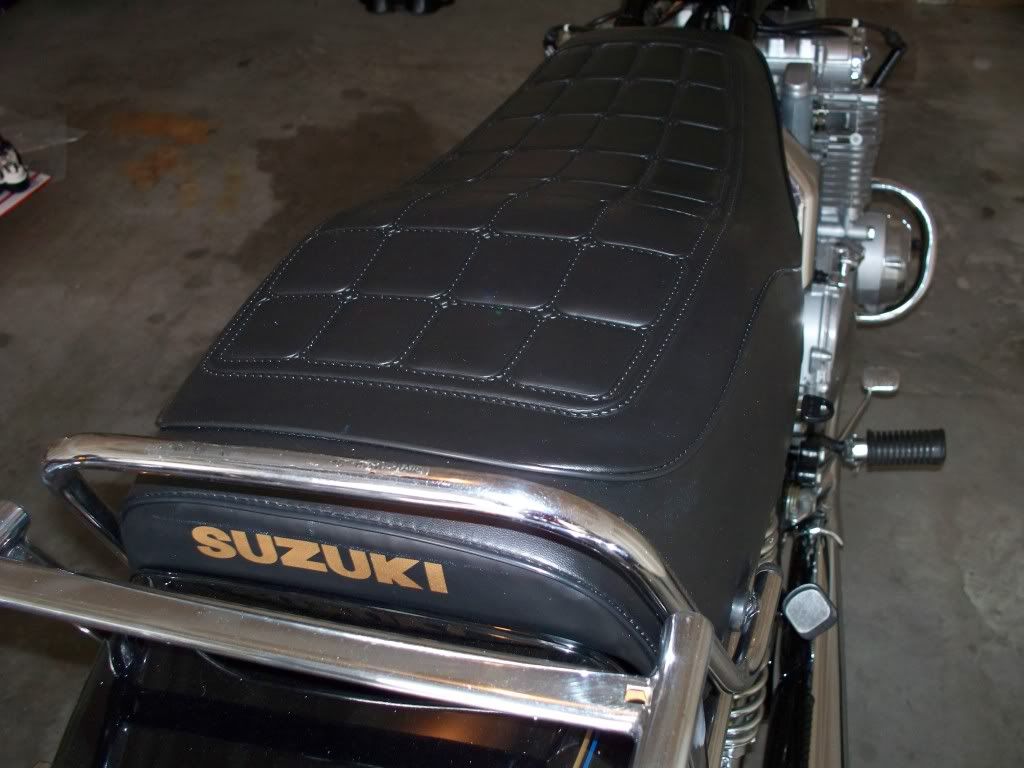
Oh, it's definitely a stepped seat. The bike is a '79 GS1000E. The stepped seat on the '78 & '79 were the same except the size of the squares of the pattern, the '78 being having longer squares. I believe the '78 & '79 C model with the non stepped seat were the same also except for same pattern differences. The '80 GS1000E has a seat that's not as stepped. I had to request the gold lettering as that was what was original as stock. They were using white thinking it was the original color.Originally posted by Rover View PostIs that the stepped seat? I thought Pit Replica did not make that.
Here's another view of the seat. I would have to take a side view to show just how stepped it really is as these pictures just don't display that.
 sigpic
Steve
"The world is a book, and those who do not travel read only one page." :cool:
_________________
'79 GS1000EN
'82 GS1100EZ
Comment
-
 Jrwinder635
I am trying to change the seat cover on the gs1000e 1978. How do I detach the molding that is held on by several rusty caps that seem to be on a threaded screw or bolt? I don't want to pop something off that doesn't need to be popped off. Any ideas on how to remove them?
Comment
-
On BikeCliff's Website there's a tutorial on how to recover a seat. Just remember one thing, heat is your friend as far as getting the vinyl flexible and stretchy. I kept mine on the dash of my closed window car in the hot Florida sun to get it very easy to work with.Originally posted by Jrwinder635 View PostI am trying to change the seat cover on the gs1000e 1978. How do I detach the molding that is held on by several rusty caps that seem to be on a threaded screw or bolt? I don't want to pop something off that doesn't need to be popped off. Any ideas on how to remove them?
Here's the tutorial: I think you'll like it.
sigpic
Steve
"The world is a book, and those who do not travel read only one page." :cool:
_________________
'79 GS1000EN
'82 GS1100EZ
Comment
-
 Jrwinder635
 -
Two things, when you take the old seat cover off, don't bend the old pointed tabs out any more than you have to to get the old cover to release. Lowe's sells a pick set for about $10.00. There is a pick in the kit that is bent at 90 degrees. When you put the new cover on, you can use that pick parallel to the seat pan to pull the fabric and cause the point to pierce the fabric. This way you won't break the points off, and you can use the butt of the pick to close it against the pan to secure the cover. Secondly, you can use 3M spray adhesive to temporarily hold the sides until you can get the bike in the sun for a day. Helps keep wrinkles out. The white lettering looks real good with a black paint job. I'm glad I didn't get the gold.Last edited by OldVet66; 08-25-2011, 11:22 PM.http://www.thegsresources.com/_forum...ine=1440711157'78 GS1000E, Dyna-S ignition, Dyna Green Coils, K&N pods, Delkevic SS 4-1 exhaust, Dynojet Stage 3 jet kit, Russell SS Brake Lines, Progressive suspension, Compu-Fire series Regulator 55402 and Advmonster cree LED headlight conversion.
Comment
-
 Jrwinder635
 -
One other thing, if you look at enough seats as I have done, you'll see where there's sometimes a unusual design (for lack of a better word) trying to come up through the vinyl. What this is, is the tubular rubber that fits on the edge of the seat pan, to protect the seat pan from cutting into the seat cover vinyl. Over time it gives way, stretches,
and works it way free from the pan up under the seat cover resulting in
a unwelcome design pressing through the vinyl.
To remedy that from happening with the new seat cover, I used very small diameter door gaurd edging. It worked very well and I gorilla glued it to the seat pan edge to keep it there. I used one on each side and one on the back making sure I didn't have a turn where the individual pieces joined.
When I covered the seat, and it was much easier than I had thought it would be, I started from the front, then secured the back (to get it centered, important) with just enough pressure to snag the tabs without cutting through the vinyl, then I started the sides at the front putting just enough pressure for the seat cover to catch the pointed tabs without cutting the vinyl, so I worked the sides front to back alternating each side with each tab as I worked towards the back. Doing this will give you the opportunity to correct any missalignments, stretch the cover, and eliminate wrinkles.
The only concern I had was the back, you must stretch the vinyl enough so that when you put the hand rail on, the vinyl bead joining the back vinyl (the piece with the lettering) doesn't end up over any of the four holes for the hand rail and sits on edge of the sides of the seat pan.
Only when you get everything stretched, centered, and aligned should you start piercing the vinyl with the tabs. It's at that point your pretty much committed. Just don't bend the tabs back down much until your absolutely sure your satisfied with it.
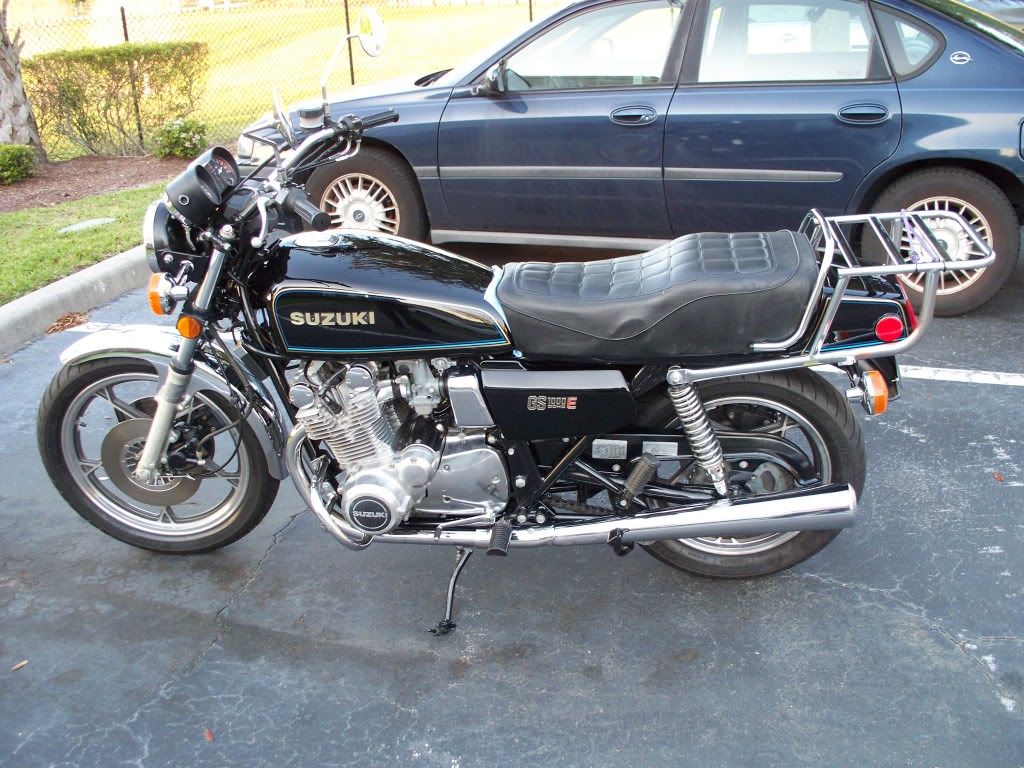
Here's a pic of my bike and seat before I recovered it, now you can see the step of this stepped seat and you can see that rubber tube that was used on the edge of the pan and how it's come off making a funny pattern underneath the vinyl cover.
A new seat cover will do alot for your bike, a new seat covering with gold lettering, well it's a personal preference. I'm just glad I had them do gold lettering because dirt shows up less and that's what I'm used to, having a '78 and now this '79.
Have Fun!
 sigpic
Steve
"The world is a book, and those who do not travel read only one page." :cool:
_________________
'79 GS1000EN
'82 GS1100EZ
Comment
-
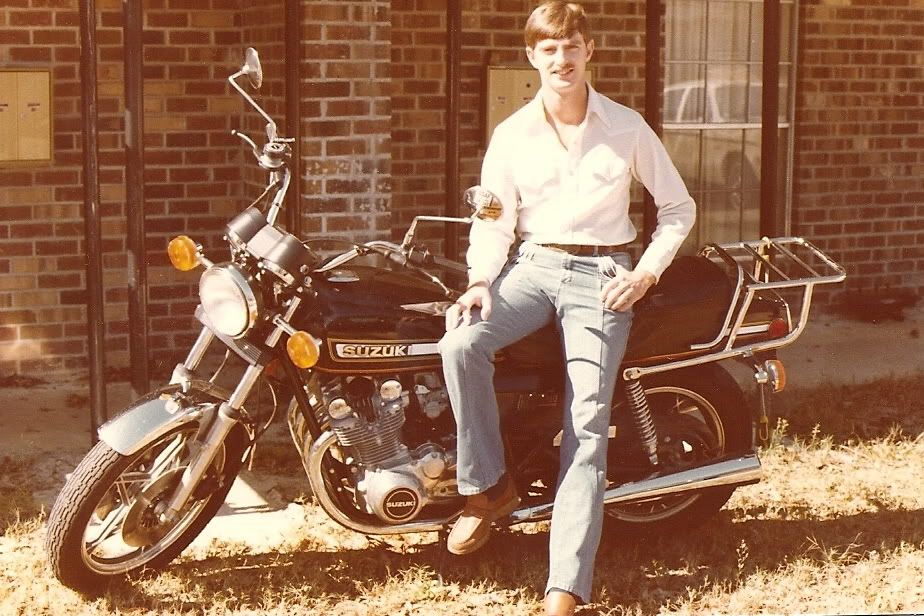
Heh, I concur.Originally posted by rustybronco View PostDamn Steve, that sure is one nice looking '79 you've got there!
so was your '78 for that matter...sigpic
82 GS850
78 GS1000
04 HD Fatboy
...............................____
.................________-|___\____
..;.;;.:;:;.,;.|__(O)___|____/_(O)|
Comment
.png)


Comment