on ebay a week ago. I was waiting for the Honda Moly 60 paste lube to get here, and that arrived yeaterday to
allow me to properly lube the splines for long life.
I've never taken the tires off this bike on my own, although the dealer did have them off less than a month ago
to put 2 new tires on that i bought there.
After the tire was off i discovered a scary cut on the sidewall, which i'm considering a "lucky" thing at this point!
Here's the post i made of that, with some pics: http://www.thegsresources.com/_forum...d.php?t=194639
Anyway, i thought i would outline a few of the other little things i ran into, that might save you some aggravation
should you run into the same thing.
The rear tire removal as shown on BassCliff's post is a bit different than on my bike. His axle exits the left side
(in driving position), mine exits to the right.
He covers some of the preliminary items you need to do, such as removing the top rear shock nuts and loosening
the bottom shock nuts to allow the top of the shocks to be slid off the studs.
The caliper support arm cotter pin and bolt have to be removed at the rear caliper, so that you can remove the
rear caliper and get it out of the way. I then moved the right side shock off the upper stud and layed it forward
on the swingarm, with some folded up paper towels in between to act as a cushion for the paint. I got the rear
brake hose clear of the shock also.
With the new SS line i just installed a few days ago, i found the caliper could be positioned on the upper right
shock stud as shown below. There wasn't enough shock stud to allow the nut to secure it, so i just tied it in
place with some rope to keep the caliper pulled against the frame while on the shock stud. This way
the SS brake hose was not stressed.

One problem i had was when i tried to loosen the axle nut, the axle would spin before the nut would break free.
The axle was spinning at the other side,.....at this point,...(note the slot in the axle is NOW alligned with the slot in the swing arm)
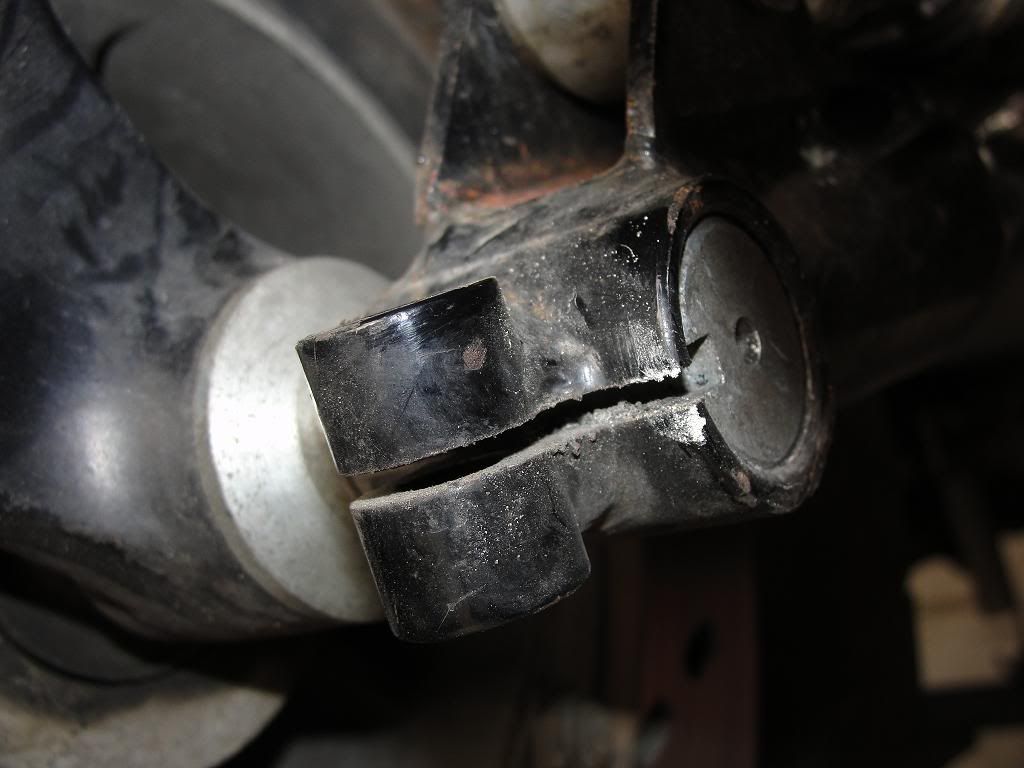
Even with the bolt back in and secured on the right side to put tension on the axle, the main axle nut would not
break free before the axle would spin.........
.......and then i noticed the sort of "key-way" built into the right side of the axle.
 After loosening the right side
 axle securing bolt, i used a wrench on the left side main axle nut to spin the axle until the axle key-way lined up
with the slot in the right side swing arm (as pictured above).......
.......and stuck a flat handled stainless steel spoon handle in the key-way to LOCK the axle and keep it from spinning,....as shown here:
(spoon was filling the slot more while actually turning the axle nut, i took the pic later and didn't notice it shifted):

Once the spoon was in place, i put a little clamping pressure back on the right side bolt to prevent any strain
on the swing arm cut out and help hold the axle steady. The main left side axle nut could then be removed to
free the axle.
At this point, i had to release the left side shock in order to have access to the axle to tap it out.
......and again, on my model the axle exits to the RIGHT!
By releasing the left side shock also, the swing arm is lowered to allow access to the end of the axle. I had a
section of 1/2" oak dowl that i cut about an 8" piece out of, and used that as a punch to safely tap the axle out
without buggering up the threads.
After the axle was out, i had to lift the left shock back up to it's upper stud, to get the rear wheel off the ground
and allow for some "wiggling" room to work the tire/rim off the spline of the final drive unit.
.....and the wheel came right out!
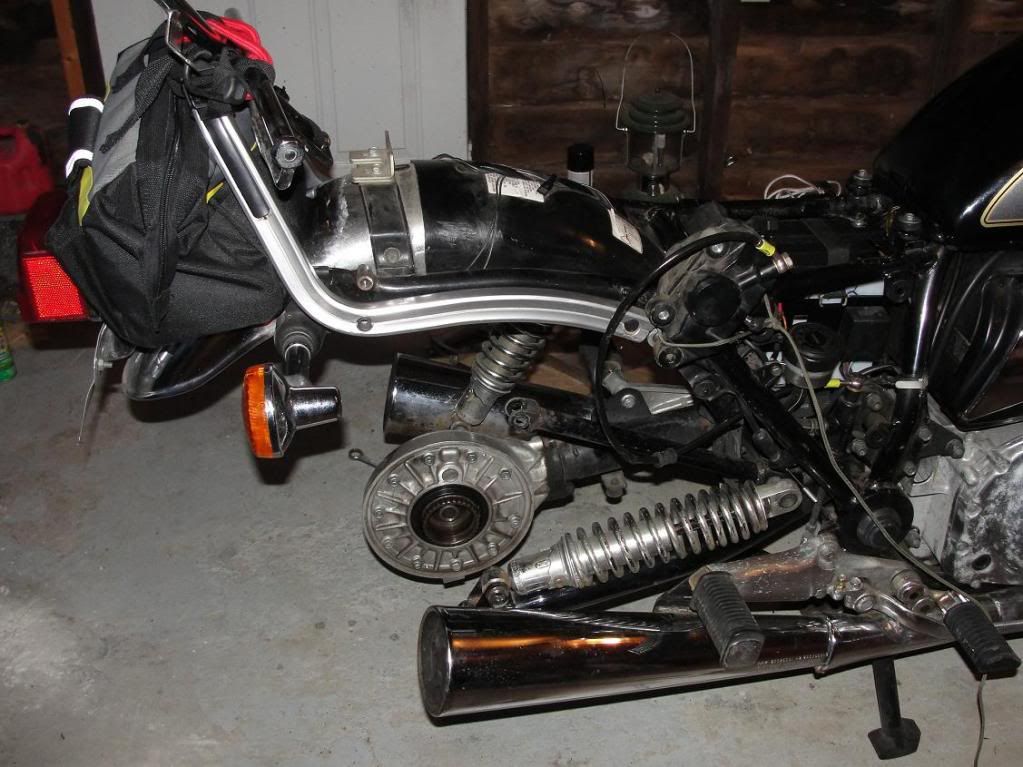
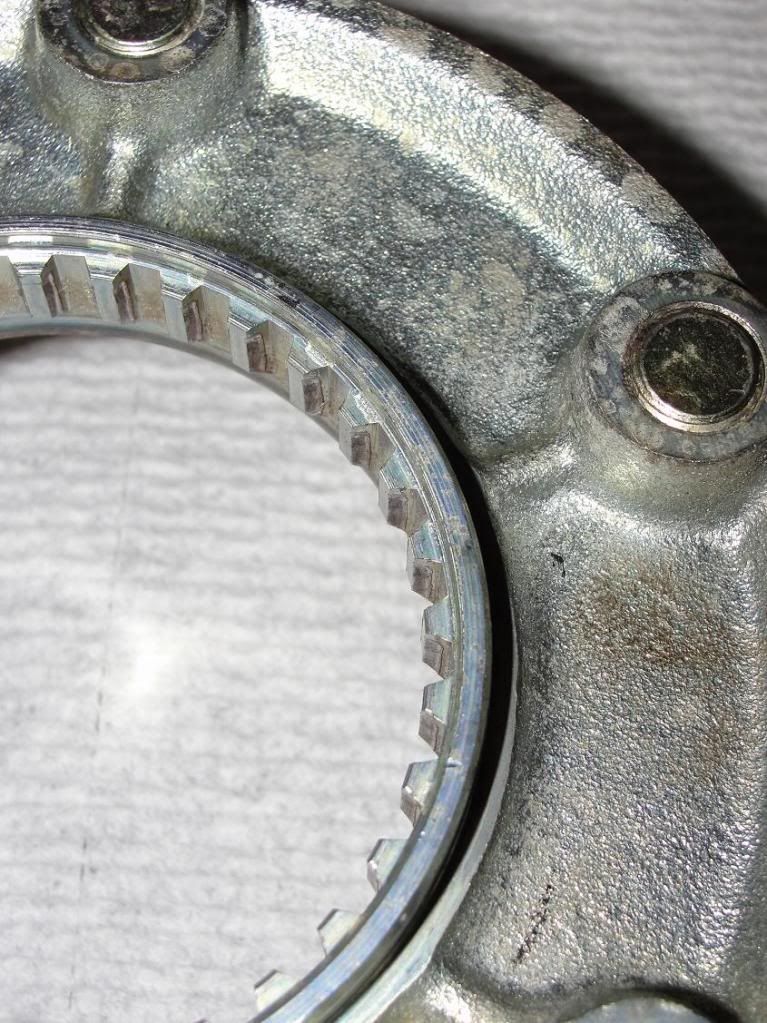
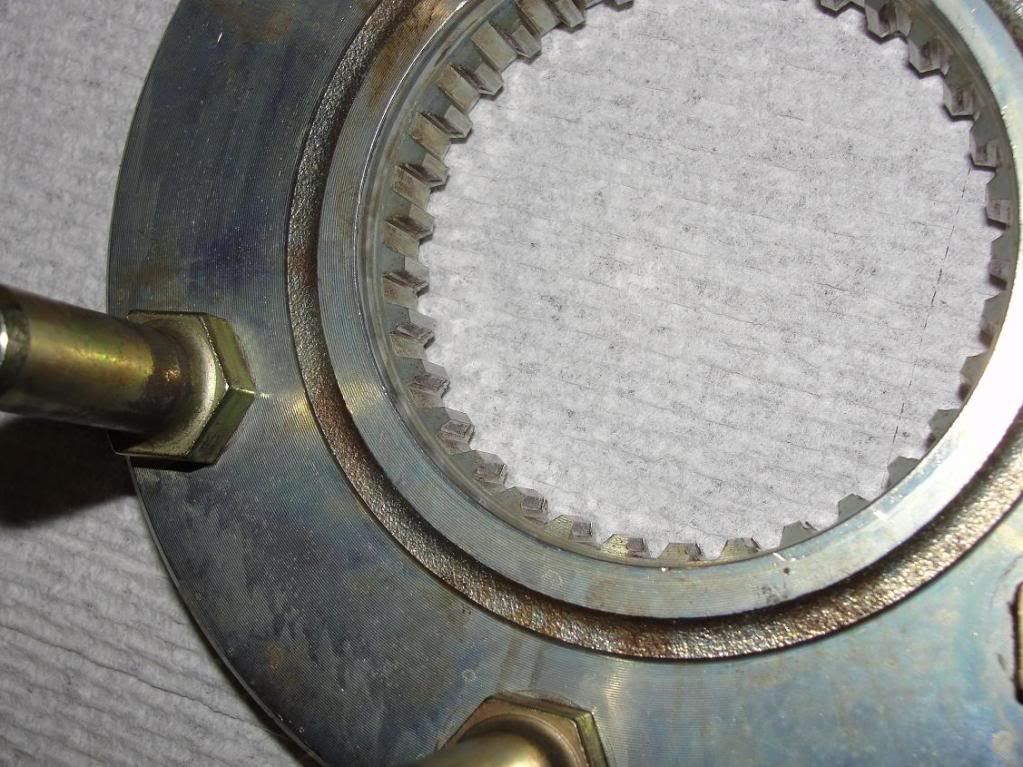
As i suspected, the tire dealer did not add any grease to the splines while he had the wheel off for tire replacement.
This is what 30 year old grease looks like on the final drive unit spline! It's a hard stick on glue at this point!!!
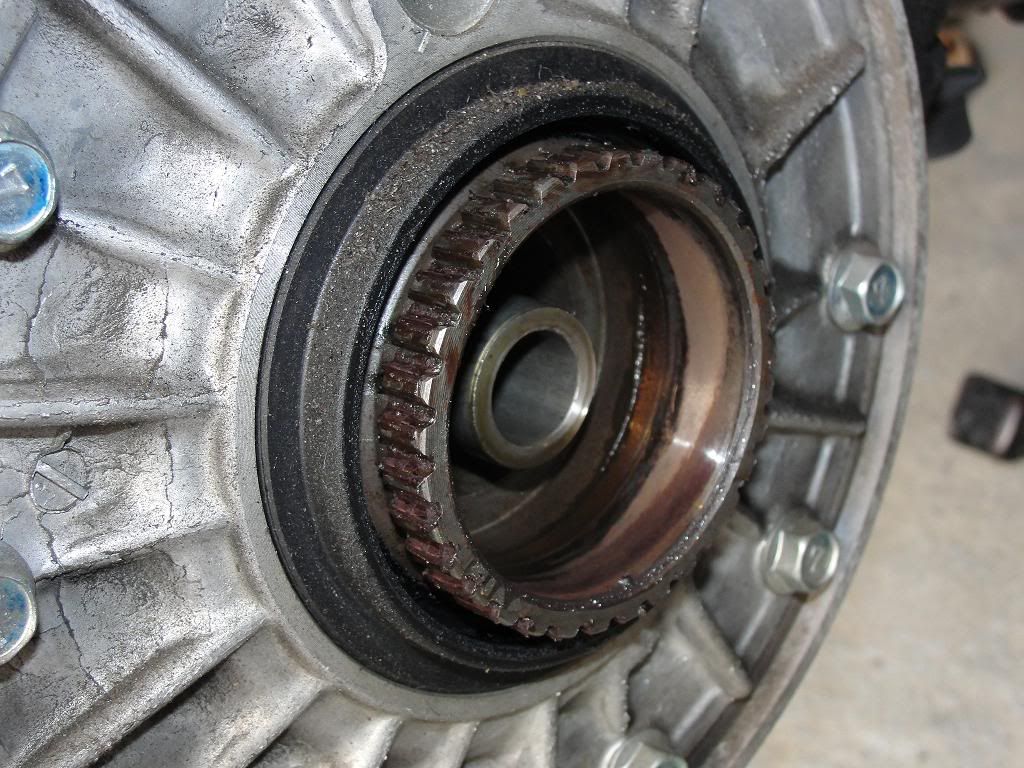
......and 30 year old grease on the wheel part of the spline:

Once i had access to the wheel spline, the fold over tabs bent back pretty easy, but there's not much clearance
for a socket to get at the bolts! I finally found a "thin-wall" 10mm socket that just barely got a grip on the bolts.
(don't even try to use a phillips screwdriver, there was red locktite on the factory installed bolts!)
With a little patience the bolts came out, and i kept them in order of the holes they came out,....just to avoid
an unnecessary problems.
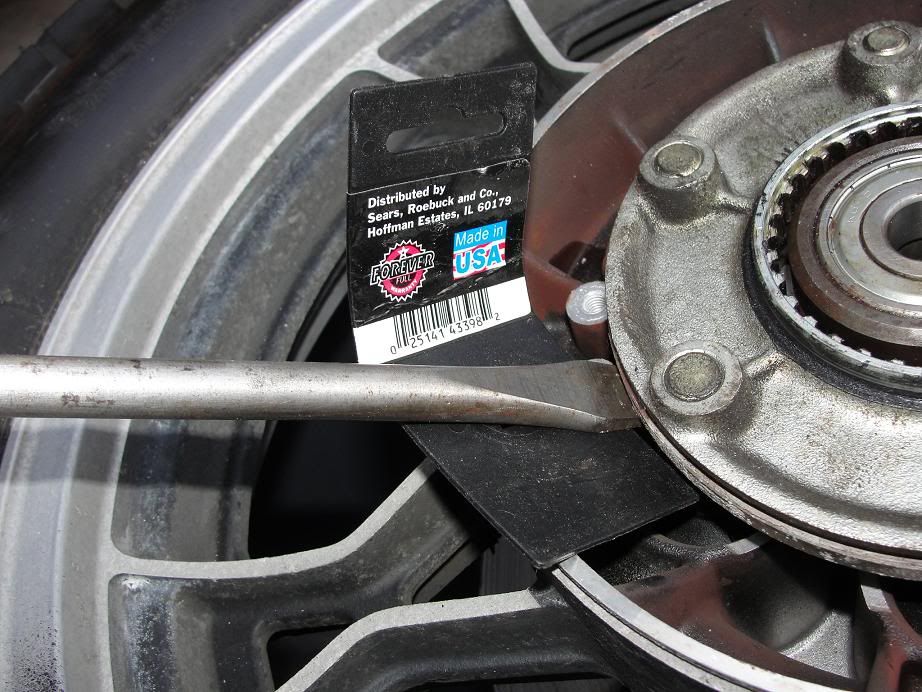
Once the bolts were out, i was surprised at just how tight the wheel spline posts were in the bushings! I used an
old long handled flat screwdriver as a pry bar, and placed a heavy vinyl piece (from a socket purchase at Sears) against
the wheel hub to prevent gouging it while i was using the pry bar.
You'll find it best to go just a little bit, and move the pry bar a few inches and do some more,......working your
way around the entire hub to get the spline out without tipping it too much.
Here's my pry bar setup:
Once the old spline was out, i wiped the hub down to make sure the replacement would lay on a flat surface.
Since the posts on the wheel spline were steel, and the hub rubber cushions had steel centers, i decided to wipe
a little of the Honda moly 60 along the posts. Nut sure how much wear that will prevent, but it will help on the
next spline removal! (and keep rust at bay also)
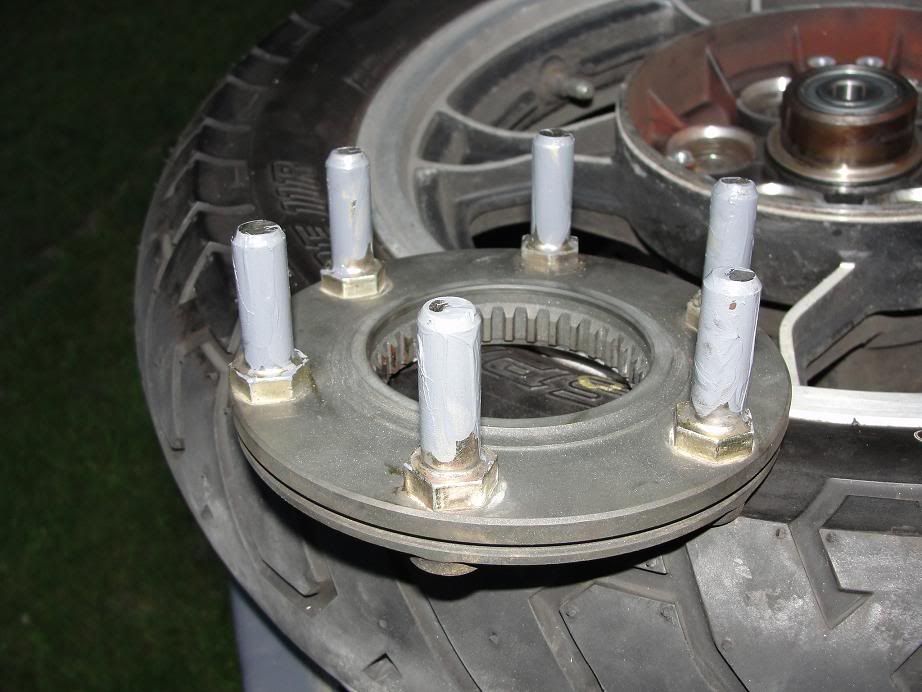
....then placed the spline down into the hub, and tapped it down flush with the wooded oak dowl i had made.
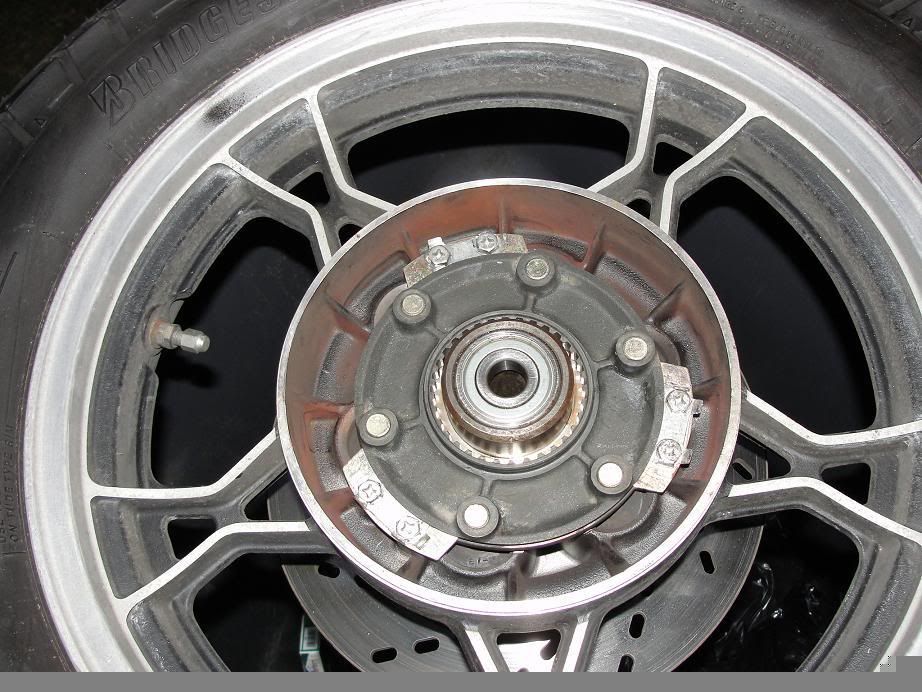
The 2 spacers and 2 bolts at each of the 3 hold down areas were bolted down, (add a little blue Loc-Tite for
insurance on the bolt threads), and one tab was folded up on each screw to keep them from working loose like
the factory had done.
...and there she is, waiting to be lubed with "Honda Moly 60",...AFTER i get the $#@%&*! NEW tire replaced next week!
.png)





Comment