Announcement

Collapse
No announcement yet.

Jennifer's Makeover

Collapse
X
 
  • Filter
  • Time
  • Show
Clear All
new posts

    Ok, not much to write about, was hoping to get the tail piece done, lay down colour and decals and first coats of clear, but it was not to be.
    You have read , probably every where a million times, that laying paint is only 10% of the kob, the preperation is 90% of the job, I will say it again,

    YOU CAN NOT COVER POOR PREPARATION WITH PAINT!!!!!

    Because paint is expensive and I am cheap, and it burns my ass to take off good paint to redo a job, I have developed a little habit that works well for me before I start laying down the actual job.
    I live by the motto, "if you can feel it you will see it", so I am always running my fingertips lightly over the part to be painted feeling for tell tale signs of blemishes or imperfections that will jump out to haunt me as soon as the colour goes on.
    I have also gone one step further and lay down a thin "police" coat of cheap rattle can gloss black.
    Not to be confused with the guide coat used while sanding amd filling high and low spots during prep, but laid down once all the prep is done, not just a mist, but full coverage, the slightest imperfection will show straight away, and can be delt with.
    Why gloss black? Because it shows up imperfections like no other paint.
    Once I am happy with the "police" coat, I wet sand it off with 600 grit, and start laying the primer, that way I know for sure that there are no bogeymen waiting to jump out.

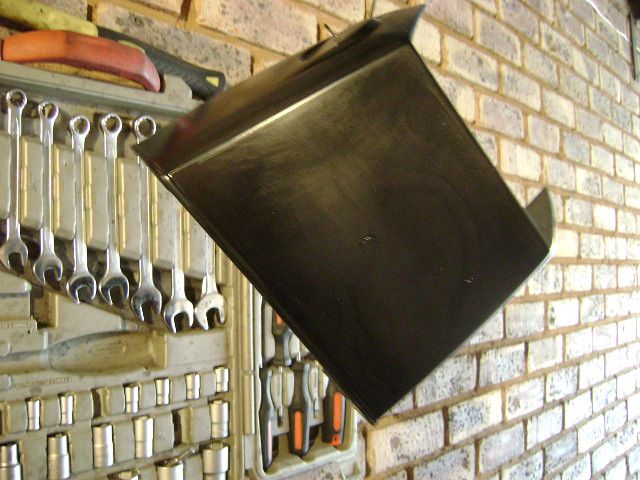
    Short story, the tail piece, which I thought was ready for paint, is far from it, as evidenced by the tell tale "police coat" so more prep lies ahead, will try and get some pics up tomorrow.

    Comment


      Right so today murphy conspired against me and hid my filler away, so after hunting high and low, I called no joy and had to give the prep work on the tail piece a miss.
      However, i did manage to get the garage and wrk bench cleaned up, eventually.
      And I put some time into deciding what to do with fairing?????
      Obviously the OEM decal set for the 1000G does not include anything for the "S" style fairing, which jennifer will be wearing, so what to do????
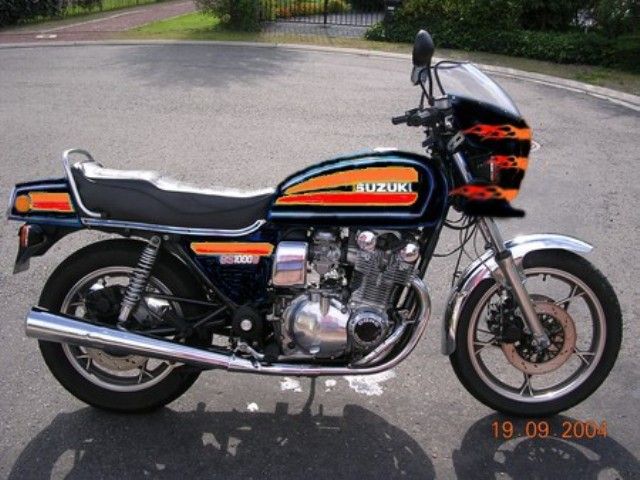
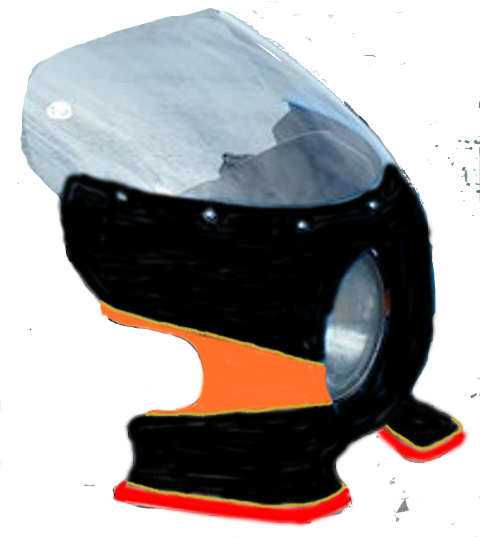
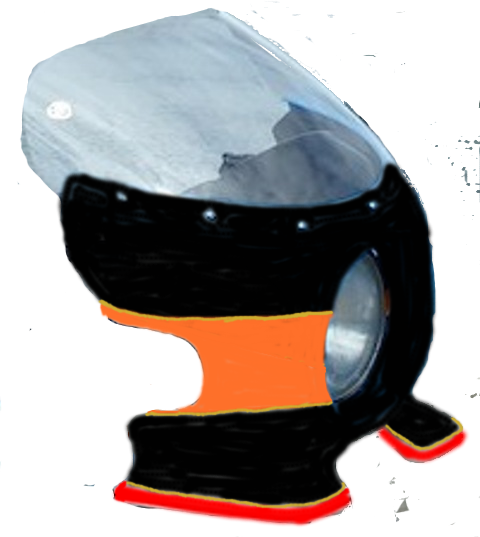
      I opened up the Gimp and reproduced a quick and nasty mock up of what Jennifer will look like in her new clothes, you can see the problem straight away.


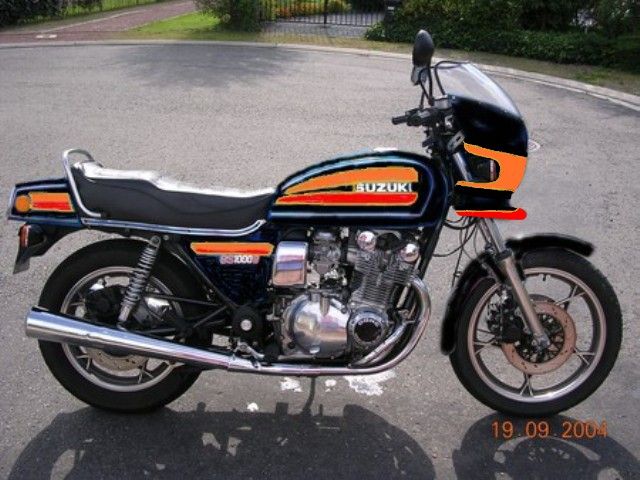
      So I thought I will call upon the GSR's collective artistic flair to come up with something, so get those photo editin programs open and help me come up with something, hey its freezing out there anyway, not like you have anything better to do.
      Was thinking of some old school flames, but the fairing is not long enough and does not lend itself to them well.


      So what yoy got???

      Comment


        I like the paint scheme you've chosen, but prefer a little more simplicity in the fairing. I don't have the photoshop skills to match your paint scheme but the below pics using one color { in your case I'd use the two on your tank } are more the style I like....


        Old age and treachery will beat youth and skill every time1983 GS 750
        https://c1.staticflickr.com/5/4256/3...8bf549ee_t.jpghttps://c1.staticflickr.com/5/4196/3...cab9f62d_t.jpg

        Comment


          Garth, i agree with you, less is more, and I don't want to stray too far from stock,
          I think the second pic of the red Cooly bike lends itself well to the two tone scheme, the two white accents can be done in the two colours so as to keep the flow.
          Nicely spotted, thanks.

          Comment


            Comment


              Very nice. I like it.......
              Old age and treachery will beat youth and skill every time1983 GS 750
              https://c1.staticflickr.com/5/4256/3...8bf549ee_t.jpghttps://c1.staticflickr.com/5/4196/3...cab9f62d_t.jpg

              Comment


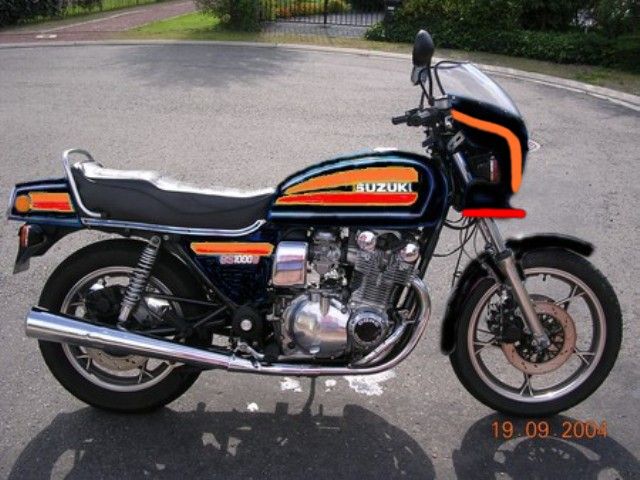
                I do to, Dale suggested replacing the two black pin stripes with the two colours, I like that as well, have opened up the stripes to an inch wide and done away with the second colour, to let the black dominate.

                Comment


                  Originally posted by Flyboy View Post
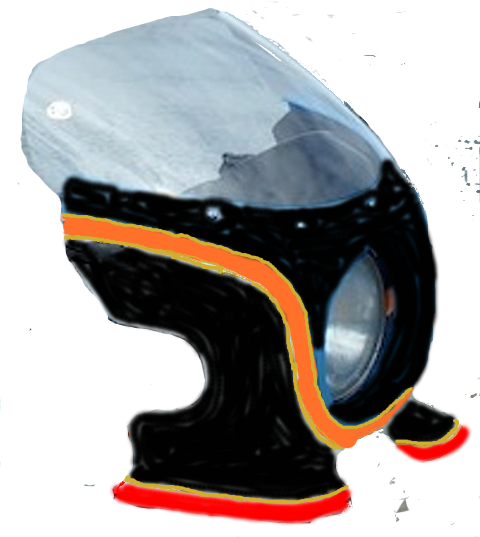
                  See now, Orange. red ,black, matching the tail, gold pin to match.
                  sigpic

                  Don't say can't, as anything is possible with time and effort, but, if you don't have time things get tougher and require more effort.

                  Comment


                    I still like your first image as it makes the fairing look like it was designed as part of the whole bikes paint scheme. Maybe a bit of a curve to the orange to match the the curve on the tank. However both look good, the second a bit more abstract.....

                    Old age and treachery will beat youth and skill every time1983 GS 750
                    https://c1.staticflickr.com/5/4256/3...8bf549ee_t.jpghttps://c1.staticflickr.com/5/4196/3...cab9f62d_t.jpg

                    Comment


                      Comment


                        Item #1 in the above drawing gets a nod from me.
                        De-stinking Penelope http://thegsresources.com/_forum/sho...d.php?t=179245

                        http://www.thegsresources.com/_forum...35#post1625535

                        Comment


                          Pretty much read through this entire thread, nice job so far and can't wait to see the final result!

                          Comment


                            Thanks Crank.
                            Not much to update today, weather has been miserable and raining the last two days, so i never managed to get any paint down, like I had hoped, due to the high humidity and cold temps.
                            So I have kept myself occupied with menial, mind numbing tasks that need to be done, you know the ones.
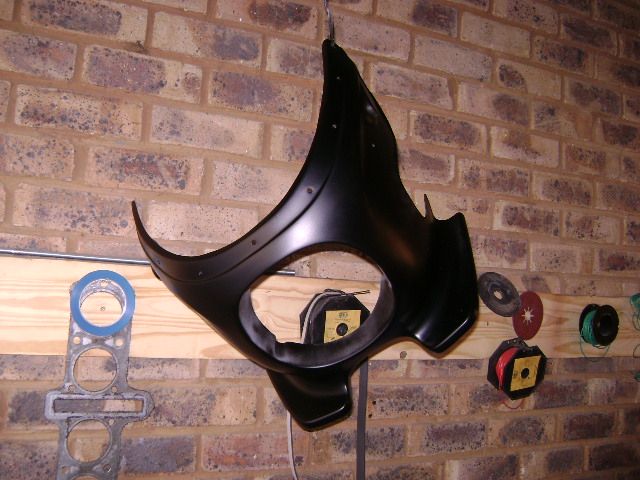
                            Got the fairing sanded and readt for primer, stripped and did more prep work on the tail piece, should be ready for paint now.
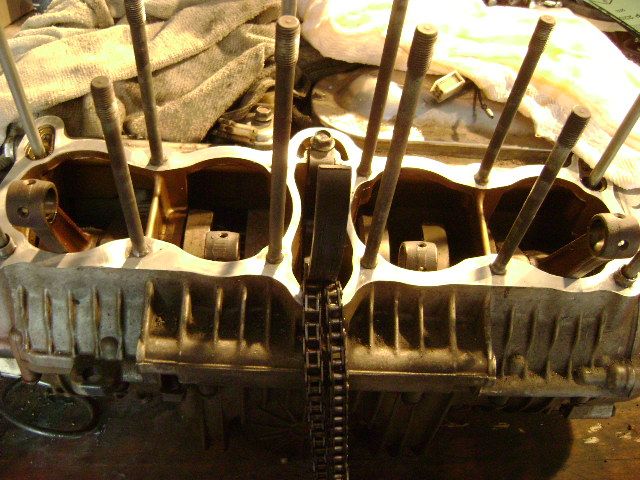
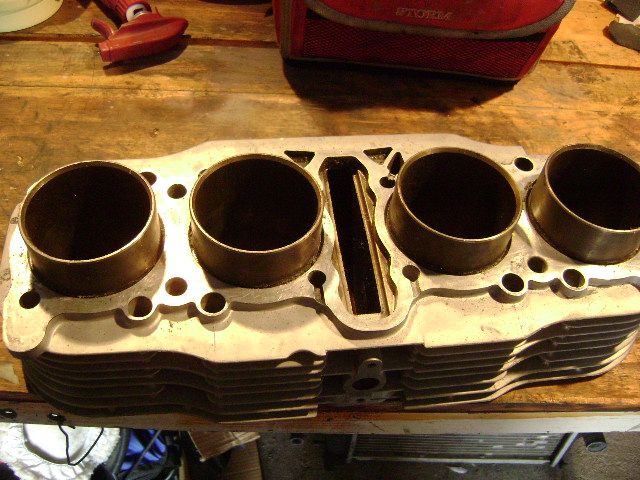
                            Also spent some time measuring piston ring end gaps and free end gaps, also measuring ring to groove clearences, just to make 100% sure I don't get a nasty surprise with a ring binding up on me after start up.
                            I am happy to report, all is well and withing factory spec.
                            Also spent some time cleaning gasket surfaces so I can drop the jugs and the head back on as soon as I have hung the pistons back on the con rods.
                            God, I hate cleaning gasket surfaces.
                            Lets hope the weather clears while we still have a day or two before it is back to the salt mine....while it's still open.

                            Comment


                              Got quite a bit done today, thanks to the break in the rain and the warm temps, meant I could get some paint down......yaaaaaay.

                              Finished prepping the gasket surfaces to drop the cylinders back on, GS series are notorious for base gasket leaks, so any short cut here will turn around to bite you in the bum.
                              Note to self; Don't be a chop and forget the cylinder O-Rings or the teardrop shaped O-Rings or timing tunnel O-Ring.


                              As I said, finally got some colour onto the tail piece and fairing


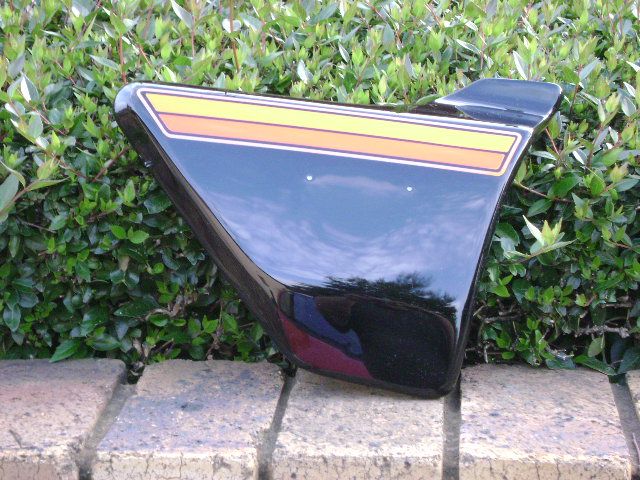
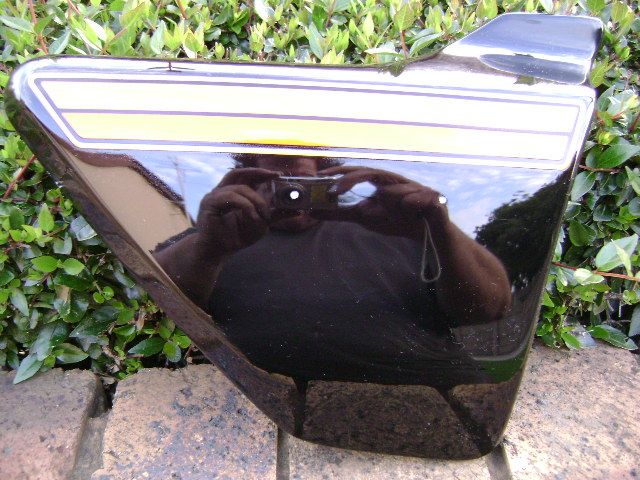
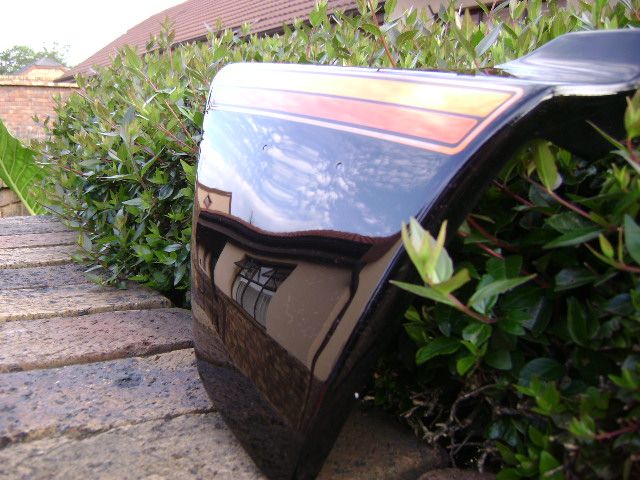
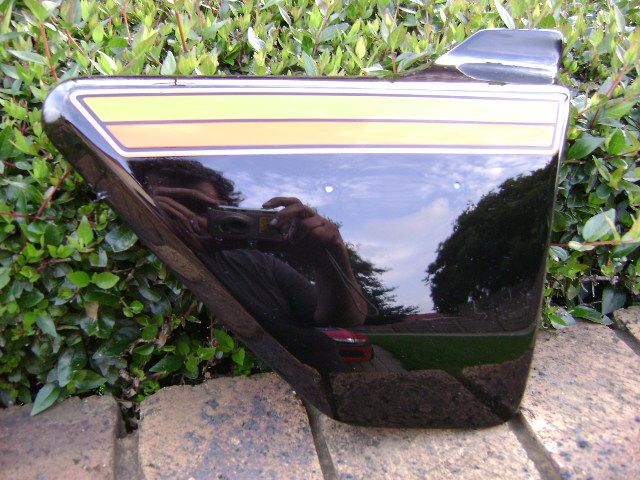
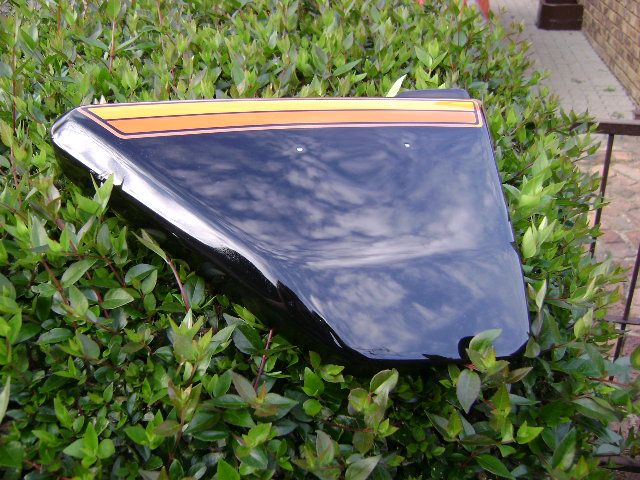
                              And did a final wet sand with 1500 grit, 2000 grit and polish on the side covers, they came out ok I guess, considering, so I am calling them done.


                              That's all for now.
                              Will see how muh work I can get done on he motor tomorrow and Wednesday.

                              Comment


                                Think back to the days you were having problems with the stripes and how disappointing all that was, now look at your parts again. They look really nice, Flyboy. You should feel very proud of yourself. Sticking to the task and getting it finished should feel really good. Nicely done.
                                1979 GS1000S,

                                1982 Honda CX500 Turbo, 1982 Honda MB5 w/CR80 motor, 1977 Honda "nekid" Goldwing, 1976 Honda CB550F cafe', 1972 Honda XL250 cafe'

                                Comment

                                Working...
                                X