Anyway, last weekend that all changed and I turned the corner, when I drove the new bearings into the steering stem and bolted in the triple clamps.

I must have looked like a right tool, just sitting there on the back wheel, beer in hand with this goofy look on my face just staring at and admiring this bare frame with a set of triple clamps mounted to it.. ah, but all was good with the world so I don't give a rats azz....

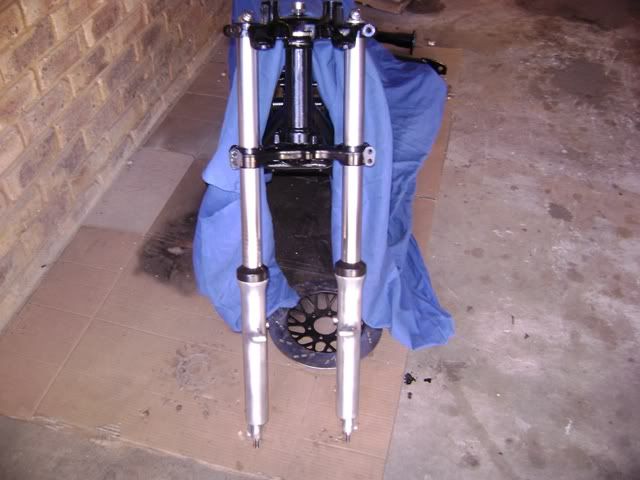
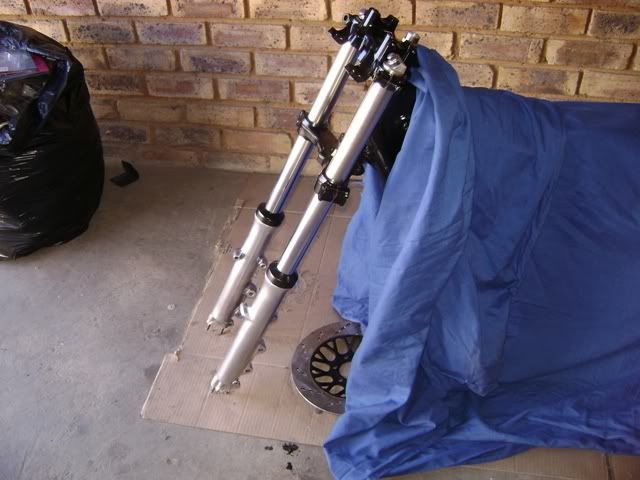
Of course that just lit tha fire under me to get Jennifer back on her wheels ASAP, so after a final bit of shopping for one or two things, today I got the forks together.
With that said, the pics are not eye candy, but we like pics, so......
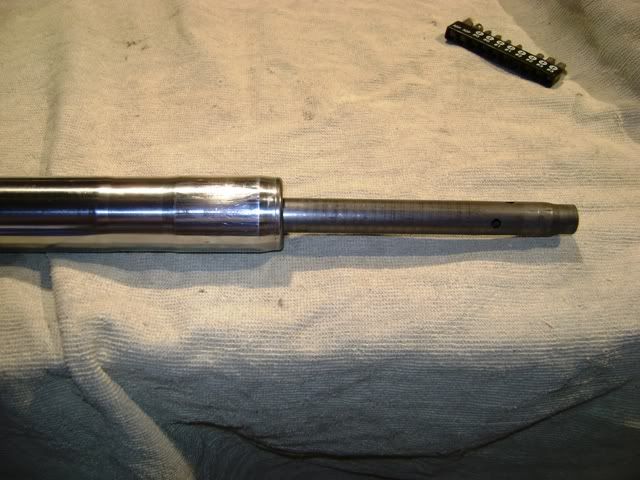
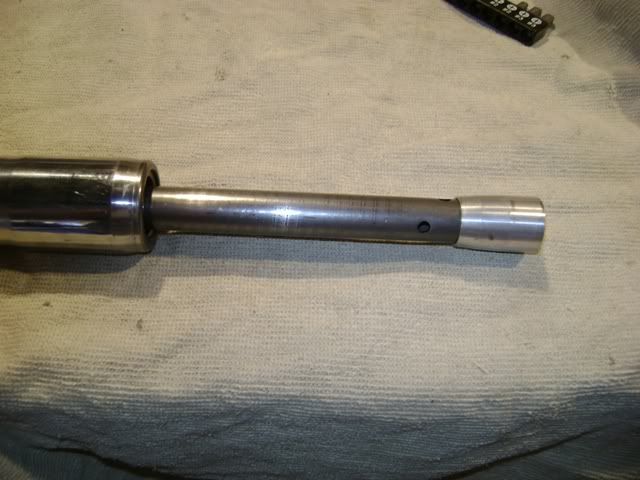
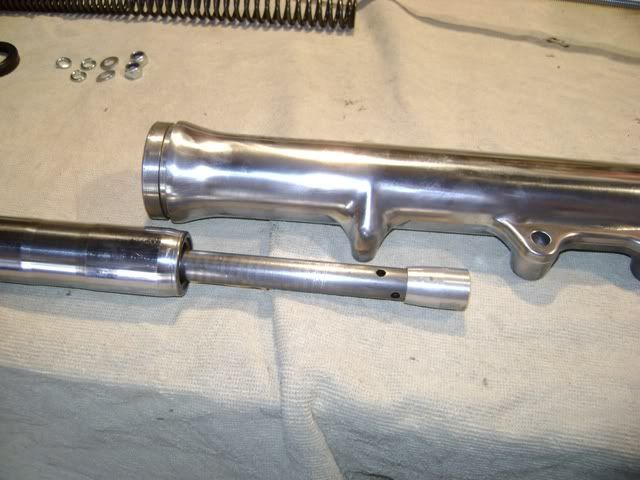
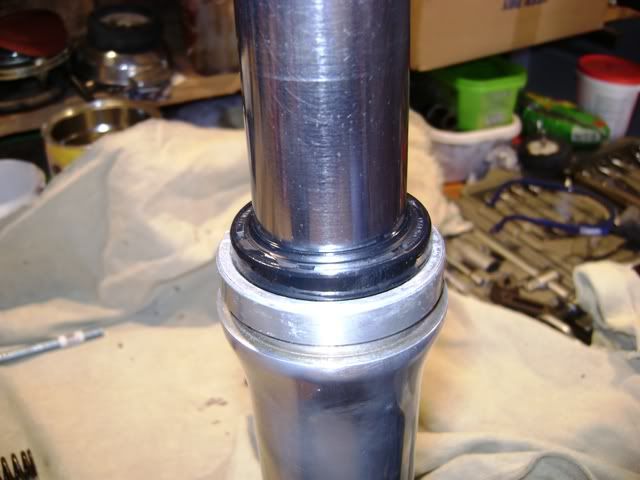
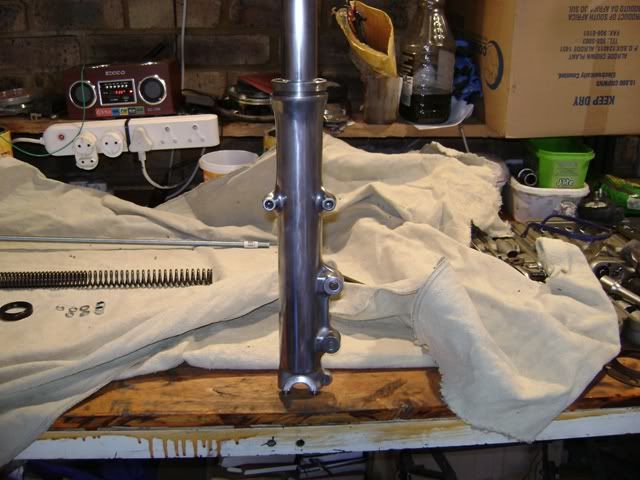
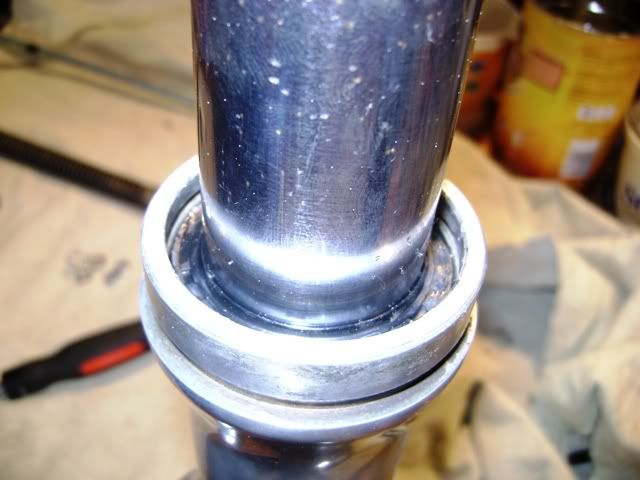
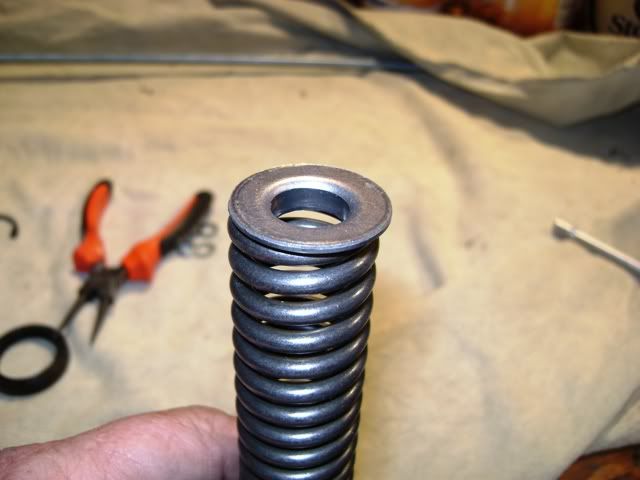
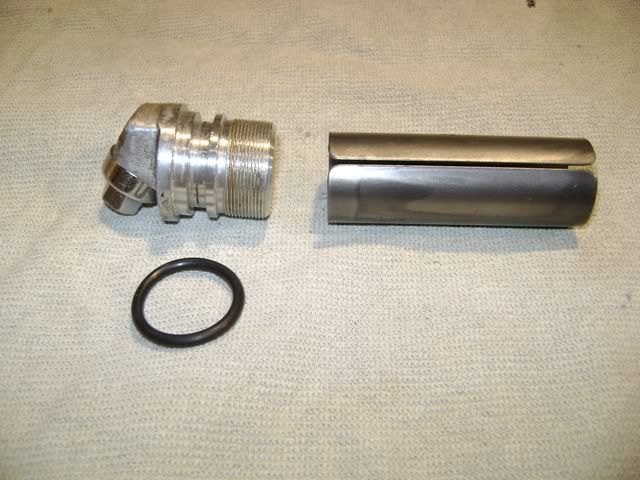
I am going to post what seems like quite a few pics for a relatively simple job, but one which I see questions on qute often in the forum, so maybe a step by step blow might help some one in the future who may be unsure and has never put forks back together again, or needs clarity, nothing like a picture being a thousand words.....I hope so.
Ok, enough yadda yadda, herewith the pics..........
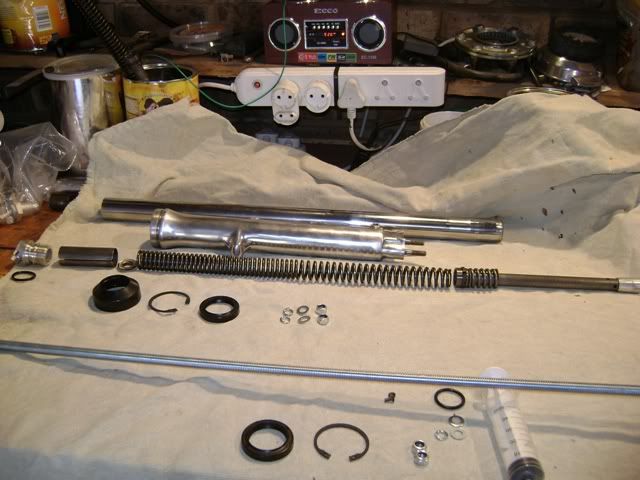
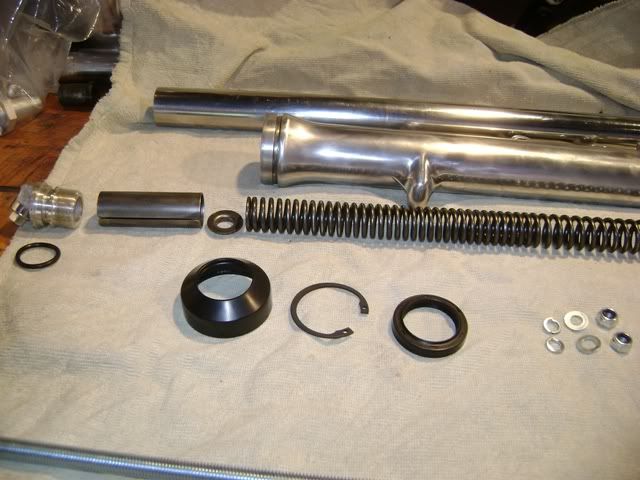
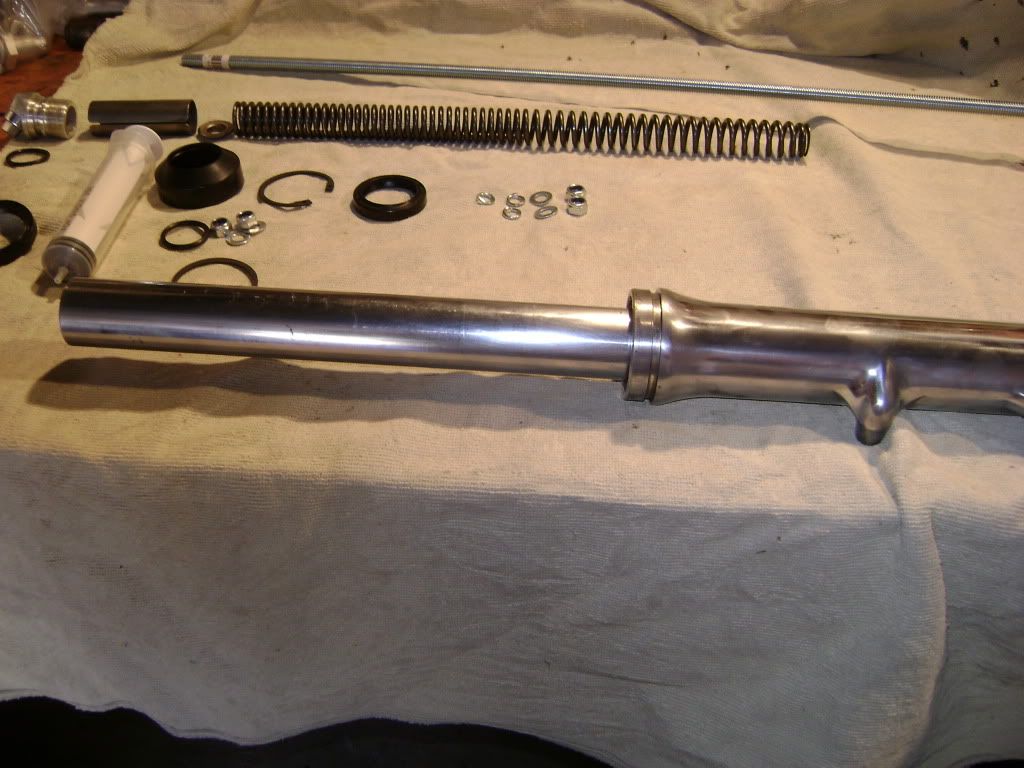
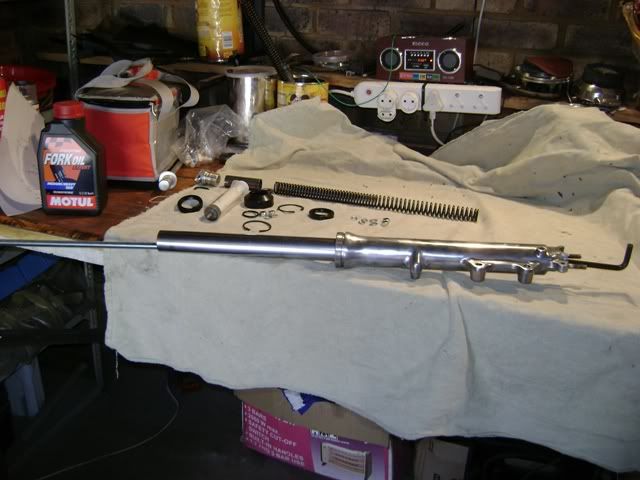
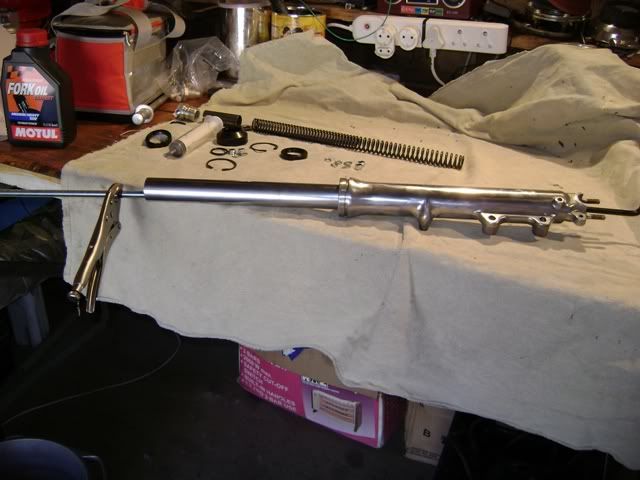
Layed everything out before assenbly, to check that everything had been cleaned and no pieces had gone AWOL......yep, looks like we have a game.
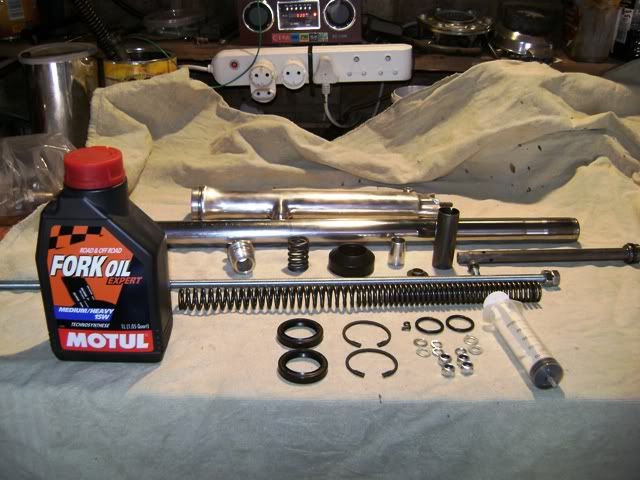
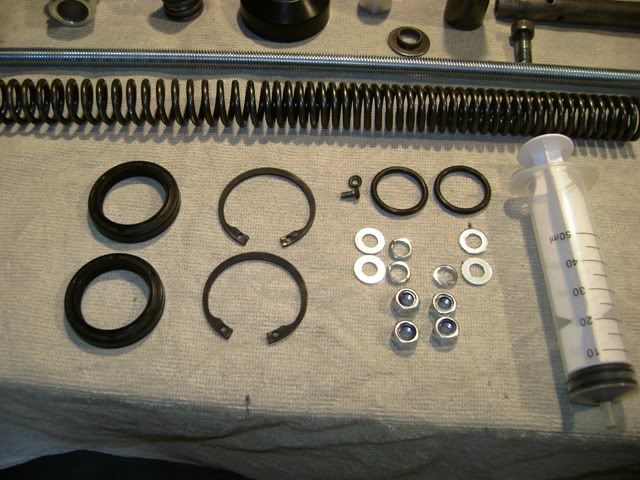
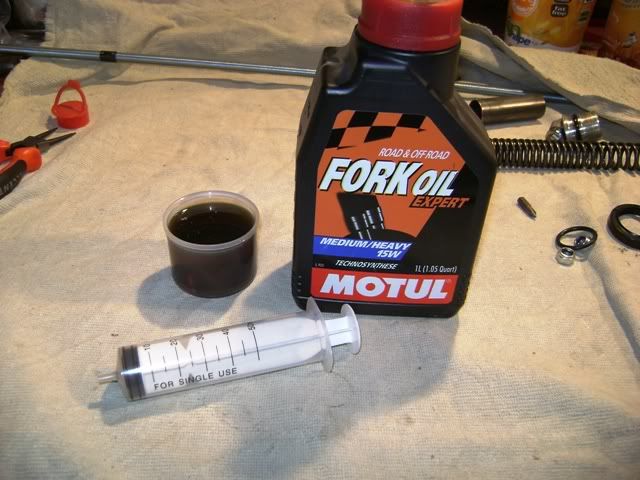
Some new seals, new circlips to replace those stupid, dodgy wire retainers Suzuki used, some shiny new hardware for the cups that carry the axle, a litre of 15w fork oil (1000G is heavy and I am a big boy) and a nice big syringe to measure it.
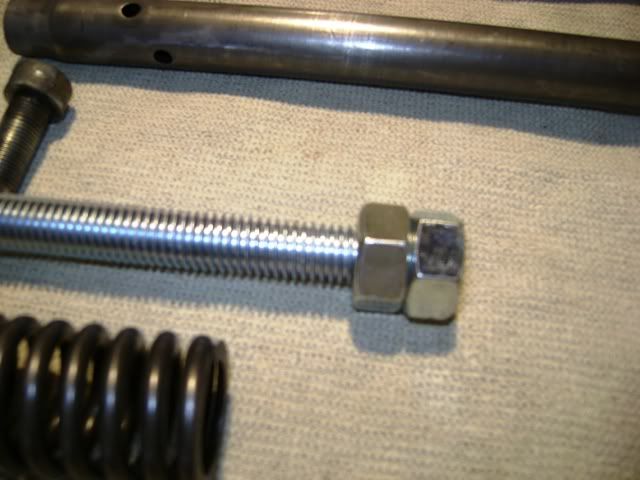
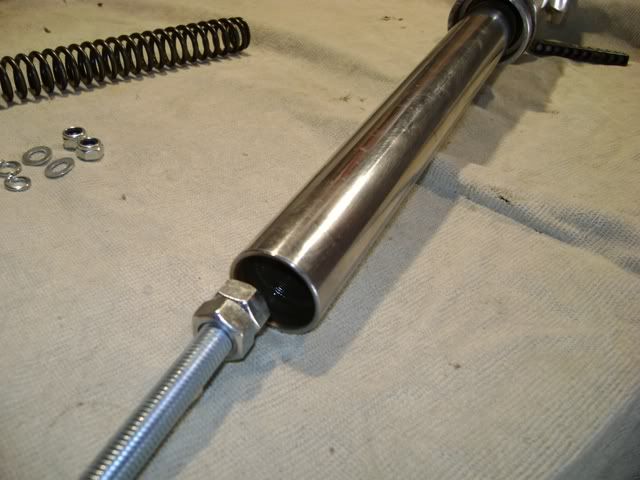
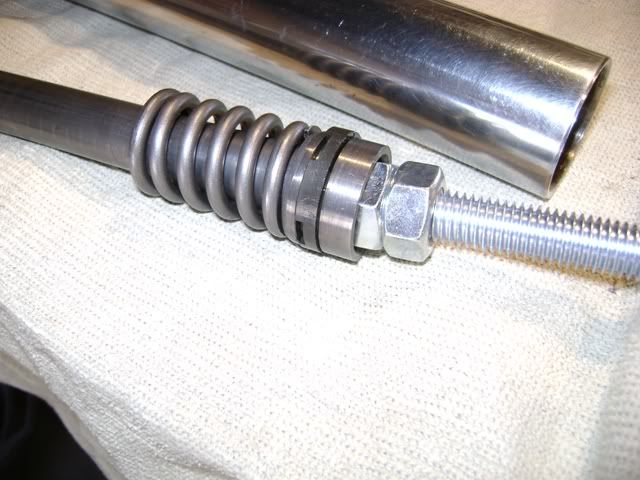
Poor man's special tool to hold the damper while tightning the bottom allen bolt, simple piece of threaded rod and two 19mm nuts, I guess you could build it for $2
You did take pics and draw a pic of how it all goes back together when you stripped it right.......right????
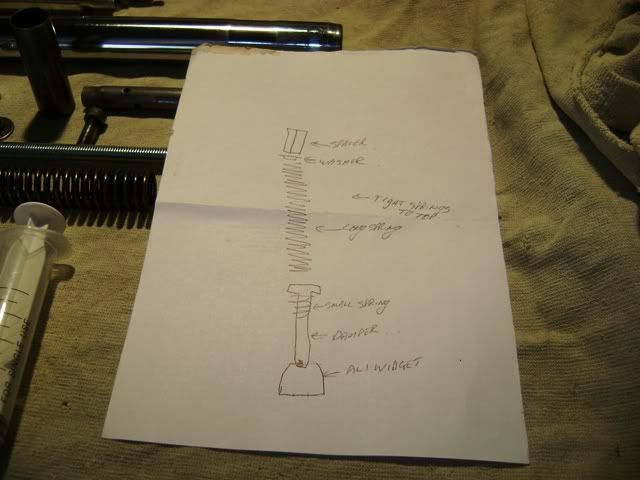
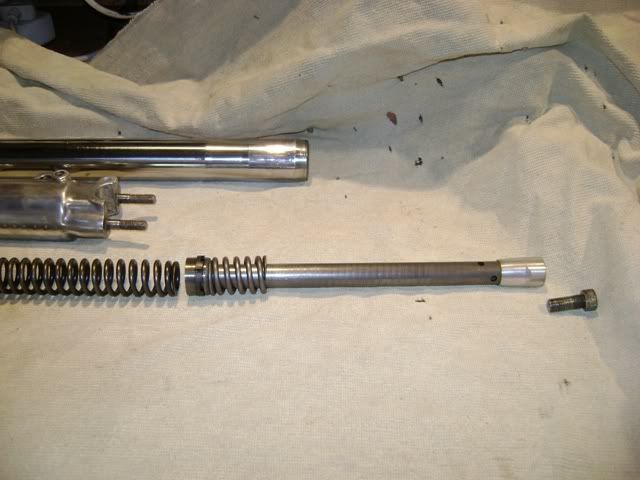
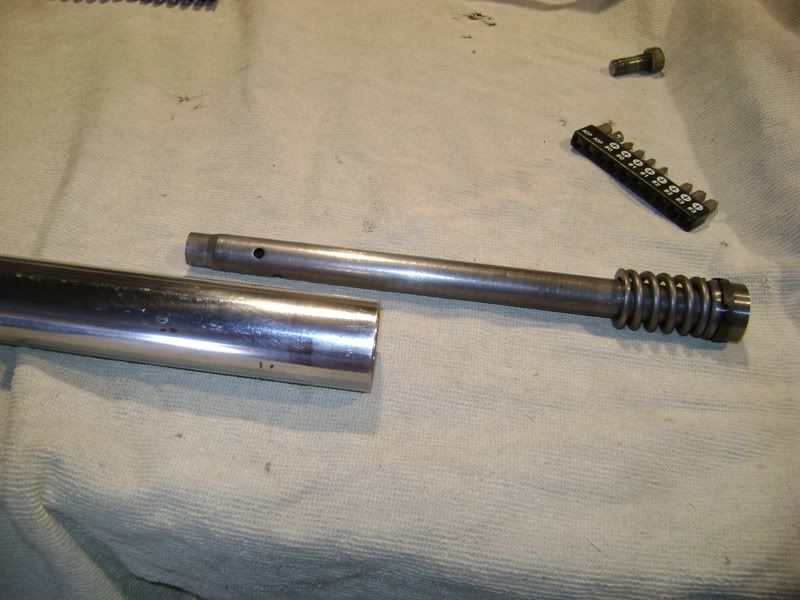
First thing I did was lay everything out in order of assembly, consult your picture/pics....you drew a picture / took pics....right????
Top End
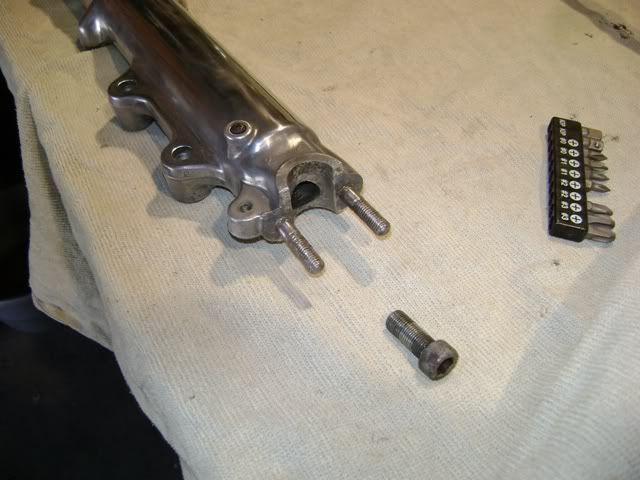
Bottom End
.png)



Comment