Are these the one's you're keeping or selling?
Announcement
Collapse
No announcement yet.
De-stinking Penelope
Collapse
X
-
Forum LongTimerBard Award Winner
GSResource Superstar
Past Site Supporter- Jul 2005
- 15161
- Marysville, Michigan
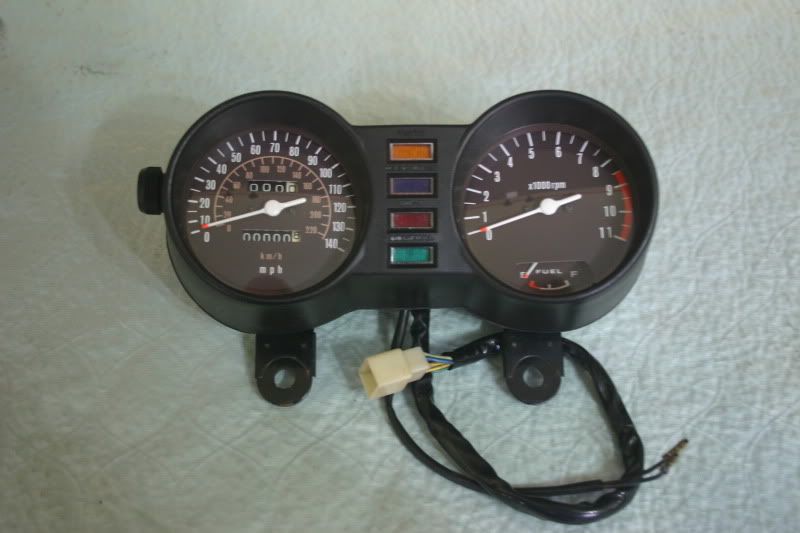
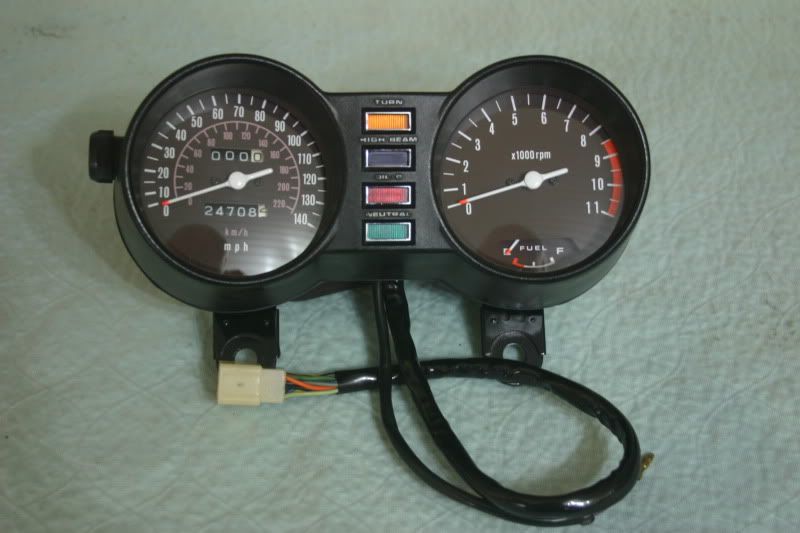
Steve, those are the set I'm keeping. Again, thanks for all the spare gauges, they came in real handy while I was building up these sets. I've enough left over parts to help repair a few more sets and the plan is to do another set.
I will get at the lettering as soon as I develop a good method to apply the paint.
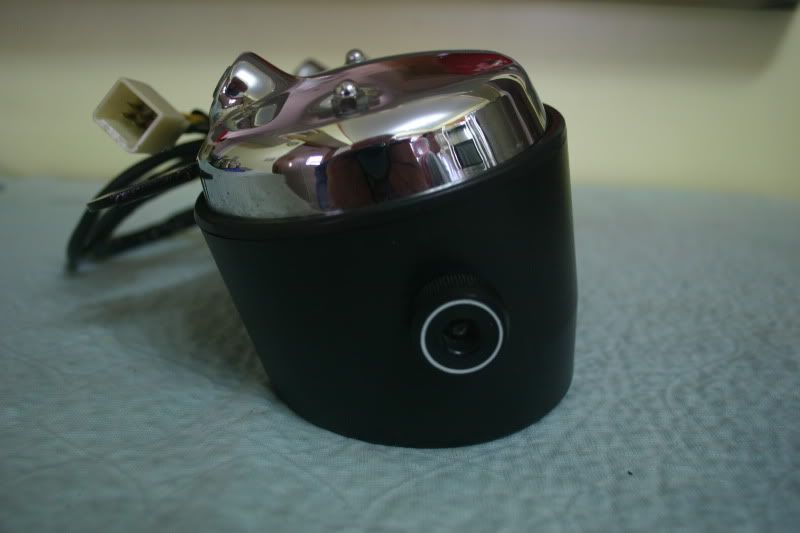
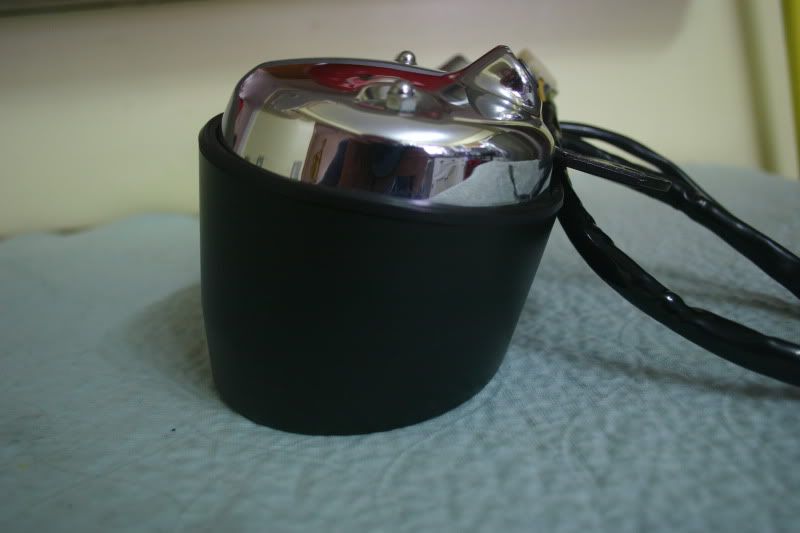
Here's the set I plan on selling.
 Last edited by rustybronco; 02-25-2012, 06:32 PM.
Comment
-
Those look very nice, will look great with the lettering. Your welcome for the gauges, got tired of tripping over them in my garage and will be less I have to deal with on my upcoming move.sigpic
Steve
"The world is a book, and those who do not travel read only one page." :cool:
_________________
'79 GS1000EN
'82 GS1100EZ
Comment
-
Forum LongTimerBard Award Winner
GSResource Superstar
Past Site Supporter- Jul 2005
- 15161
- Marysville, Michigan
I never said this was going to be easy...
But I did say I'll do it to the best of my abilities.
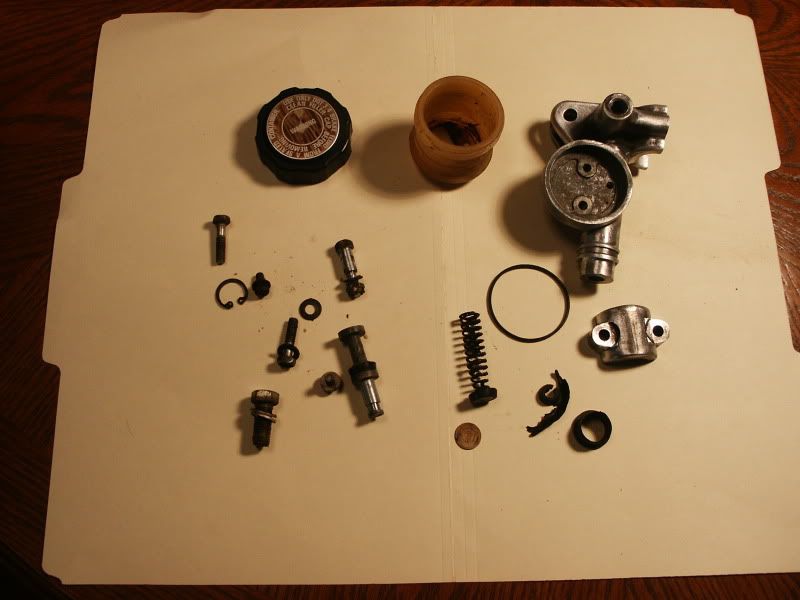
I disassembled the front brake master cylinder and removed the old paint from it. I need to get a list of things together and order the repair kit and reservoir before I set to rebuilding it, but in the mean time I'll soda blast it and paint it all nice and pretty.
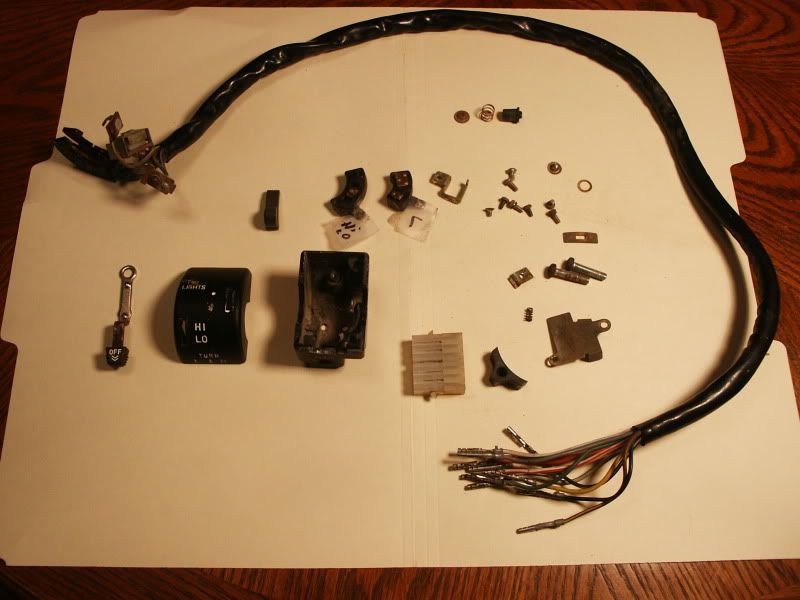
Disassembled the left hand control so I could clean up all the components and ready the two metal halves for painting. I'll probably go with a 70% gloss urethane paint on them along with the other low gloss items like the upper triple tree and the master cylinder housing. I sure hope it warms up soon, I've a lot of painting to make happen this spring.
Comment
-
 Flyboy
 -
Forum LongTimerBard Award Winner
GSResource Superstar
Past Site Supporter- Jul 2005
- 15161
- Marysville, Michigan
Stan, I don't have the money for a 10 point resto, but I'll do the best I can with what I have.
Buy the way, I'll see if can get that spare tank of mine ready for you to paint while you over here. Get ready for it....
Comment
-
 Matchless
Stan, he is calling you out! After seeing those gauges, I am visualizing a better than factory master cylinder
Dale, jokes aside. I wish I had your patience, as only then can one really do a good job as you are doing!
Comment
-
 Flyboy
Andre, you are right on the money, the man's patience is mind boggling. That is fine, he can call me out anytime, he just doesn't know there is a full 1000G set of clothes with his name written all over them, just waiting, and no guesses needed as to who will have the best kit when all is said and done, good thing his tank is a "spare"
Comment
-
Forum LongTimerBard Award Winner
GSResource Superstar
Past Site Supporter- Jul 2005
- 15161
- Marysville, Michigan
Andre, I'm only redoing it as someone suggested I do.
The plan for Stan is to get Him to a point where He feels confident repainting this --> http://i225.photobucket.com/albums/d...5/DSC02719.jpgOriginally posted by Matchless View PostStretch the restore out as long as you can and get the most enjoyment you can out of it!
Comment
-
Forum LongTimerBard Award Winner
GSResource Superstar
Past Site Supporter- Jul 2005
- 15161
- Marysville, Michigan
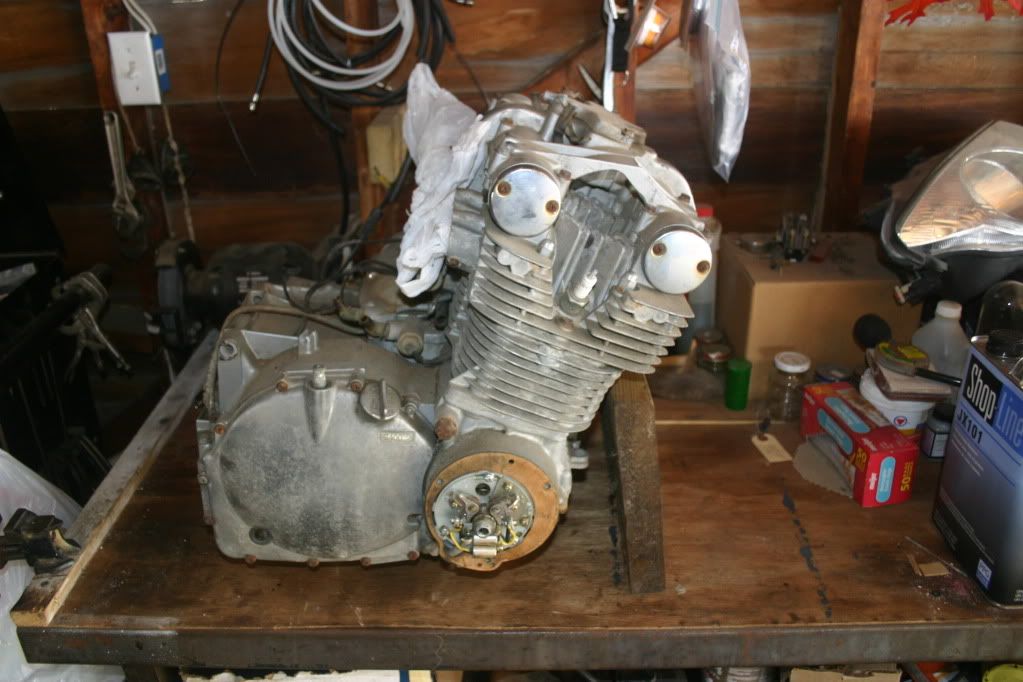
Finally the motor is up on the bench. I tried removing the valve cover to see what shape the inside of the engine might look like but two bolts broke off flush with the top of the cam cover. Don't ever complain you need to overhaul your carbs when you could be working on this old rust bucket!
- Likes 1
Comment
-
Can you still remove the cover and get at the remaining studs? Gonna heat the crap out of them arent you!!! I would replace the clutch shaft seal in the cover too.Last edited by chuck hahn; 04-15-2012, 01:03 AM.MY BIKES..1977 GS 750 B, 1978 GS 1000 C (X2)
1978 GS 1000 E, 1979 GS 1000 S, 1973 Yamaha TX 750, 1977 Kawasaki KZ 650B1, 1975 Honda GL1000 Goldwing, 1983 CB 650SC Nighthawk, 1972 Honda CB 350K4, 74 Honda CB550
NEVER SNEAK UP ON A SLEEPING DOG..NOT EVEN YOUR OWN.
I would rather trust my bike to a "QUACK" that KNOWS how to fix it rather than a book worm that THINKS HE KNOWS how to fix it.
Comment
-
maybe try some of that stuff in the tips and tricks thread freezing your nuts off???? If you can lay some wet rags around the heads of the bolts so the aluminum wont melt, a good shot of heat with oxy acetelyn will set them free.Last edited by chuck hahn; 04-15-2012, 01:16 AM.MY BIKES..1977 GS 750 B, 1978 GS 1000 C (X2)
1978 GS 1000 E, 1979 GS 1000 S, 1973 Yamaha TX 750, 1977 Kawasaki KZ 650B1, 1975 Honda GL1000 Goldwing, 1983 CB 650SC Nighthawk, 1972 Honda CB 350K4, 74 Honda CB550
NEVER SNEAK UP ON A SLEEPING DOG..NOT EVEN YOUR OWN.
I would rather trust my bike to a "QUACK" that KNOWS how to fix it rather than a book worm that THINKS HE KNOWS how to fix it.
Comment
-
Dale, you're taking that bike down to the gnat's ass! Think you'll get it done this year, or does it matter? Like when it's done, it's done.Originally posted by rustybronco View PostBut I did say I'll do it to the best of my abilities.
I disassembled the front brake master cylinder and removed the old paint from it. I need to get a list of things together and order the repair kit and reservoir before I set to rebuilding it, but in the mean time I'll soda blast it and paint it all nice and pretty.

Disassembled the left hand control so I could clean up all the components and ready the two metal halves for painting. I'll probably go with a 70% gloss urethane paint on them along with the other low gloss items like the upper triple tree and the master cylinder housing. I sure hope it warms up soon, I've a lot of painting to make happen this spring.
 sigpic
Steve
"The world is a book, and those who do not travel read only one page." :cool:
_________________
'79 GS1000EN
'82 GS1100EZ
Comment
-
Forum LongTimerBard Award Winner
GSResource Superstar
Past Site Supporter- Jul 2005
- 15161
- Marysville, Michigan
Steve,
At this point it's get it done to the best of my abilities; time be damned. Although it can be a bit disheartening working on it at times, because it's a big rust bucket (which I knew when I took it on) and the times like when these bolts corroded in place, I really enjoy the challenge, well mostly...
Chuck you are correct, this one is a very tough one to restore. There's a lot of time spent finding good parts to replace the old ones with and all the time it takes to bring those back to proper condition.
I tried heating the bolts with map gas when they acted like they were going to break off the heads. Now I'll fire up the torches and heat the aluminum to a nice and warm condition and soak the bolts with liquid wrench. Then hopefully the rust and corrosion holding the cam cover in place will loosen it's grip so I'm able to lift the cover over the studs without resorting to drilling them out.
I'll be riding it before the year is out...
Comment
-
 Matchless
Dale,
Slowly does it! I wish I had your patience.
Those stuck studs and cover are not problems, just "challenges" for your skills!
Comment
.png)

Comment