Announcement

Collapse
No announcement yet.

The 2,298 Mile Wes Cooley

Collapse
X
 
  • Filter
  • Time
  • Show
Clear All
new posts

    #61
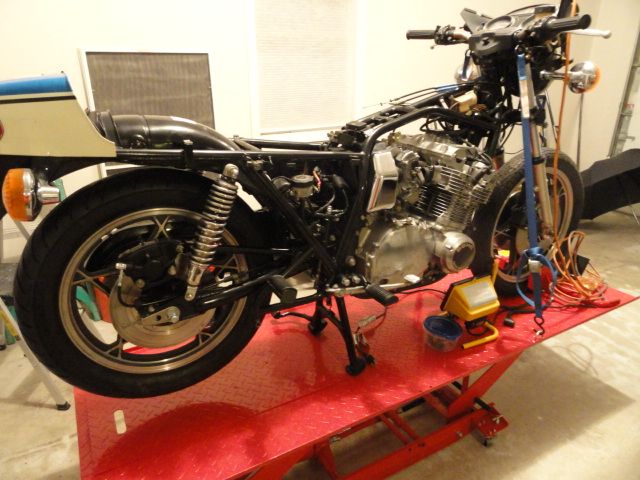
    A little more progress today. I put a couple of speed bleeders on the rear caliper and filled er up! The inner speed bleeder worked as it should, but I couldn't get the outer one to seal. So I grabbed an old fitting and all is well.

    When I bought the bike, it came with a new stator cover. The bike was dropped at some point and it looked like that took the hit. I removed the old an installed the new. Stator looked new and should be fine.

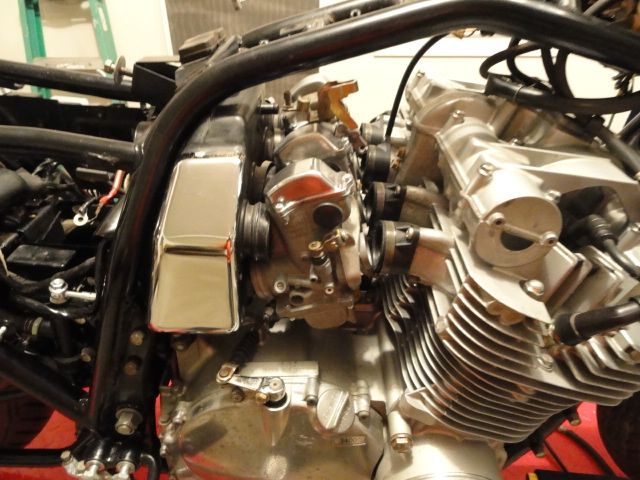
    New carb holders and O rings installed.

    Cleaned up the air box components, I actually bought 3, in different configurations until I finally found the one I wanted.

    At some point the battery must have leaked, box was a little rusty. I removed it, cleaned it and the surrounding area. I will spray the box, it's one of only a few pieces that will be painted.

    I did a little research on chain tools. Decided to order the RK tool, after watching a couple yuotube videos. It looks like the best and easiest way to go. I ordered it from eBay for $109 w/free priority shipping. Best deal I could find.

    If anyone wants to borrow the chain tool, it looks like it will fit into a USPS small priority box, which I believe is $6.00. So, for $12.00 (yes, I would like it back) you can do your chain.

    Comment


      #62
      Soak those shocks in Evaporust for a day or so and they will look like new. Wax um up good afterwards or the rust will come back though.

      Bike is looking GOOD! Keep going...
      Ed

      To measure is to know.

      Mikuni O-ring Kits For Sale...https://www.thegsresources.com/_foru...ts#post1703182

      Top Newbie Mistakes thread...http://www.thegsresources.com/_forum...d.php?t=171846

      Carb rebuild tutorial...https://gsarchive.bwringer.com/mtsac...d_Tutorial.pdf

      KZ750E Rebuild Thread...http://www.thegsresources.com/_forum...0-Resurrection

      Comment


        #63
        Originally posted by Nessism View Post
        Soak those shocks in Evaporust for a day or so and they will look like new. Wax um up good afterwards or the rust will come back though.

        Bike is looking GOOD! Keep going...
        I did!.....and I didn't I will wax them after the next soaking.
        Comment


          #64
          After a little more research, this bit of info may go into the " Tips and Tricks" section.

          I mentioned earlier that there is some type of over spray on the top surfaces of the bike, paint, wind screen etc. When I first got the bike I cleaned it and tried some different compounds and it didn't remove the over spray. You can't really see it, but you can feel it.

          Well, I was going through some of the parts and found one of the mirrors (glass is out of mirror) and it had this same over spray and it could be seen. I don't really know if it is in fact over spay or many years of dust. So I was in the kitchen and thought I would try some under the sink to remove this film from the glass. I tried the following:

          1) Foam/aerosol type glass cleaner = no results
          2) Windex = no results
          3) 409 = no results
          4) No name brand simple green = no results
          5) Gojo Natural Orange Pumice Hand Cleaner!! Bingo!!

          Took off this film like it wasn't even there and left a perfect, 30+ year old glass finish behind.

          So, it's off to find a couple inconspicuous paint surfaces!

          Comment


            #65
            The new chain is on. The RK chain tool makes installing the link a breeze.

            I hope to move on to the front of the bike this weekend. Waiting on a return call from Z1 for front caliper kits, which are not listed on their site.

            Comment


              #66
              Warning against K&L brake system parts. Have had quite a bit of trouble with some caliper kits, the type for those calipers in particular. Seal was too tight on the piston and caused too much drag. OEM is a much safer choice.
              Ed

              To measure is to know.

              Mikuni O-ring Kits For Sale...https://www.thegsresources.com/_foru...ts#post1703182

              Top Newbie Mistakes thread...http://www.thegsresources.com/_forum...d.php?t=171846

              Carb rebuild tutorial...https://gsarchive.bwringer.com/mtsac...d_Tutorial.pdf

              KZ750E Rebuild Thread...http://www.thegsresources.com/_forum...0-Resurrection

              Comment


                #67
                A little progress this afternoon.

                1) Adjusted new chain and installed chain guard, front sprocket cover (after polishing) and shift lever.

                2) Installed battery box

                3) Put carbs in almost where they go.......... I spent about 10 minutes wiggling them around, didn't get them quite right so I decided to walk away for the day.

                The back is in pretty good shape, engine is getting close.

                I think we are going to hit 40 degrees tomorrow, that'll get me motivated!


                Comment


                  #68
                  Sweetheart

                  What a sweetheart! 2,300 original miles? Holy sheet! Too nice for the garage. I'd put that work of art in the living room, even the bedroom.
                  1982 GS1100E V&H "SS" exhaust, APE pods, 1150 oil cooler, 140 speedo, 99.3 rear wheel HP, black engine, '83 red

                  2016 XL883L sigpic Two-tone blue and white. Almost 42 hp! Status: destroyed, now owned by the insurance company. The hole in my memory starts an hour before the accident and ends 24 hours after.

                  Comment


                    #69
                    If you tried the carbs from the other way it might be easier, from the top, remove all the small bolts holding the airbox push the carbs in as far into the stubs and then rotate them downwards keeping the airbox as far back as possible, just be careful not to scratch the frame with the cable brackets.
                    sigpic

                    Don't say can't, as anything is possible with time and effort, but, if you don't have time things get tougher and require more effort.

                    Comment


                      #70
                      Originally posted by tatu View Post
                      If you tried the carbs from the other way it might be easier, from the top, remove all the small bolts holding the airbox push the carbs in as far into the stubs and then rotate them downwards keeping the airbox as far back as possible, just be careful not to scratch the frame with the cable brackets.
                      From the top was the way to do it. I ended up using two straps. One to hold the air box back as far as possible ( thanks Kiwi) and the second I put around the top rear of the carb bank and ran this ratchet strap down and forward around the engine and frame.

                      As I tightened the strap, it pulled the carbs down and into the front boots as it pushed it's way down and forward, away from the air box boots.

                      Then it was simply releasing the air box and slide boots forward over the carbs.

                      Not fun and certainly not easy....but it is done.

                      Comment


                        #71
                        I feel your pain. I thought I'd never get my carbs and airbox back together again. Hardest bike I've ever owned in that respect. I ended up using a similar procedure. Boy, you just have to hold your mouth right to get it all to work in the limited space available. Had a celebration beer afterwards, for sure. The bike is coming along nicely. Great to see another S getting done.
                        1979 GS1000S,

                        1982 Honda CX500 Turbo, 1982 Honda MB5 w/CR80 motor, 1977 Honda "nekid" Goldwing, 1976 Honda CB550F cafe', 1972 Honda XL250 cafe'

                        Comment


                          #72
                          Sorry...........nothing new here. But, is it back on the rack and I'm going to get things rolling again!

                          I noticed a little leaking of oil coming from the oil pan, which I did drop and put a new gasket on before leaving it idle for a while.

                          I guess I will start back up with dropping the oil pan and try again!

                          Comment


                            #73
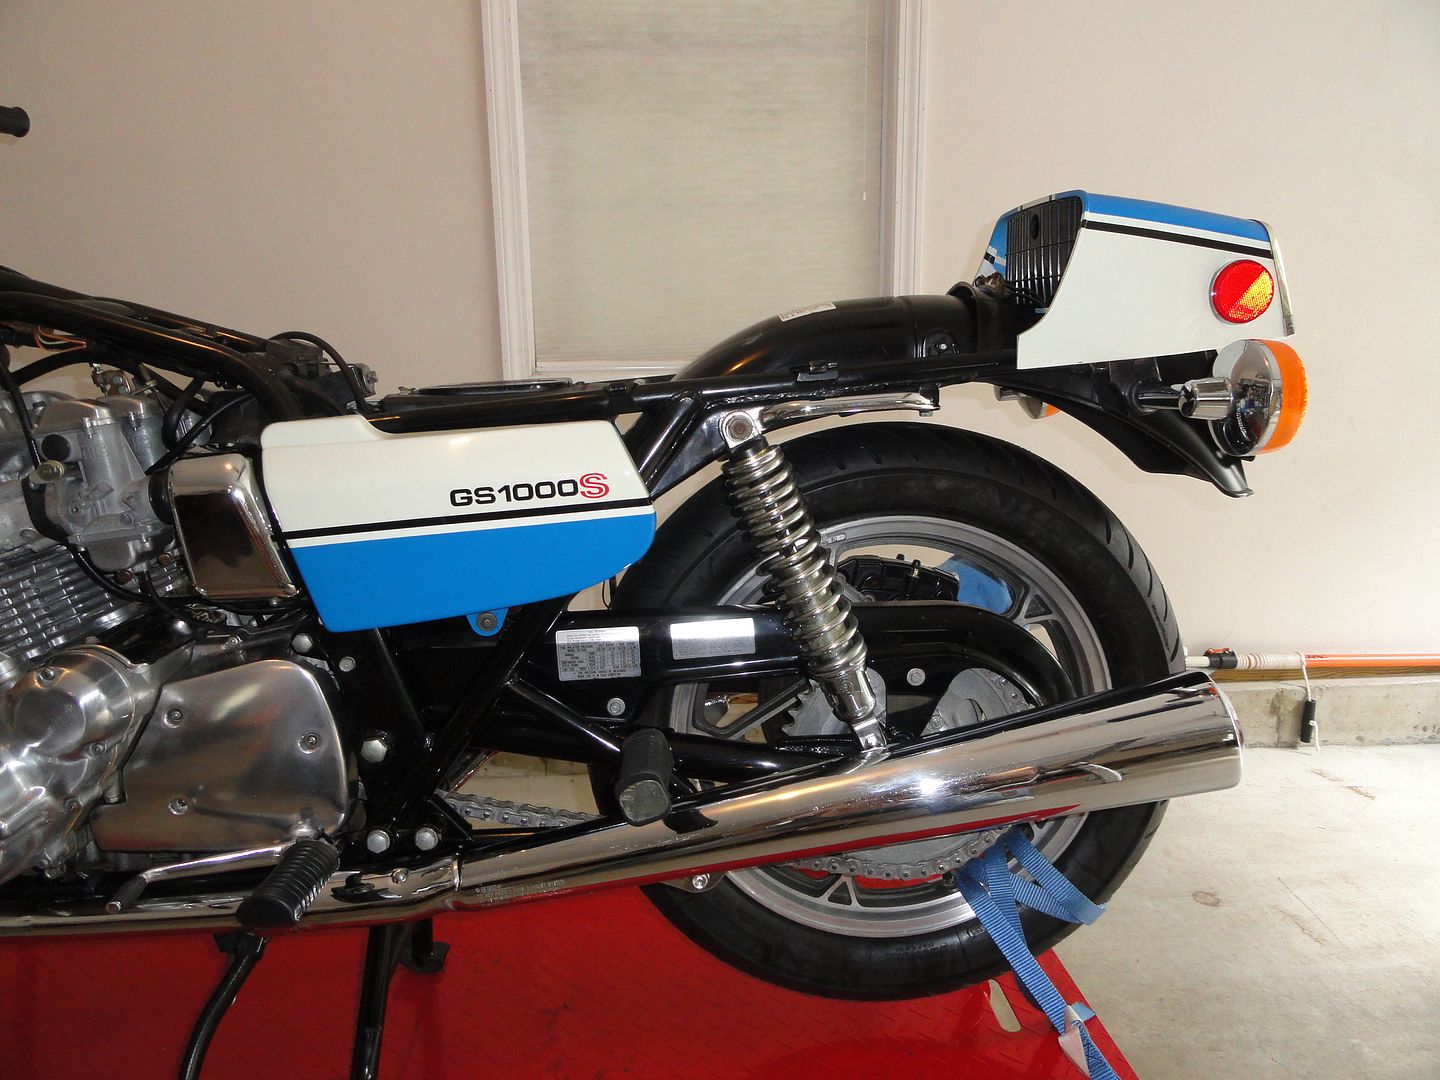
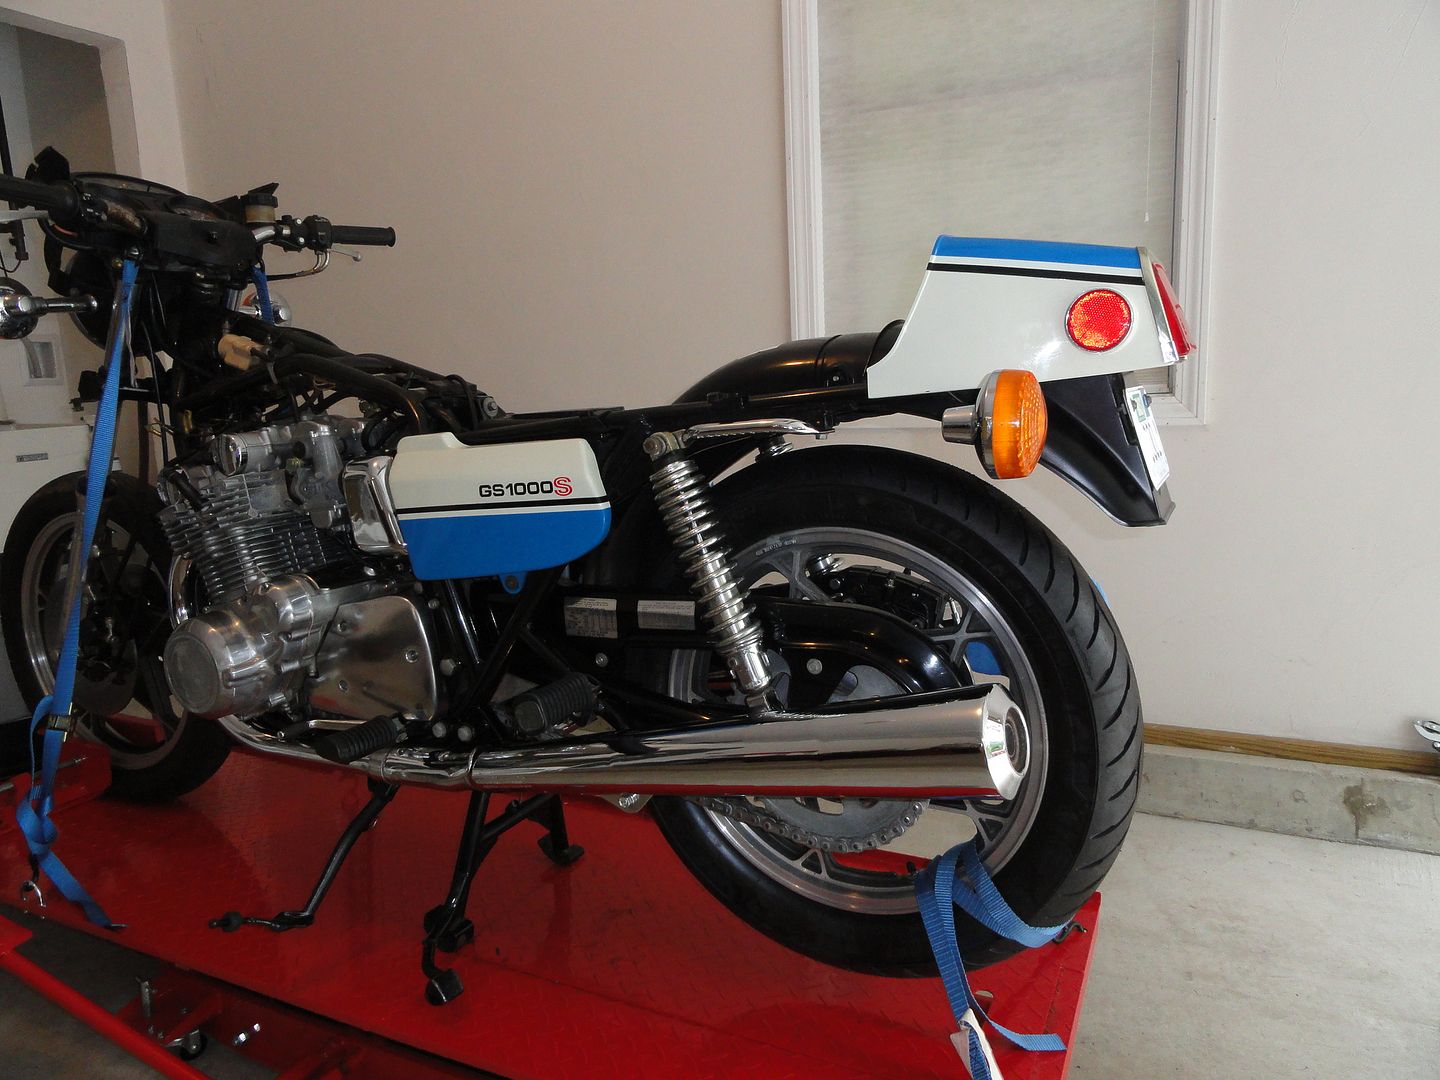
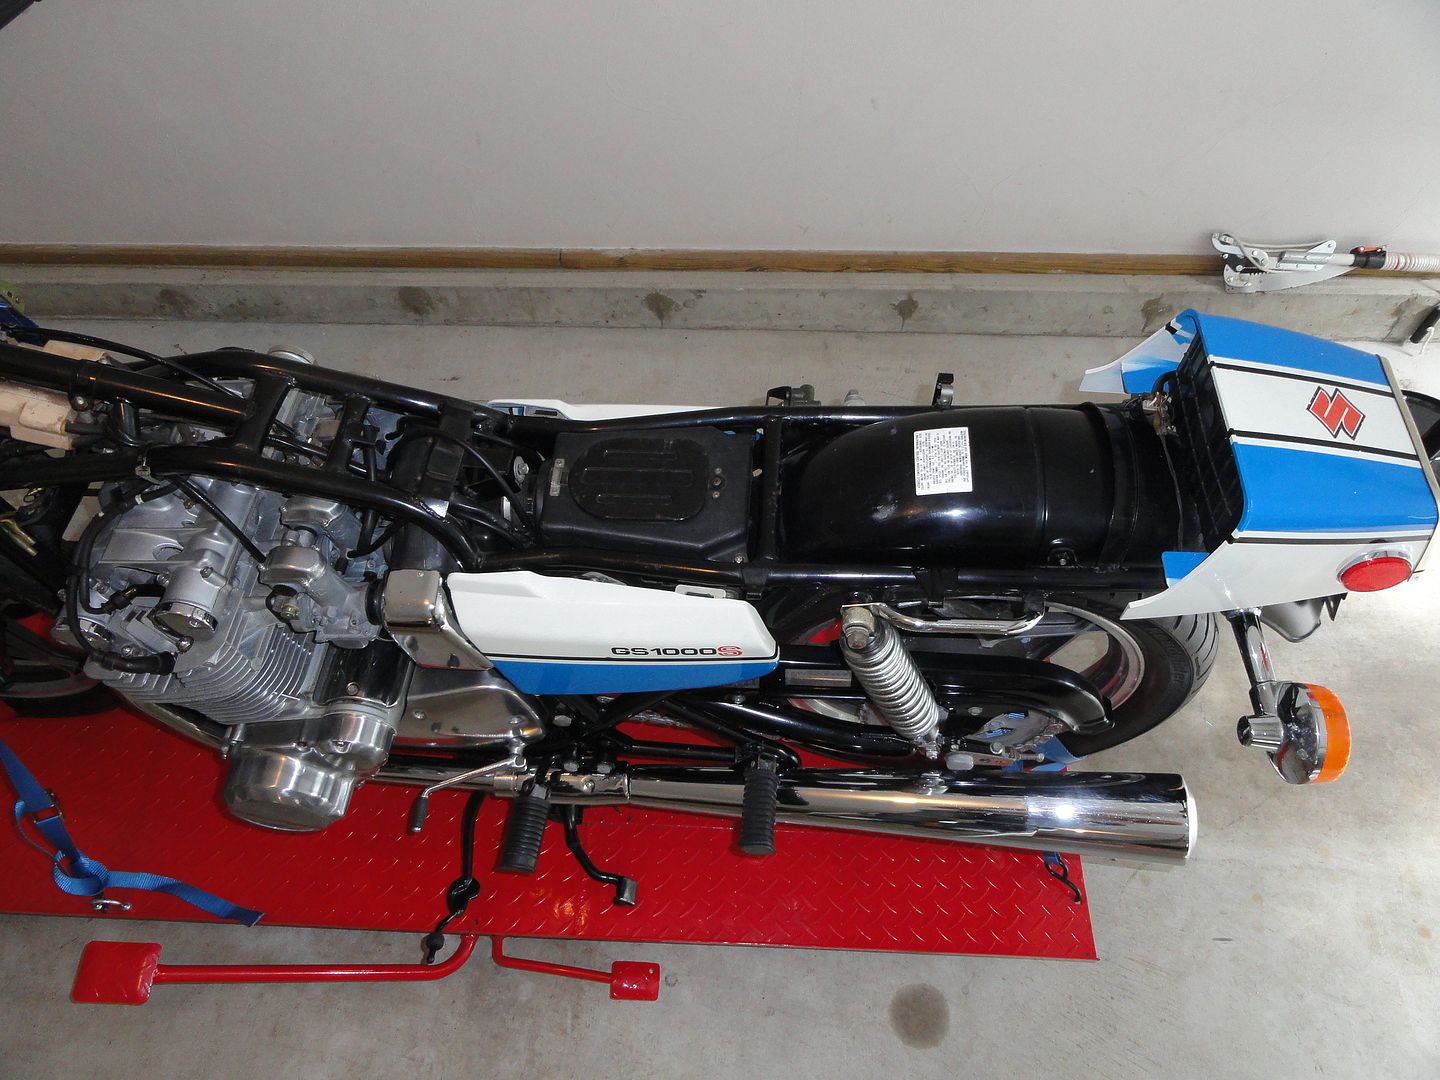
                            I made some progress this weekend..........and SHE'S ALIVE!!!!

                            1) Pulled the leaky oil pan and scraped off the old gasket properly....my bad with the previous attempt. Now all is good.
                            2) Installed the exhaust.
                            3) Installed new fuel hose.
                            4) Installed battery with tender lead.
                            5) Installed air filter box.
                            6) Set up my new auxiliary fuel tank.
                            7) Installed new plugs.
                            8) A little sprucing up!

                            The exhaust was a little trying....my first attempt I was unable to get it into position with the side stand in place. So, I took the side stand off and popped it right up there. Well, you know I couldn't get the side stand back on with the exhaust in place, so I removed the bolt from that side and squeaked the stand in place.

                            I should have done the fuel line prior to carb install, so I had to use the hanger trick.

                            Checked for spark...looks good!

                            So I turned the petcock on the auxiliary tank and fuel started leaking where I connected it to the new fuel line. So, searched out a nice adapter from my mighty mac and solved that issue.

                            OK...here we go...........everything looks good and tight, no leaks............let' hit that starter button. Pulled the choke, pushed the button and instant results!!!!! She's Alive....after who knows how long. Ran very well.

                            So I look down and see oil shooting out underneath from the oil filter cover....hut her down.

                            I pulled the cover and noticed I had pinched the gasket in 3 places.....I gotta work on my gasket skills. Grabbed a new gasket and added the proper amount of oil and fired the bike up again.

                            This bike runs great. Needed the choke but will play with the idle before using my new sync gauges.

                            Couple of pics of how it looks after today's work:


                            Last edited by Vmass; 09-01-2014, 06:08 PM.

                            Comment


                              #74
                              I am absolutely stone cold blown away by that bike. Beautiful doesn't even come close to describing it. Great to see the bike nearing completion.

                              Comment


                                #75
                                Dang, that is looking nice.
                                Didn't expect any less from you Rich, very impressed how it's coming along.

                                Hope it rides well, I'd be interested to hear the comparison between the 1980 and this 79.

                                David.
                                2018 Honda Africa Twin AS
                                2013 DR 650 Grey, sold 1981 GS 650E Silver,

                                1980 GS1000ST Blue & White, X2

                                2012 DL650 Vstrom Foxy Orange, in storage
                                1981 CT110 X2 "Postie Bikes" Gone to a New Home.
                                2002 BMW 1150 GS Blue & White - Sold
                                1975 BMW R90/6 Black - Sold 1984 GS1150EF Sold
                                1982 BMW R100 Africa trip, Stolen - Recovered- Sold
                                1977-1980 Suzuki GS550, GS1000E, GS1000S GSX750, GSX1100,s
                                Hondas ST90, CR125 CB175 , CB350 CB750, NSU Quickly, Yamaha RD's 350/400,

                                Comment

                                Working...