.png "Powered by vBulletin")
So I sanded in long broad strokes over large areas. I stopped sanding when all the guide coat was gone in an area. I did break through to bare metal in some areas (even with the 400 grit), there's still plenty of primer in other areas. The area in question (against all advice) I sanded a couple of tiny trouble spots. Now the area around it is nice smooth and level, but those two spots are low.
I didn't break through to metal in that particular spot, but I did in the larger area if that makes sense. If I continue to sand that area, I'm worried that I'll make the problem worse because I'm already down to metal in spots. That's why I was thinking to just spray the area with high build and then block again.
I'll try to post pics in a few....
-
Hey, Sam. Not sure what you mean by bit of a ripple from sanding. Hmm. Did you block sand it till you started breaking through to bare metal? If not, I would maybe try that, and if that doesn't take it away just spot in a couple of coats on that area with some primer, let it set overnight, block it again and see if it doesn't fix the problem. No need to spray the entire tank again..although a (one coat) thinner mixture over the entire tank as a sealer before your base coat would be advised. Hope that helps.Leave a comment:
-
The humidity has been hovering above 90% for quite a while now, sometimes as high as 98%. Looks like I'll have a window between noon and 7 pm tomorrow where it's supposed to drop down to 60-65% humidity. Should be more than enough time to get to clear if all goes well.
There are 2 spots right next to each other where I got a little overzealous sanding with the 400, and there's a bit of a ripple. I'm thinking I can hit that 1 area with high build and sand it smooth right before I spray color...or would it be better to shoot the high build over the whole tank again? It's not too bad, and I could probably leave it, but I know it'll bug me if I don't fix it while I have the chance.Leave a comment:
-
Thanks Lars! I'd say your build is incredibly thorough and detailed as well. I've been following along, and can't wait to see yours on the road.
For me... Right now I'm sitting in primer, and I think I have the tank as good as I'm going to get it with primer and block sanding. Now I'm just waiting out the humidity to be able to get it in color and clear coat.Leave a comment:
-
Hi, read through the whole thread now. You have done an amazing job and you are much more thorough than I'll ever hope to be. I'm impressed!Leave a comment:
-
Nice work Sam, Larry is an excellent coach and will get you sorted with a job far better than you think you're capable of doing
The only thing I can add with confidence is to do a +1 on a bit of filler with those pinholes, should sort them out nicely.Leave a comment:
-
I think I would fill those pinholes with a bit of plastic filler. They're more then what primer will fill. You could also take your block and criss-cross back and forth across (not with) your top body lines, too. It seems to me like they could still use a bit of softening. Other then that your tank is looking very nice. Feels good doesn't it?Last edited by nvr2old; 08-28-2018, 08:14 PM.Leave a comment:
-
Not invasive at all. You're advice and suggestions have been invaluable!
Especially this bit right here...
How did you know that's what I was worrying about?Originally posted by nvr2old View Post

As soon as I stopped being concerned with hitting bare metal and went to town, things started looking really nice, really quickly. You typing that one sentence probably saved me hours of work and a ton of primer (and probably a trip to the store to buy more when I ran out after wasting it lol).
Oh, and a smaller block was definitely what was missing for up front...
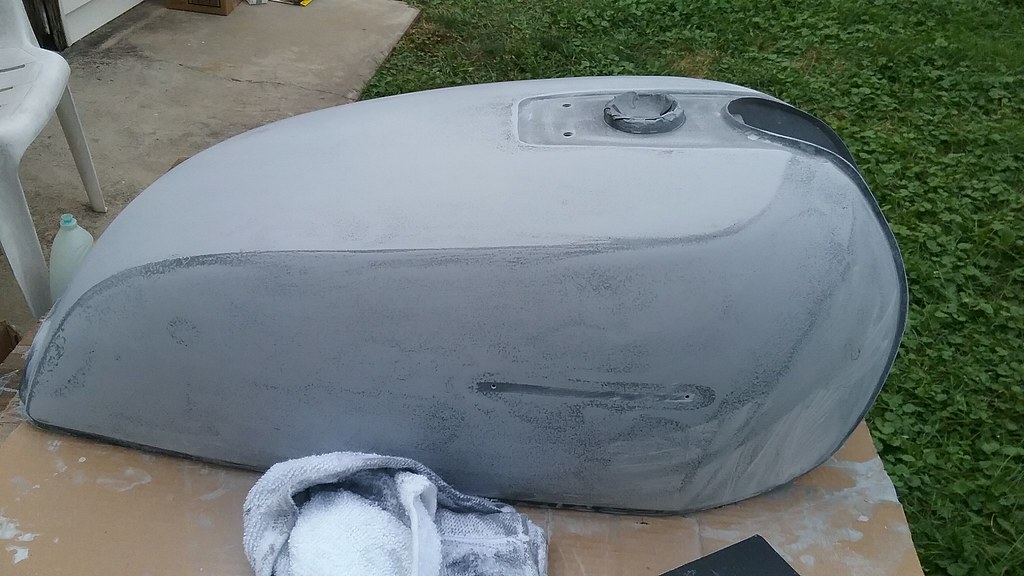
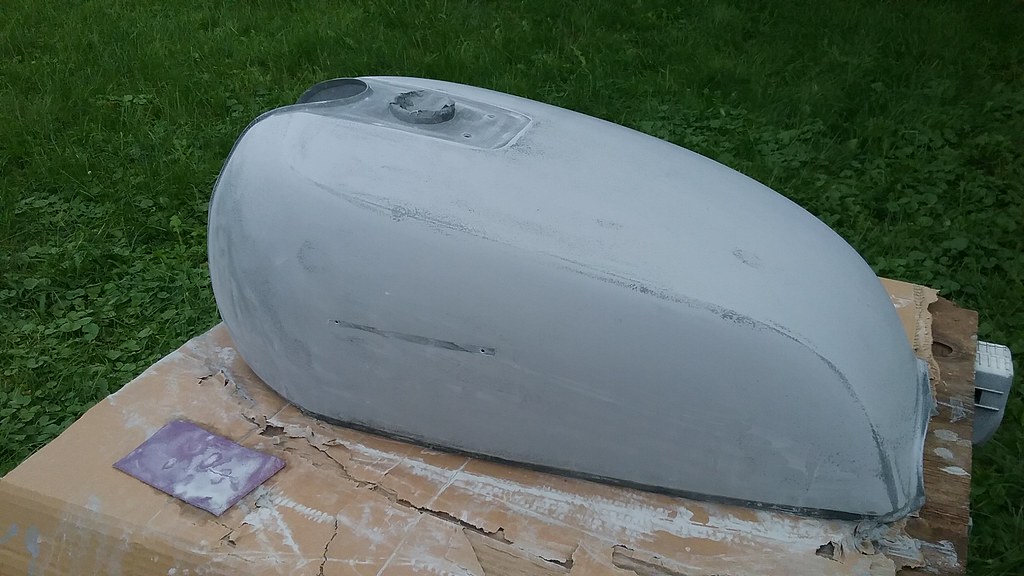
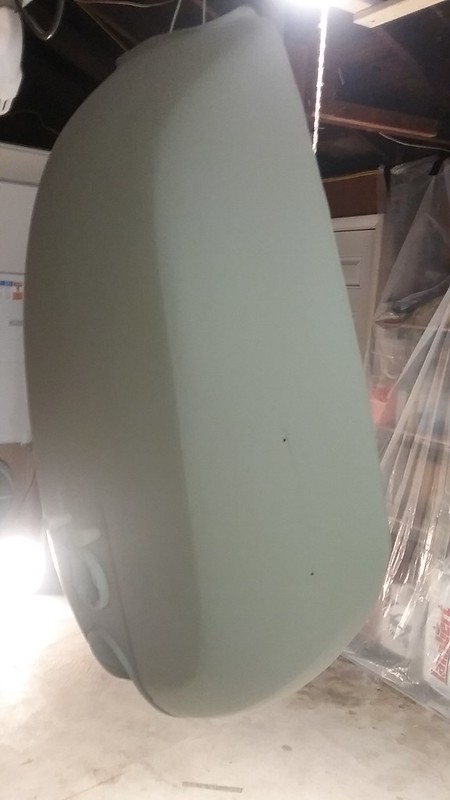
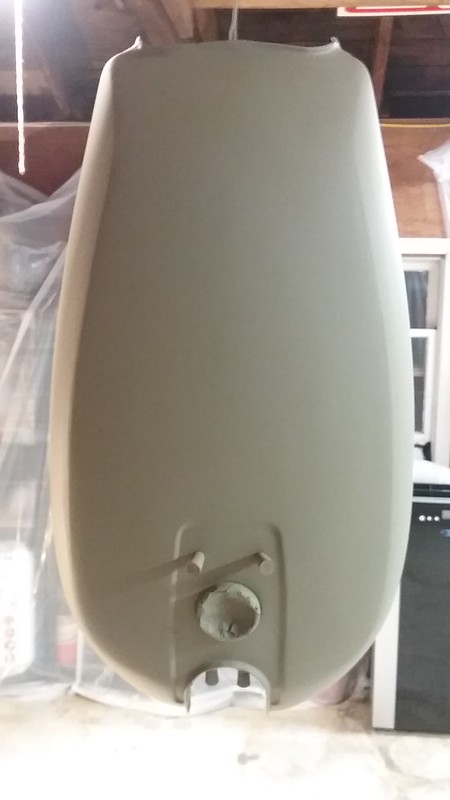
I think I'm done sanding, but that's what I thought last time around. Maybe you can take a look at the pics and let me know if you think I should take it down a bit more? Seems ready to prime again and then block with 400 though.
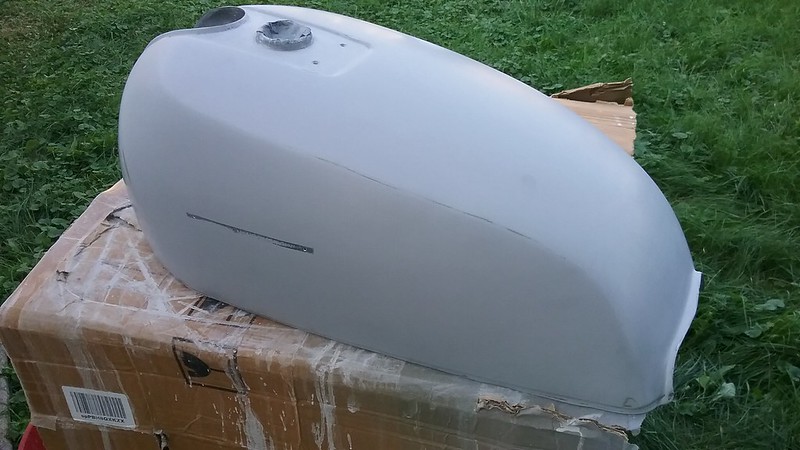
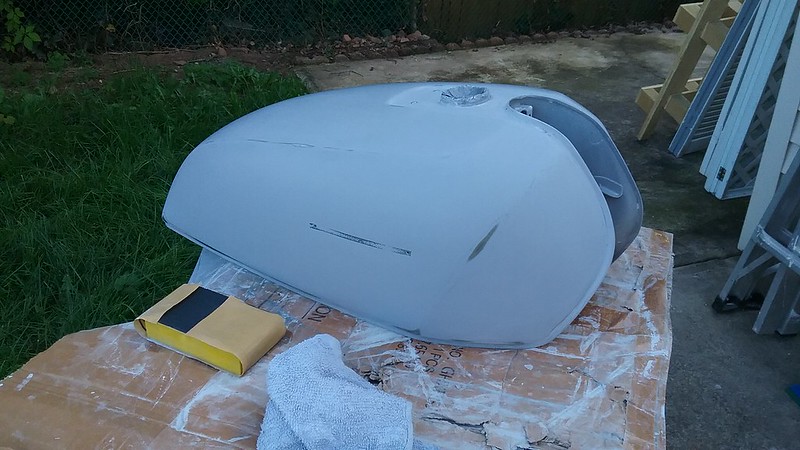
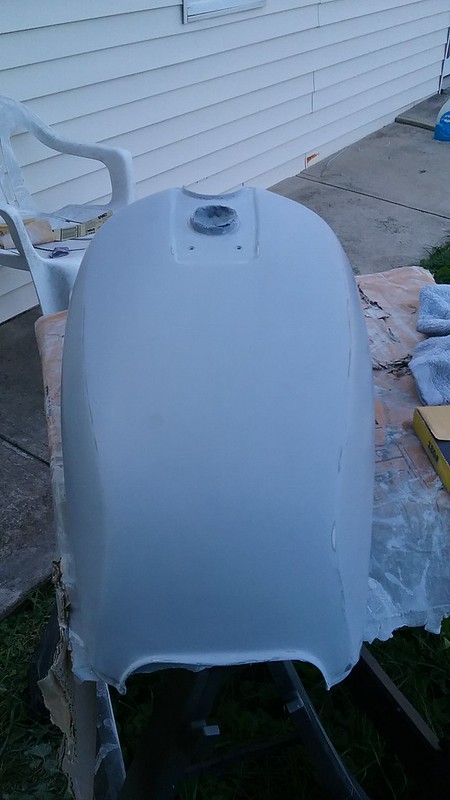
Here's how it looks now. What looks like guide coat lingering in spots still is actually etch primer and bare metal/filler peaking through. Except for the tank badge areas where I masked for the screw holes with the filler. Not really worried about those low spots though.
 20180828_181216 by samL9, on Flickr
 20180828_181227 by samL9, on Flickr
 20180828_181748 by samL9, on Flickr
I do have a couple of pinholes I need to take care of still.
 20180828_181653 by samL9, on Flickr
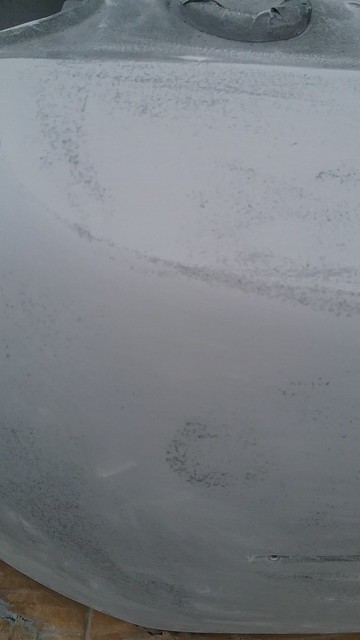
Up close and magnified
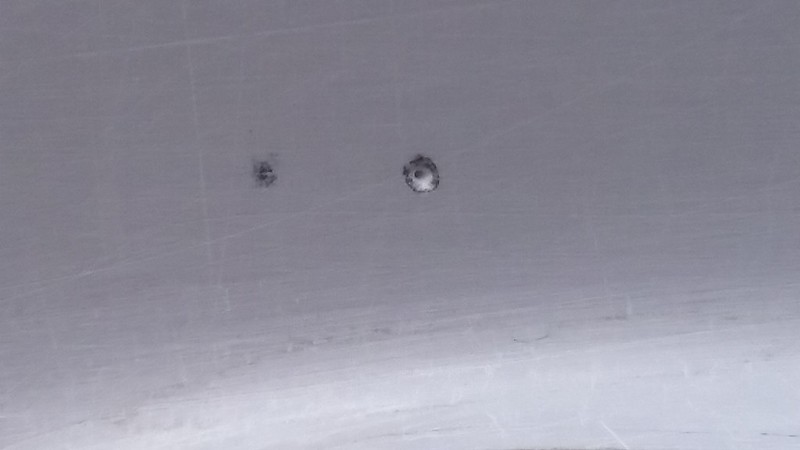 20180828_181619 by samL9, on Flickr
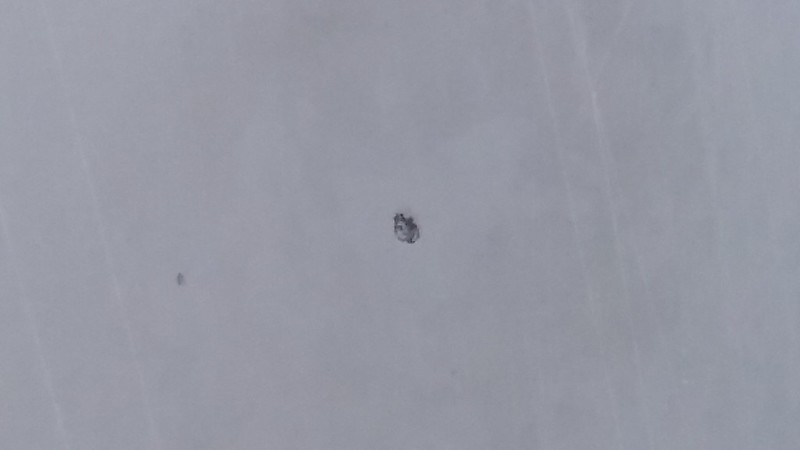
number 2
 20180828_181707 by samL9, on Flickr
 20180828_181729 by samL9, on Flickr
Not quite sure what to do with those... Glazing Putty?Leave a comment:
-
A small soft rubber block would work for the front section. They're cheap to buy and very efficient. You could also cut down a wooden paint stick and wrap it a few times with whatever grit you're using. Just criss-cross your sanding motion and you should be fine.
If ever I start to sound invasive in your process, please tell me.
Leave a comment:
-
OK, I guess I could have gone a lot farther on the last round of sanding then. As soon as I hit bare metal in a tiny spot on the sides, I stopped. As soon as I saw the etch primer peaking through on the top I stopped. Whatever guide coat was left got primed over again...
I re-shot etch primer on the bare metal spots because that's what the data sheet on the high build said to do. I was trying to avoid having to do that, but now that I think about it shooting etch primer really quick in spots before shooting the high build is a lot easier than extra rounds of priming and sanding and will save a lot of material in the long run.
The body lines look a lot sharper in the photos than they actually are because of the guide coat, but they are still pretty sharp. I've been worried about sanding them directly and messing them up... I've kind of been sanding towards them from the top and the sides, but never quite hitting them. They feel pretty rough doing that though, so this time around I've been going over them a bit more directly to smooth them out.
I'm also still figuring out the best technique for blocking the front. The top and sides are flat, so a lot easier. The front is a lot rounder, so I'm not quite sure what to do with the block if that makes sense...
As always, thank you for the help and guidance.
Leave a comment:
-
Your parts are looking better all the time. Don't be afraid to continue block sanding until you break through to bare metal. That will give you the optimum effect of what block sanding does. All the guide coat needs to go away. It tells you when you're done, basically. Those "rings" will start to settle out with more sanding. Hitting bare metal around them is when you've gone as far as you can, then stop. Same with your upper body lines, which look a bit sharp to me. I would try to soften them a bit with your next round of primer blocking which should then more match the area you said didn't look correct. 180 again is a good choice. It will cut clean, and quickly. Then go one more round with 400 and then just a light 600 to ready it for base coat. It's looking better then you're giving yourself credit for. Wait till the next block. The difference will be very noticeable.Leave a comment:
-
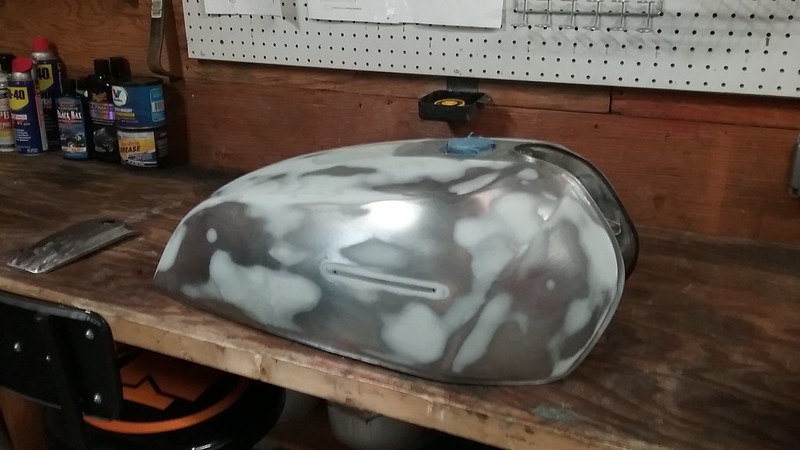
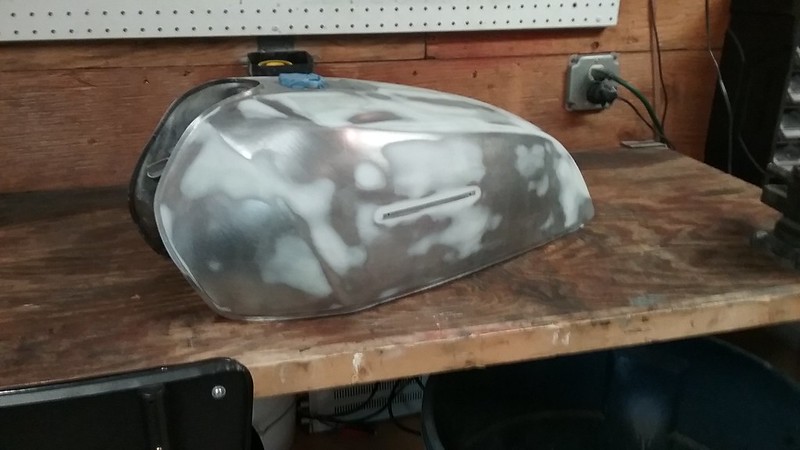
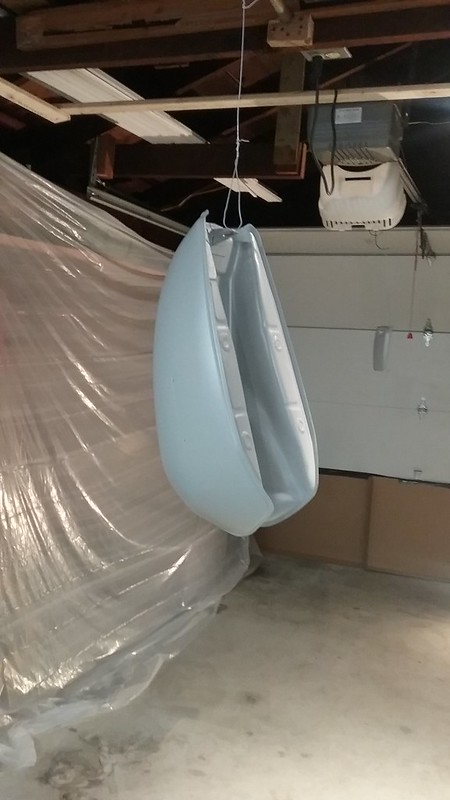
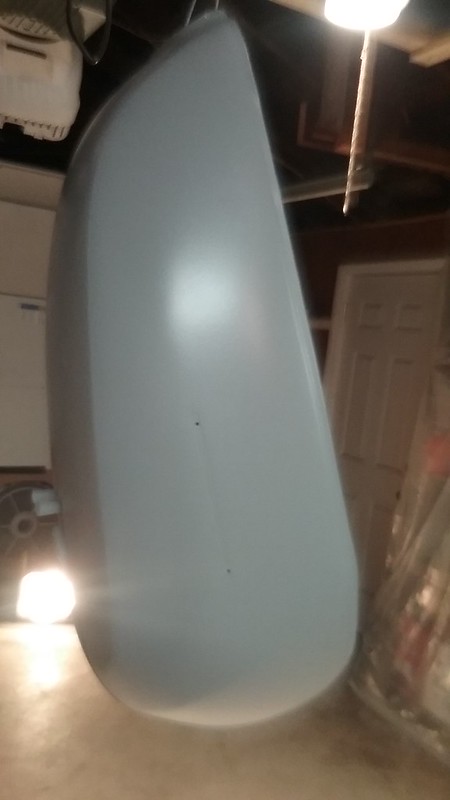
This is after block sanding the primer. The guy at the paint store put a blue tint in the etch primer. I wouldn't have thought to ask him to, but it was super helpful to see when I needed to stop sanding. When gray turned to bluish gray, I knew I was about to go too far. Larry, what you told Pete in his Kat thread about shoving primer in pinholes with your finger saved me at least one round of sanding.
 20180826_165314 by samL9, on Flickr
 20180826_165322 by samL9, on Flickr
Some of those "rings" Larry was talking about where I sanded a bit too much filler off. Even after going back over those spots, I guess I still sanded back too far.
 20180826_165247 by samL9, on Flickr
 20180826_165307 by samL9, on Flickr
I'm thinking 2 more rounds of block sanding should do it. I re-primed already. Not going to post pics, because they look the same as the ones I already posted. It's still a bit rough, so I'm thinking 180 grit again. After that another round of primer and then 400-600.
We'll see what it looks like after this round of block sanding with 180 and I'll take it from there...Leave a comment:
-
After that last bit of advice I decided against trying to skim coat the whole tank again to keep trying to "get it right". I just filled in the air holes and touched up some problem areas. I didn't get it perfect, but I got it the best I could with my current level of ability and experience.
To be honest, I probably could have done it five more times and I still would have made some of the same mistakes. I had to see it with primer over the filler to realize a couple of things I should have done differently when sanding the filler. When I was block sanding the primer, it was a bit of an "ah-hah" moment. The primer showed me what the filler should have looked like when I was done.
The filler "done". Before priming I didn't see some mistakes. Now after blocking the primer, I look at these pics and a couple of spots jump right out at me. Live and learn...
 20180825_171306 by samL9, on Flickr
 20180825_171330 by samL9, on Flickr
Etch primer on there.
 20180826_023232 by samL9, on Flickr
 20180826_023240 by samL9, on Flickr
 20180826_023249 by samL9, on Flickr
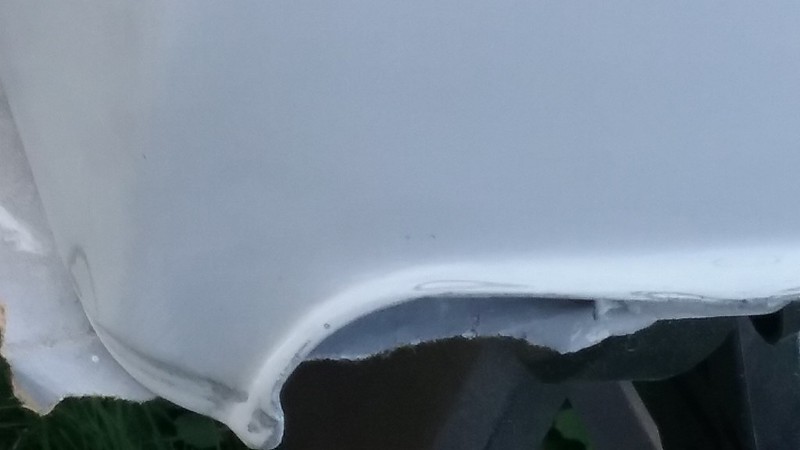
If you look at the line/contour where the side meets the top of the tank on the left side, near the bottom/front of the tank, you can see one of my bigger mistakes. Instead of one crisp line, there's a bit of a flat spot and two lines... Not sure how to fix that at this stage, or if I even can fix it.
 20180826_023258 by samL9, on Flickr
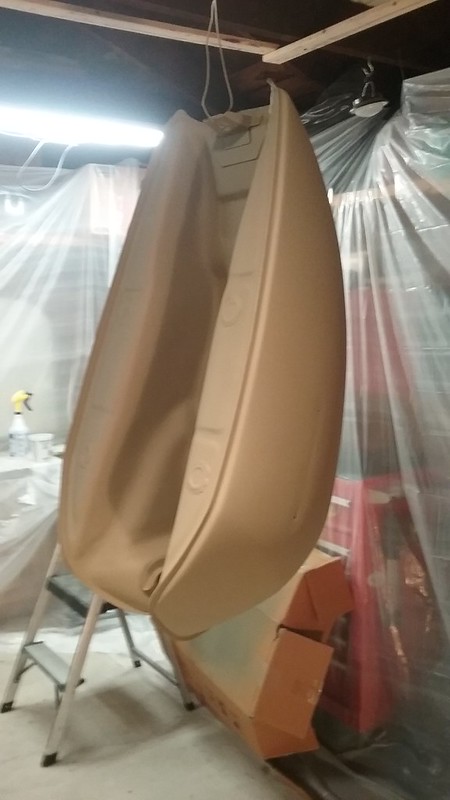
and the primer surfacer
 20180826_032129 by samL9, on Flickr
 20180826_032137 by samL9, on Flickr
Leave a comment:
-
There's a fine line between the right amount--not enough--too much hardener. Too much as you found, hardens way too fast, not enough, and it will never harden (which is way worse), and you'll have to literally scrape it off and start again. You can hand sand around the seams. Some areas just require that. In an earlier post you described a YouTube video where the person poured the filler into the middle of a door panel and then spread it out. Not really a good technique on a bike part. Just scoop what you need onto your spreader and squeegee it out over the area as tight as you can but with as much as necessary. That will help distribute the filler more evenly, and hopefully prevent the amount of buildup you experienced. Better to go with several thin coats rather then glomming a bunch on at one time. If you keep spreading it over areas that don't need it, you're just creating extra work, using up expensive materials unnecessarily, and with all the extra sanding, sanding away areas that are already filled correctly. From what I can see, you're 95% there, it doesn't require a "hard-shell coating" over the entire tank. High-build primer will also fill a LOT of shallow areas with a couple of applications and block sanding sessions.Leave a comment:
-
I'm starting to learn the language a bit. Not well enough to carry on a conversation with some locals about the dangers of inflation and the looming possibility of having to devalue the currency...but enough to order a beer, ask where the bathroom is, or get directions to the museum.")
I may do one more skim coat with a lot less hardener, or at least hit the spots where there's filler left after sanding (and go a little outside them to be able to feather the edges). Since I put it on so thick the last time, there are air holes everywhere. I also took too much off in spots where filler was needed trying to sand down the areas where it wasn't needed, but still on super thick. Since it was on so thick and uneven, I couldn't really do long broad strokes with the block. I had to focus on small areas.
How do you handle the seams and the sharp curve leading into them all around the edge of the tank? I tried to avoid it but I got filler in there. Sanding those areas with the block doesn't really work. I just took it down to metal there with bits of paper folded up. Is that what you do, or do you fill them and then just follow the contour of the tank down to the edge?Leave a comment:
Leave a comment: