• Required reading for all forum users!!!

    Welcome!
    Register to access the full functionality of the GSResources forum. Until you register and activate your account you will not have full forum access, nor will you be able to post or reply to messages.

    A note to new registrants...
    All new forum registrations must be activated via email before you have full access to the forum.

    A Special Note about Email accounts!
    DO NOT SIGN UP USING hotmail, outlook, gmx, sbcglobal, att, bellsouth or email.com. They delete our forum signup emails.

    A note to old forum members...
    I receive numerous requests from people who can no longer log in because their accounts were deleted. As mentioned in the forum FAQ, user accounts are deleted if you haven't logged in for the past 6 months. If you can't log in, then create a new forum account. If you don't get an error message, then check your email account for an activation message. If you get a message stating that the email address is already in use, then your account still exists so follow the instructions in the forum FAQ for resetting your password.

    Have you forgotten your password or have a new email address? Then read the forum FAQ for details on how to reset it.

    Any email requests for "can't log in anymore" problems or "lost my password" problems will be deleted. Read the forum FAQ and follow the instructions there - that's what we have one for...

  • Returning Visitors

    If you are a returning visitor who never received your confirmation email, then odds are your email provider is blockinig emails from our server. The only thing that can be done to get around this is you will have to try creating another forum account using an email address from another domain.

    If you are a returning visitor to the forum and can't log in using your old forum name and password but used to be able to then chances are your account is deleted. Purges of the databases are done regularly. You will have to create a new forum account and you should be all set.

Project Windjammer

  • Thread starter Thread starter Matchless
  • Start date Start date
M

Matchless

Guest
I have always had this dream to fit a Windjammer to my GS1000G, but have been unable to locate one here in South Africa.
Thanks to Chuck and Dale this is on its way in becoming a reality.
Unfortunately I was in for a shock when we found out that the shipping cost would be astronomical.
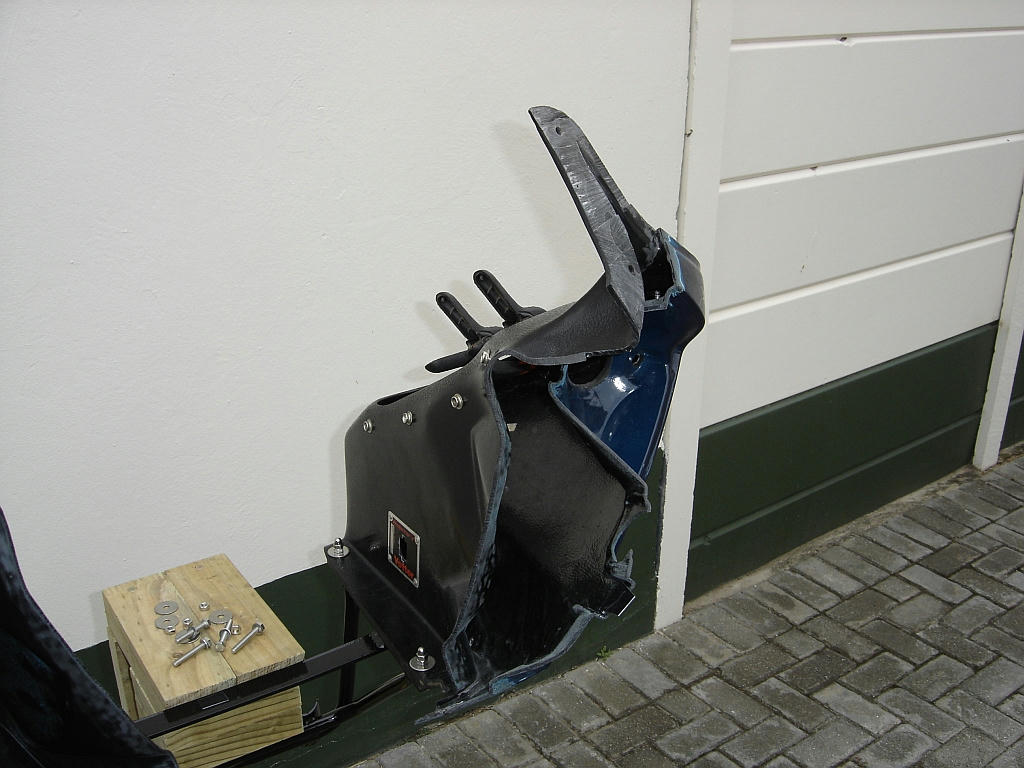
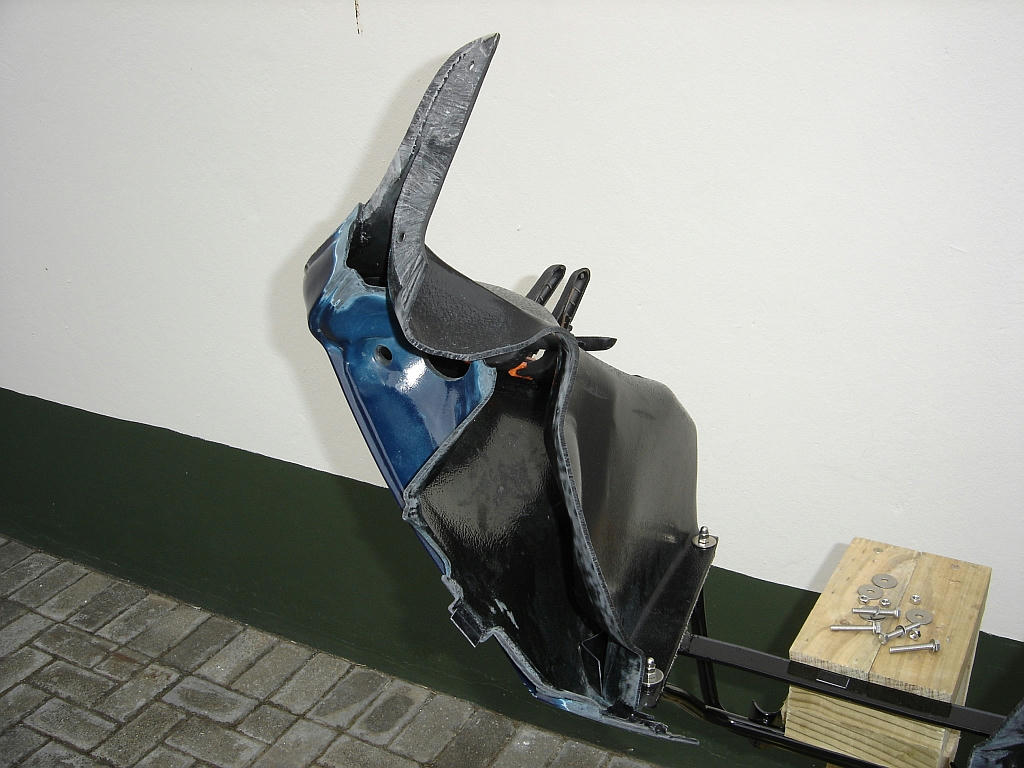
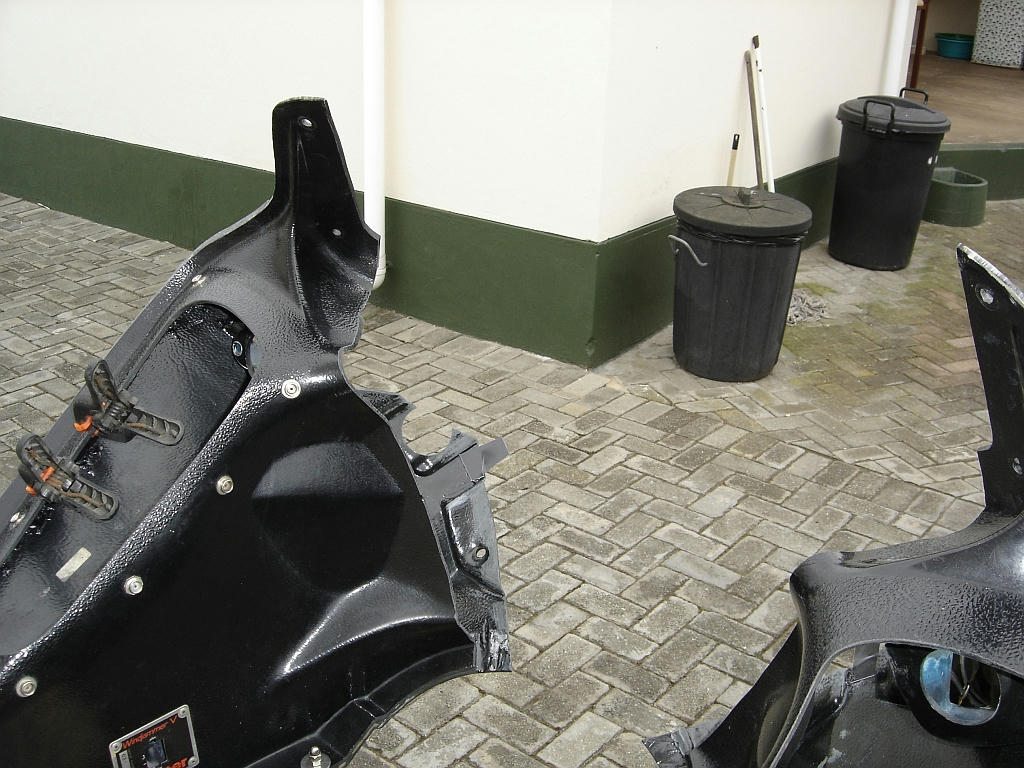
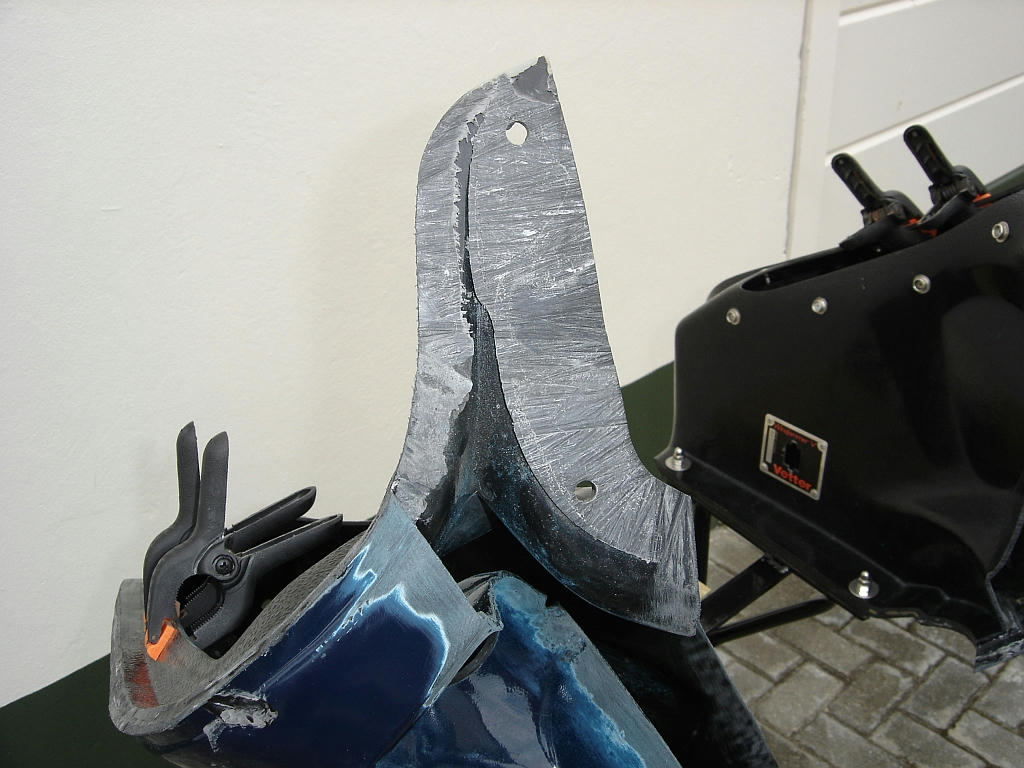
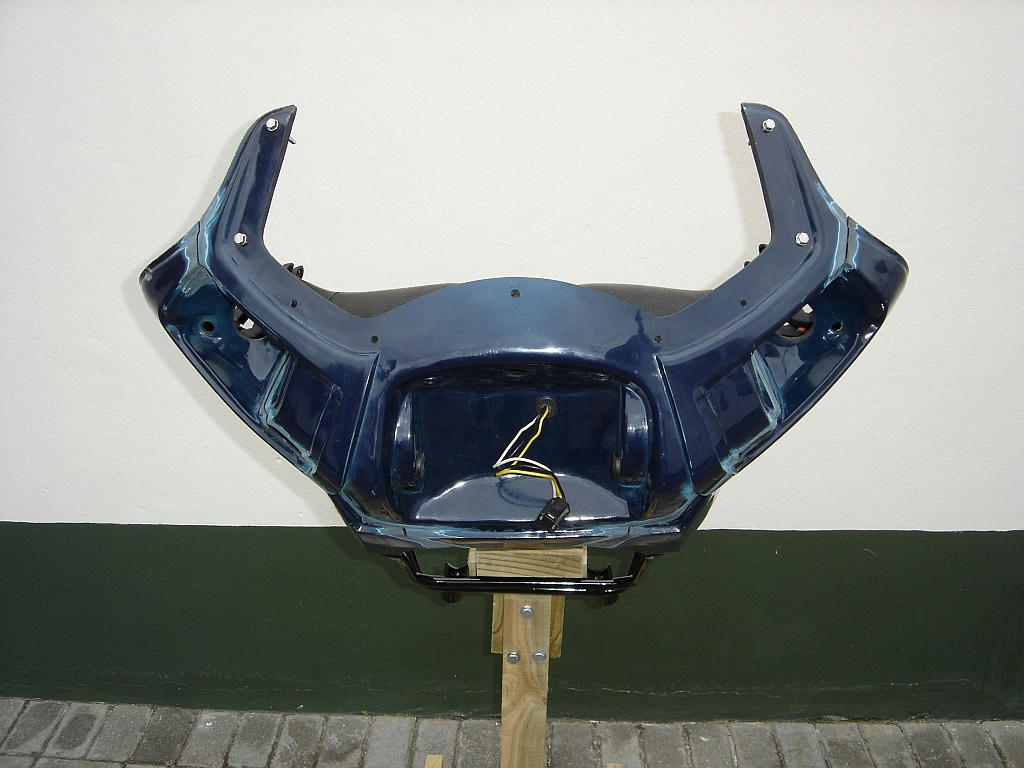
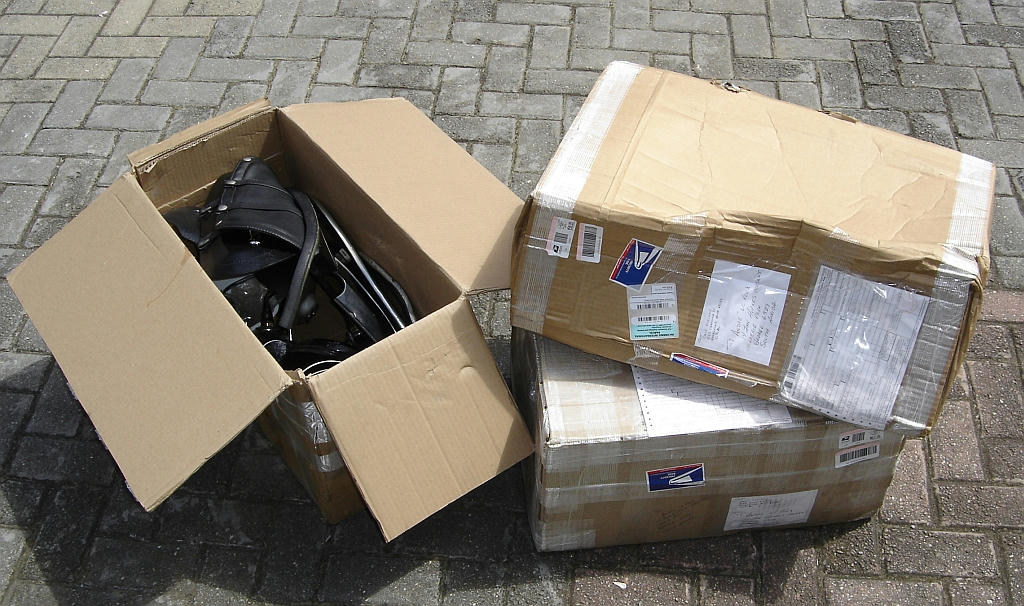
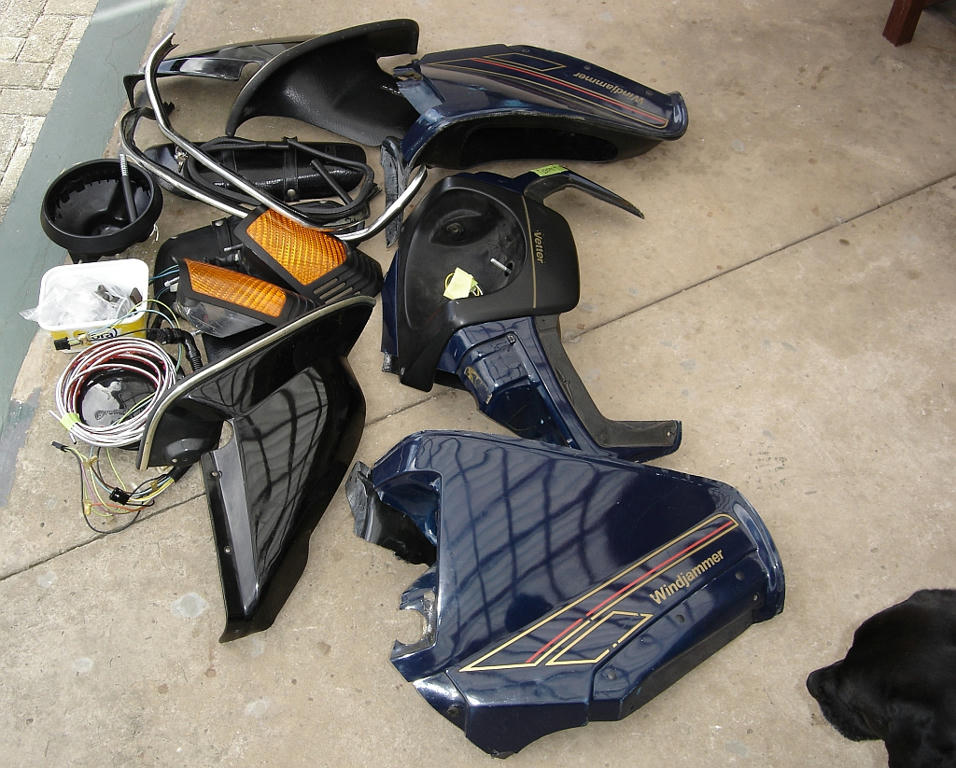
Plan B kicked in and Dale cut the WIndjammer into 3 parts which allowed it to be shipped in 3 smaller boxes at a significant saving.
Today the last of the 3 boxes arrived after being shipped for 13500 kilometers:
 
Last edited:
I love it when a plan comes together !!!!!

Can't wait to see the pics of it mounted up.:)
 
Spent time tidying my garage and stocking up on what is needed to get the Windjammer back in shape.
Here is a piece of 5mm 650mm x 650mm Naxel, a sheet of ABS with the outline of the Windshield on the paper. Heat forming the windshield will happen a bit later.

Georgie is not so sure!
 
At last some space in my garage! I managed to put together a stand for reassembling the Windjammer. It can rotate if required:

 
Simply amazing!

How did the cut edges align after you put the sections together?
what does your wife think of the project now?

it's sure looks like you'll be finished with it in short order. I guess it's time to 'pull finger' and package up the other bits... http://yfrog.com/b8pict2860jj
 
Before you package up the radio, make sure the frequencies are compatible. :oops:

.

Steve,
We are on the same fortunately. Hope the Afrikaans stations will work though!;)

I have to paint the bathroom, but felt a slight loss of motivation and decided to rather do the stand this morning, somehow enjoyed that more!
 
How did the cut edges align after you put the sections together?
what does your wife think of the project now?

The edges align very well, in actual fact your cutting lines could not be better and were well planned. I have been playing with small spacers and clamps and so far it looks better than I could hope for.:D

I have also fixed the sag on the one side.

My wife was quite impressed and thought it would do nicely as a podium!:rolleyes:

Sydney dropped in this afternoon and his comments were: Its very big!
That is without the windshield on it!

I will post pictures of the welding and repair tools and adhesives tomorrow.
 
G'day old mate . It's been a while .
If this all turns 1/10th as good as your bike build , it'll be spectacular .
Good bloke old mate Rustybronco he is .

You should try his BBQ pork or Nancy's desserts . They'd out a horn on a jellyfish .

Looking forward to seeing this all come together .

Cheers , Simon . :)
 
Simon,
I am still green with envy after following your trip on the other side of the world!
Dale even knows some of the the South African rituals around the braai! He is a great guy and exceptionally helpful.

This project is going to be a challenge and I am going to try and drag it out a bit. My wife will tell you that actually means I will be working on it as much as I can and neglect other more mundane jobs!

Keep well
 
As promised here are some of the things needed to get it together again:

Clamps, ABS cement, ABS slurry, S/S self tappers, Acetone, ABS strips and spacers and some stiff artists brushes.

Georgie still wants to see this happen!

 
Looking good so far! Watching anxiously for updates and picks as the project comes along...

Regards,
 
Just some info if anyone is contemplating fixing a damaged Windjammer, side cover or other ABS plastic part.
I am no expert and this is just some basic info if anyone is interested:

1) Windjammers are made from ABS plastic, varying in thickness.

2) ABS plastic can be joined and formed quite easily, by heat and solvents and thus the reason for its widespread use.

3) Commercially available ABS solvent adhesive can usually be found at hardware stores or plastic advertising board suppliers etc.

4) Acetone on its own can be used as a solvent for joining ABS and if done properly forms an exceptionally strong bond.

5) ABS slurry can be used to fill holes and cracks or even fabricate small bits, like a broken ear or mounting tab using a mold.

6) ABS slurry can be made at home by grinding up ABS plastic and mixing it with Acetone or MEK and leave to dissolve and form a paste.

7) Repairing a side cover tab or crack in ABS with Acetone, ABS slurry or ABS solvent is supposed to be longer lasting than using epoxy's or super glues. Apparently, I am told, anything that is used to join parts that is harder than the base ABS will cause a crack over time and this is why joining ABS with ABS is the better way to go.

8) ABS can be heat formed by using a hot air heat gun carefully or any other controlled heating method.


If ABS slurry is used to repair or rebuild a part, the outer layer dries as the acetone evaporates and this slows down as the outer shell dries. Quite a lot of the acetone then is leeched into the hard dry part and softens that as well, depending on the amount. The drying process then slows down more as the acetone evaporation slows down and sort of traps the rest inside a hard shell, keeping the inner soft. It may take many days for a thick bit of slurry to dry out properly and tests have shown that it would be at its strongest after 60 days! So rather apply it in thin layers with sufficient drying time in between each application, than applying thick and heavy beads of slurry to do it at once!

Warning:
Acetone is an ABS solvent and will damage the ABS, as well as the paintwork if not careful. Work in a well ventilated area and do not breath the fumes or ignite them!
The above is just for more insight on how I intend going about joining the pieces and no-one should use this as a guide if they value their health and sanity!
 
Here you can see how the left side was cut;


Here is the right side:

 
Here you can see the cut from the inside:


Here is the bottom part of the cut:

 
You sir are another font of knowledge and I thank you for sharing. I was not aware of acetone as a product for working with ABS and this opens up a whole slew of possibilities for repairing and fabricating.

I have done a fair bit of "fiddling" with ABS sheet and have "drape" formed a few pieces, I always had trouble gluing the stuff, especially when attaching mounting tabs and the like. I had found that ABS pipe cement worked somewhat but often let go over time.

The idea of making a paste is a great idea for plugging some holes and cracks. I like the idea that it will bond structurally with the piece being repaired. Again, other products like epoxy or bondo tend to come free after time and or if the part flexes.

Good luck with the "rebuild" I'm following with eager anticipation.

Cheers,
Spyug.
 
Here you can see the cuts from the inside again:


Here the parts are together and show the edges sanded and prepared for joining:

 
Back
Top