Announcement

Collapse
No announcement yet.

82 850GL Resto...here we go

Collapse
X
 
  • Filter
  • Time
  • Show
Clear All
new posts

  • Good Times
    Guest replied
    Biike report for the day.

    Road her to work today after lunch. The garage repairmen showed up and fixed the door. Freedom!

    She ran well the entire trip. With the clean pods and carbs I can feel the bike running different when a crosswind hits. That's the nature of pods though from what I've see on the forum. At least I know they are flowing well!

    Lost my running lights on the return trip. The fuses are good so my next guess is the connector came undone. I'll take the tank off and check. I also need to loosen the strap around the throttle cable. The rpms run up slightly when I turn the bars all the way right. I can't wait to get a windshield. It's funny. I feel like I'm at light speed and am doing 40.

    Also noticed the front tire felt a little soft. I'll get the pressure right. Shoud have done that to start! Oldie complex.

    Picked up the last ss allen bolts and will install them.

    Worked on the cover for a few minutes as well. Waiting for the filler to dry and I'll post some pics later on my progress there.

    Also got my first random compliment on the bike. That was cool.

    Working out the bugs.
    Last edited by Guest; 09-05-2012, 11:42 PM.

    Leave a comment:


  • Good Times
    Guest replied
    Sticking it to a broken gauge cover.

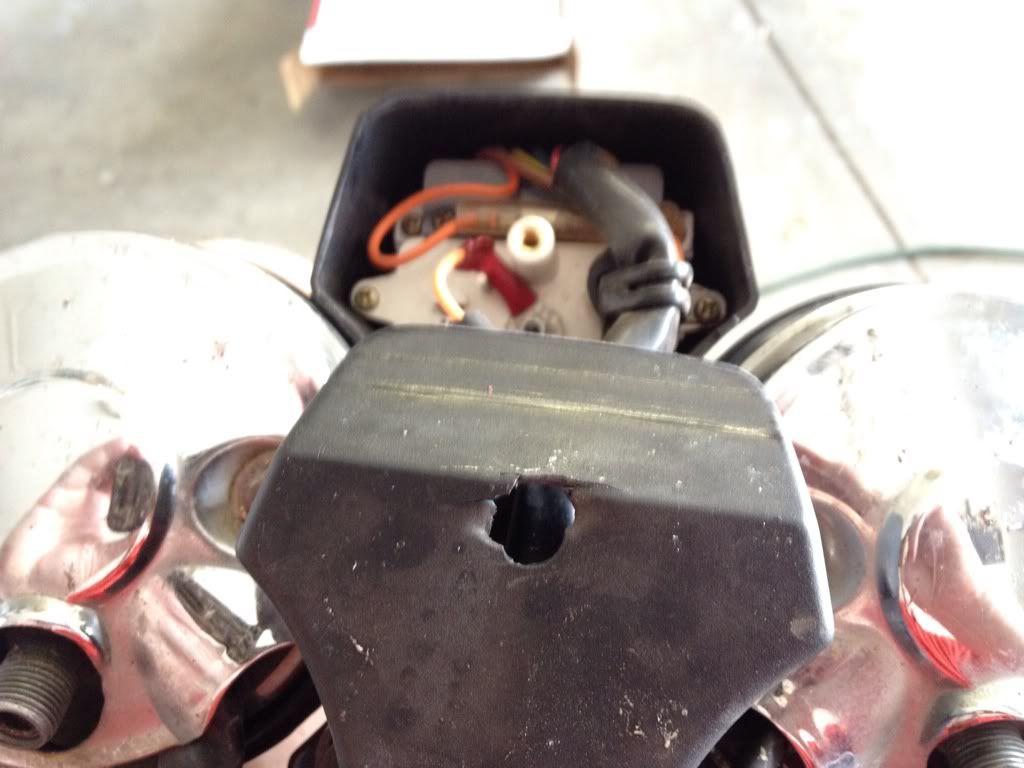
    Ok so I THOUGHT I could just order up a new cover for my broken "Pilot Box" back cover. In layman's terms -- the plastic cover on the back of the center gauge. Not so. Discontinued.

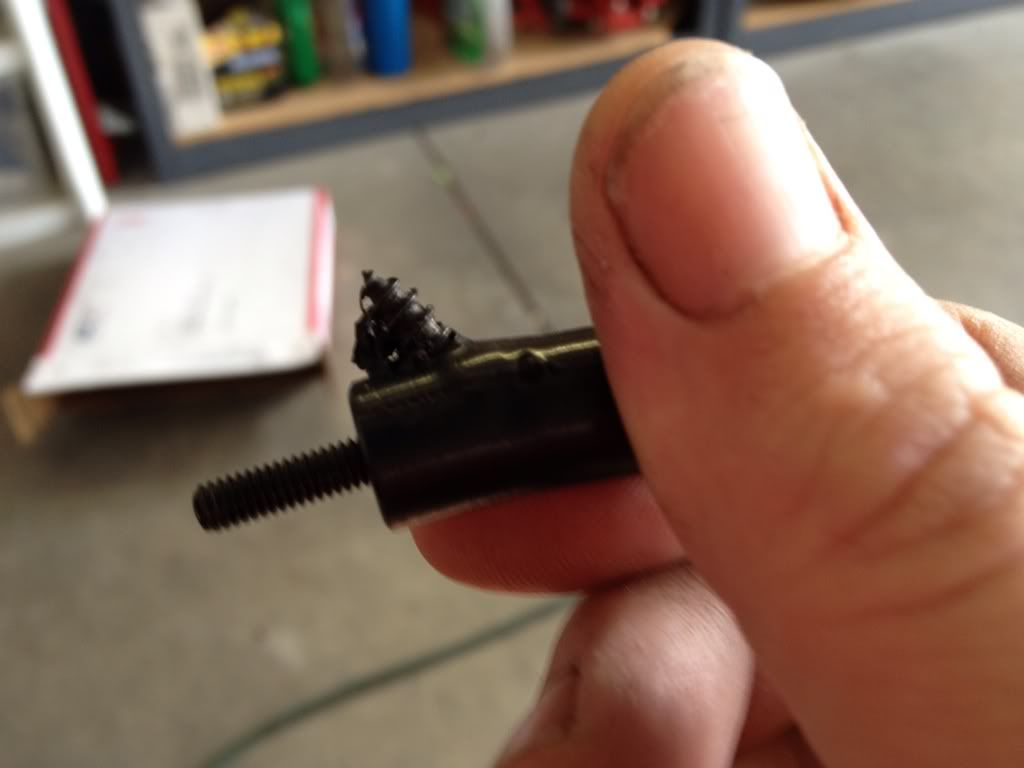
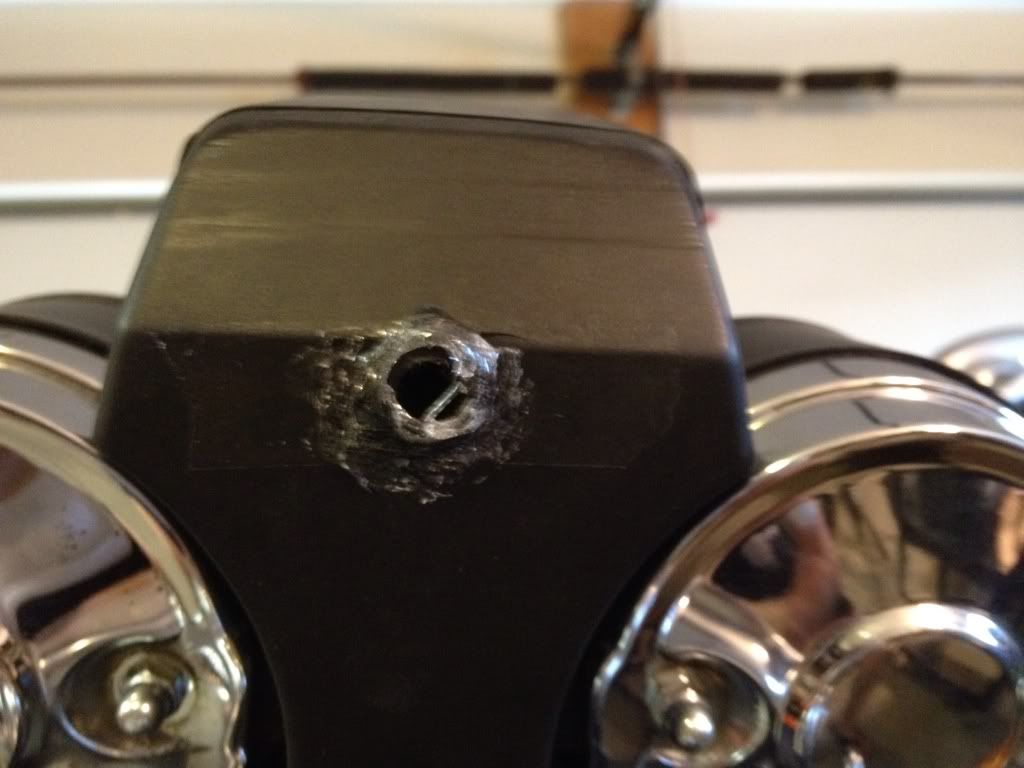
    If you remember I started with this because a PO, at least three back, put a second screw in the hole on top of the stock screw that was already screwed in, screwing up the box/cover and leaving me.....well you get it.

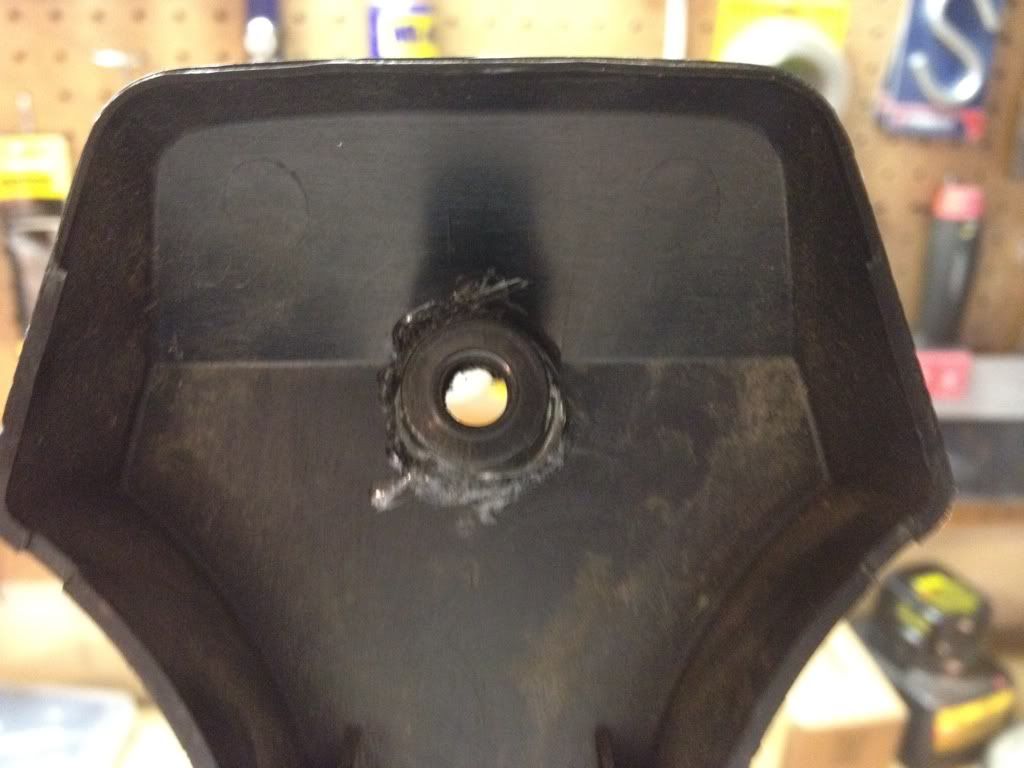
    Had to break it off:


    Then I found the culprit:


    So I've been putting my brain waves to good use and came up with a solution.

    I'm always keeping little parts from various things. Usually the parts that are let over after putting something together. It's amazing how many "extra" parts you get sometimes.

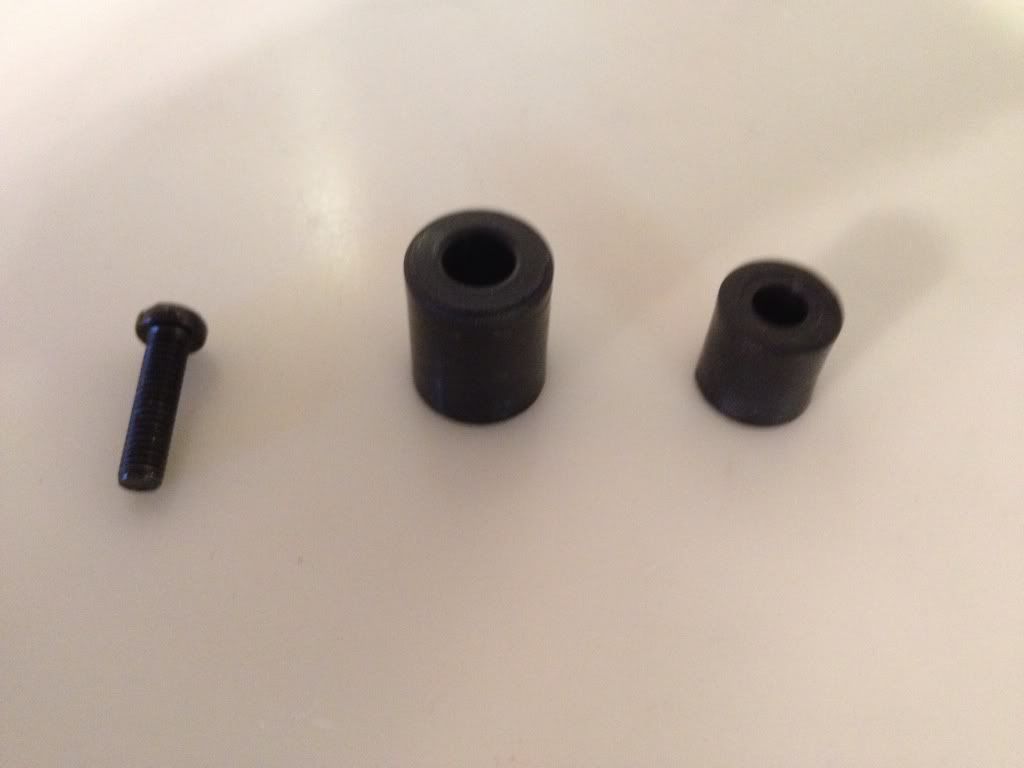
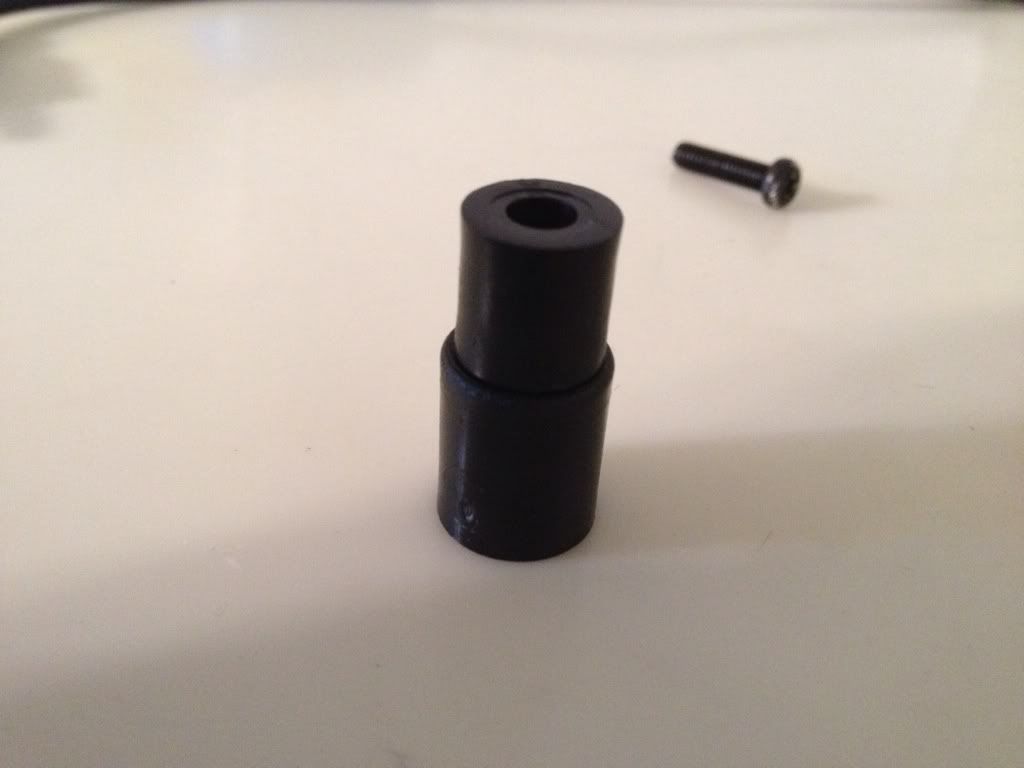
    So I found these in my parts drawer. Small black plastic spacers.


    The head of the screw didn't fit so I counter sunk the screw leaving just enough for the screw head to tighten down on once it reached the bottom.


    I drilled the smaller spacer all the way through and stacked it on the other spacer. This will make up my replacement "column."


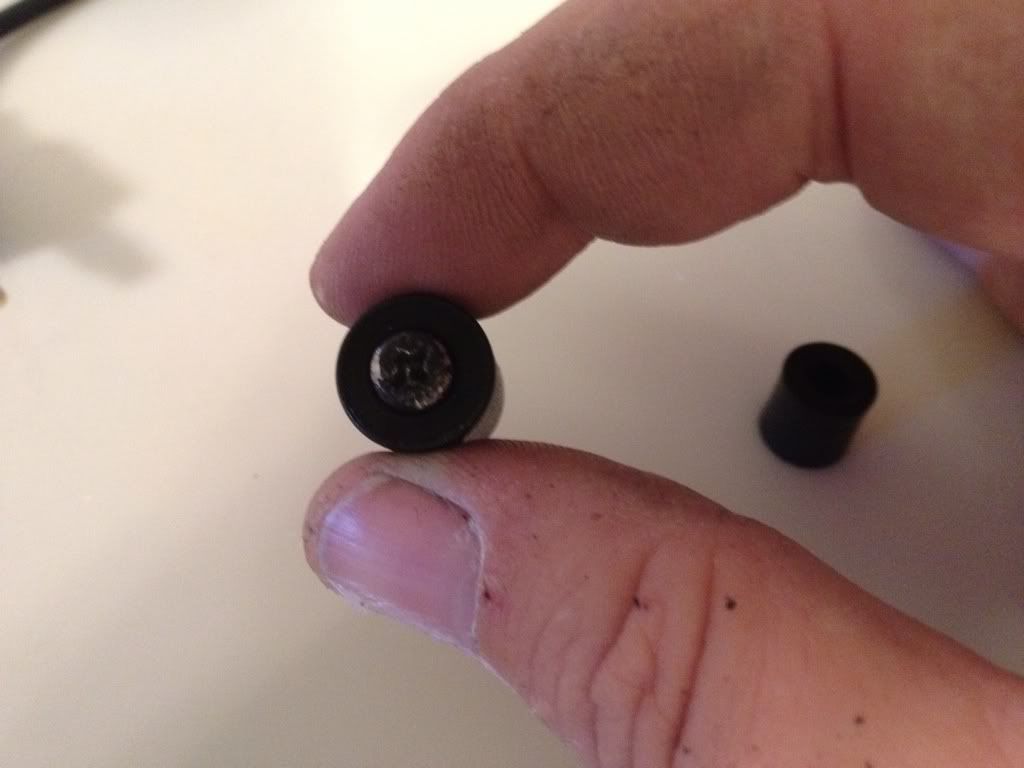
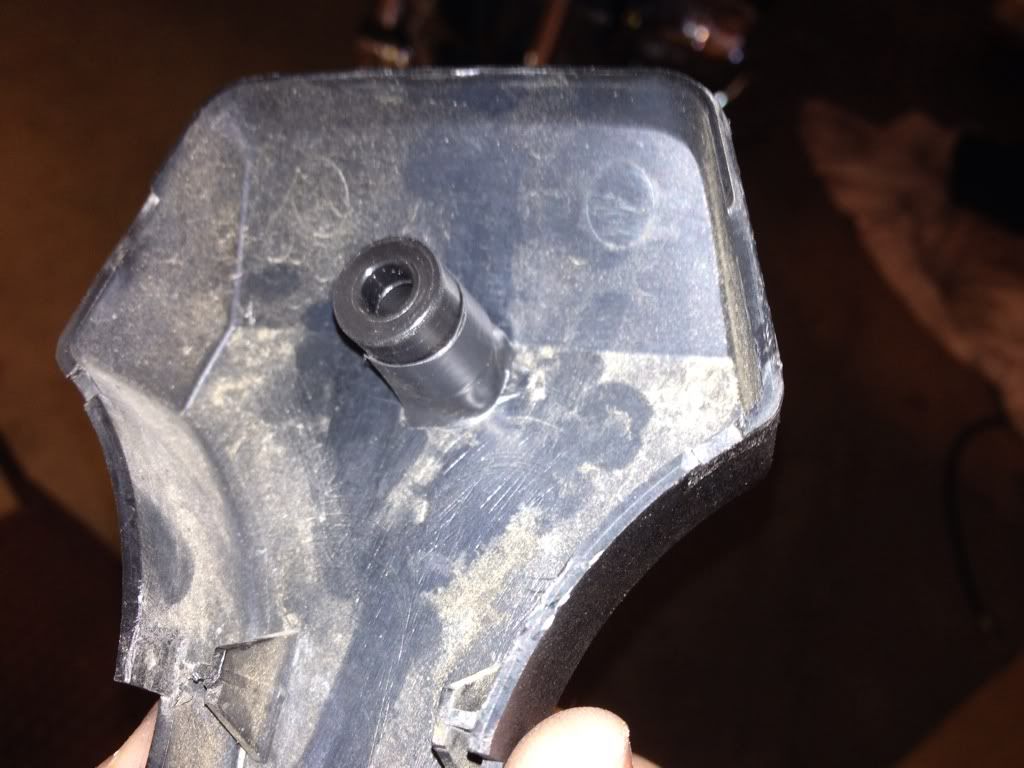
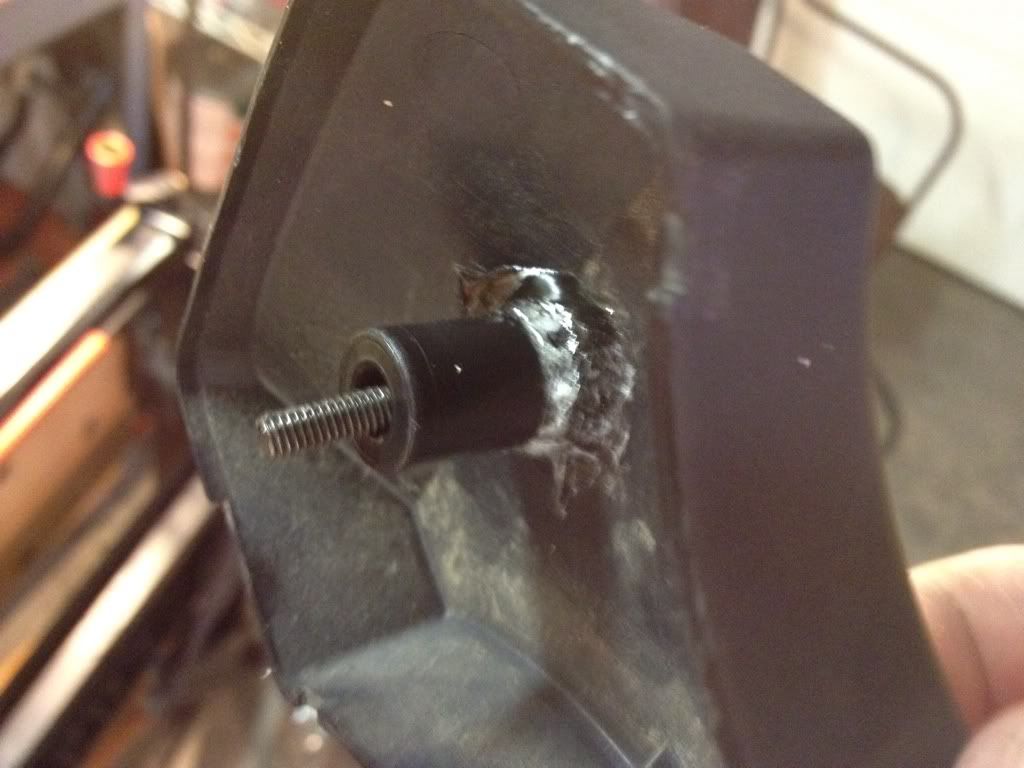
    I then glued the spacers into the hole I created earlier. I had to clean it up just a little with a rat tail file.


    I used tape at first so I would be able to trim them a little to fit the space between the cover and the gauge. There needs to be some space between the two so it will tighten up correctly.

    I checked the space, trimmed up the spacer and glued them together.


    Everything seems lined up well:


    I'll let it set overnight and trim the outside up later. Some sanding, filler and bumper paint and it should look like new.
    Last edited by Guest; 09-04-2012, 06:43 PM.

    Leave a comment:


  • Good Times
    Guest replied
    Originally posted by GateKeeper View Post
    Dynamite.....?

    If I were single. HA!

    Leave a comment:


  • GateKeeper
    Guest replied
    Dynamite.....?

    Leave a comment:


  • Good Times
    Guest replied
    Trapped!!!!

    Got my registration updated today, headed back home to ride the bike to work.

    Garage door won't open. ......

    Walked inside.

    Both springs on the door broke! My bike is trapped.

    Thought about getting the chainsaw out. Thought about riding the bike through the house. Better sense prevailed.

    Now, for those of you thinking, "Just pull it open." My door is too heavy to lift and if dropped would be very dangerous. Who would have thought I'd have to wait on the Garage Door repairman to ride?

    I also got word from my parts manager today that the pilot box cover I ordered that they had on their site is no longer available. Looks like I'll be looking for another one or figuring out a way to fix this one.
    Last edited by Guest; 09-04-2012, 03:42 PM.

    Leave a comment:


  • Good Times
    Guest replied
    Thanks Steve and GK.

    Here the report for the day:

    After I synced the carbs again I decided to take my old bootleg license plate holder and put it to good use.

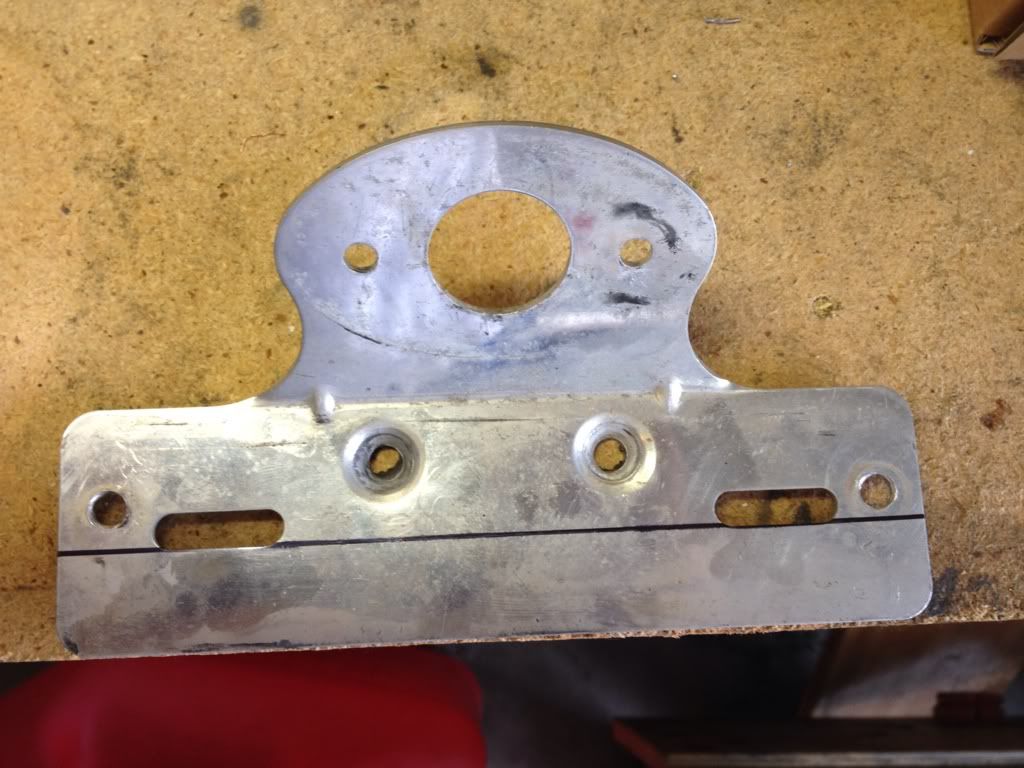
    Started with this:


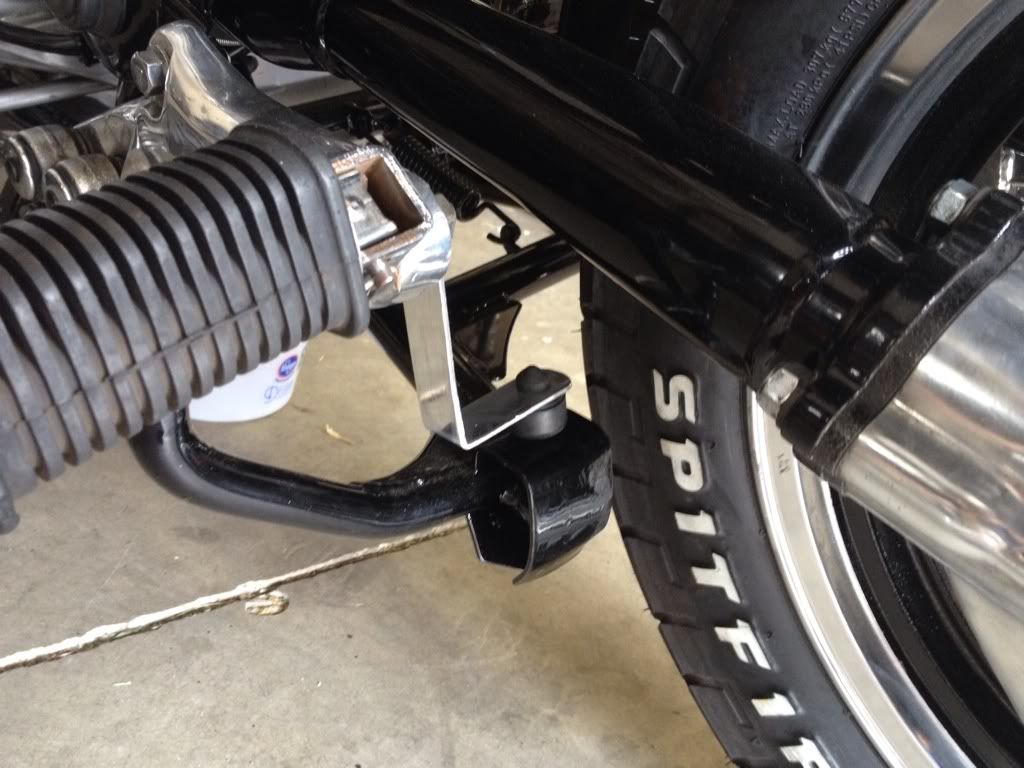
    And with a little cutting, grinding and polishing came up with this:


    I ordered the rubber bumper not knowing that it attached to the stock exhaust, so I wanted to still use it.

    After this I went ahead and put the tank on with a little fresh gas. Seat on. Helmet on. Jacket. Gloves. and yes pants.....

    I took her on a quick loop around the neighborhood after waiting to see if the petcock would leak. It didn't. She started up great. A little popping here and there in the carbs between 3 and 4 grand while running in second gear. Brakes are solid.

    All seemed well. I drove out of the sub-div and down the road about a 1/2 mile.

    Wheww.... The bike ran great. I just briefly ran her up to see if there were any flat spots. No hesitation. Smooth all the way up the power band. Ran through the gears smoothly. (Dad, don't read this part to Mom ) She is an entirely new animal after 5 grand. Let the big dog eat! (I know that sounds funny to you guys with 1100's)

    Again, when I'm riding with the RPM's around 4000 there's a little popping in the carbs every once in a while. Not constant, not major, but not perfect.

    Any ideas on that? Do I need to go down a 1/2 or full turn on the needles?

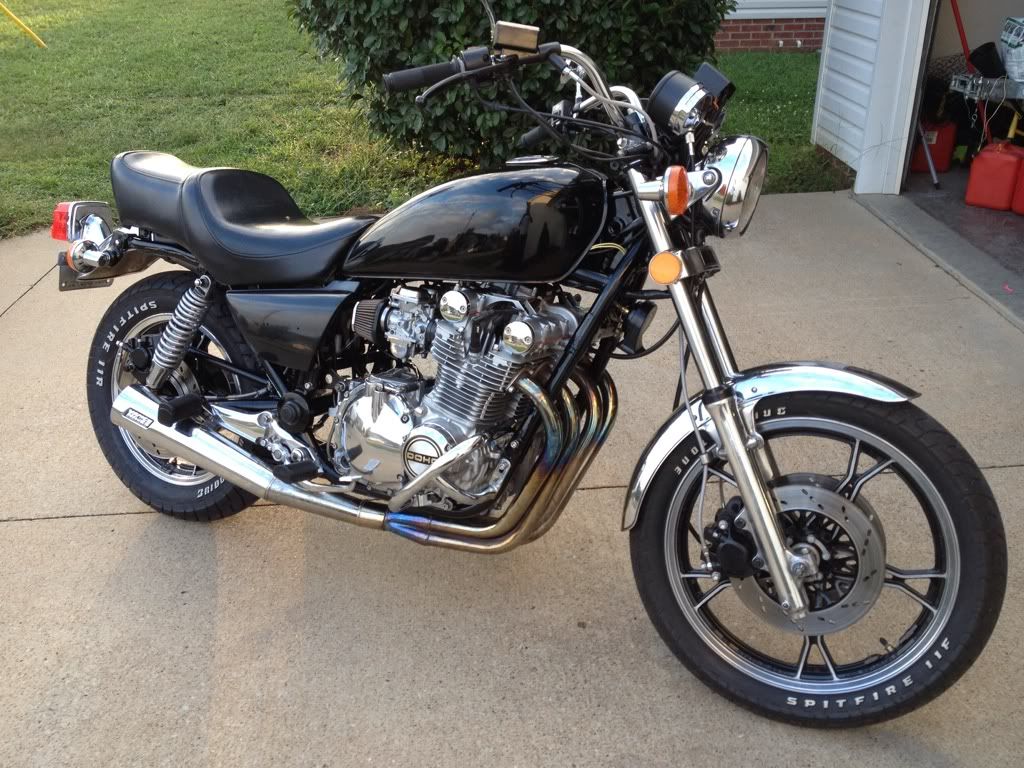
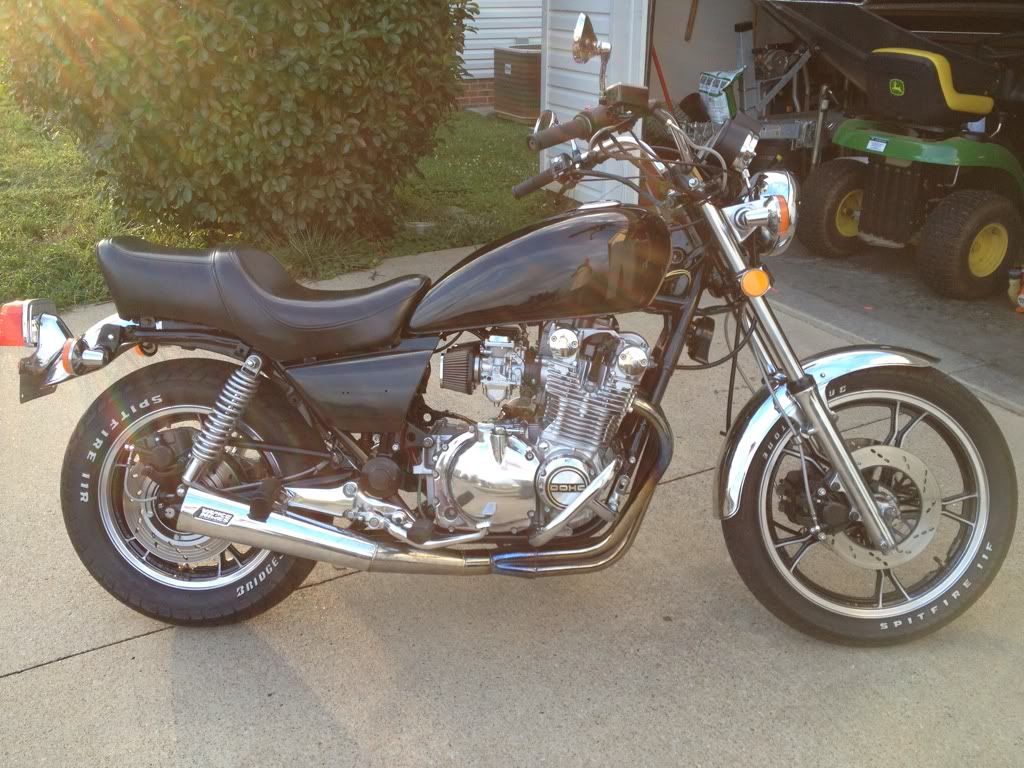
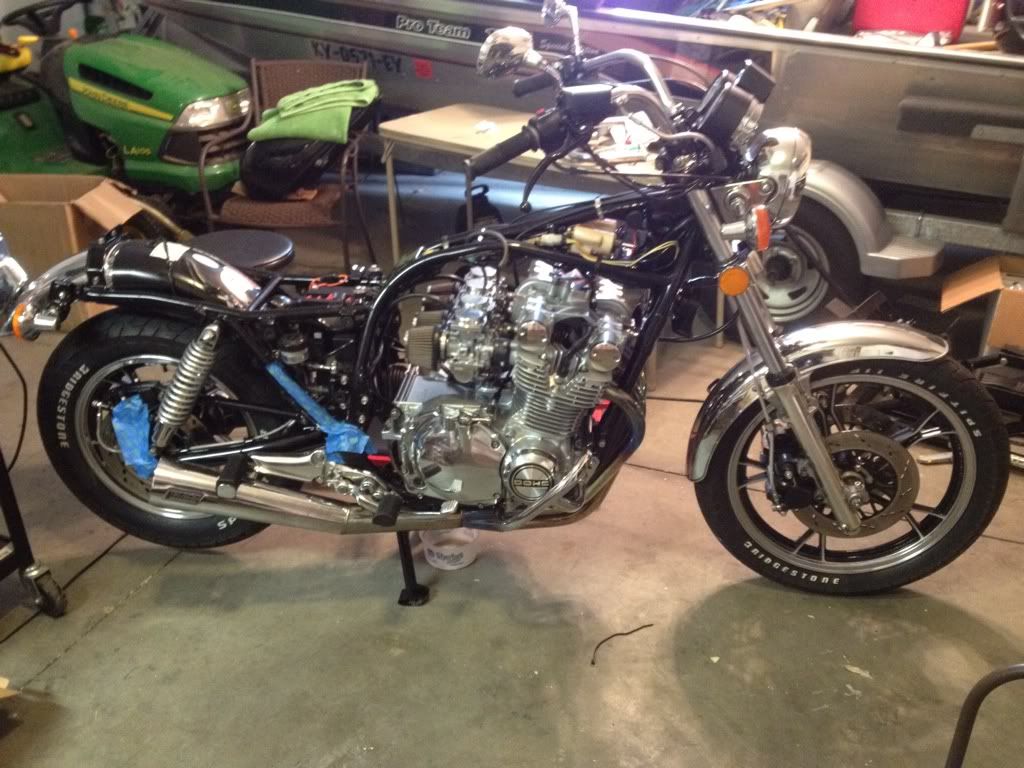
    So this is where she sits right now. I call this rough draft mode. Still need to put on the grab bar, pilot box back cover, frame cable covers, etc.


    The pipes will be ceramic coated "chrome".

    Now I'll start thinking about paint. I originally thought a metallic black, but now am thinking about some insets. Not settled on anything yet.

    Thoughts?

    I have the stock tank and frame cover emblems on the way now.

    I'll also add a windshield. Had an old scratched up slipstream on before. Great for cover, but I'd like one that's a little more svelte while still keeping some wind off.

    There ya have it fellas. It was a great day.

    Leave a comment:


  • GateKeeper
    Guest replied
    That's much better GT,,,,,it now looks like mine did when me and Spyug did the sync on mine.....

    I just hope you don't have the issues I am having......but hopefully I will get it sorted out...eventually...

    your bike is getting better and better every day.....

    .

    Leave a comment:


  • Steve
    replied
    Originally posted by Good Times View Post
    I have a Dyno Jet Stage 3 installed per the DJ directions. I've seen where some people have re-set the needles on the second notch from the top rather than the third. I'll see after I get it on the road for a test.
    You sure they said "second from the top"? Usually the third or fourth one, but each bike is different, so do some plug chops to be sure.


    Originally posted by Good Times View Post
    Is this better Steve? Amazing how little time and effort it takes to do something the second time around. Just took about two minutes to get them synced this time. I also flowed suggested order of 2, 1, then 4. It felt a little like whack-a-mole the first time.

    Can you bring #2 up just a little bit?

    Those look great.

    Have you had a chance to ride it yet?

    Was it any better?

    .

    Leave a comment:


  • Good Times
    Guest replied
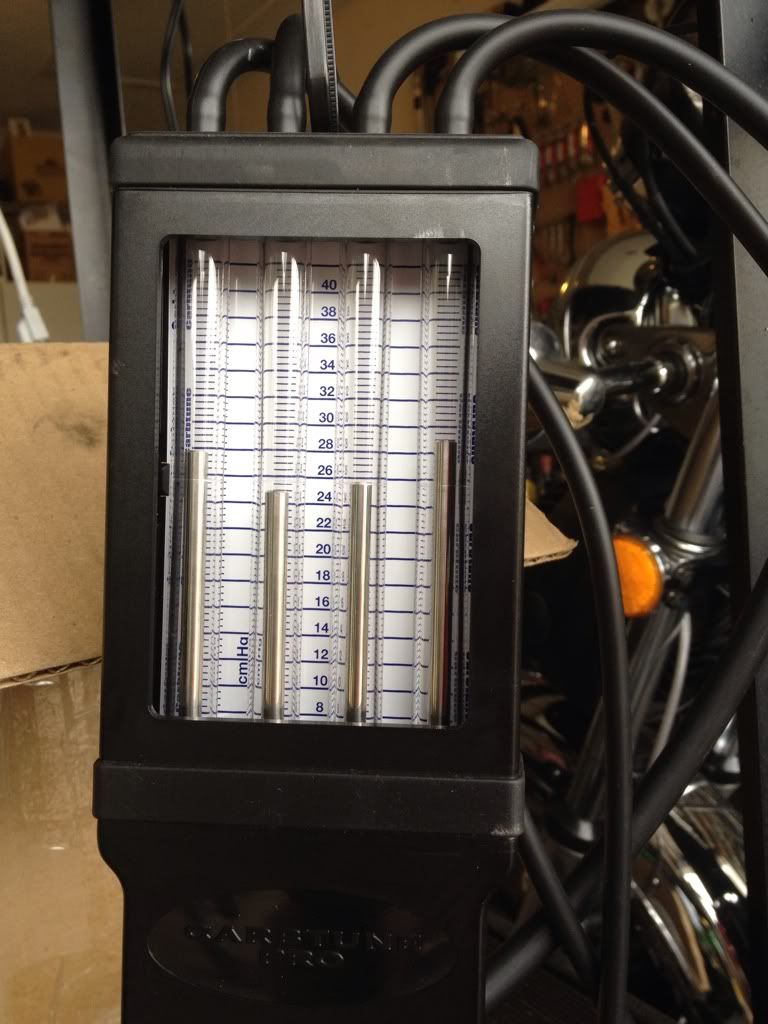
    Is this better Steve? Amazing how little time and effort it takes to do something the second time around. Just took about two minutes to get them synced this time. I also followed Nessim's suggested order of 2, 1, then 4. It felt a little like whack-a-mole the first time.

    Last edited by Guest; 09-04-2012, 10:30 PM.

    Leave a comment:


  • Good Times
    Guest replied
    Yes, it can be a bit difficult, even if you have the correct tool. Especially trying to get the adjuster in the middle.

    What I do for that one is to use my 8mm nutdriver with a LONG extension, turn the right grip to give it about half-throttle (with the engine OFF), then reach down at an angle from over the airbox to loosen that locknut. Once the locknut is loose, it's easy enough to make adjustments with the bike running at idle. To tighten the locknut, turn the bike off, give it half-throttle again, reach in from behind and tighten the locknut. Start the bike again to verify that you did not change the adjustment any.

    Good idea.


    You might want to go back and do them again.

    Yeah, I know.....


    The book shows a slight "smiley-face" like you have there, but it is done with their "special" tool that uses steel balls and NO MARKINGS. Nobody knows for sure how much the actual difference is in the "half a ball difference", but we are assuming it is only about 1 cm. You are showing a 4 cm difference between #2 and #4.

    Also, that "smiley-face" is only for the bikes with a crossover in the exhaust (nobody really knows why). With your header, you should line them up as close to even as you can.

    Well, I will do just that then.


    Exactly what I found, on both accounts. Did you see the flame go a bit erratic, then go out? That's what I saw.

    Yep.

    Sounds Great.

    Will sound just a little better when you get it synched a bit closer, like I mentioned above.

    Might also sound a bit better if you set the idle closer to factory setting. I haven't looked recently, but I seem to remember 1050 +/-50 RPM.


    I have not bothered to go back through 10 pages (yeah, my pages are longer than yours ) to see if you have jetted your carbs for your pods and pipes. What jets are you running?

    I have a Dyno Jet Stage 3 installed per the DJ directions. I've seen where some people have re-set the needles on the second notch from the top rather than the third. I'll see after I get it on the road for a test.

    Leave a comment:


  • Steve
    replied
    Originally posted by Good Times View Post
    Well I got the carbs synced today. That is not as easy as one might think. First, my motion pro carb adjustment tool was too small for the lock nuts. That made it VERY sporty to fine tune the screws. I had no idea that it would be so sensitive.
    Yes, it can be a bit difficult, even if you have the correct tool. Especially trying to get the adjuster in the middle.

    What I do for that one is to use my 8mm nutdriver with a LONG extension, turn the right grip to give it about half-throttle (with the engine OFF), then reach down at an angle from over the airbox to loosen that locknut. Once the locknut is loose, it's easy enough to make adjustments with the bike running at idle. To tighten the locknut, turn the bike off, give it half-throttle again, reach in from behind and tighten the locknut. Start the bike again to verify that you did not change the adjustment any.


    Originally posted by Good Times View Post
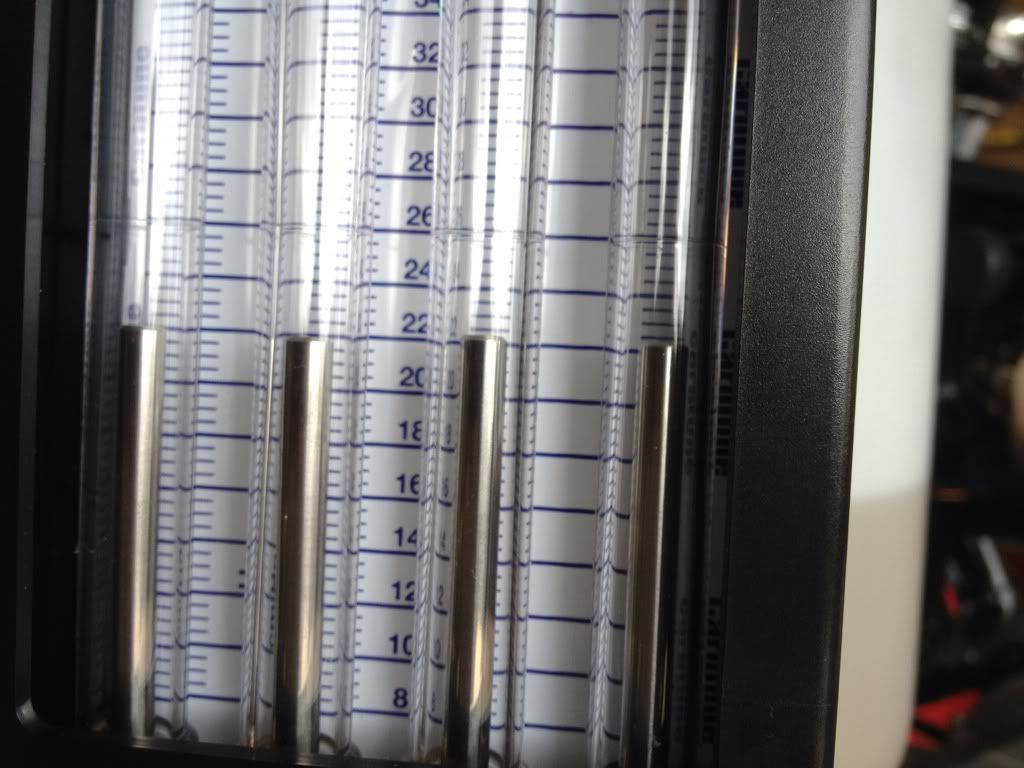
    After working at it a while I finally got it here:

    You might want to go back and do them again.

    The book shows a slight "smiley-face" like you have there, but it is done with their "special" tool that uses steel balls and NO MARKINGS. Nobody knows for sure how much the actual difference is in the "half a ball difference", but we are assuming it is only about 1 cm. You are showing a 4 cm difference between #2 and #4.

    Also, that "smiley-face" is only for the bikes with a crossover in the exhaust (nobody really knows why). With your header, you should line them up as close to even as you can.


    Originally posted by Good Times View Post
    I used the colortune on one cylinder, but I couldn't get the flame to change color by adjusting the mixture screw. And it kept backfiring and blowing the cap off the sync adapter.
    Exactly what I found, on both accounts. Did you see the flame go a bit erratic, then go out? That's what I saw.


    Originally posted by Good Times View Post
    Here's what it sounds like now:


    Sounds Great.

    Will sound just a little better when you get it synched a bit closer, like I mentioned above.

    Might also sound a bit better if you set the idle closer to factory setting. I haven't looked recently, but I seem to remember 1050 +/-50 RPM.


    I have not bothered to go back through 10 pages (yeah, my pages are longer than yours ) to see if you have jetted your carbs for your pods and pipes. What jets are you running?

    .

    Leave a comment:


  • Good Times
    Guest replied
    Today's report

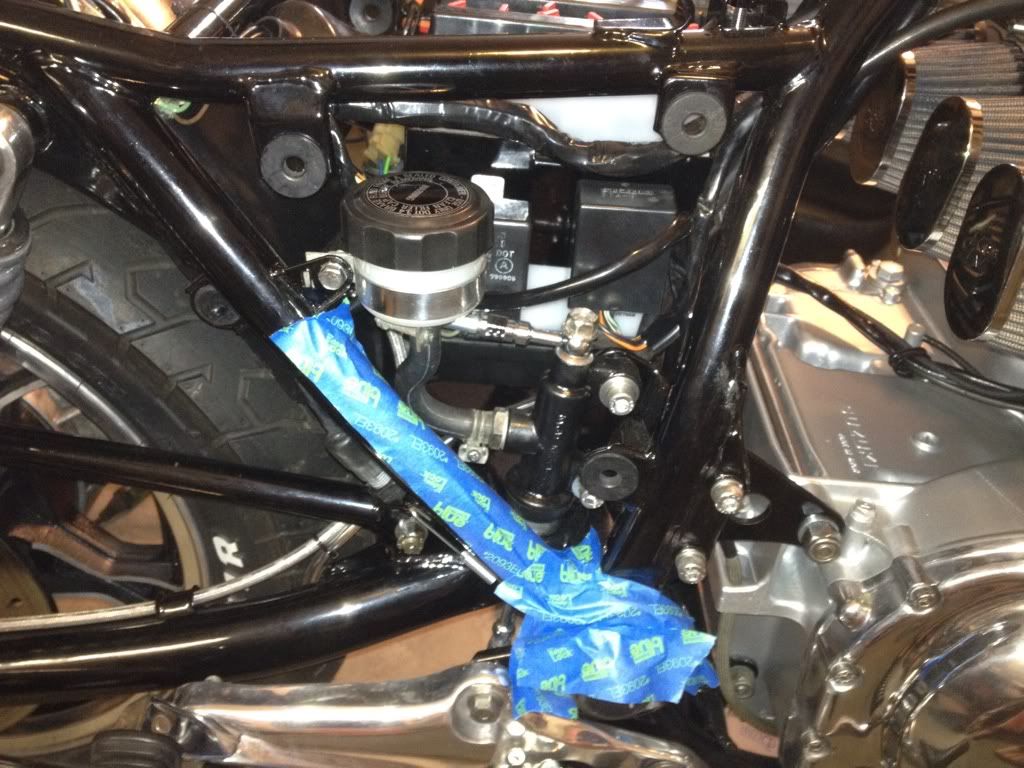
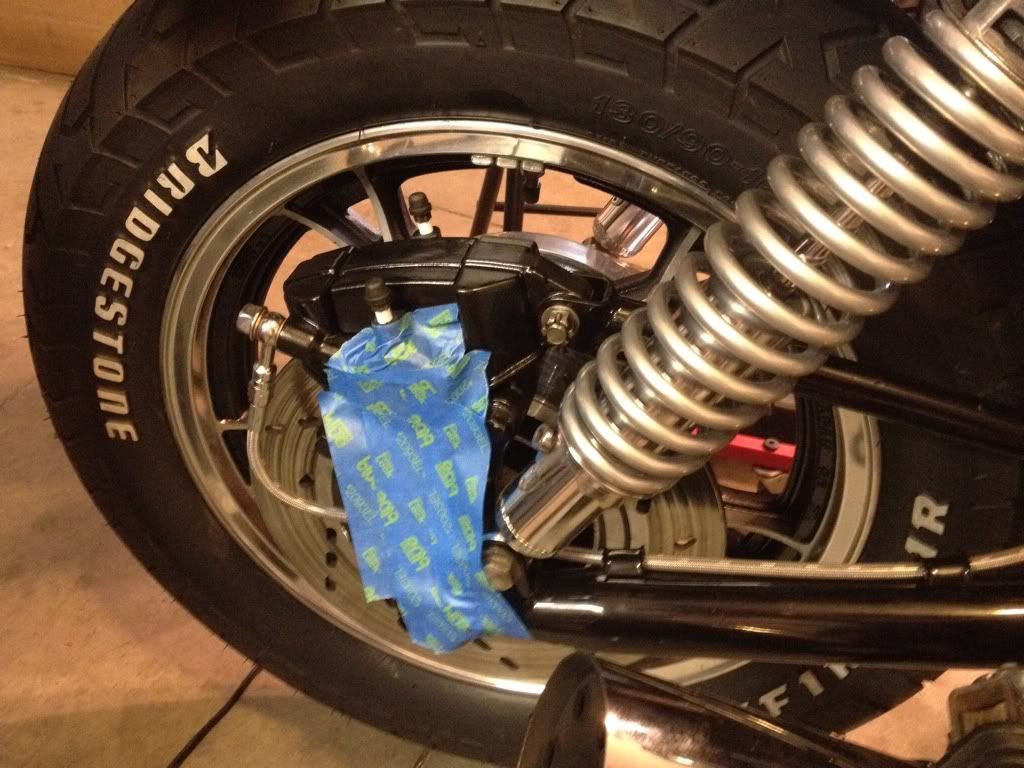
    It's fun to be buttoning things up rather than wondering what I'm going to do. Got the brakes bled today. Used the mighty Mity Vac.

    Laughed at myself a lot today. First time bleeding brakes so this was a learning experience. The process is pretty straight forward, but there are some things like being sure that you've tightened all the brake lines, put teflon tape on the bleeders BEFORE you put fluid in the master cylinder, know that brake fluid takes the shine off the pretty black paint, stuff like that. Luckily I discovered that last point before it got anywhere that mattered.


    Got the grips on last night. Also got the motor and lower triple emblems. They look good. The crash bars went on.


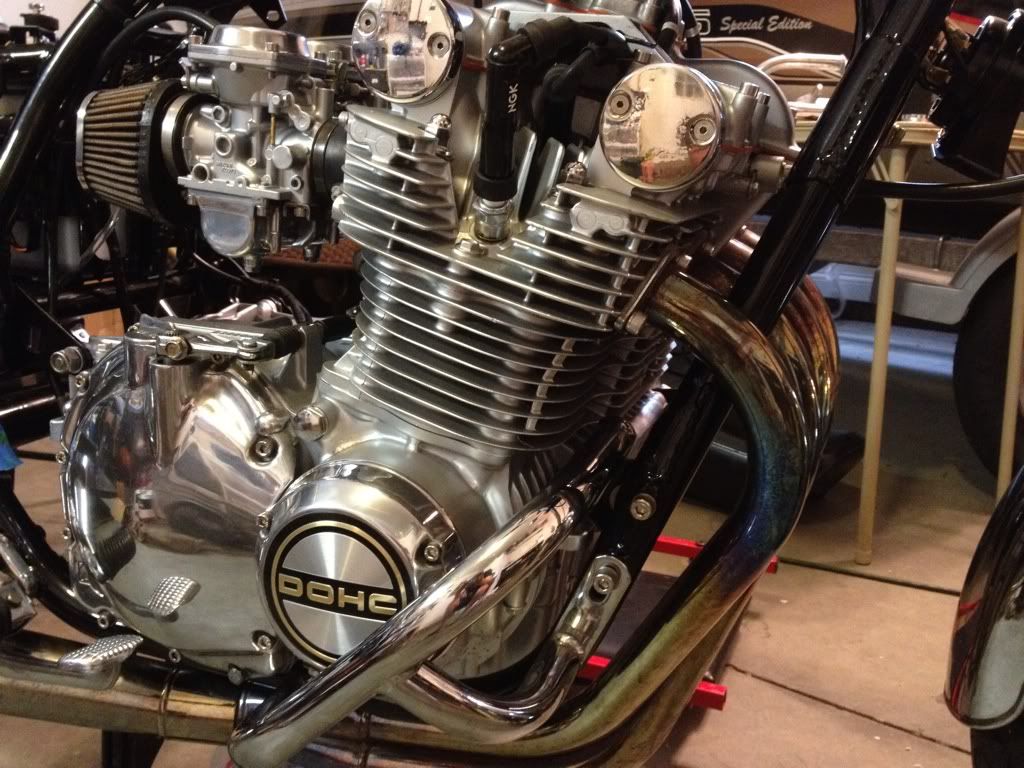
    I've never adjusted a clutch cable before, so that took a little time, but I got it right and it's smooth. How do I know? I hooked the Aux tank to the handle bars, put the seat on and slowly rode it around the block.

    It runs as smooth as silk! Loving it. Can't wait to get the last little things on. Made an order yesterday.

    Last edited by Guest; 09-01-2012, 10:14 PM.

    Leave a comment:


  • Good Times
    Guest replied
    You know what SV. I was tempted to actually do that.

    But then I remembered, this may not be the last bike I ever restore.

    A buddy of mine has a little Honda CB550 that is barn fresh. Hmmmmm....

    You never know. It may have SV carbs.

    Leave a comment:


  • SVSooke
    Guest replied
    Originally posted by Good Times View Post
    Thanks SV. Steve mentioned to me that he had the same experience with his 850 as well. I'd already purchased the color tune though. Live and learn.

    I am pleased with how the bike is currently running. I just need to get it on the road to see if I need to adjust the needles anymore. Won't know until I shovel on the coal to see if she's too rich.
    Hey you can send it to me(wink wink nudge nudge).

    Leave a comment:


  • Good Times
    Guest replied
    Thanks SV. Steve mentioned to me that he had the same experience with his 850 as well. I'd already purchased the color tune though. Live and learn.

    I am pleased with how the bike is currently running. I just need to get it on the road to see if I need to adjust the needles anymore. Won't know until I shovel on the coal to see if she's too rich.

    Leave a comment:

Working...