The Stator Papers 6
How to rewind your own stator
By Nerobro
Extracted from the forum thread
The Next Nerobro's HowTo: Doing the Stator Dance
Rewinding your own stator isn't a complicated thing to do - it just takes
time to hunt down the materials needed and just doing it. Here, Nerobro shows
us how to "Get 'er done!".
One key thing to remember is that the number of windings on the poles of the stator might be different for your stator. This will most likely be because of a different gauge wire being used. If you use a thicker gauge wire then you won't be able to get as many turns on the pole. But count the turns when you pull the wire off and average the number of turns. This will be the number of turns that you should be using if using the same gauge wire. And as Nerobro says, neatness counts!
We begin...
This is done on a 1983 GS550 stator, which is smaller than the 1980 stator, and I"ll bet it makes the GS1000 stators look huge.
Ah, the hell of simple alternators. If any of you know what happens when a R/R cooks itself, you'd be familiar with this scene.
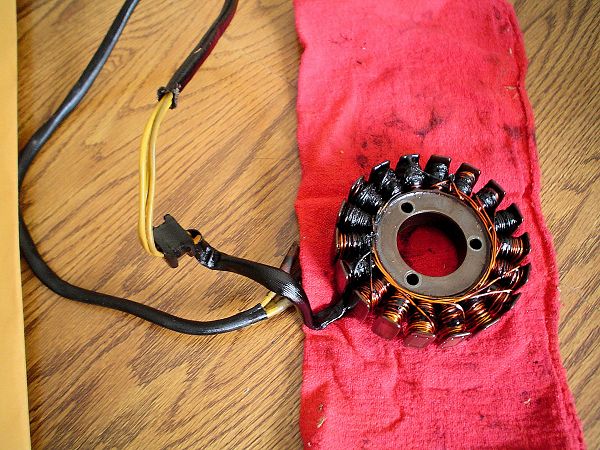
Sexy ain't it. That thing is burnt. Bad. Several coils overheated, and through heat cycling the copper weakened, and the final failure of this stator was under that black stuff are some completely broken strands of copper. That black stuff is charred on oil. Think of that nasty stuff that develops when the oil from your valve cover drips onto your exhaust manifold.
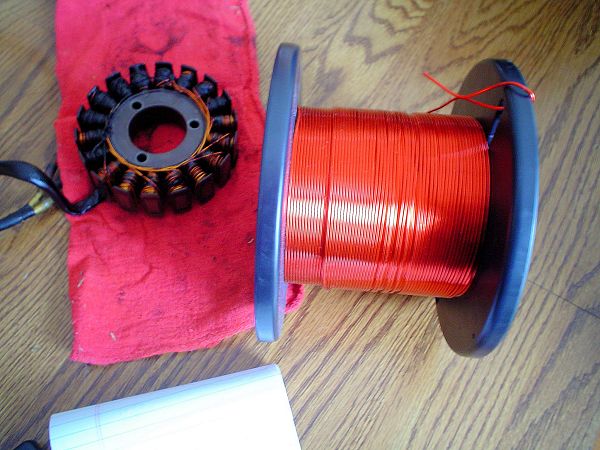
Pretty isn't it. That's 300' of 16ga copper. Sadly, pretty is all it is. As 90% of that roll is still on that spool. I thought I'd be clever and try to uprate my stator somewhat and use thicker copper. I had to order another spool, 18ga.
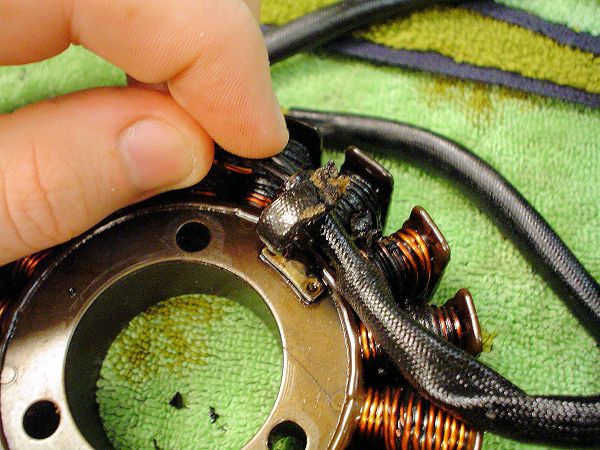
This clip is what prevents stresses on the wiring harness from reaching the easily broken, and work hardened copper of the stator. You need to unbend it before you can access those very well done coils behind it. There are three wires there, each one leads out to the r/r. The three wires are tied togother at the other end to form a wye type 3 phase winding.
Excuse the blur please. But before you continue, you should label the poles. That will help you when you wind later.
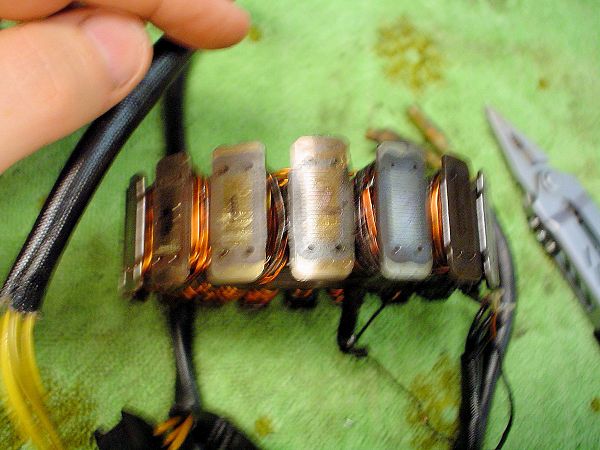
It's coming undone. At this point the wire had actually come off in five pieces. The cooking had damaged the copper so badly that it almost crumbled. From here on out it came off in a single strand. As you unwind a stator, count the turns on each pole. Each pole will have the same number of turns, but I guarantee you'll get different numbers. I got a couple 29's a bunch with 30, and two with 31 turns. So it's safe to assume that 30 turns per pole is proper. With the 16ga I was only able to put 23 turns on a pole before I ran out of room for the next pole.
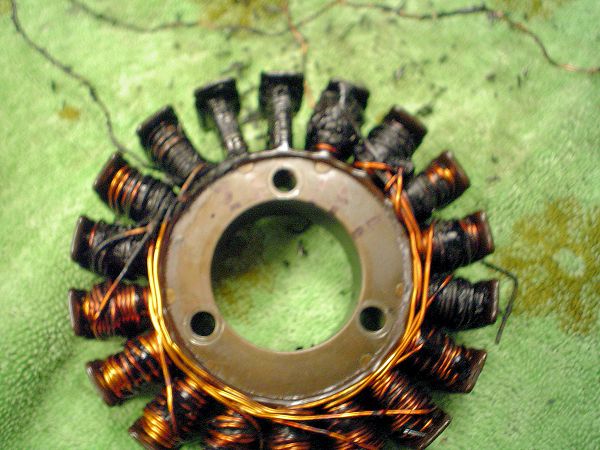
You should label these too. On the left there's the markings for the "start", on the right there are the markings for the "end." I also put an arrow on there to indicate the direction of winding. The direction of winding is VITAL to get consistent. If you wind backwards that's ok, as long as everything is wound backwards. Switch winding directions and there's a whole lot of bad EMF going on.
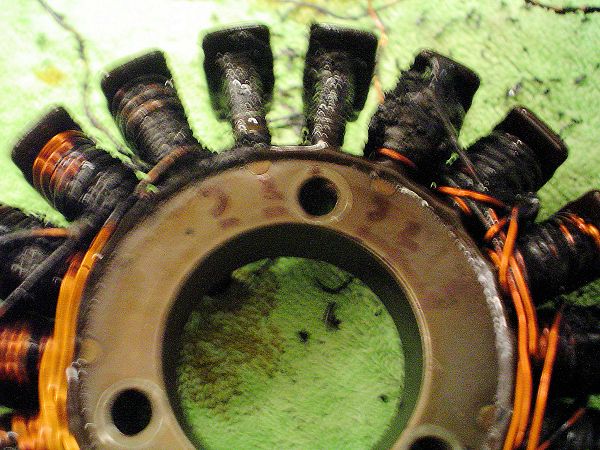
Nice towel eh? I think it's from when my mom went to college. I now do a lot of my "really dirty" work on it. I ended up unwinding the poles sequentially. You can see that all the insulation is burnt off the copper. That black stuff smelled like an ashtray. It wasn't pleasant taking it apart. I'm fairly sure the wire I pulled off was 20ga.
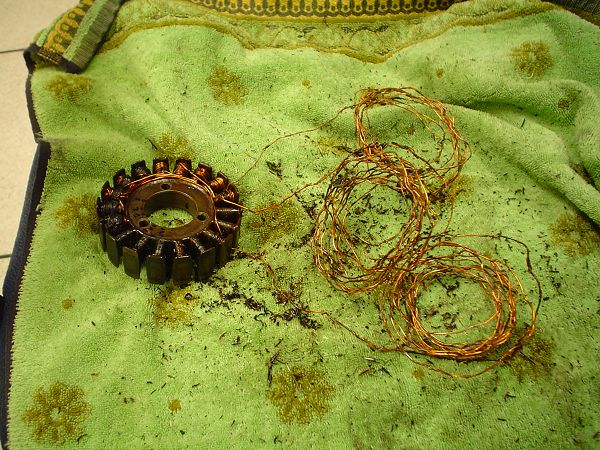
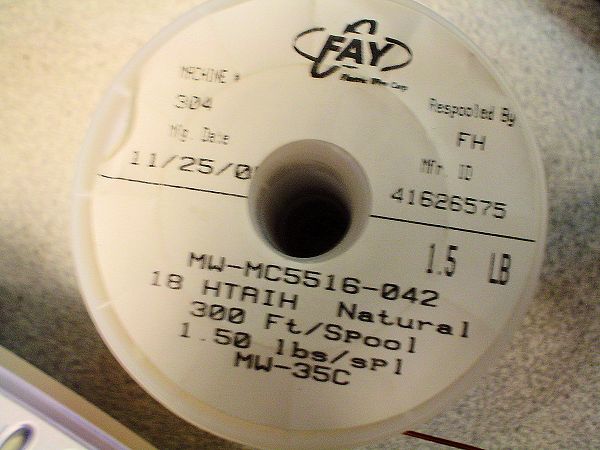
Look at that, the proper wire. 300' of 16 ga high temperature coated copper wire.
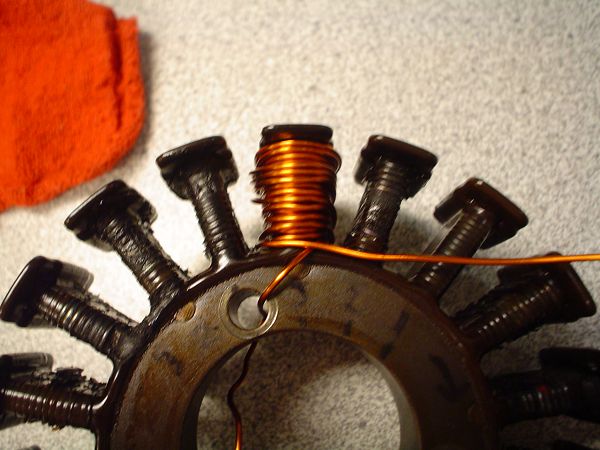
The first turns. I was able to fit 13 or 14 turns on the first layer. It took me three or four attempts to get the winding of the poles down right. What I came up with was to wind the first layer as tightly as i could, then I'd wind back down four or five turns, I'd wind back towards the top, and by the time I finished winding down the second time I'd be at 30 turns.
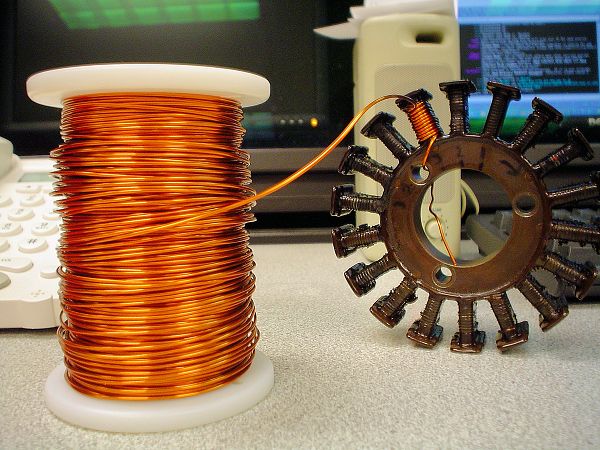
My first 30. My fingers were sore already.
Three poles. I think I may have screwed up on that connection between the second and third pole. We'll see when I install it, if the screw rubs that wire it may ground the stator, and that's a bad thing. With a capital B. Oooh, look, salsa.
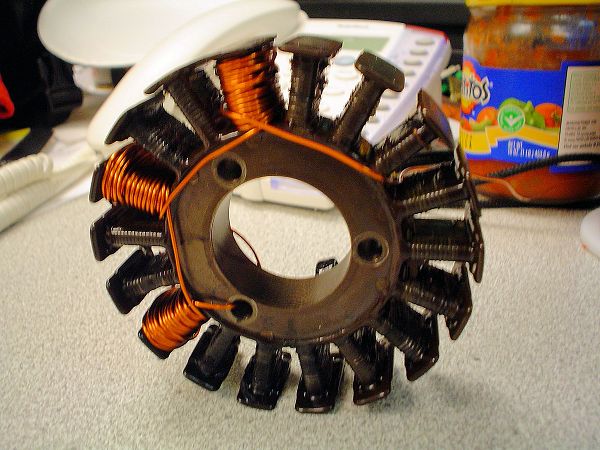
The thing finally starts to look pretty when you're a third of the way through it. I didn't realize how gross salsa lids looked when taken out of context.
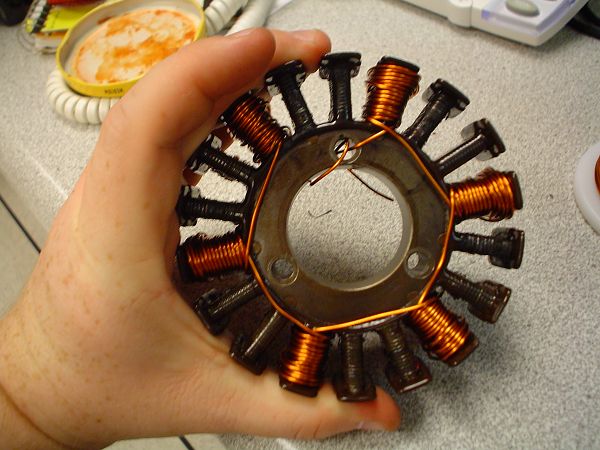
Two legs of the stator done. The whole assembly seemed much heavier at this point.
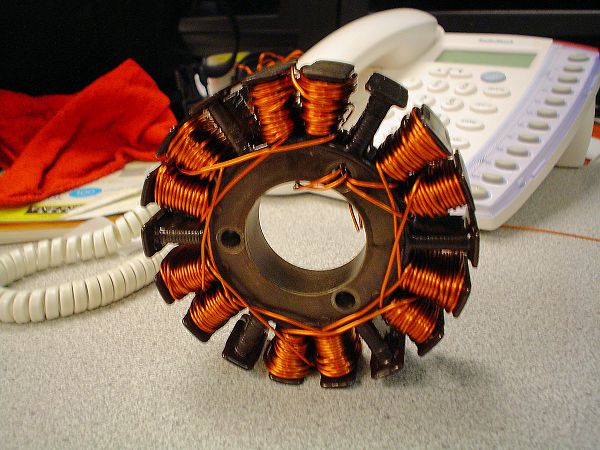
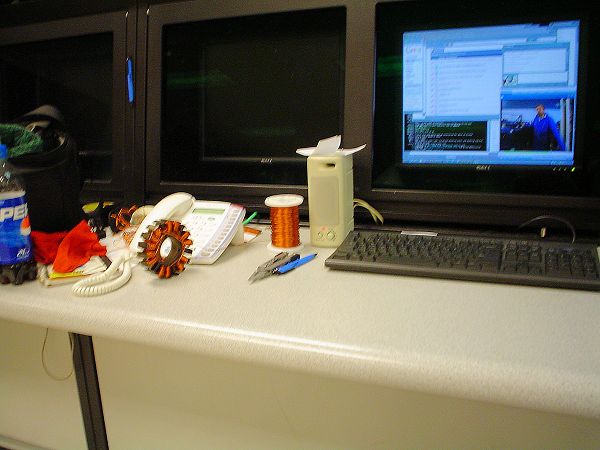
Yup, I did this all at my desk at work. On the clock...
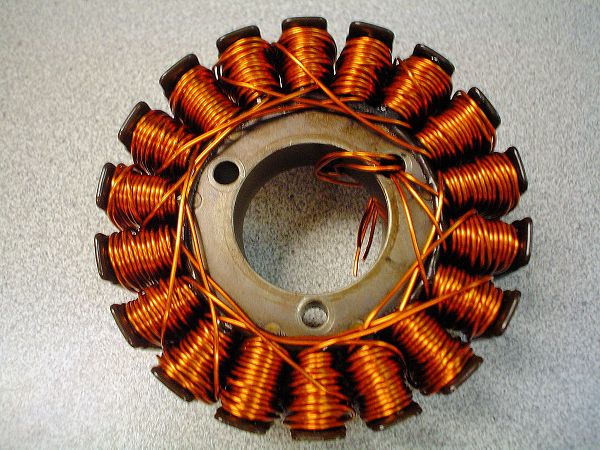
The winding done. I still need to solder, then insulate the connection for the center of the wye, and attach the leads that take the power back to the stator. I'll update with those pictures once I get them done.
I didn't catch a picture of doing the Wye connection. So here's the first leg getting soldered onto the wiring harness.
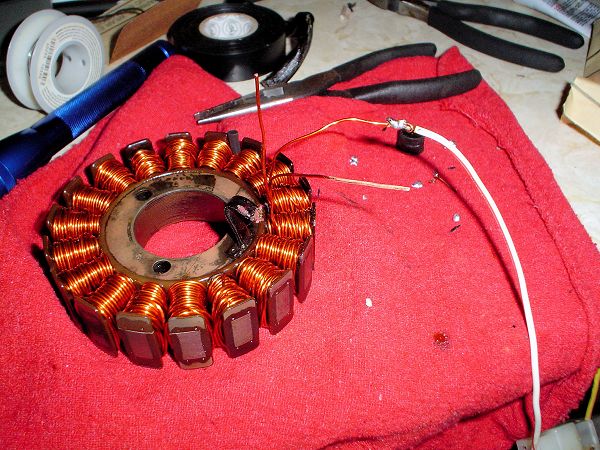
Each wire needed to be sanded to take the varnish off. This isn't an easy task to do properly. I recommend not using 320 grit. After doing some research, I was told that it's easier if you burn the end of the wire first, as that weakens the varnish. I was not so smart.
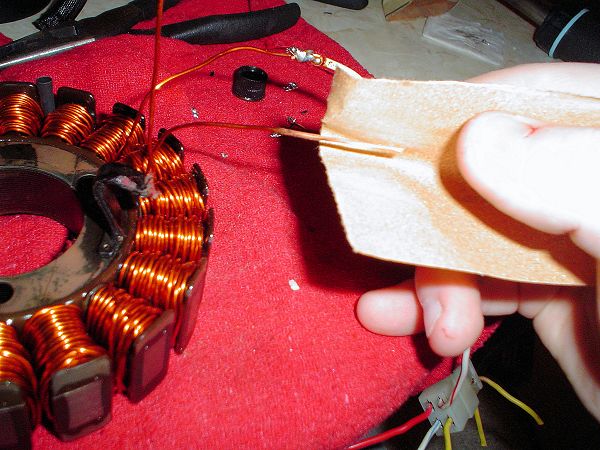
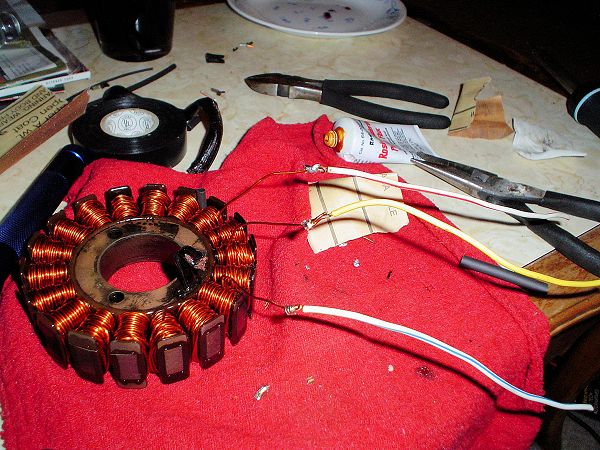
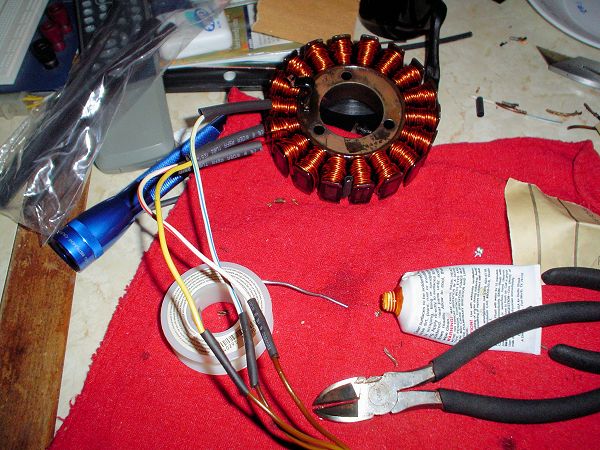
All three leads attached. These were really just extension wires as the last 6" of lead on the stock harness was quite brittle from heat. As in trying to bend the wire to strip it and the plastic coating cracked off.
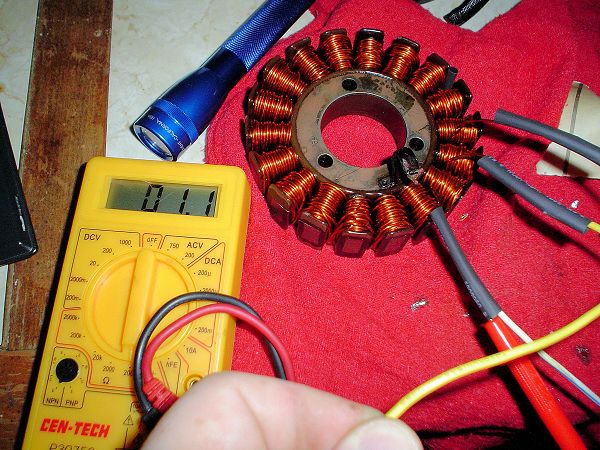
If you look at the voltmeter, which is set to the 200 Ohm setting, you will see it's reading 1.1 Ohms. All three legs had the same value. That means I did it at least "even" if not "right." I used thicker wire, so instead of the 1.6 Ohms, I get 1.1 Ohms. That should be OK. You can see the shrink-wrap. I actually have one of the test leads wedged in the unshrunk tube at the bottom of the picture. The yellow wire that's in the foreground has the black test lead going into it.
Yes, I don't work in a terribly clean environment. The "brown" wire that's soldered to the pretty multi colored leads were bright yellow at some point in their life.
I took strips of electrical tape and added a second layer of insulation on each lead, then I strapped them together. The stock harness had a high temp fabric in that spot, but it's almost unusable now. You can see it laying top right in the picture. If you can't identify it... don't worry, it's really that nasty.
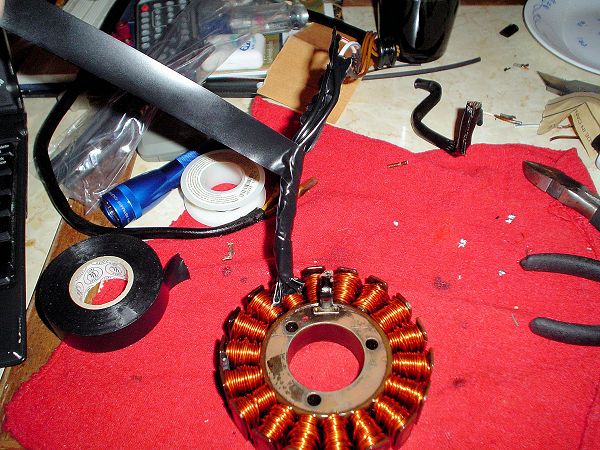
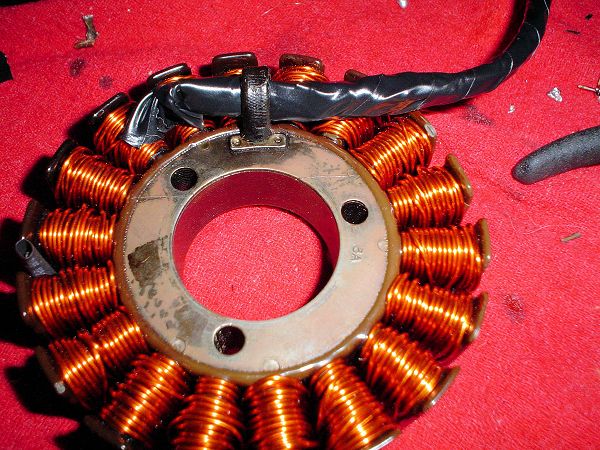
That, looks a lot like one of those pictures up top doesn't it? Almost stock! Except heavier duty.
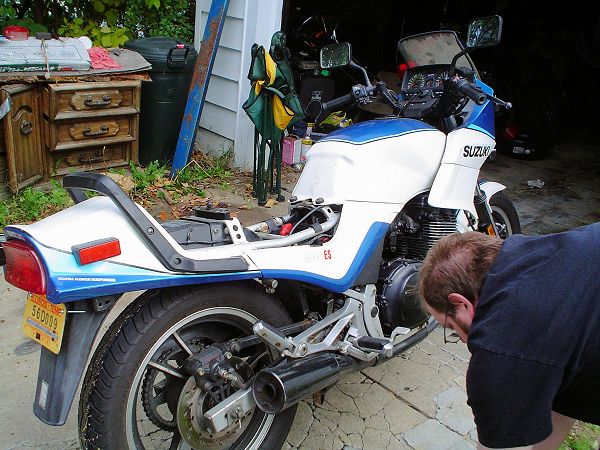
The patient. A 1983 GSX550ES. This particular machine has been through three r/r's and this will be it's second stator. Well I thought it's second stator. More on that shortly. From this picture until the bike was running again, only 40 minutes elapsed.
